
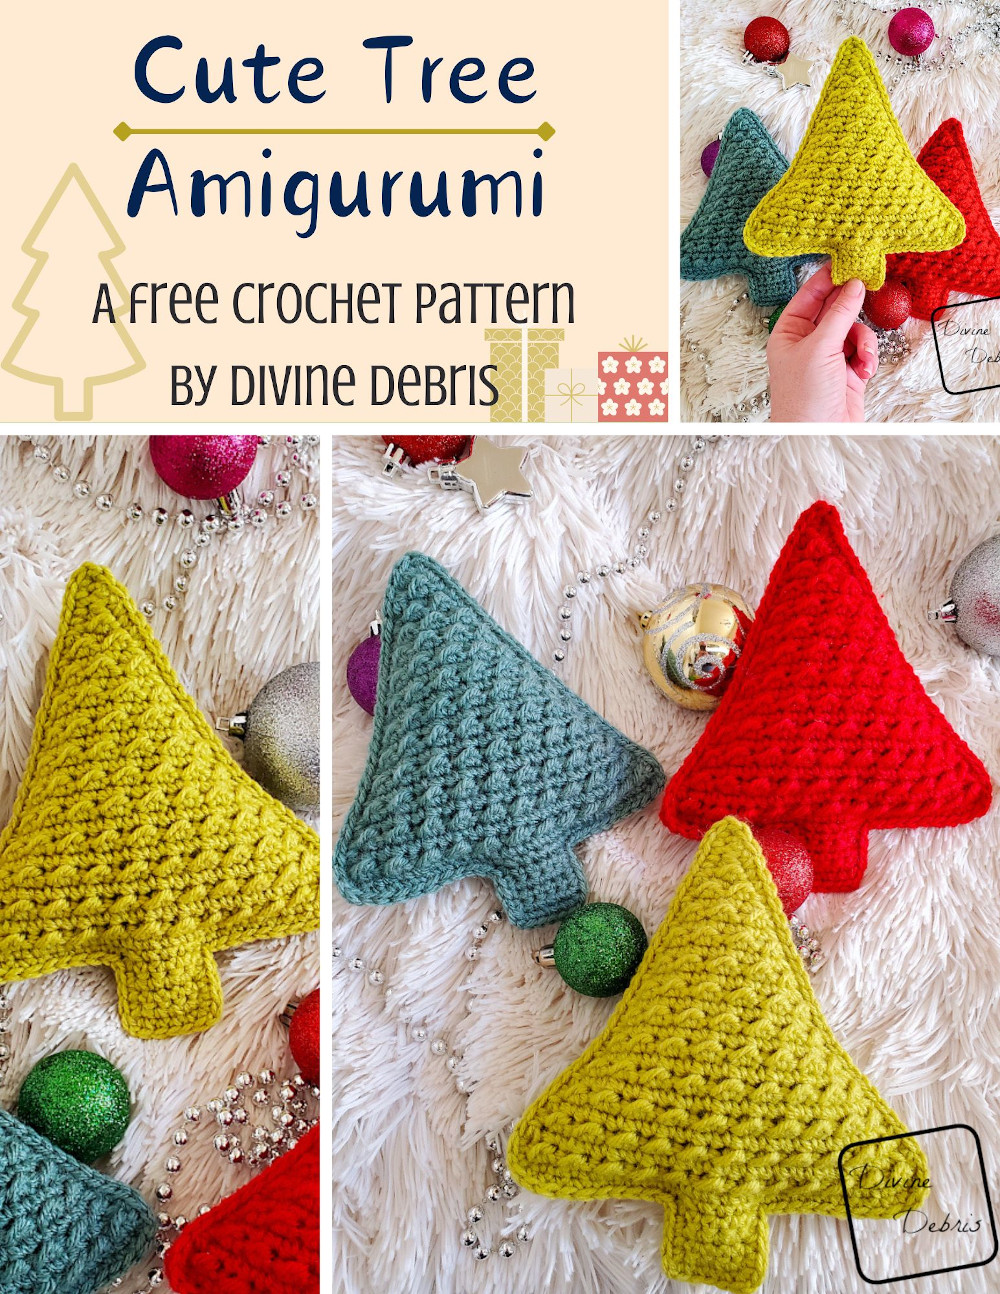
Hi there! How’s your December been going? Anyone else feel a little ready for 2024? If only because I’ve got lots of fun ideas for but it needs to be January to start them 😀 But before that time comes, I have a few more patterns coming your way this month. And next up is the Cute Tree Amigurumi crochet pattern.
Now if this design looks familiar to you, then you’ve got a keen eye because it’s a variation on my Christmas Tree Applique pattern from 2014. This time of year that design happens to be one of the most popular patterns on my blog, along with my Squishy Tree Ami pattern. And due to both design’s popularity, I decided to do a little bit of a “mash up” of the 2 patterns for a new super design for this winter 😀
![[Image description] 3 Cute Tree Amigurumis (one red, one lime green, and one sage green) stand up against a fuzzy white blanket.](https://d3gel9wqxksnxm.cloudfront.net/wp-content/uploads/2023/12/Cute-Tree-Ami-1000x839-1.jpg)
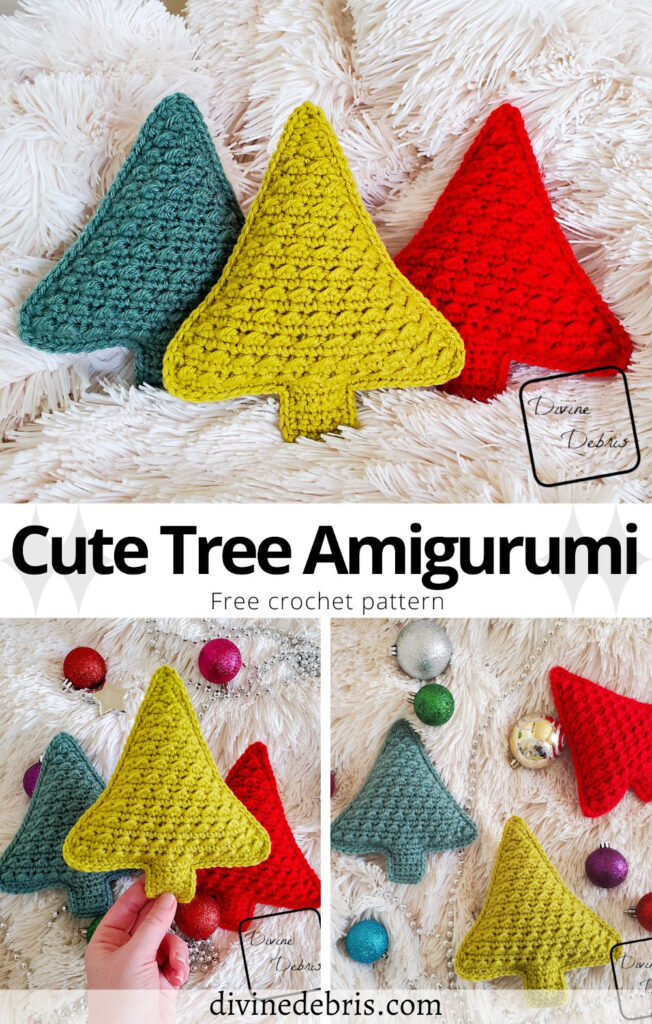
For the pattern and photos I only made one tree initially but I had such fun (and it worked up so fast) that I decided to make another. And then another. And once I got a few cute pictures I sent the sage and red ones off to my niblings (brother’s kiddos) and kept the lime green one for my sister. They make fun little gifts IMO. 😀
And I mean it when I say this pattern is easy. It’s worked in 2 pieces that have 2 sections to them – the Tree and the Stem. Once you get finish both pieces, you will seam them together with a simple sc through both pieces. Don’t forget to stuff them before you get all the way around. That’s all there is to the pattern. Now, the rest is totally up to you how you . I think some puffy paint or yarn scarps would make lovely ornaments or even adding a garland would add some really fun personality to the design.
Anyway, even though I’m a Halloween person, I have been having so much fun this winter/ holiday season. Between the Crystal Snowflakes Shawl and Susie Snowflake Bag, I am all ready for winter fashion shows (that I don’t take part in, but I’ll be warm and watch :D).
Please note: This post features affiliate links, if you click on any of the links and purchase I may make money from that.
Copyright @ Divine Debris 2023. No part of this document may be reproduced or transmitted in any form by any means, electronic, mechanical, photocopying, or otherwise, without prior written permission from the author. Sales of finished products are permitted, but the designer requests that you link back to the pattern and credit Divine Debris with the original design under the Creative Commons Attribution-Share Alike license. If you have any questions, comments or concerns please contact info@divinedebris.com.
(this post contains affiliate links)

If you appreciate my patterns I hope you’d consider purchasing an ad-free pdf of this pattern in my Ravelry shop and Lovecrafts shop!
Where to purchase the Cute Tree Amigurumi Crochet Pattern


![[Image description] 2 finished Cute Tree Amis (one red on the top left and one sage green on the bottom right of the photo) and one unfinished lime green tree, in 2 pieces, sit on a fake wood grain background](https://d3gel9wqxksnxm.cloudfront.net/wp-content/uploads/2023/12/Cute-Tree-Ami-930x1000-1.jpg)
Level
Easy
Materials
- US G (4.00 mm) crochet hook
- Worsted/ medium/ size #4 weight yarn
- 1.2 oz/ 48.6 yds
- Notions: scissors, measuring tape, yarn needle
- Polyfil/ stuffing
- Amount varies depending upon how much you would like to use
Gauge
- 17 sc x 17 rows = 4″
Terms/ Stitches used
- St: Stitch
- Ch: Chain
- RS: Right side
- Slip st: Slip st
- Sc: Single crochet
- Join: Join with a slip st
- Sc2tog: Sc 2 sts together
- Hdc: Half double crochet
Notes
- You can purchase the easy to print version of this pattern for a fee in my Ravelry shop.
- Each Tree is created in 2 parts: the Body, which is worked from the widest point and decreased every other row until the point, and the Stem, which is added to the other side of the widest part of the Body. When both Trees are done then you sc a Border around the outside to secure the two pieces together.
- The ch 1 at the beginning of the rows does not count as a stitch.
- The stitch count at the end of the row counts both sc and sc2togs.
- Within the rows (the even numbered rows) don’t make the slip sts you use too tight, as you will be working back into them on the next row.
- For this pattern I used stash yarn. I believe the lime green is Bernat Super Value (but it’s really old, so I’m not positive) and the sage green is Vanna’s Choice. The red is also a stash yarn and I have no idea where I got it.
Cute Tree Amigurumi Crochet Pattern Finished Product Details
| Height | Width |
| 7” | 6.3″ – 5″ |
![[Image description] A white woman's hand holds a lime green Cute Tree Amigurumi while 2 more (a sage green one on the left and a red on on the right) sit behind it on a fuzzy white blanket background.](https://d3gel9wqxksnxm.cloudfront.net/wp-content/uploads/2023/12/Cute-Tree-Ami-920x1000-1.jpg)
![[Image description] A white woman's hand holds a lime green Cute Tree Amigurumi while 2 more (a sage green one on the left and a red on on the right) sit behind it on a fuzzy white blanket background.](https://d3gel9wqxksnxm.cloudfront.net/wp-content/uploads/2023/12/Cute-Tree-Ami-920x1000-1.jpg.webp)
Cute Tree Amigurumi Crochet Pattern Instructions
Tree Body
(make 2)
(RS) Row 1: Ch 26, sc into the 2nd ch from the hook and across – 25 sc
Row 2: Ch 1, turn, slip st into the first st, *hdc into the next st, slip st into the next st,* repeat from * to * all the way across – 13 slip st, 12 hdc
Row 3: Ch 1, turn, sc2tog the first 2 sts, sc across until 2 sts remain, sc2tog the last 2 sts – 23 sc
Row 4 – 23: Repeat Rows 2 – 3, a total of 10 more times until you have a stitch count of 3.
Row 24: Ch 1, turn, slip st into the first st, hdc into the next st, slip st into the next st – 2 slip st, 1 hdc
Row 25: Ch 1, turn, sc2tog the next 2 sts, sc into the last st – 2 sc
Row 26: Ch 1, turn, sc2tog the next 2 sts – 1 sc
Row 27: Ch 1, turn, sc – 1 sc
Fasten off, weave in your ends.
![[Image description] Top down view of 2 pieces of the Cute Tree Amigurumi in lime green, before seaming.](https://d3gel9wqxksnxm.cloudfront.net/wp-content/uploads/2023/12/Cute-Tree-Ami-891x1000-1.jpg)
Stem
Flip your whole Tree around so you’re working into the other side of Row 1, skip 10 sts from the end and join your yarn in the next st.
(RS) Row 1: Ch 1, sc into the next 5 sts – 5 sc
Rows 2 – 5: Ch 1, turn, sc across – 5 sc
Fasten off, weave in your ends.
![[Image description] Top down view of a Cute Tree Amigurumi on a wood grain background in lime green, in the process of seaming. A white woman's hand holds a crochet hook in the bottom right corner.](https://d3gel9wqxksnxm.cloudfront.net/wp-content/uploads/2023/12/Cute-Tree-Ami-839x1000-1.jpg)
Border
Line up the points of the Tree and Stem, you can use stitch markers to keep them together if you’d like. You need to go through both pieces for the border.
With the RS facing you and your tree upside down (Stem on the top) pull up a loop in the first st to the left of the Stem.
Rnd 1: Ch 1, sc into the next 10 sts of Row 1 of the Tree, ch 1 and rotate, sc into the next 27 row ends, rotate, sc into the 1 st of Row 27 of the Tree, rotate, sc into the next 27 row ends, ch 1, sc into the next 10 sts of Row 1, (don’t forget to add stuffing to your ami before finishing the Border) sc into the next 5 row ends of the Stem, ch 1, sc into the next 5 sts of Row 5 of the Stem, ch 1, sc into the next 5 row ends of the Stem, join – 52 sc
Fasten off, weave in all your ends.

![[Image description] 3 Cute Tree Amigurumis lay close together on a fuzzy white blanket with Christmas tree ornaments around them.](https://d3gel9wqxksnxm.cloudfront.net/wp-content/uploads/2023/12/Cute-Tree-Ami-785x1000-1.jpg)
Elizabeth Fellowes
Monday 18th of December 2023
Lovely project for me to do while couch potating through Christmas . 😊 Excellent pattern and easy to do. Thanks @DevineDebris 🌞
Creatively Beth
Friday 15th of December 2023
LOVE these colors and that pattern is GORGEOUS! I’d love for you to join us over at the Creatively Crafty Linky Party every Wednesday through Sunday https://creativelybeth.com/creative-crafts-linky-party/ Followed and Pinned! Creatively, Beth