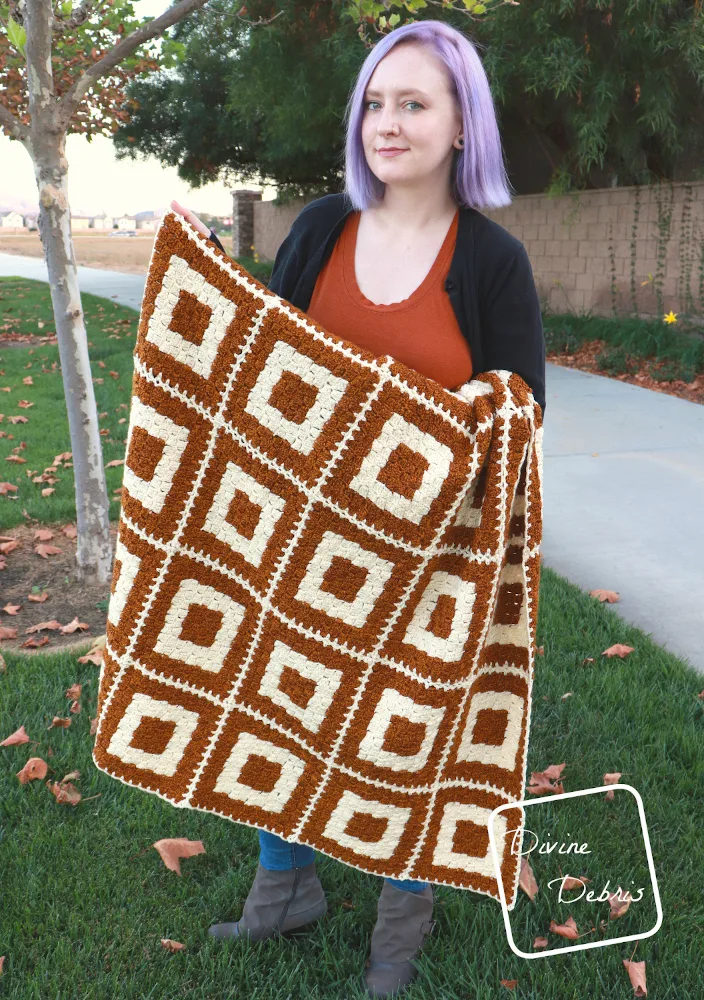
This year I learned how to make a C2C block, just in time to design my Coffee CAL squares. But as I was designing all the squares, I wasn’t sure how I was going to join them. I looked at just sewing them together but I didn’t like that much so I tried to think on a funner way to join. The I developed this method. It’s so easy to do once you get down the mechanics and it leaves a nice decorative border on each of the squares. I just love it, I even used it in my soon-to-be released Concentric Squares Throw.
What I like about this join is that it’s not complicated and you can start anywhere on the square, although I like to start in the right-hand corner. You will just need to know how to identify the individual blocks of a c2c square, the space between them, and how to chain.
1st square written instructions
For the first square you will create a border that subsequent squares are joined to: with the RS facing you, create a slipknot on your hook (this will make your first sc a standing st, if you’d rather pull up a loop and ch 1 to create your sc you can), sc into the first st on the corner (this can be a ch-3 space or a dc), [ch 3 and skip the next block,*sc into the space between the blocks, ch 3 and skip the next block,* repeat from * to * across until you get to the last block, sc into the last st of the block, ch 3, sc into the same st as the last sc,] repeat from [ to ] twice more, ch 3 and skip the next block, *sc into the space between the block, ch 3 and skip the next block,* repeat from * to * across until you get to the last block, sc into the last st of the block, ch 3 and slip st into the first st. Fasten off, weave in your ends and block your square if desired.
Easy right? Ok, that wall of text might be confusing so I included some photos below to help.
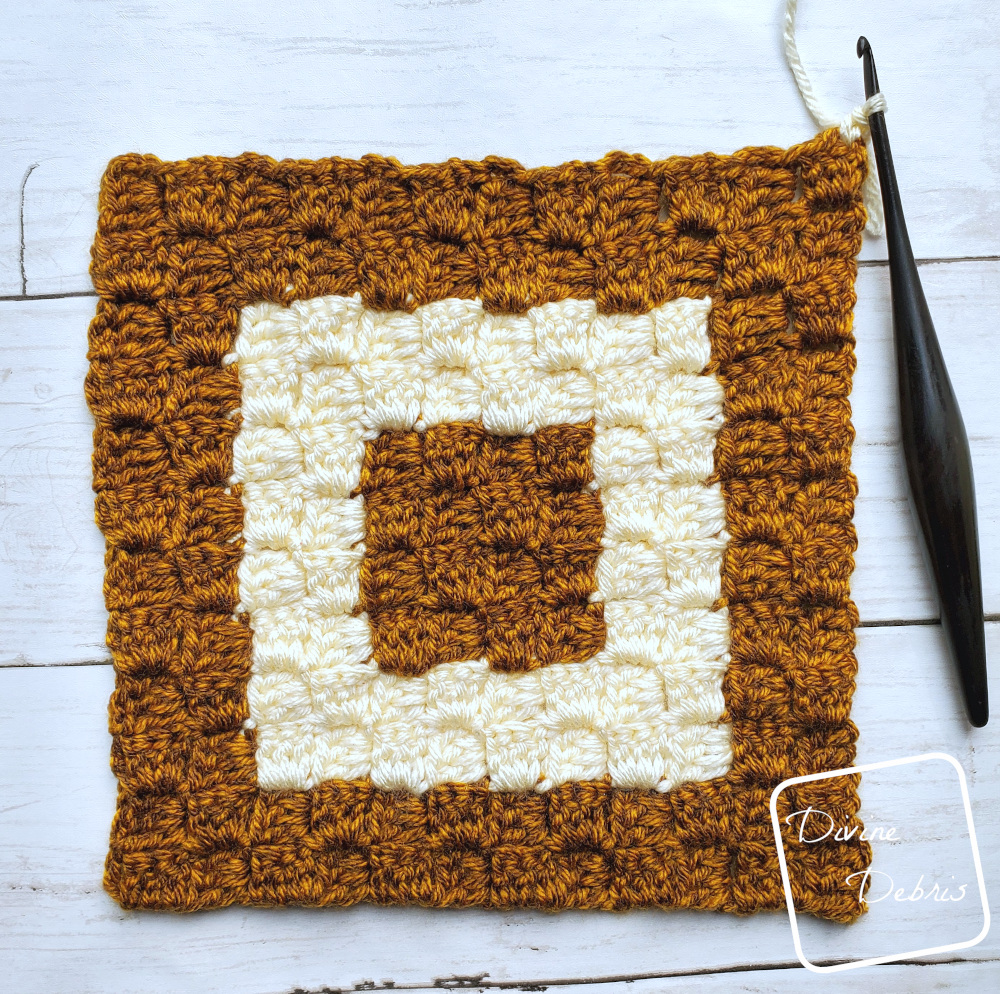
1st square photo Tutorial
To create the first border
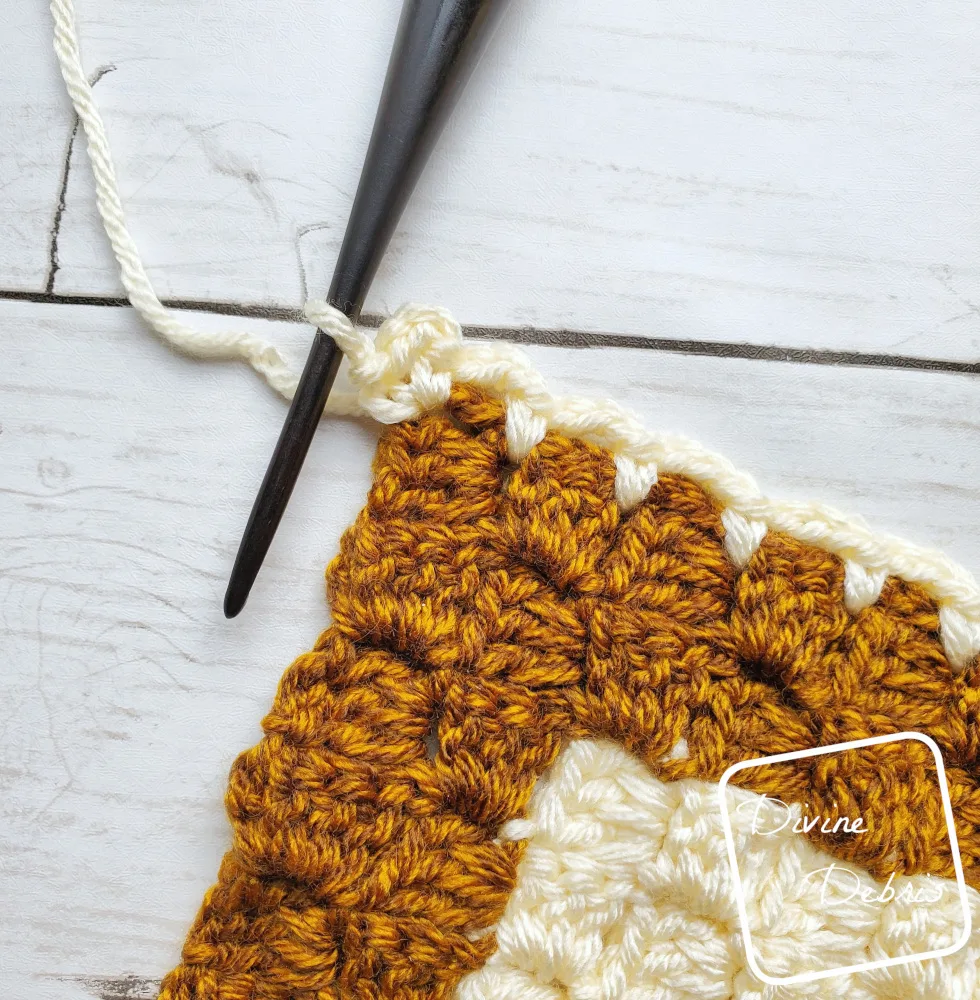
Create a slipknot on your hook and sc into the first st on the corner.

Ch 3 and skip the next block,*sc into the space between the blocks, ch 3 and skip the next block,* repeat from * to * across until you get to the last block.
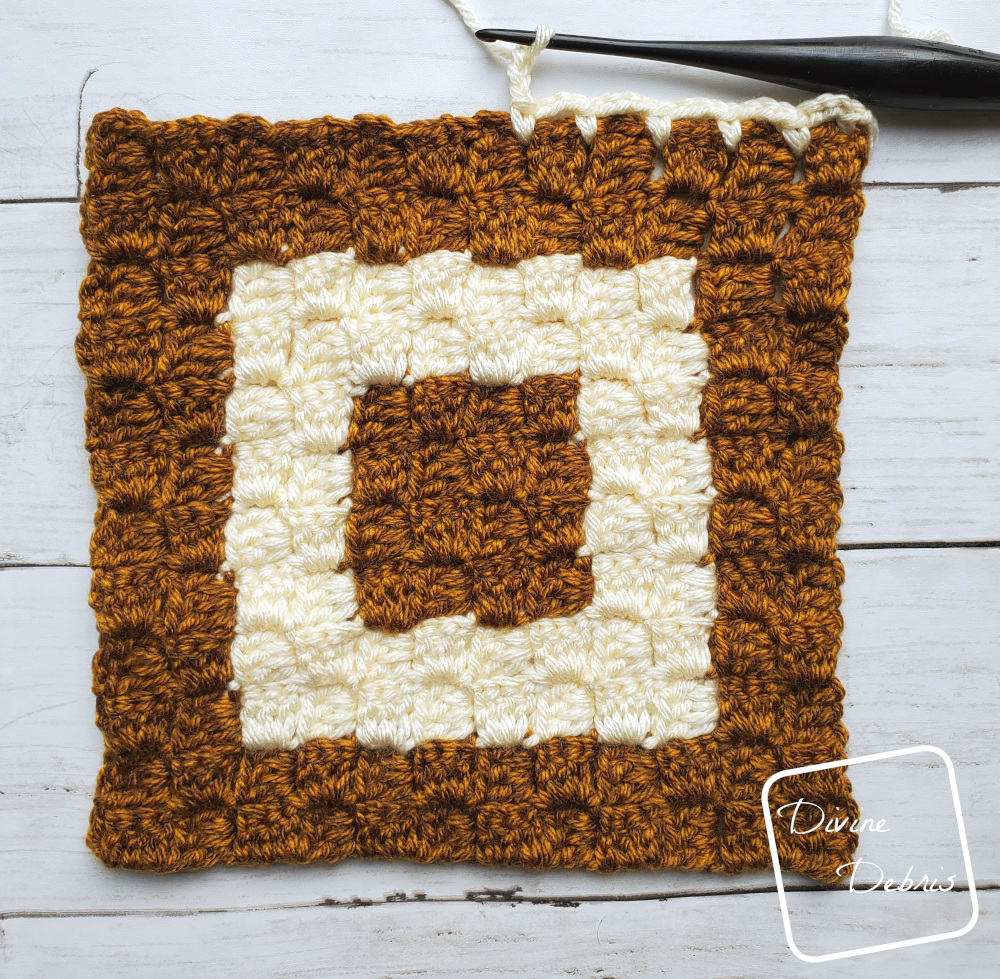
Sc into the last st of the block, ch 3, sc into the same st as the last sc. This is your corner ch-3.

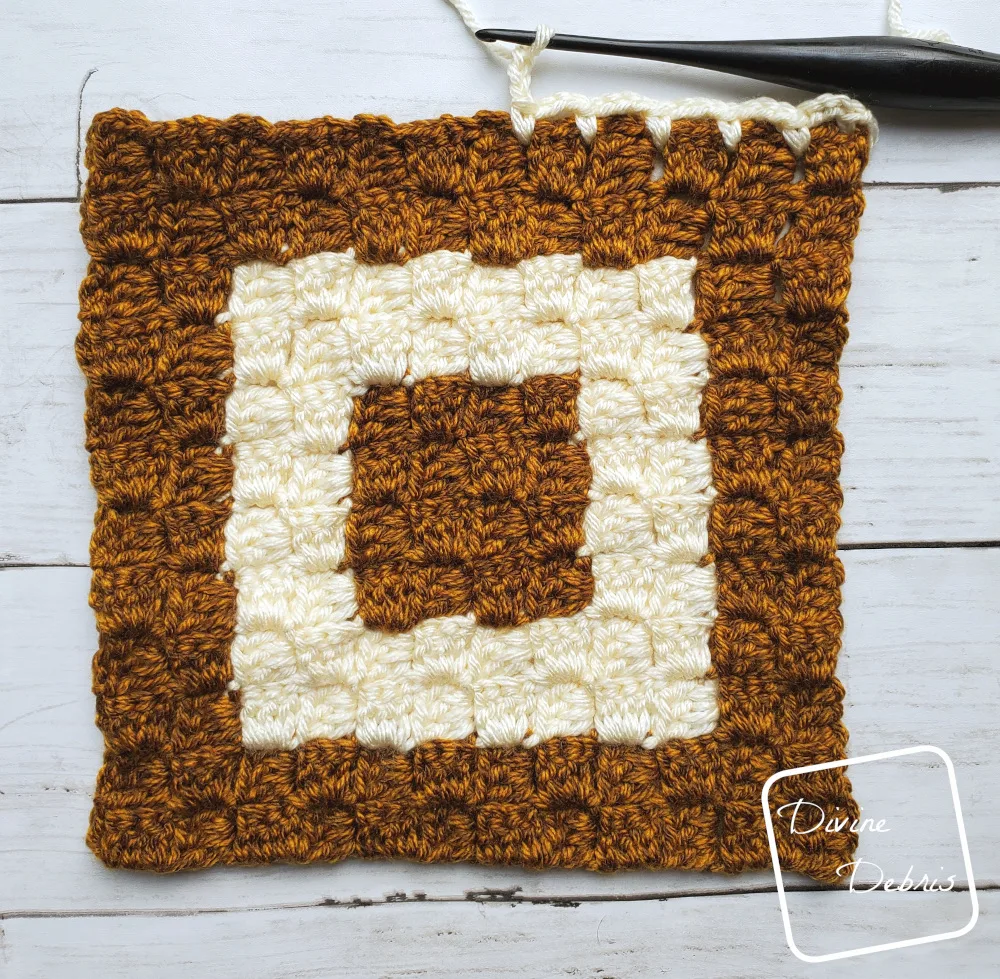
Continue to work the ch-3, skip a block, sc into the space between block until you get all the way around your afghan square.
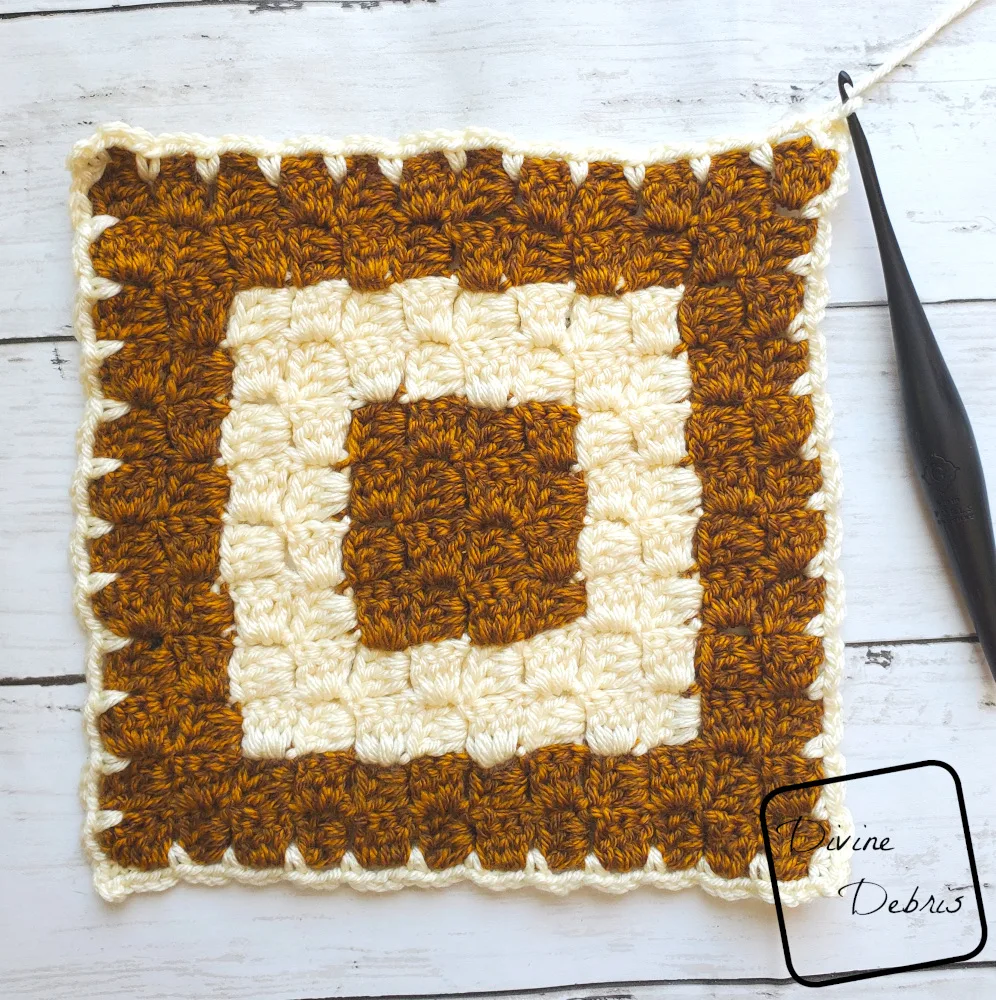
Below is an example of how it should look all finished.

Joining squares written instructions
For the 2nd afghan square and on: with the RS facing you line up the new square with the square or squares you want to join it to. Repeat the instructions for the first square until you get to the edge or edges where you want to join your squares.
Starting at the corner: sc into the last st of the block, ch 1, slip st into the corner ch-3 of the square you’re joining to, ch 1, sc into the same st as the last sc, *ch 1, slip st into the next ch-3 of the square you’re joining to, ch 1, skip the next block, sc into the space between the blocks,* repeat from * to * the rest of the way down the side. If you’re joining multiple squares, repeat the corner and side instructions until you get back to your first st, join with a slip st.
Fasten off, weave in your ends and block your square if desired.
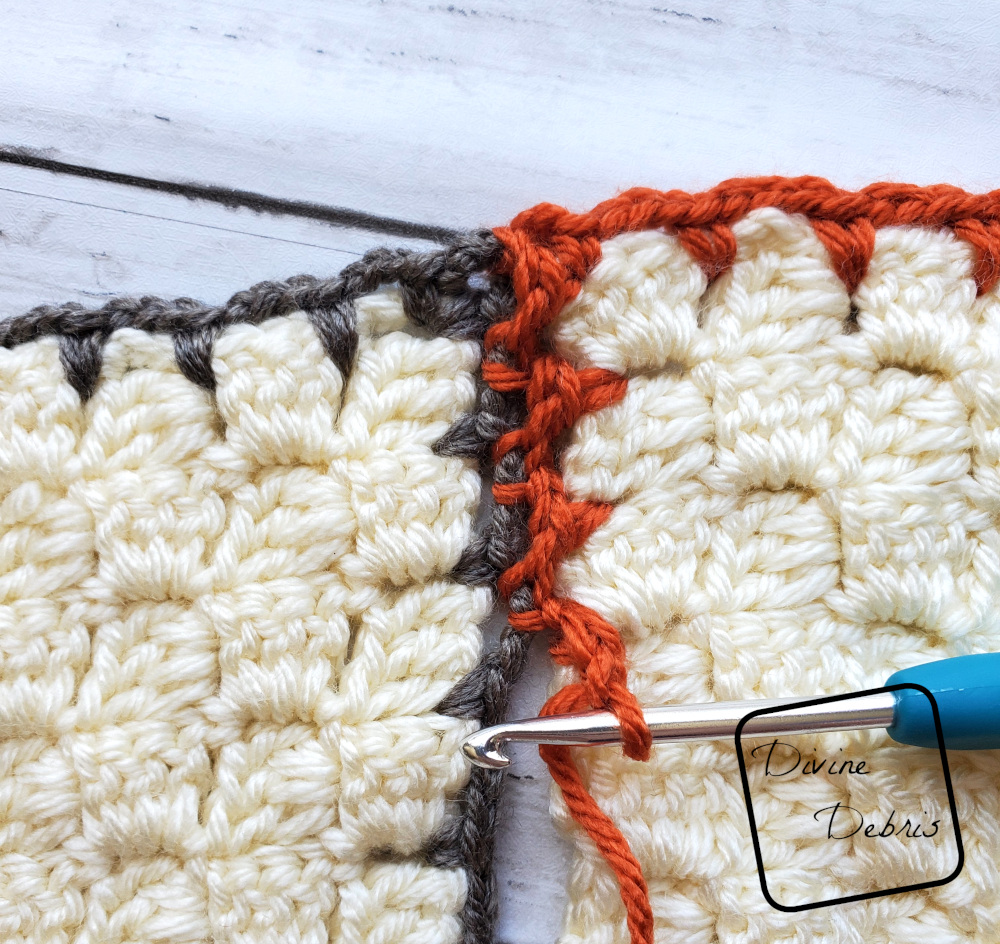
Joining squares photo tutorial
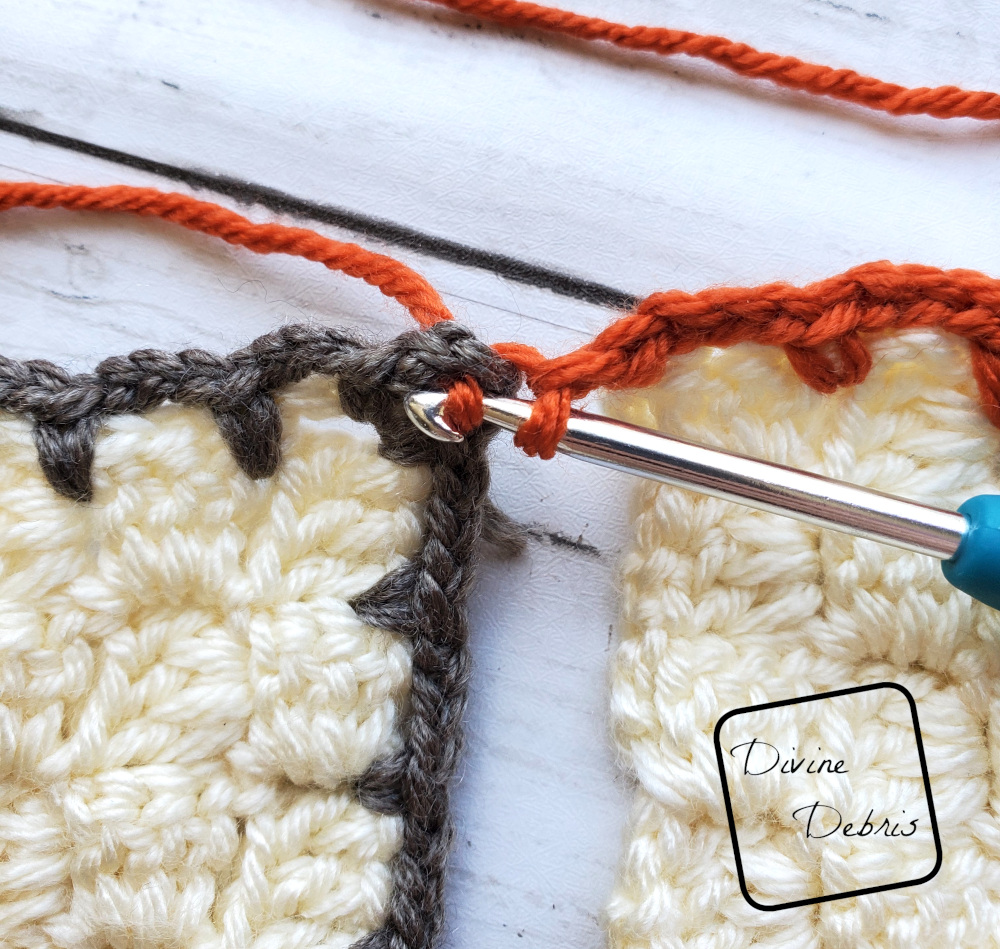
Start at the corner, ch 1, slip st into the ch-3 corner space of a finished afghan square (see photos below)

Ch 1, sc into the corner st again.

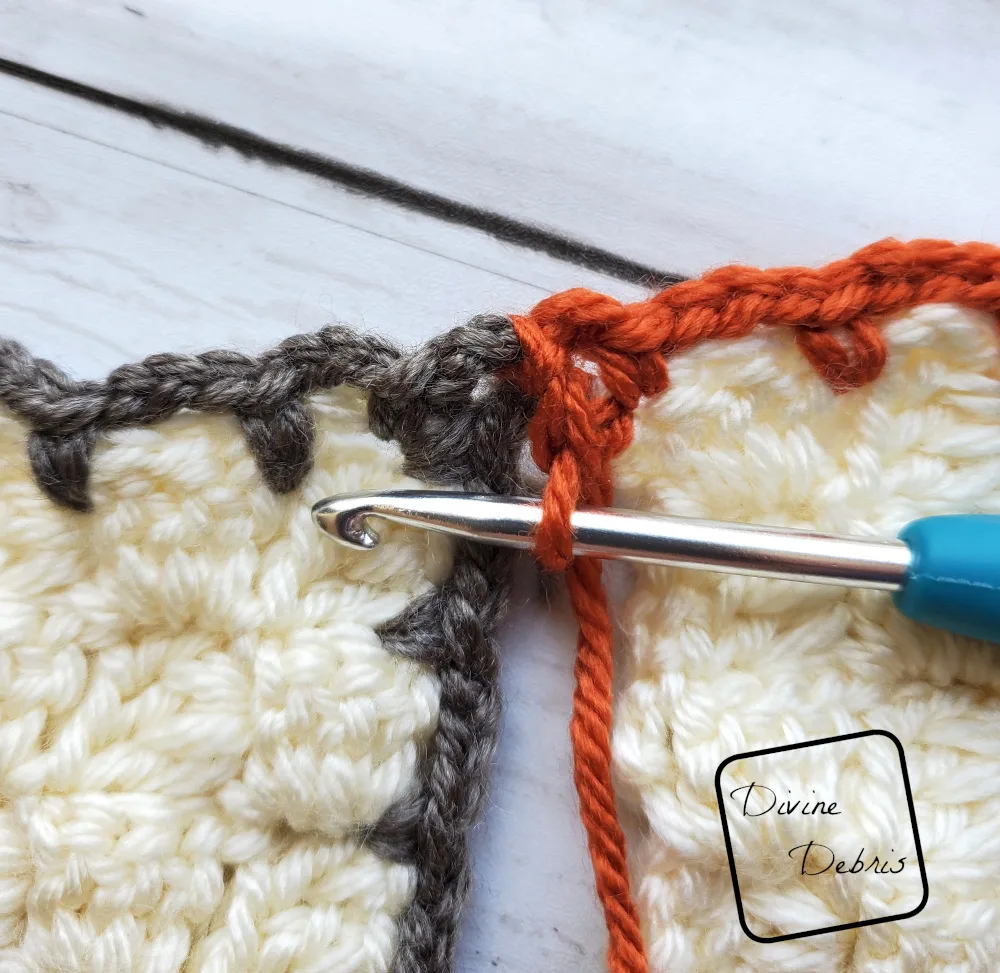
*Ch 1, slip st into the next ch-3 space of the finished afghan square, ch 1, sc into the next space between blocks on your current afghan square.*
Repeat from * to * along the side of the afghan square until you get to the next corner, and then repeat the corner instructions again.

And tada! You’ll have a nice little join that’s super easy to do and breaks up the c2c squares in a nice way.
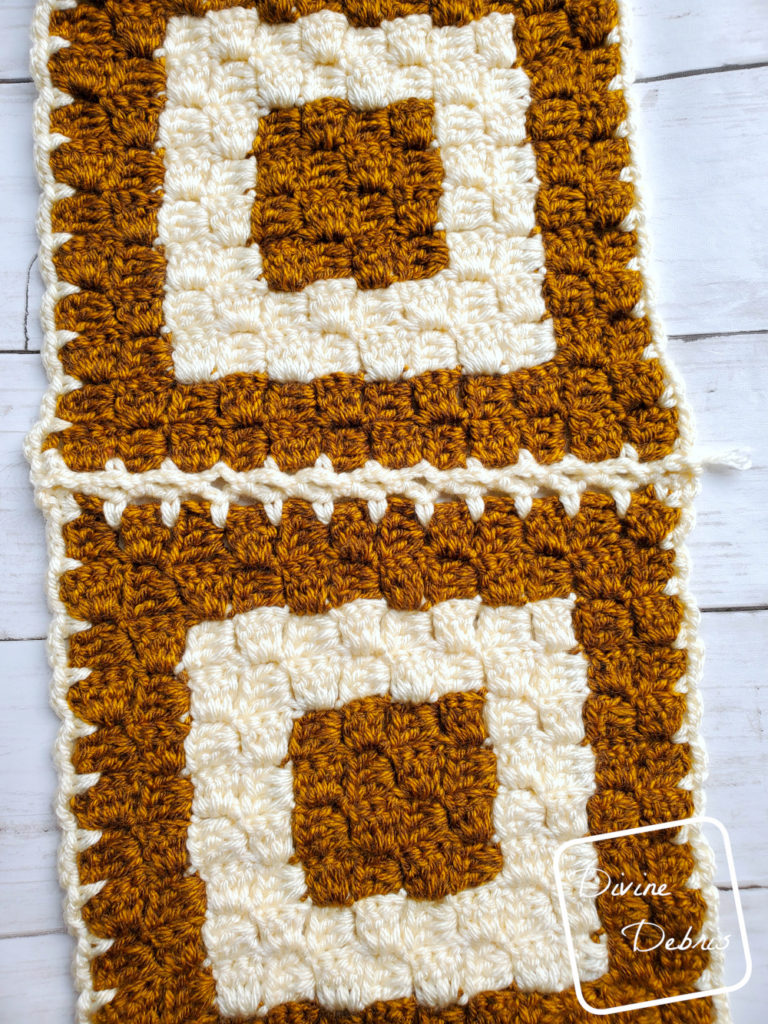
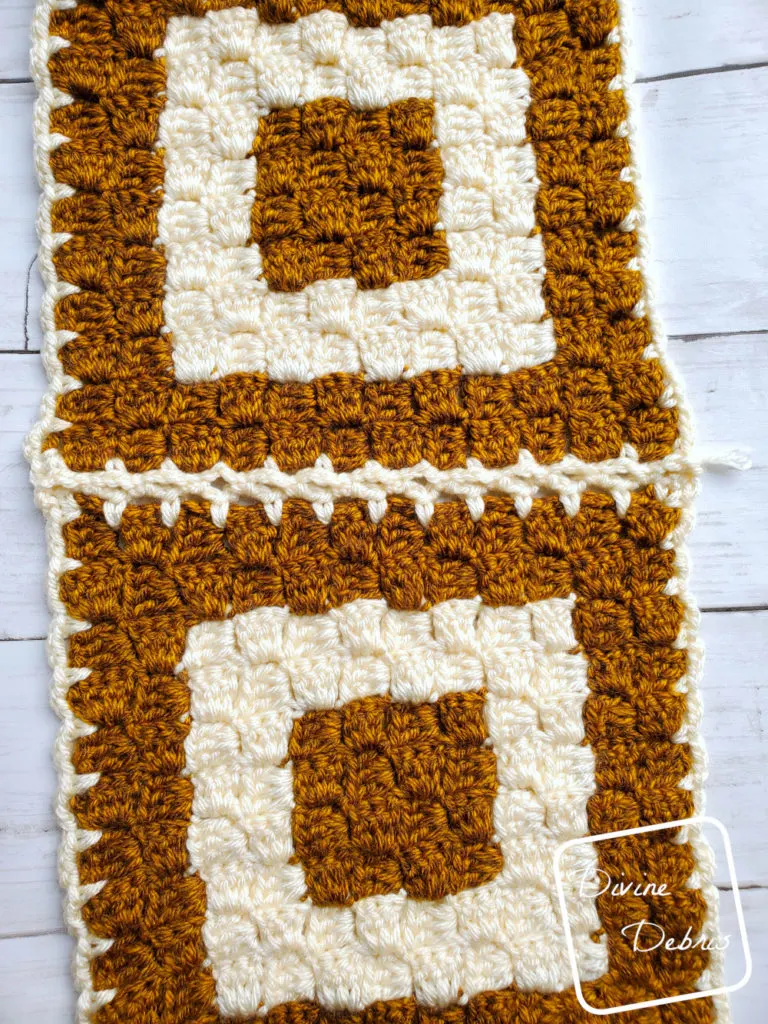
I hope you find this tutorial helpful. I plan on using it on my Coffee CAL squares and my Concentric Squares Throw (coming soon) and who knows what else!