
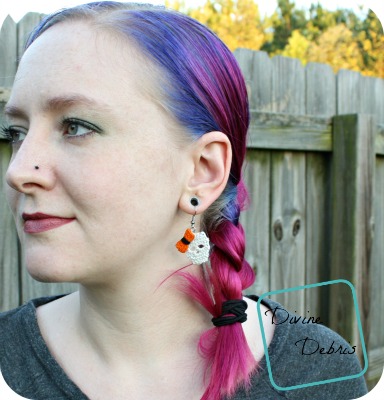
They might be a bit ugly but they’re the cute kind of ugly, right? This week I’m releasing another in my Sally Skulls line on Ravelry so I’m kinda glad that the delays in getting the Sally Skulls Earring pattern out. I’m like that, I like to match and stuff. 🙂
Anyway, I hope you enjoy this pattern and make some fun skull earrings for you or someone you love. I was also thinking that this pattern, worked up with worsted weight yarn and like a G or H hook would make a great garland to hang in a house. I may try that out and get back to you on it.
Thank you to all my Patreon supporters.
You can purchase an ad-free downloadable pdf for this pattern in my Ravelry shop.
Where to buy the Sally Skulls Earrings Crochet Pattern


Materials
- 2.25 mm crochet hook
- Size 10 crochet thread
- I used Aunt Lydia‘s
- Needle that will weave in your ends
- Fabric stiffener (optional)
- Jump rings
- Metal french hooks
- Jewelry pliers
- Fabric glue


Gauge
- 1″ x 1″ = 10 scs x 10 rows
Terms/ stitches used
- Magic Circle
- Ch: Chain
- St: Stitch
- Slip St: Slip Stitch
- Sc: Single Crochet
- Hdc: Half Double Crochet
- Dc: Double Crochet
Notes
- The ch 1, at the beginning of the rows does not count as a stitch.
- This pattern is worked back and forth, with turns at the beginning of each row.
- Color A is off white, color B is orange/ the bows.
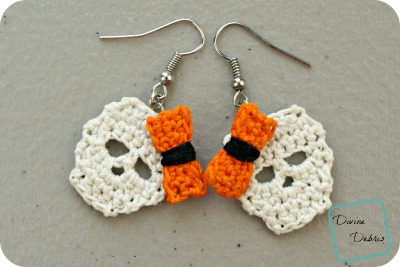
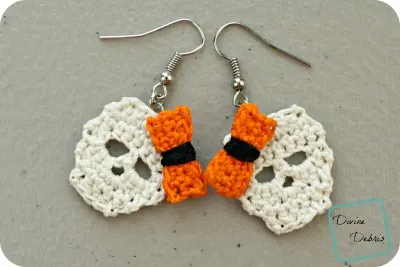
Finished measurements
- Height: 1″ (not including findings)
- Width: 1″ (not including findings)
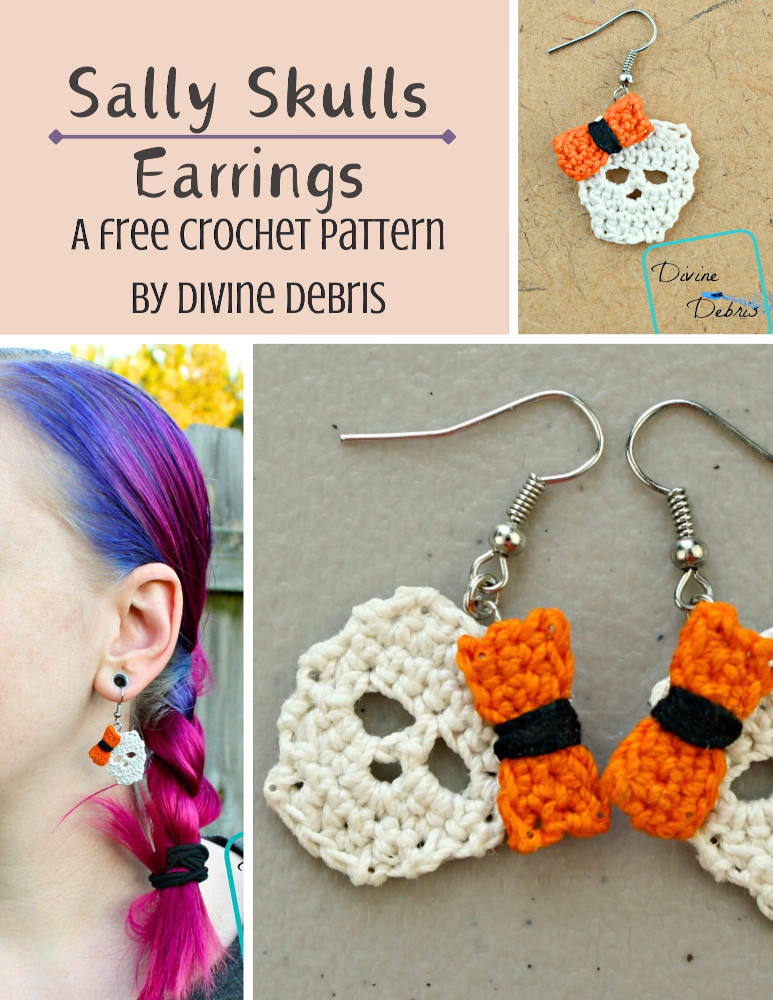
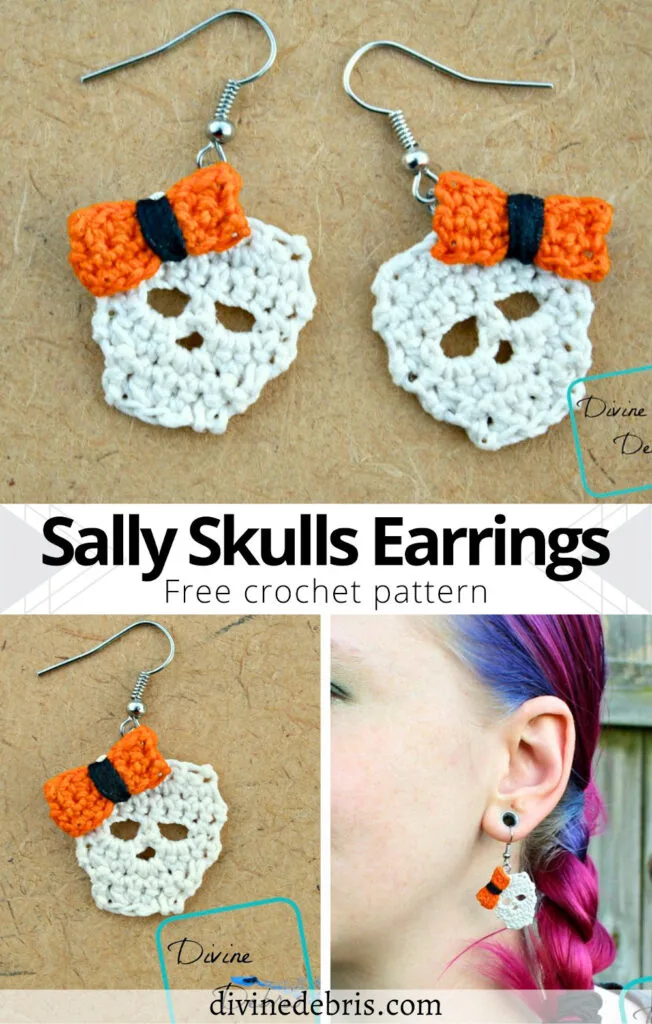
Sally Skulls Earrings Pattern Instructions
Row 1: A: Chain 6, sc twice into the second ch from the hook, sc into the next 3 sts, sc twice into the next st – 7 scs
Row 2: Ch 1, turn, sc twice into the first st, sc into the next 5 sts, sc twice into the last st – 9 scs
Row 3: Ch 1, turn, sc into the next 9 sts – 9 scs
Row 4: Ch 1, turn, sc into the next 2 sts, ch 3, skip the next 2 sts, sc into the next st, ch 3, skip the next 2 sts, sc into the last 2 sts – 5 scs
Row 5: Ch 1, turn, sc into the first st, sc 3 times into the next ch-3 space, ch 2, skip the next st, sc 3 times into the next ch-3 space, sc into the last st – 8 scs
Row 6: Ch 1, turn, sc2tog the next 2 sts, sc into the next st, skip the next st, sc 3 times into the ch-2 space, skip the next st, sc into the next st, sc2tog the last 2 sts – 7 scs (counts scs and sc2togs)
Row 7: Ch 1, turn, sc2tog the next 2 sts, sc into the next 3 sts, sc2tog the last 2 sts – 5 scs (counts scs and sc2togs)
Row 8: Ch 1, turn, sc2tog the next 2 sts, sc into the next st, sc2tog the last 2 sts – 3 scs (counts scs and sc2togs)
Fasten off, weave in your ends.

Bows (optional):
Row 1: B: Ch 7, sc into the second ch from the hook and across – 6 scs
Rows 2 – 3: Ch 1, turn, sc across – 6 scs
Fasten off, weave in your ends.
After you’re done with the bows, wrap any color you’d like around the center of the rectangle a couple of times before weaving in your ends. You can use these ends to secure your bow to the skull or you can glue it (which is what I do)
Finishing:
You definitely need to use fabric stiffener for these. I wet them down and adjust the skulls so they look right and then let them dry. You can also use pins to keep them in place, so they keep their shape. Once they are dry, glue the bows onto the skulls (or you can use other thread). I also stiffened the bows (keeps them nice and bow shaped). Attach jump rings to your earrings (I do 3 jump rings so there’s some length but you can do as many as you’d like), and then your french hook.

Tada! I hope you like this pattern and make tons of fun skull earrings for yourself and others!
This post is linked to the Linky Ladies Community Link Party #73 and Hookin’ on Hump Day #129.
Becky
Wednesday 20th of October 2021
Hi:
I have been looking for a good pattern like this and thank you so much for this. I really like the size and the bow
Divine Debris
Monday 25th of October 2021
I'm glad you like it!
MsMary
Friday 4th of October 2019
Love an gotta go get some thread!
Fast and Easy Crochet Patterns for Halloween - Crochet For You
Tuesday 19th of December 2017
[…] Sally Skulls Earrings – Divine Debris […]
Donna Pervine
Saturday 30th of September 2017
Would I have permission to make and sell these? I'd be more than happy to put your name as the original designer.
Divine Debris
Saturday 30th of September 2017
Yes, you can definitely sell the items you make from this pattern. And I would love a link back to the original design. :D
Kap
Saturday 22nd of October 2016
These are adorable, made the bows brown with blue ties for my daughter, thank you for sharing xx