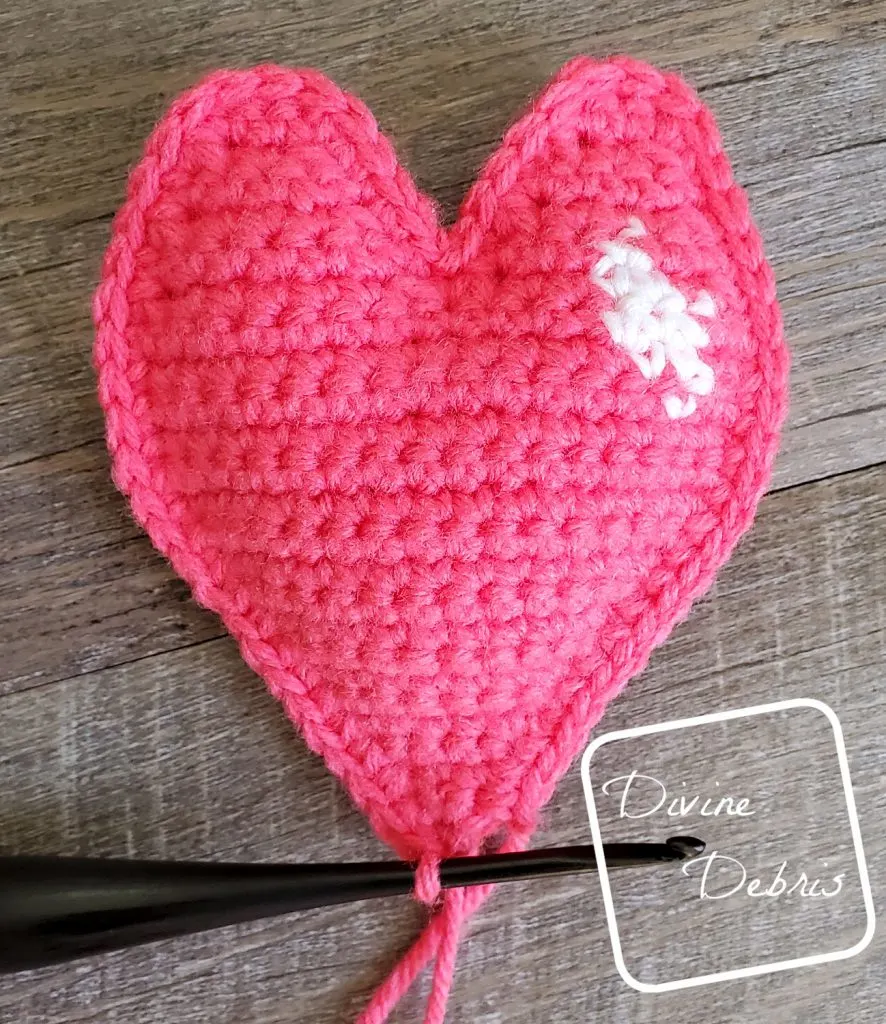
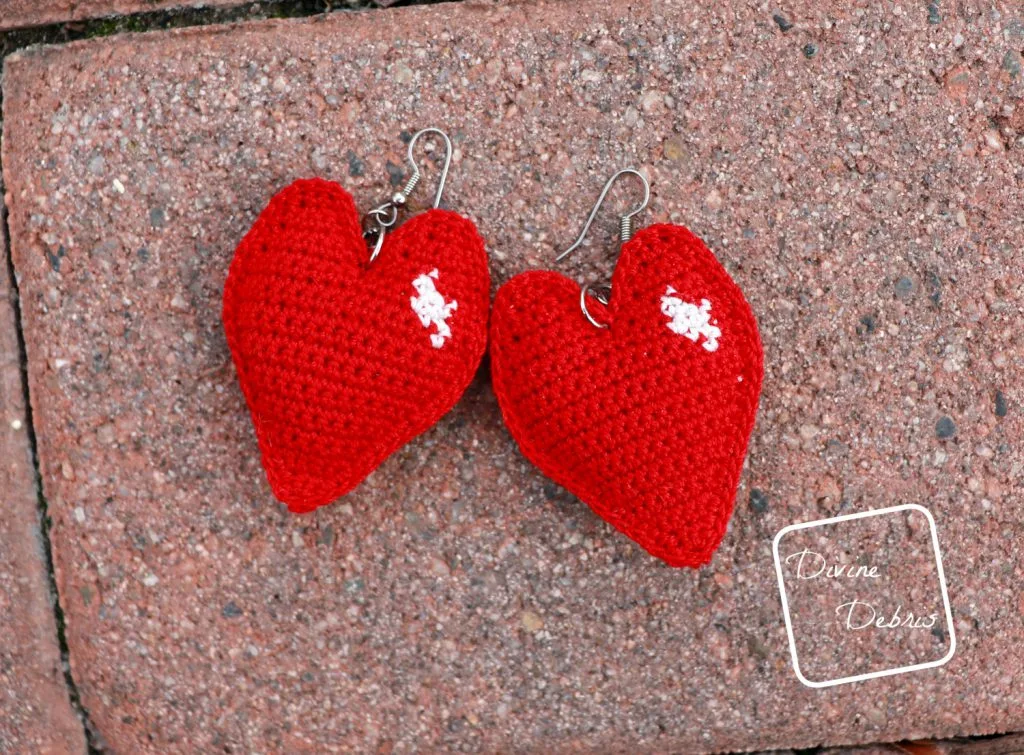
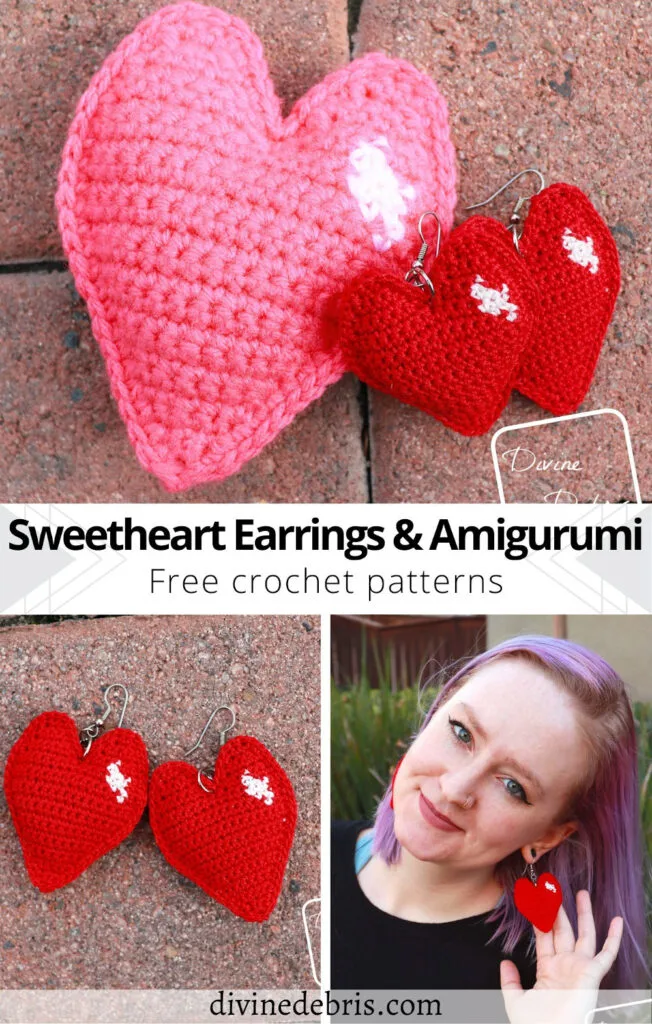
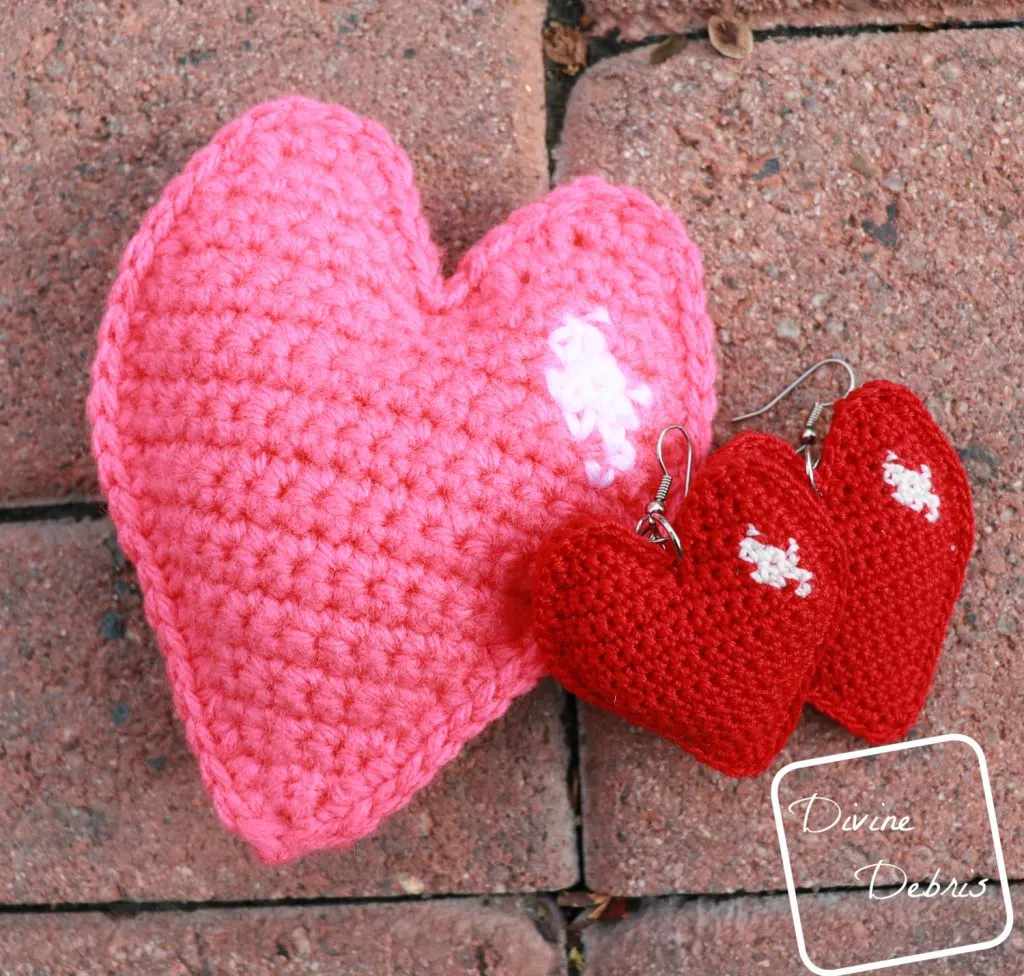
What, two posts in one day? Yes indeed! Because Valentine’s Day can’t be held to just one post, I had to share my Sweetheart Earrings and Amigurumi patterns with you as well!
I usually like to put out some Valentine’s Day patterns in January but this year my dance card was full so I had to put out one the first week of February, to give people some time to work on them. Ya know? And I really wanted to make the Love Struck Beanie and I thought, why not two patterns?
I’ve been wanting to make another pair of earrings for a while and I thought a squishy pair of earrings for Valentine’s Day was just the thing. I get to wear them all over the place, so do you. Win win, right? And these are so fast to make, you could have them done in one evening for sure. And because I know a lot of people don’t like earrings (using thread and tiny tiny hooks is a pain, believe me I do get that) I also made it in worsted weight yarn with a G hook and the ami turned out fantastic.
So I hope you find the time to knock out a couple earrings or some hearts before Valentine’s Day rolls around. Or anytime, really. Who say’s hearts are for Valentine’s Day only? Not me, that for sure. Same goes for chocolate!
Anyway, I hope you like today’s double post and find a new Valentine’s Day pattern to enjoy!
Need more Valentine’s Day? Why not check out some more of my patterns here!
(this post contains affiliate links)
If you appreciate my weekly patterns I hope you’d consider purchasing an ad-free pdf of this pattern in my Ravelry shop.
Thank you Summer for becoming my newest patron on Patreon!
Materials
Earrings
- US (1.65 mm) crochet hook (like hooks from this set)
- Size 10 crochet thread
- 2 colors
- I used Aunt Lydia’s Crochet Thread
- Notions: needle that will weave in your ends, measuring tape
- Polyfil/Fiberfil
- Pliers (I use a set like this)
- Metal French hook
- Metal jump rings
Amigurumi
- US G (4.00 mm) crochet hook (I used this hook set)
- Size #4, worsted, medium weight yarn
- 2 colors
- I used stash yarn
- Notions: needle, measuring tape
- Polyfil/Fiberfil
Terms/ Stitches used
- RS: right side
- Ch: chain
- St: stitch
- Slip st: slip stitch
- Sc: single crochet
- Sc2tog: single crochet 2 sts together
Notes
- The individual hearts are worked in 2 sections, 2 pieces: the Main Body and the Right/Left Humps. The Main Body is worked to the from the point up to the Right Hump and the Left Hump is added separately next to the Right Hump. You then make 2 of the individual hearts to make the earrings/ami 3D, securing them together with a border that works through both pieces.
- Below the instructions are the same for earrings or the ami, it’s the difference in materials and hook that will give you different results.
- The ch-1 at the beginning of the rows does not count as a stitch.
- In the photos: Color A is pink or red, color B is white.
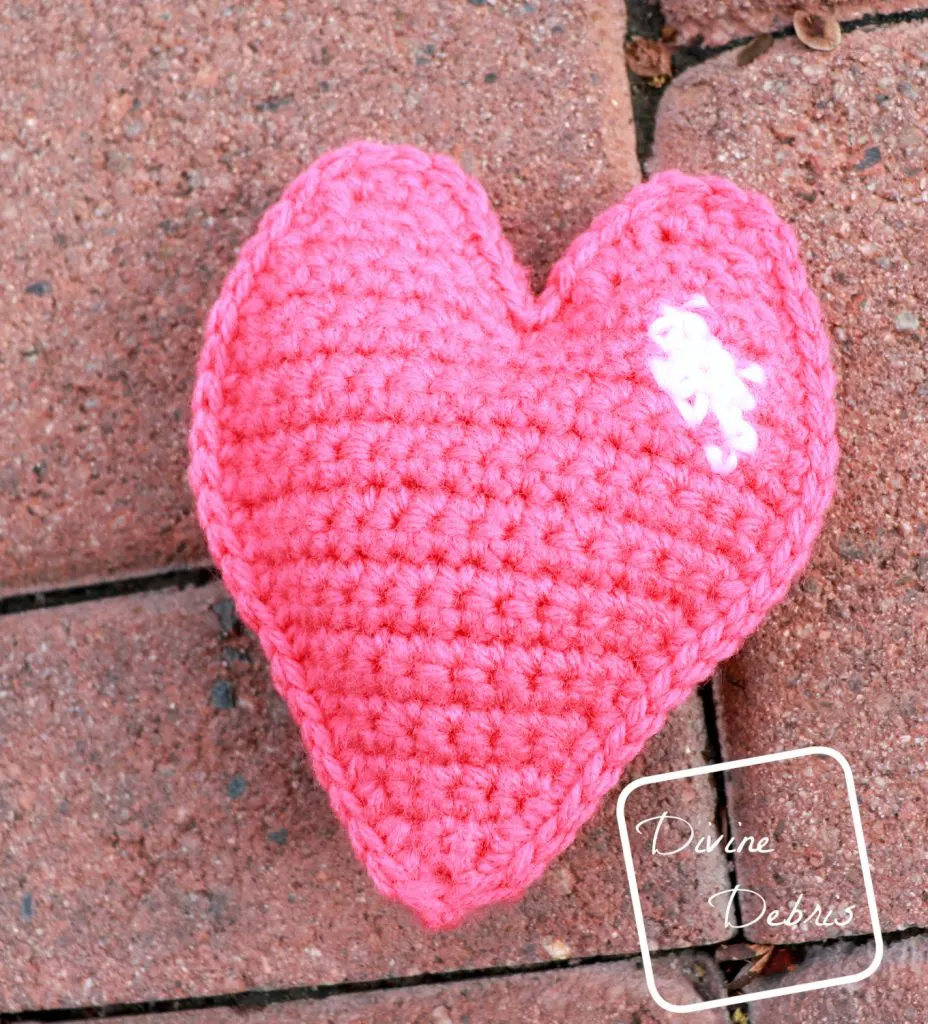
Finished product dimensions (measurements may vary by gauge and yarn used)
Ami
Width: 4”
Height: 4.75” – 5”
Earrings
Width: 2”
Height: 2.5”
Sweetheart Earrings and Amigurumi Pattern Instructions
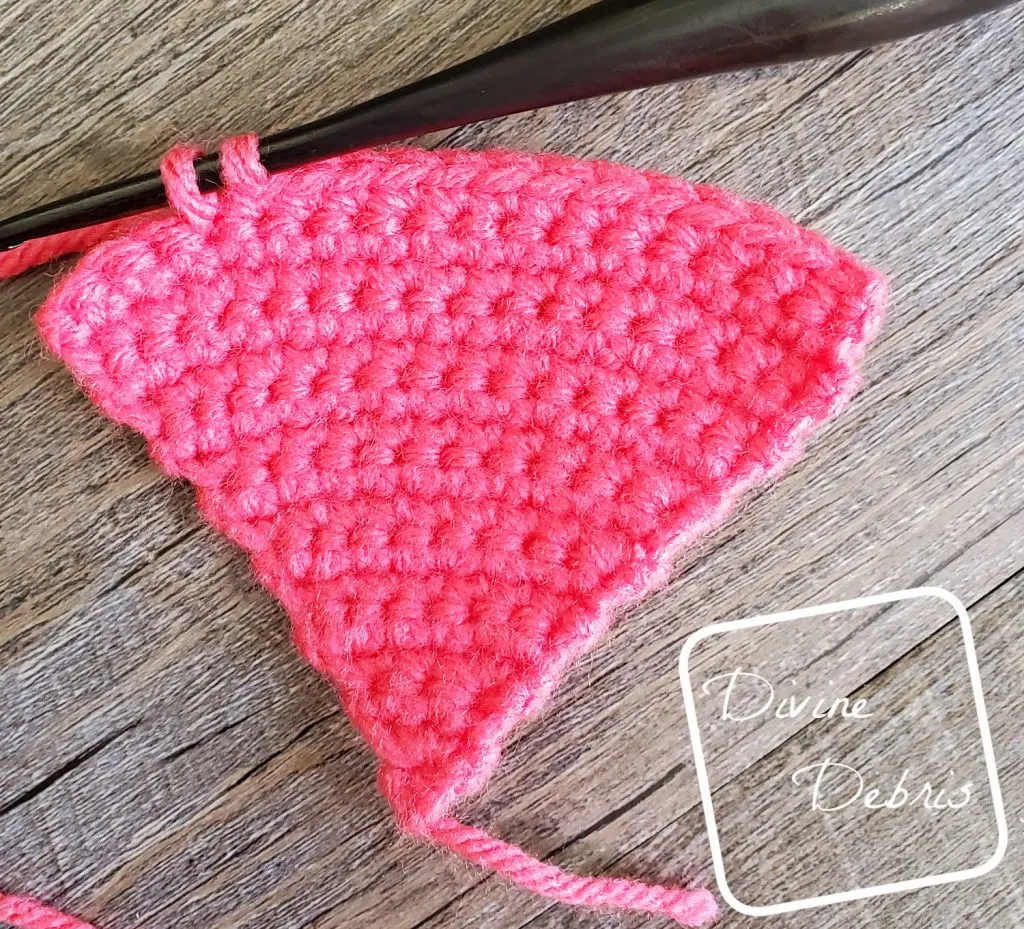
Main Body
(RS) Row 1: Ch 2, sc into the second ch from the hook – 1 sc
Row 2: Ch 1, turn, sc 3 times into the st – 3 sc
Row 3: Ch 1, turn, sc into the next 3 times – 3 sc
Row 4: Ch 1, turn, sc twice into the first st, sc into the next st, sc twice into the last st – 5 sc
Row 5: Ch 1, turn, sc twice into the first st, sc into the next 3 sts, sc twice into the last st – 7 sc
Row 6: Ch 1, turn, sc into the next 7 sts – 7 sc
Row 7: Ch 1, turn, sc twice into the first st, sc into the next 5 sts, sc twice into the last st – 9 sc
Row 8: Ch 1, turn, sc twice into the first st, sc into the next 7 sts, sc twice into the last st – 11 sc
Row 9: Ch 1, turn, sc into the next 11 sts – 11 sc
Row 10: Ch 1, turn, sc twice into the first st, sc into the next 9 sts, sc twice into the last st – 13 sc
Row 11: Ch 1, turn, sc twice into the first st, sc into the next 11 sts, sc twice into the last st – 15 sc
Row 12: Ch 1, turn, sc into the next 15 sts – 15 sc
Row 13: Ch 1, turn, sc twice into the first st, sc into the next 13 sts, sc twice into the last st – 17 sc
Rows 14 – 15: Ch 1, turn, sc into the next 17 sts – 17 sc
The next rows will be where the highlight is.
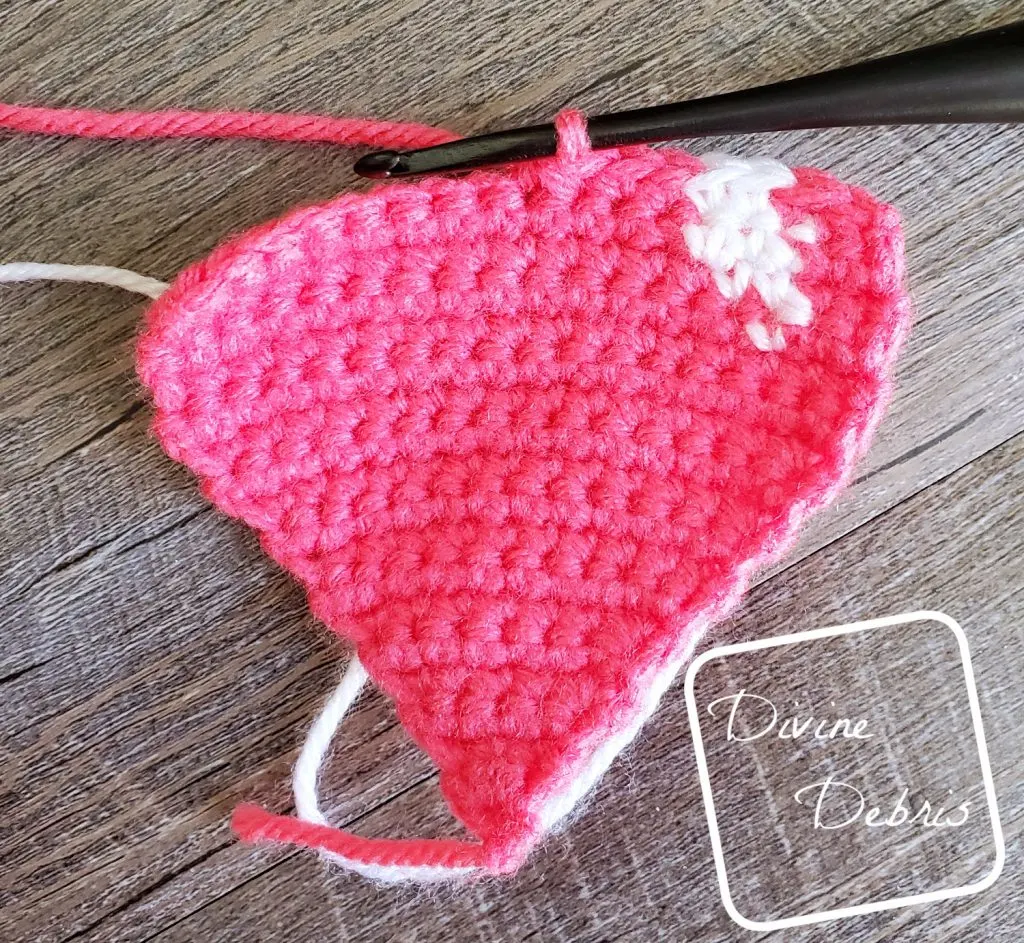
Row 16: A: Ch 1, turn, sc into the next 14, B: sc into the next st, A: sc into the last 2 sts – 17 sc
Row 17: A: Ch 1, turn, sc into the next 2 sts, B: sc into the next 2 sts, A: sc into the next 13 sts – 17 sc
Row 18: A: Ch 1, turn, sc into the next 12 sts, B: sc into the next 3 sts, A: sc into the last 2 sts – 17 sc
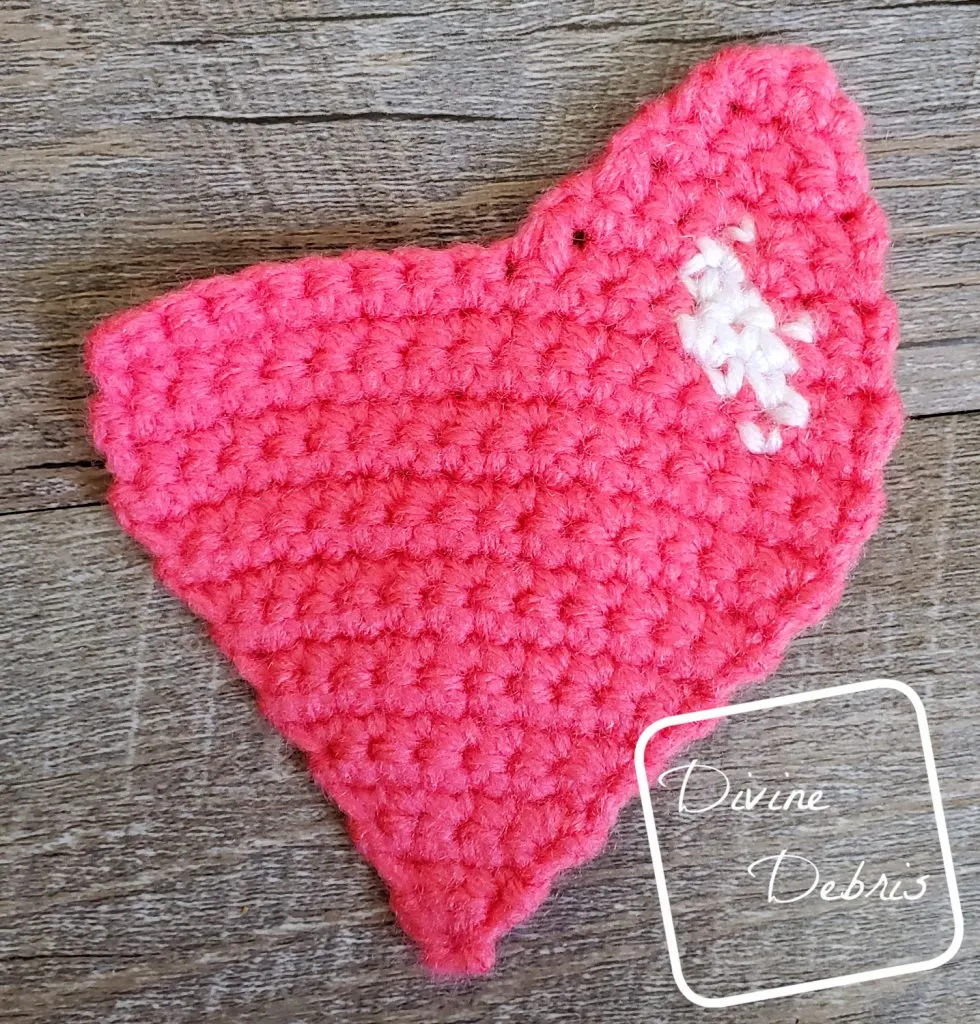
The next rows will be the Right Hump, you’ll only work half the row.
Row 19: A: Ch 1, turn, sc2tog the first 2 sts, sc into the next st, B: sc into the next 2 sts, A: sc into the next 2 sts, sc2tog the last 2 sts – 7 sc
Row 20: A: Ch 1, turn, sc into the next 3 sts, B: sc into the next st, A: sc into the next 3 sts – 7 sc
Fasten off color B.
Row 21: A: Ch 1, turn, sc2tog the first 2 sts, sc into the next 3 sts, sc2tog the last 2 sts – 5 sc
Row 22: Ch 1, turn, sc into the next 5 sts – 5 sc
Row 23: Ch 1, turn, sc2tog the first 2 sts, sc into the next st, sc2tog the last 2 sts – 3 sc
Row 24: Ch 1, turn, sc into the next 3 sts – 3 sc
Fasten off, weave in your ends.
Left Hump
Create a slipknot on your hook, start in the last st you put a leg from your last sc2tog on row 19 of Top Right Hump.
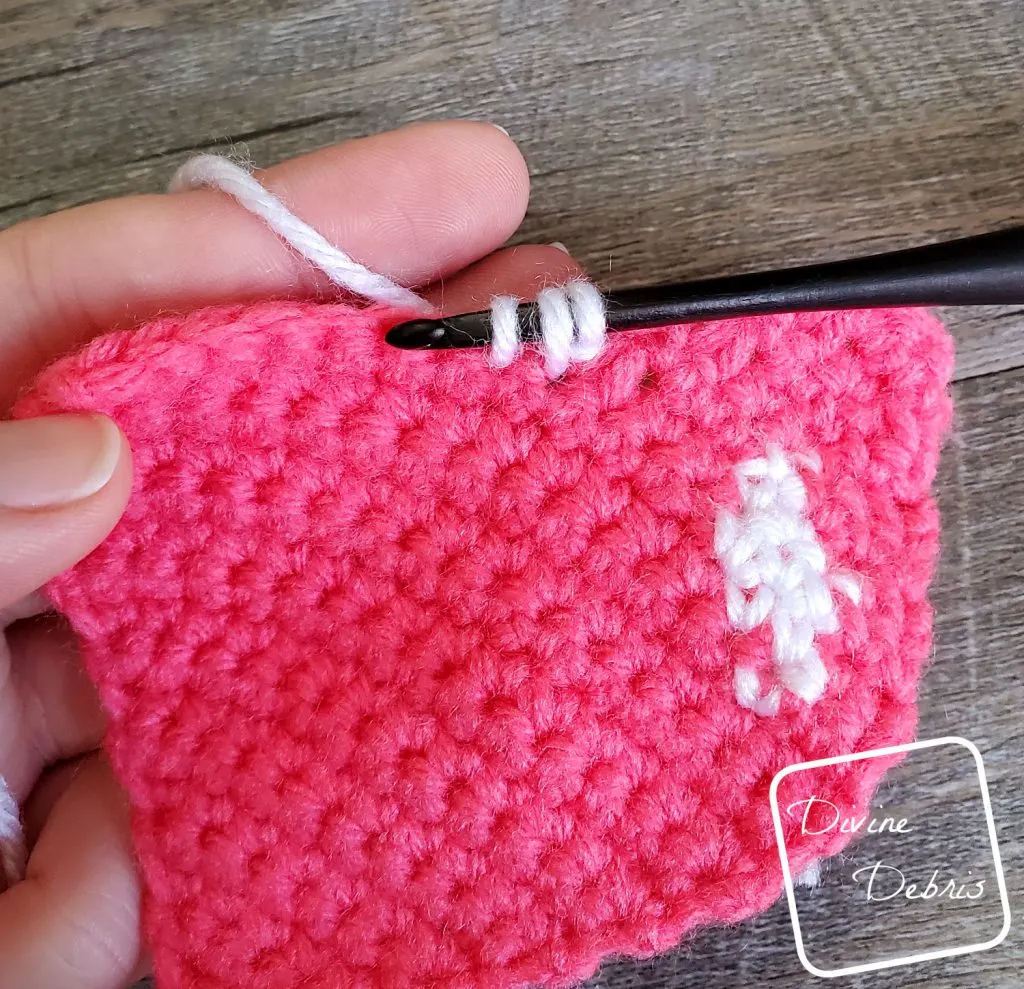
Row 19: A: Sc2tog the first 2 sts, sc into the next 5 sts, sc2tog the last 2 sts – 7 sc
Row 20: Ch 1, turn, sc into the next 7 sts – 7 sc
Row 21: Ch 1, turn, sc2tog the next 2 sts, sc into the next 3 sts, sc2tog the last 2 sts – 5 sc
Row 22: Ch 1, turn, sc into the next 5 sts – 5 sc
Row 23: Ch 1, turn, sc2tog the next 2 sts, sc into the next st, sc2tog the last 2 sts – 3 sc
Row 24: Ch 1, turn, sc into the next 3 sts – 3 sc
Fasten off, weave in your ends.
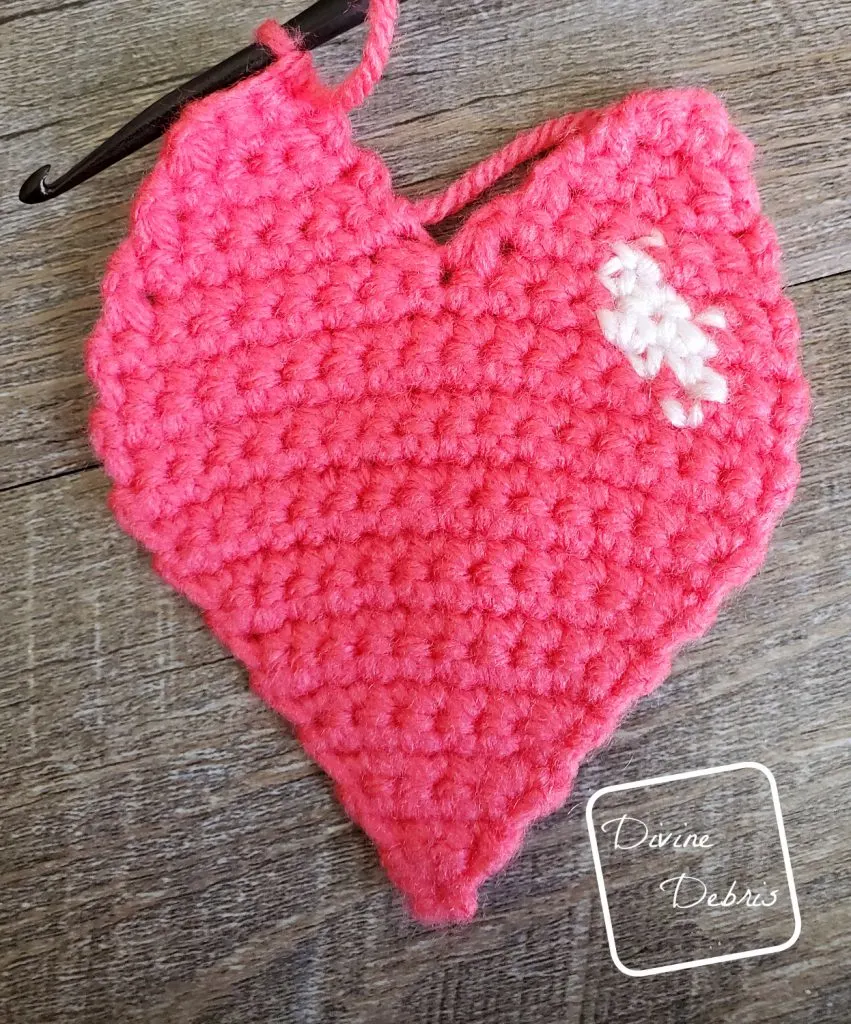
Securing
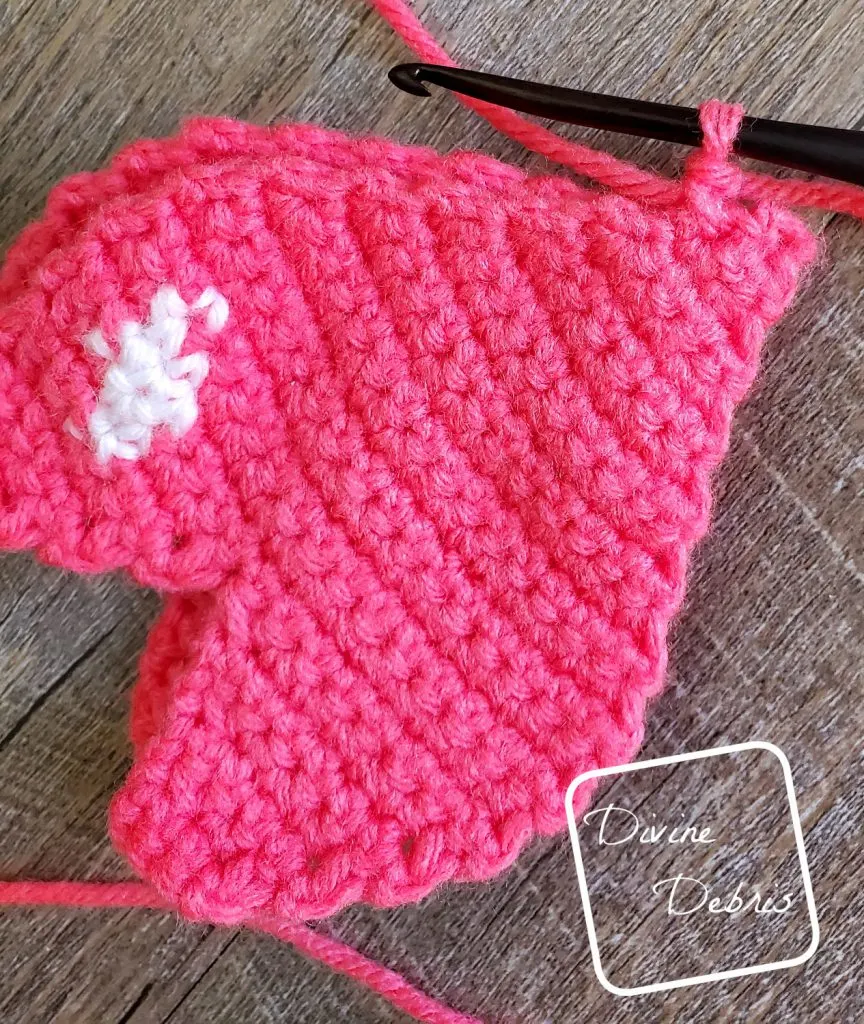
Lay your two pieces of the Hearts against each other, with the wrong sides touching, start in the Row 2 on the bottom right side of the Main Body. You will be working into both pieces to secure them together.
Sc into the next 22 row ends, skip the row 24 row end, sc into the next 3 sts of row 24 of the Right Hump, skip the row 24 end, sc into the next 5 row ends going down the other side of the Right Hump, slip st into the st on row 18 that both Humps use as a sc2tog, sc into the next 5 row ends going up the Left Hump, skip the row 24 end, sc into the next 3 sts of row 24 of the Left Hump, skip the row 24 end, sc into the next 22 row ends, slip st into row 1 – 60 sc
Fasten off, use the invisible join method to join for a cleaner finish.
