Good Monday everyone! It’s another one of those Monday posts but unfortunately this week it’s my fault. I was helping organize this blog hop (you may have seen the banner above) and I got my dates mixed up. I can only assume I didn’t have enough coffee when I put the date down but once I realized my mistake, it was too late… so a Monday post it is. It’s all good, right? No harm, no foul, and everyone is happy with a new pattern a day early.
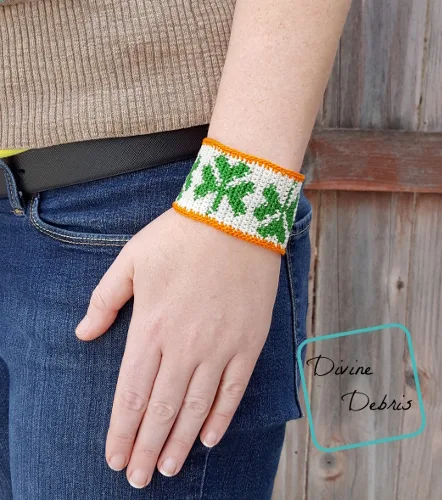
So this week’s pattern, in addition to being a new one for this St Patrick’s Day Blog Hop is a new bracelet. I love wearing crochet accessories, they’re light weight and pretty good conversation starters. I’ve had some good compliments from people about my bracelets and earrings in the past! And I like to wear something small, makes me feel connected to my craft and when someone says “that’s super cute!” I get to say “thanks!” and know I made it. That’s pretty cool, right?
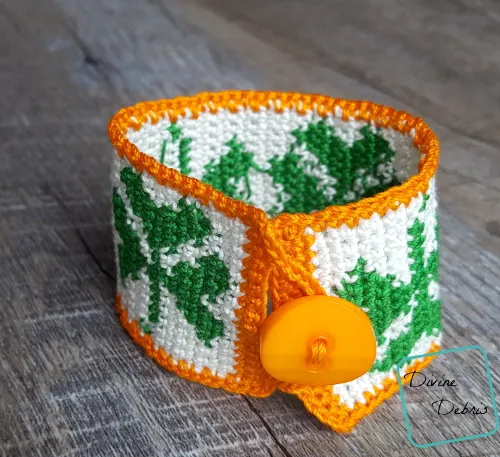
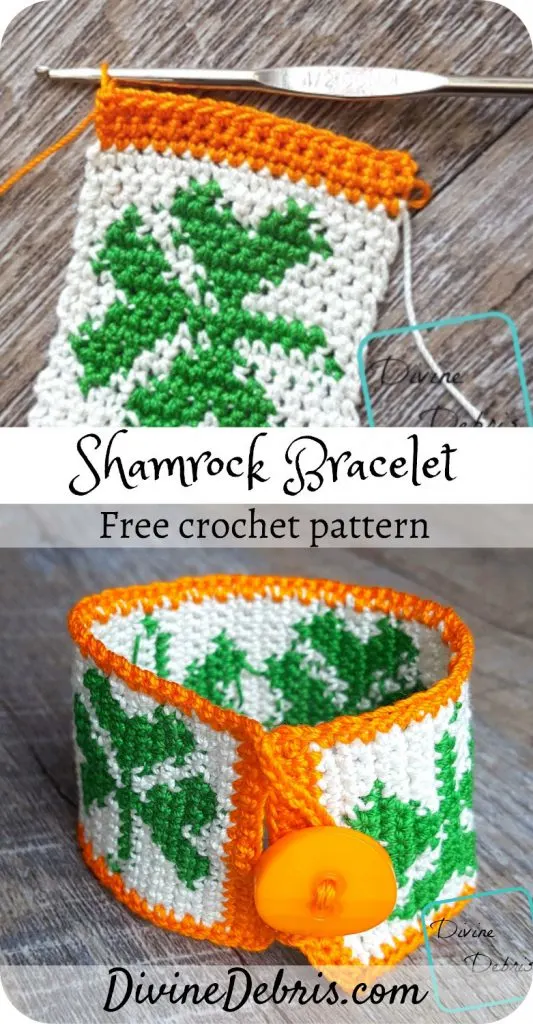
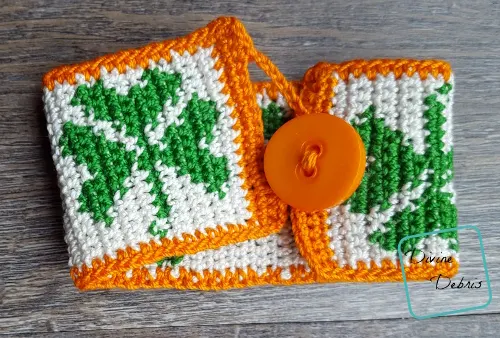
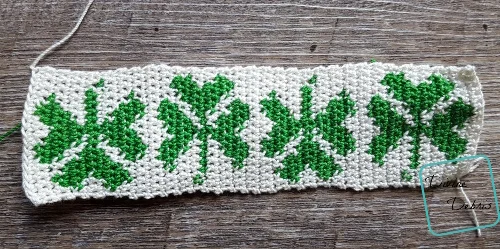
This bracelet is pretty easy, you could make it in one day (I did) and change up your colors as you’d like. I made the base off-white and the shamrocks green but you can reverse that if you’d like. I did carry the yarn all through the design but I dropped the green when it was just the white (creating a floater in the back) to limit how much you’d see the green from the front. Little tricks to make sure the right side looks good, ya know?
This post may contain affiliate links.
Do you need some awesome St Patrick’s Day/rainbow/green projects? Well I’ve got some friends (and myself) who are going to help you with that!
Make sure you check out their posts, I’ll be updating with new links as the patterns go live!
Blog Hop links:
| March 3rd: Canan Headband by Life and Yarn | March 4th: Shamrock Bracelet by Divine Debris |
| March 5th: Rainbow Pillow by A Crafty Concept | March 6th: The Rufftin Rug by Crazy 4 Crochet Momma |
| March 7th: Lucky Coffee Cozy by Evelyn and Peter | March 8th: Luanne Cardi by Hooked Hazel |
| March 9th: Split Back Cardi by CoCo Crochet Lee | March 10th: Shamrock Kawaii Cuddler by 3amgracedesigns |
| March 11th: Lucky Rainbow Scarf by Hooked Up Crochet | March 12th: a round up of patterns |
If you appreciate my weekly patterns I hope you’d consider purchasing an ad-free pdf of this pattern in my Ravelry shop.
Thank you Grace for becoming my newest patron on Patreon!
Learn how you can get 4 patterns a month and become a patron here for as low as $2.50 a month.
Materials
- US (2.00 mm) steel crochet hook
- Size 10 crochet thread
- 2 – 3 colors
- Not even an oz each color
- I used Aunt Lydia’s Crochet Thread
- Needle that will weave in your ends
- Button
Gauge
Terms/ Stitches used
- RS: right side
- Ch: chain
- St: stitch
- Slip st: slip stitch
- Sc: single crochet
Notes
- This pattern is worked in 2 parts: the Body and the Edging. The Body is worked back and forth in rows, with a turn at the beginning of the row. The Edging is worked around the Body in one round.
- The ch-1 at the beginning of the rows does not count as a stitch.
- Every stitch in this pattern is a single crochet. The directions will only tell you what color (ie: Color A, Color B, etc…) and the number in the parentheses tells you how many scs to make.
- You will need to know how to create a slipknot on your hook for this pattern.
- In the example, the inactive yarn is carried behind the active. If this is confusing, you might want to check out the helpful Moogly video on tapestry.
- Color A is off-white (Aunt Lydia’s Size 10 crochet thread in Antique White), color B is green (Aunt Lydia’s Size 10 crochet thread in Myrtle Green), and color C is orange (Aunt Lydia’s Size 10 crochet thread in Pumpkin).
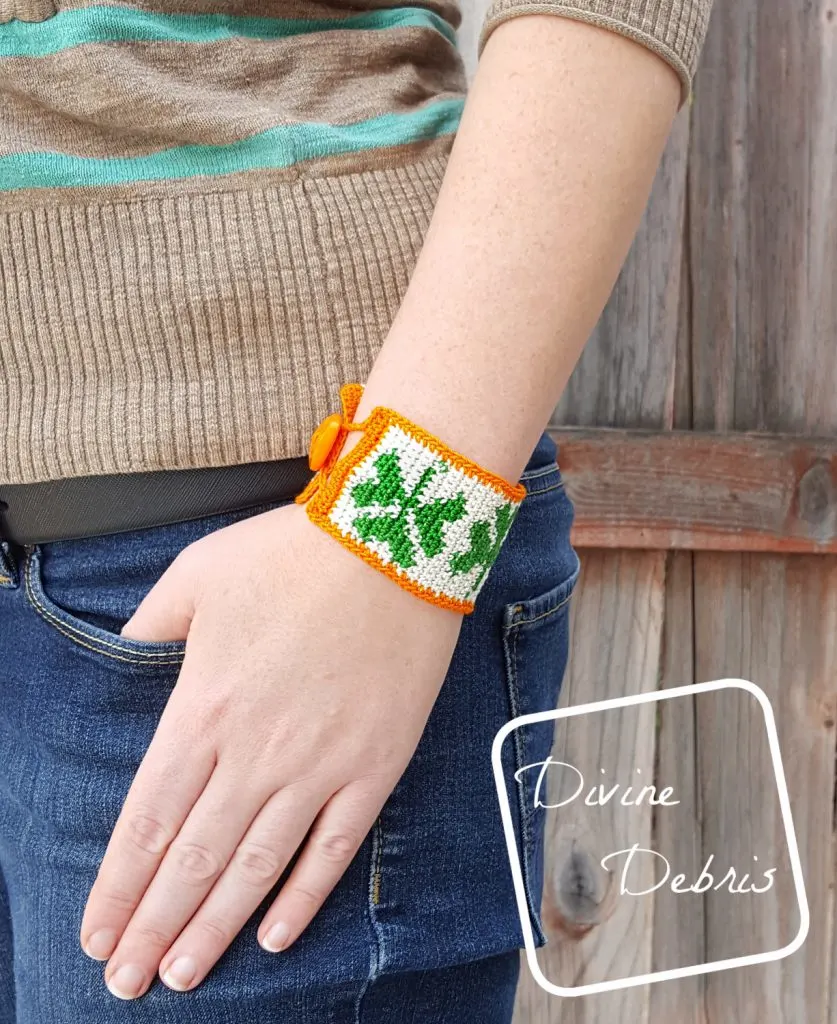
Finished product dimensions (measurements may vary by gauge and yarn used)
6.75″ long x 1.75″ – 2″ wide

Pattern instructions
– Body –
(RS) Row 1: A: Ch 17, sc into the second ch from the hook and into the next 15 sts – 16 scs
Note:
- The following directions will only tell you what color (ie: Color A, Color B, etc…) and the number in the parentheses tells you how many stitches to make.
Row 2: A: Ch 1, turn, (4), B: (2), A: (3), B: (2), A: (5) – 16 sc
Row 3: A: Ch 1, turn, (4), B: (4), A: (1), B: (4), A: (3) – 16 sc
Row 4: A: Ch 1, turn, (4), B: (7), A: (2), B: (1), A: (2) – 16 sc
Row 5: A: Ch 1, turn, (1), B: (3), A: (2), B: (5), A: (5) – 16 sc
Row 6: A: Ch 1, turn, (6), B: (3), A: (2), B: (4), A: (1) – 16 sc
Row 7: A: Ch 1, turn, (2), B: (4), A: (2), B: (1), A: (7) – 16 sc
Row 8: A: Ch 1, turn, (2), B: (11), A: (3) – 16 sc
Row 9: A: Ch 1, turn, (2), B: (4), A: (2), B: (1), A: (5), B: (1), A: (1) – 16 sc
Row 10: A: Ch 1, turn, (6), B: (3), A: (2), B: (4), A: (1) – 16 sc
Row 11: A: Ch 1, turn, (1), B: (3), A: (2), B: (5), A: (5) – 16 sc
Row 12: A: Ch 1, turn, (4), B: (7), A: (2), B: (1), A: (2) – 16 sc
Row 13: A: Ch 1, turn, (4), B: (4), A: (1), B: (4), A: (3) – 16 sc
Row 14: A: Ch 1, turn, (4), B: (2), A: (3), B: (2), A: (5) – 16 sc
Rows 15 – 16: A: Ch 1, turn, (16) – 16 sc
Row 17: A: Ch 1, turn, (4), B: (2), A: (3), B: (2), A: (5) – 16 sc
Row 18: A: Ch 1, turn, (4), B: (4), A: (1), B: (4), A: (3) – 16 sc
Row 19: A: Ch 1, turn, (4), B: (7), A: (2), B: (1), A: (2) – 16 sc
Row 20: A: Ch 1, turn, (1), B: (3), A: (2), B: (5), A: (5) – 16 sc
Row 21: A: Ch 1, turn, (6), B: (3), A: (2), B: (4), A: (1) – 16 sc
Row 22: A: Ch 1, turn, (2), B: (4), A: (2), B: (1), A: (5), B: (1), A: (1) – 16 sc
Row 23: A: Ch 1, turn, (2), B: (11), A: (3) – 16 sc
Row 24: A: Ch 1, turn, (2), B: (4), A: (2), B: (1), A: (7) – 16 sc
Row 25: A: Ch 1, turn, (6), B: (3), A: (2), B: (4), A: (1) – 16 sc
Row 26: A: Ch 1, turn, (1), B: (3), A: (2), B: (5), A: (5) – 16 sc
Row 27: A: Ch 1, turn, (4), B: (7), A: (2), B: (1), A: (2) – 16 sc
Row 28: A: Ch 1, turn, (4), B: (4), A: (1), B: (4), A: (3) – 16 sc
Row 29: A: Ch 1, turn, (4), B: (2), A: (3), B: (2), A: (5) – 16 sc
Rows 30 – 31: A: Ch 1, turn, (16) – 16 sc
Rows 32 – 59: repeat rows 2 – 29, once
Fasten off color B.
Row 60: A: Ch 1, turn, (16) – 16 sc
Fasten off color A, weave in all your ends.
– Edging –
Start where you ended row 60.
Rows 1 – 2: C: Ch 1, turn, sc into the next 16 sts – 16 sc
Fasten off color C.
Flip your whole piece around so you’re working along the other edge of row 1 of the Body.
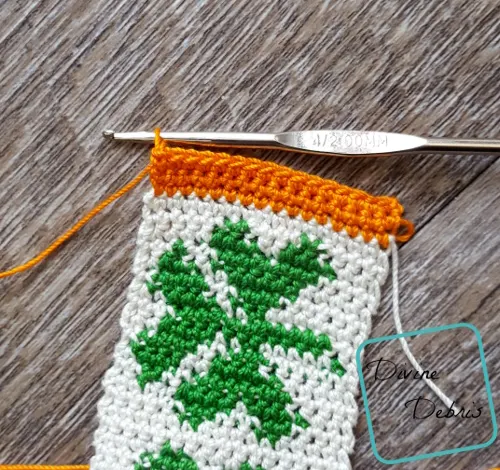
Row 1: C: With the RS facing you: Create a slipknot on your hook and sc into the next 16 sts (along the other side of row 1) – 16 sc
Fasten off, weave in your ends.
Row 2: C: Ch 1, turn, sc into the next 16 sts – 16 sc
The next row will go around the whole bracelet.
Rnd 3: Ch 1, turn, sc into the next 16 sts, ch 1 at the corner and rotate your whole piece, sc into the next 60 row ends, ch 1 at the corner and rotate your whole piece, sc into the next 3 sts, ch 15 (this will be your loop to secure around your button), skip the next 10 sts, sc into the next 3 sts, ch 1 and the corner and rotate your whole piece, sc into the next 60 sts, slip st into the first st – 142 sc, 1 ch-15 space
Fasten off, weave in your ends.
Add a button to the end of your bracelet opposite the loop.
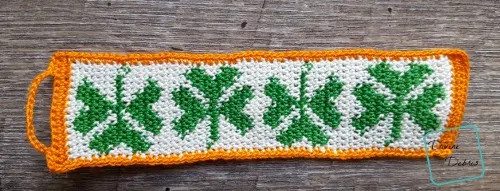
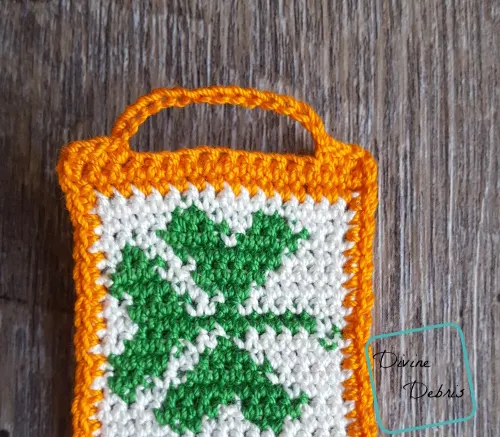
Tada! There it is. I hope you like this pattern and check back in over the week to see the new patterns from my friends! See ya next week <3 <3

