

So… I’m not sure if you’ve noticed (ha! Who wouldn’t?) but pumpkin is everywhere this time of year. Coffees, doughnuts, candy, fingernails… all over! So, I thought I’d get in on the fun and make a new crochet ring featuring a pumpkin.
Like the last ring pattern that I posted on here, I chained 24 but if you need to do more or less to fit your finger, do so. The size of the ring or stitches is not important.
Materials:
- 2.25 mm crochet hook
- Size 10 crochet thread
- I used Aunt Lydia‘s
- Glue (optional)
- Needle to weave your ends in


Gauge:
- 14 scs x 15 rows = 1.5″ x 1.5″
Terms/ stitches used:
- Magic Circle
- Ch: Chain
- St: Stitch
- Slip St: Slip Stitch
- Sc: Single Crochet
- Hdc: Half Double Crochet
- Dc: Double Crochet
Notes:
- You can adjust the ring as much as you want: make it smaller, taller, larger- it all depends on what you need.
- If you would like, you can glue the pumpkin to the band or you can sew it on with the ends you have left over.
- The band is worked in the round with a slip st into the first.
- The ch 1, at the beginning of the rows does not count as a stitch.
- The apple is worked in the round with a slip st, the stem is worked back and forth and the leaf is just chs.
- Color A is orange and color B is green.
Pattern Instructions:
Ring:
Row 1: (in any color you want) Ch 24, slip st into first st to form a ring. *be careful not to turn the chain*
Row 2 – 6: Ch 1, sc into each st around, slip st into first st to secure – 24 scs
Fasten off, weave in ends.
I did the body of the ring in brown, but you can do it whatever color you would like.

Pumpkin:
Row 1: Color A: Create a magic circle, ch 1, sc 6 times into the circle, slip st into the first st to secure – 6 scs
Row 2: Ch 1, sc twice into each st around, slip st into the first st to secure – 12 scs
Row 3: Ch 1, sc into first st, sc twice into next st, * sc into next st, sc twice into next st,* repeat from * to * the rest of the way around, slip st into the first st to secure – 18 scs
Row 4: Ch 1, sc into first st, sc into next st, hdc twice into next st, dc into next st, dc into next st, dc twice into next st, hdc into next st, sc into next st, sc into next st, sc into next st, sc into next st, hdc twice into next st, dc into next st, dc into next st, dc twice into next st, hdc into next st, sc into next st, sc into last st – 22 sts
Fasten off. I left a long end and used it to sew the pumpkin to the ring. You can also glue the pumpkin to the ring, if you would like. Crafter’s choice.
Stem: Color B: Using the middle two scs on the top, sc into both sts. Turn, ch 1, sc a second row. Fasten off, weave in ends.
Ta da! What do you think? I think I’m going to make another one and add a jack-o-lantern face on it. Or maybe a ghost. An apple! Oh, the options are endless and could be really fun. I can’t wait to experiment.
You can find this post on Link and Share Wednesday {Party 61} by Oombawka Design
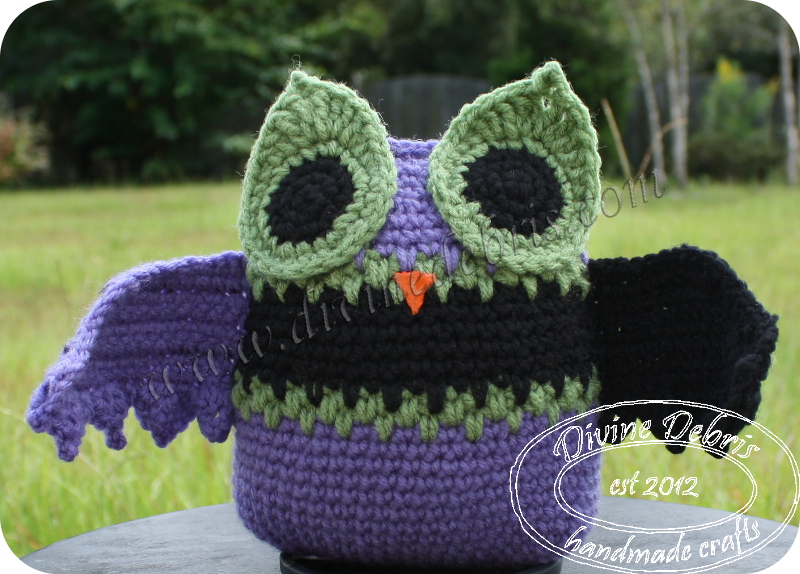
Also, the Willa Owl-Bat pattern is ready to download on my website. You can also pin it for later here.
Until next time, friends!
Over 200 Pumpkin Shaped Crochet Patterns - The Knit Wit by Shair
Monday 16th of October 2017
[…] Pumpkin Ring […]
20 Free Patterns for Crochet Pumpkins • Oombawka Design Crochet
Friday 18th of September 2015
[…] 16. Pumpkin Ring by Divine Debris […]
16 Free Accessory Patterns – The Crochet Cafe
Wednesday 2nd of September 2015
[…] Pumpkin Ring by Divine Debris […]
Perky Pumpkins Roundup | Treblemaking Hookers
Monday 13th of October 2014
[…] of Divine Debris designed this free and adorable pumpkin ring using thread! So cute and unique. I suppose it could also be used as a napkin ring at a holiday […]
coricutecore
Saturday 20th of September 2014
This is absolutely adorable!
Divine Debris
Saturday 20th of September 2014
Thank you! I can't wait to try out other things, like a candy corn, for festive holiday accessories.