

Hi! Will you look at that, it’s the end of the year. Some might call it December, especially with that chilly morning air where I live. What ever you call it, it’s definitely a new month and you know what that means! A new round of patterns, staring with this week’s new design the Kelsey Stocking crochet pattern.
So, last month I designed the Kelsey Cowl because I had the cute new colors in Felici Worsted I wanted to try and you know how a variegated yarn behaves – you want to keep it simple or else it will be a whole mess. And the Kelsey worked well in a simple sc/dc combo that it got me thinking about more things to do with a variegated yarn. So, naturally, with December right around the corner I decided to design another Christmas stocking. And thus the Kelsey Stocking was born.
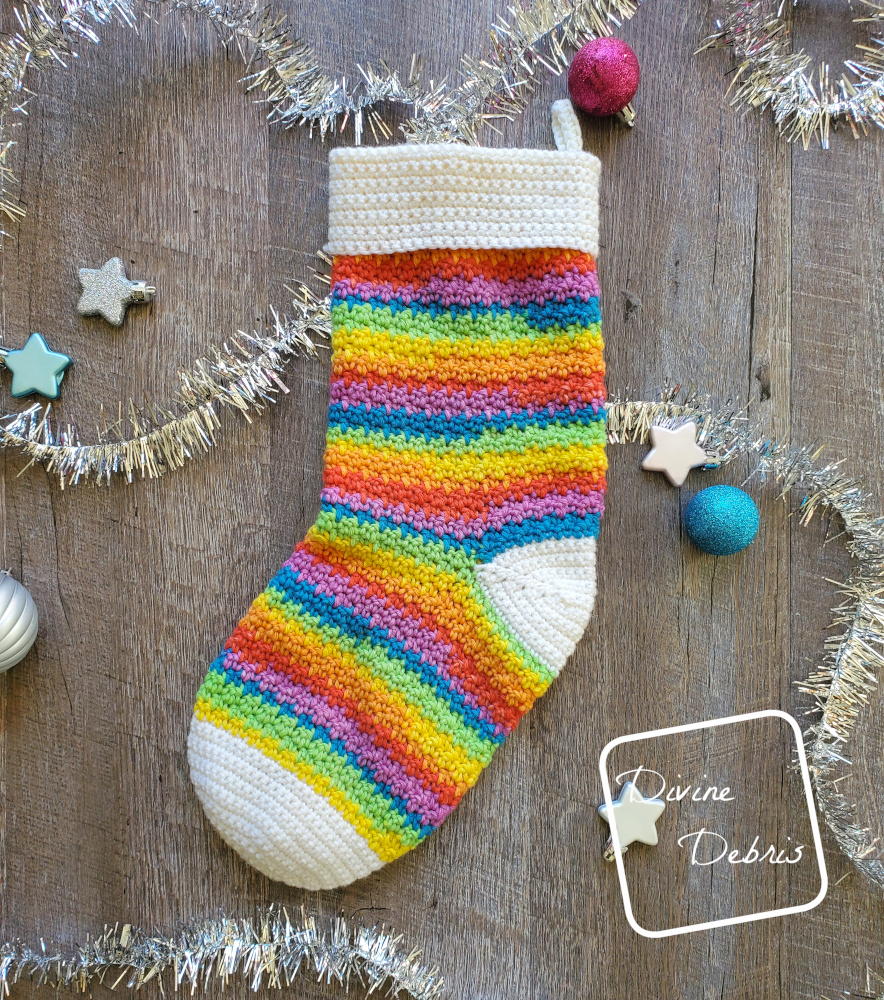
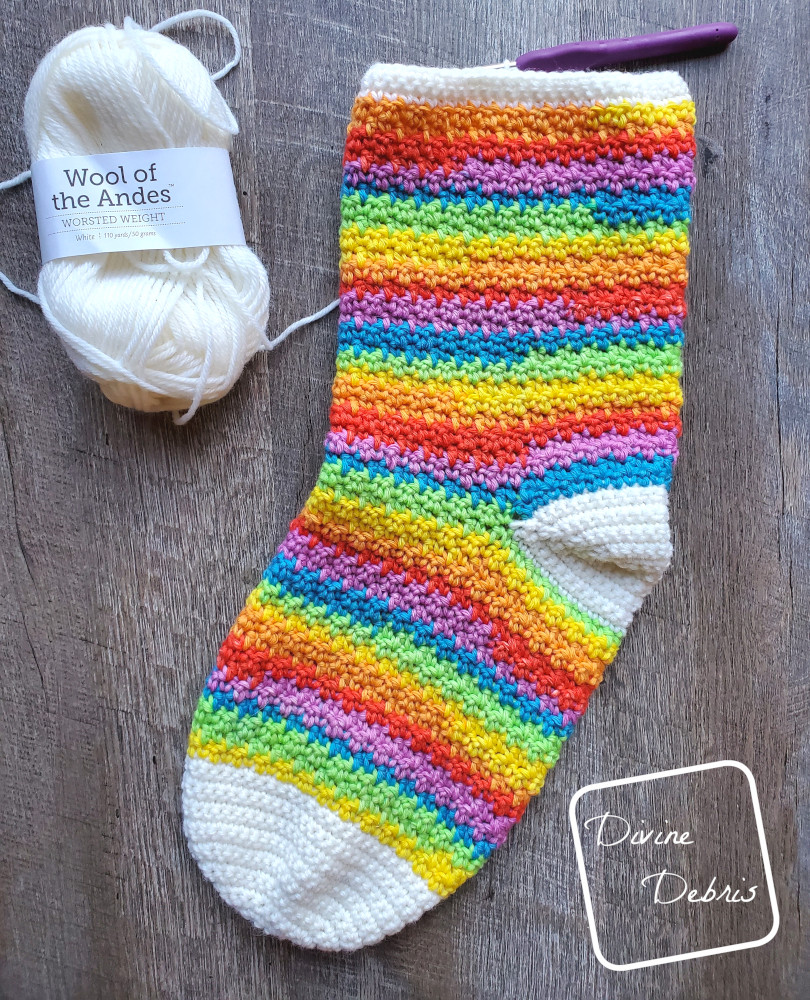
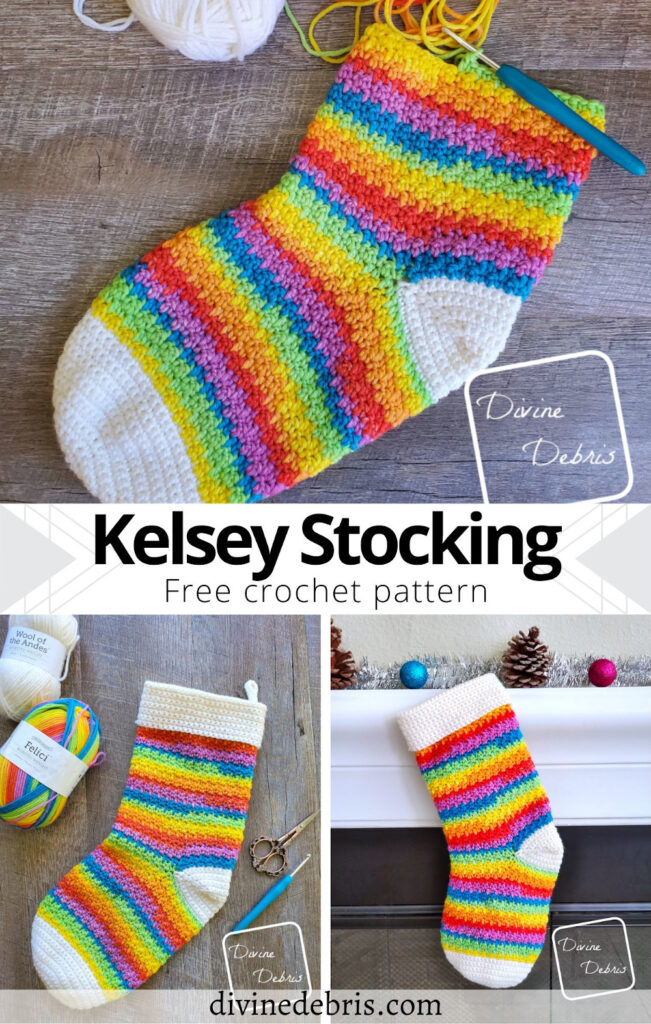
Now this isn’t my first stocking, I’ve made many in the past, but this might be my most colorful! 😀 I used Felici Worsted for this one too, the colorway is literally called Rainbow and I love it. The colors are bright and bold but still very soft. It’s weird to describe. It’s a really lovely colorway and I’m so glad I had it on hand for this pattern. Don’t you think we could all use more rainbows in our life this year?
I hope you like this new design and have enough time left in the month to make a couple. I wish I would have gotten the idea for this pattern sooner but you know how brains work – they have to get inspired on their own timeline not yours. Or maybe that’s just me.
I hope where ever you are you’re having a great time and being safe and healthy. Hugs friends. Wash your hands and masks.
Please note: This post contains affiliate links. If you click on one of those and purchase I may receive monetary compensation. I was provided the yarn for this pattern by WeCrochet for the purposes of making this design, with compensation. I wasn’t provided the yarn with the expectations of positive or negative reviews but I did enjoy using this yarn, it was the first time I used it and I really like the way it works up and feels sturdy. I will definitely be making another design with it in the future.
This post is linked to the Loop Scoop #3
(this post contains affiliate links)
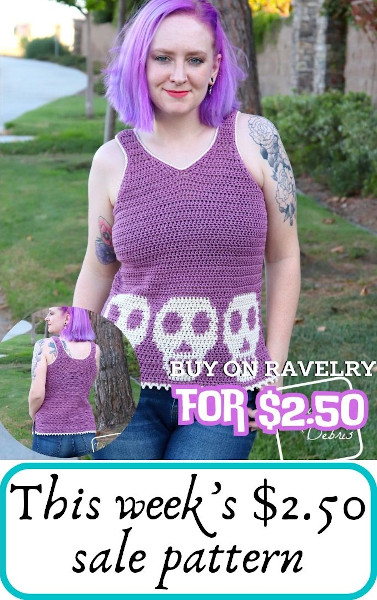

If you appreciate my weekly patterns I hope you’d consider purchasing an ad-free pdf of this pattern in my Ravelry shop and Lovecrafts shop (coming soon)!
Thank you to Denise for becoming my newest patron on Patreon!


(coming soon)
Level
Easy
Materials
- US G (4.00 mm) crochet hook
- I used a hook from this set
- Size #4 worsted weight yarn
- 2 colors
- A: 1 oz| 63 yds/ B: 3.5 oz | 218 yds
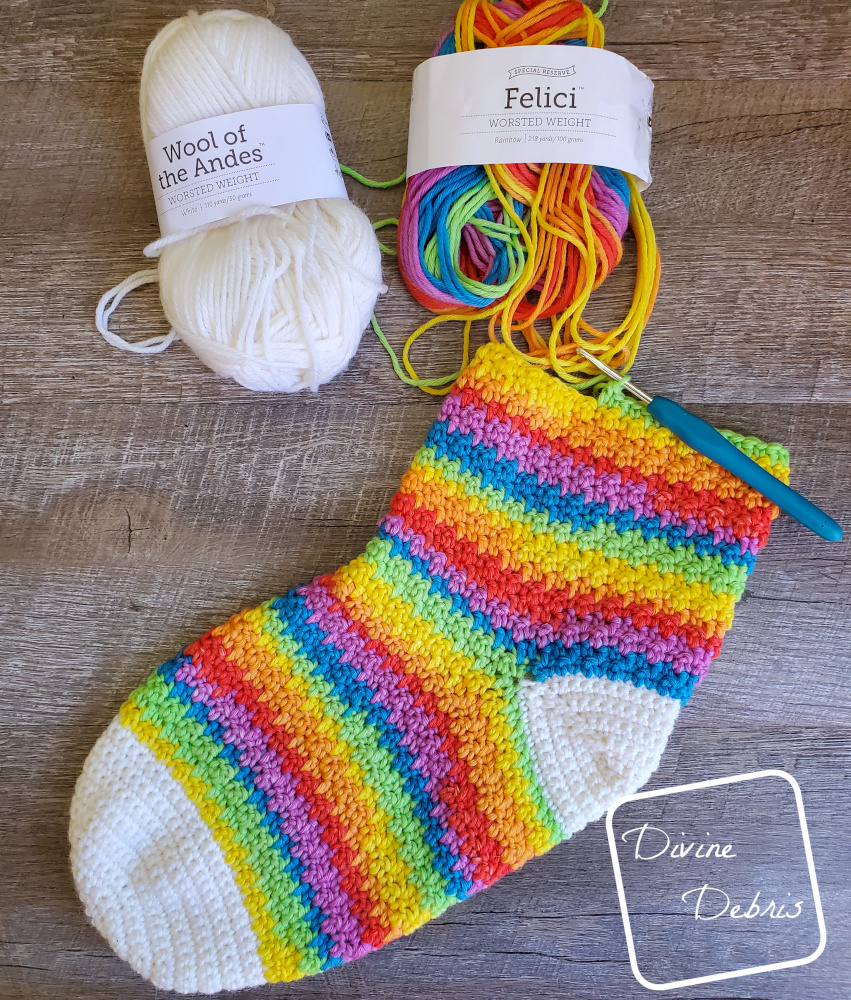
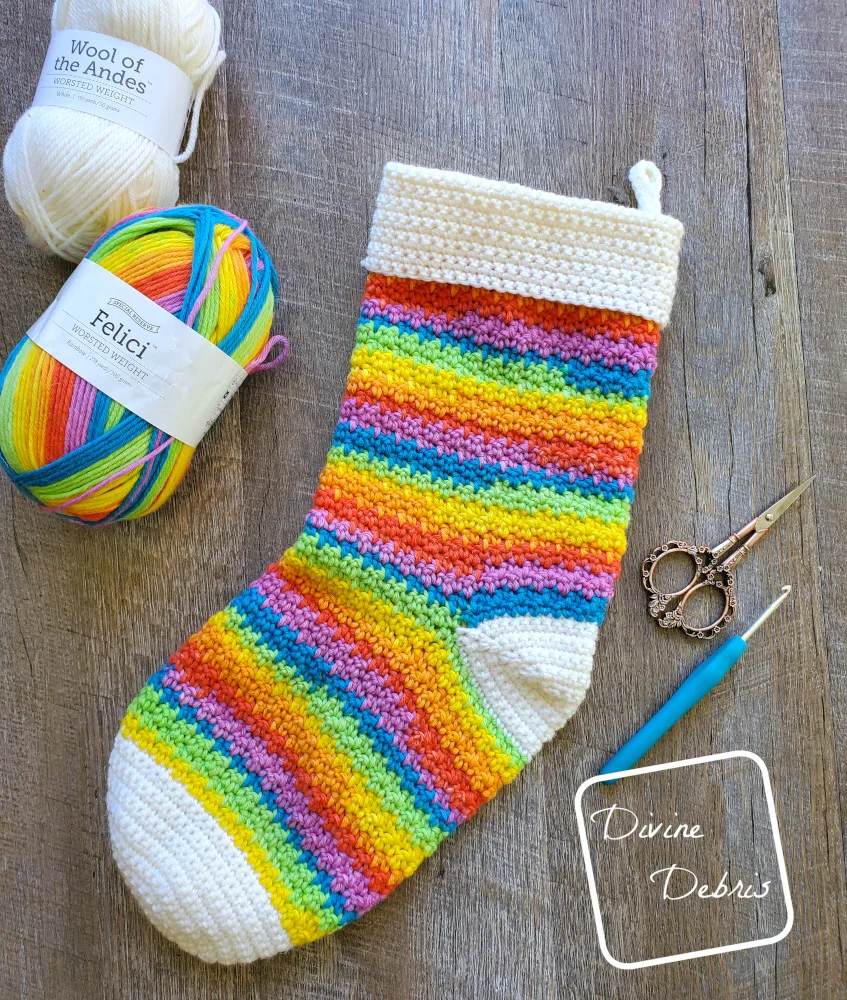
- I used Felici Worsted in Rainbow and Wool of the Andes
- Notions: scissors, measuring tape, yarn needle
Gauge
- 15 sc/dc x 14 rows = 4”
Terms/ Stitches used
- Magic Circle
- RS: right side
- Rnd: round
- Join: join the round with a slip st
- Ch: chain
- St: stitch
- Sc: single crochet
- Dc: double crochet
Notes
- To create the gauge, alternate sc and dc across a row of an even number of stitches. Continue with rows of alternating sc and dc across until you have a large enough swatch to measure.
- This pattern is worked in the round (Rnd) with a slip st into the first st of the rnd.
- The ch 1 at the beginning of the row does not count as a stitch.
- This stocking is worked from the toe up.
- The colors in the photos: color A is white (1 skein of Wool of the Andes in white) and color B is rainbow (1 skein of Felici Worsted in Rainbow by WeCrochet).
Approx finished product dimensions (measurements may vary by gauge and yarn used)
| Height: 16.5″ – 17″ |
| Width: 6.5” |

Kelsey Stocking crochet pattern instructions
Toe
(RS) Rnd 1: A: Create a magic circle, ch 1, sc 6 times into the circle, join – 6 sc
Rnd 2: Ch 1, turn, sc twice into the first st, *sc twice into the next st,* repeat from * to * 4 more times, join – 12 sc
Rnd 3: Ch 1, turn, sc twice into into the first st, sc into the next st, *sc twice into the next st, sc into the next st,* repeat from * to * 4 more times, join – 18 sc
Rnd 4: Ch 1, turn, sc twice into into the first st, sc into the next 2 sts, *sc twice into the next st, sc into the next 2 sts,* repeat from * to * 4 more times, join – 24 sc
Rnd 5: Ch 1, turn, sc twice into into the first st, sc into the next 3 sts, *sc twice into the next st, sc into the next 3 sts,* repeat from * to * 4 more times, join – 30 sc
Rnd 6: Ch 1, turn, sc twice into into the first st, sc into the next 4 sts, *sc twice into the next st, sc into the next 4 sts,* repeat from * to * 4 more times, join – 36 sc
Rnd 7: Ch 1, turn, sc twice into into the first st, sc into the next 5 sts, *sc twice into the next st, sc into the next 5 sts,* repeat from * to * 4 more times, join – 42 sc
Rnd 8: Ch 1, turn, sc twice into into the first st, sc into the next 6 sts, *sc twice into the next st, sc into the next 6 sts,* repeat from * to * 4 more times, join – 48 sc
Rnd 9: Ch 1, turn, sc twice into into the first st, sc into the next 7 sts, *sc twice into the next st, sc into the next 7 sts,* repeat from * to * 4 more times, join – 54 sc
Rnds 10 – 17: Ch 1, turn, sc into the next 54 sts, join – 54 sc
Fasten off, weave in your ends.
Arch
Rnd 18 – 37: B: Ch 1, turn, sc into the first st, dc into the next st, *sc into the next st, dc into the next st,* repeat from * to * 25 more times, join – 27 sc, 27 dc
Do not fasten off. Color A will be used in the Heel and color B can be dropped temporarily.
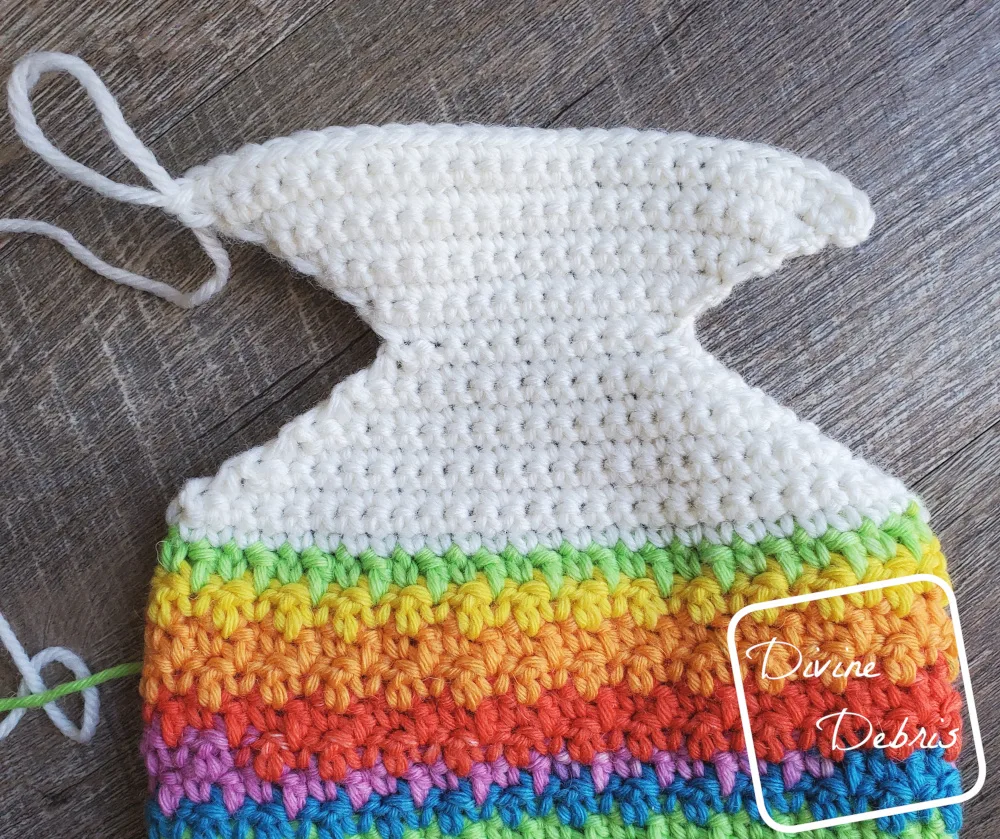
Heel
Note
- The Heel has its own row count.
- This section is worked in one piece and folded in half, with the row ends being secured to create the Heel
Row 1: A: Ch 1, sc into the BLO of the next 28 sts – 28 sc
Row 2: Ch 1, turn, sc2tog the first 2 sts, sc into the next 24 sts, sc2tog the last 2 sts – 26 sc
Row 3: Ch 1, turn, sc2tog the first 2 sts, sc into the next 22 sts, sc2tog the last 2 sts – 24 sc
Row 4: Ch 1, turn, sc2tog the first 2 sts, sc into the next 20 sts, sc2tog the last 2 sts – 22 sc
Row 5: Ch 1, turn, sc2tog the first 2 sts, sc into the next 18 sts, sc2tog the last 2 sts – 20 sc
Row 6: Ch 1, turn, sc2tog the first 2 sts, sc into the next 16 sts, sc2tog the last 2 sts – 18 sc
Row 7: Ch 1, turn, sc2tog the first 2 sts, sc into the next 14 sts, sc2tog the last 2 sts – 16 sc
Row 8: Ch 1, turn, sc2tog the first 2 sts, sc into the next 12 sts, sc2tog the last 2 sts – 14 sc
Row 9: Ch 1, turn, sc2tog the first 2 sts, sc into the next 10 sts, sc2tog the last 2 sts – 12 sc
Row 10: Ch 1, turn, sc2tog the first 2 sts, sc into the next 8 sts, sc2tog the last 2 sts – 10 sc
Row 11: Ch 1, turn, sc twice into the first st, sc into the next 8 sts, sc twice into the last st – 12 sc
Row 12: Ch 1, turn, sc twice into the first st, sc into the next 10 sts, sc twice into the last st – 14 sc
Row 13: Ch 1, turn, sc twice into the first st, sc into the next 12 sts, sc twice into the last st – 16 sc
Row 14: Ch 1, turn, sc twice into the first st, sc into the next 14 sts, sc twice into the last st – 18 sc
Row 15: Ch 1, turn, sc twice into the first st, sc into the next 16 sts, sc twice into the last st – 20 sc
Row 16: Ch 1, turn, sc twice into the first st, sc into the next 18 sts, sc twice into the last st – 22 sc
Row 17: Ch 1, turn, sc twice into the first st, sc into the next 20 sts, sc twice into the last st – 24 sc
Row 18: Ch 1, turn, sc twice into the first st, sc into the next 22 sts, sc twice into the last st – 26 sc
Row 19: Ch 1, turn, sc twice into the first st, sc into the next 24 sts, sc twice into the last st – 28 sc
Fasten off.
Heel Seaming

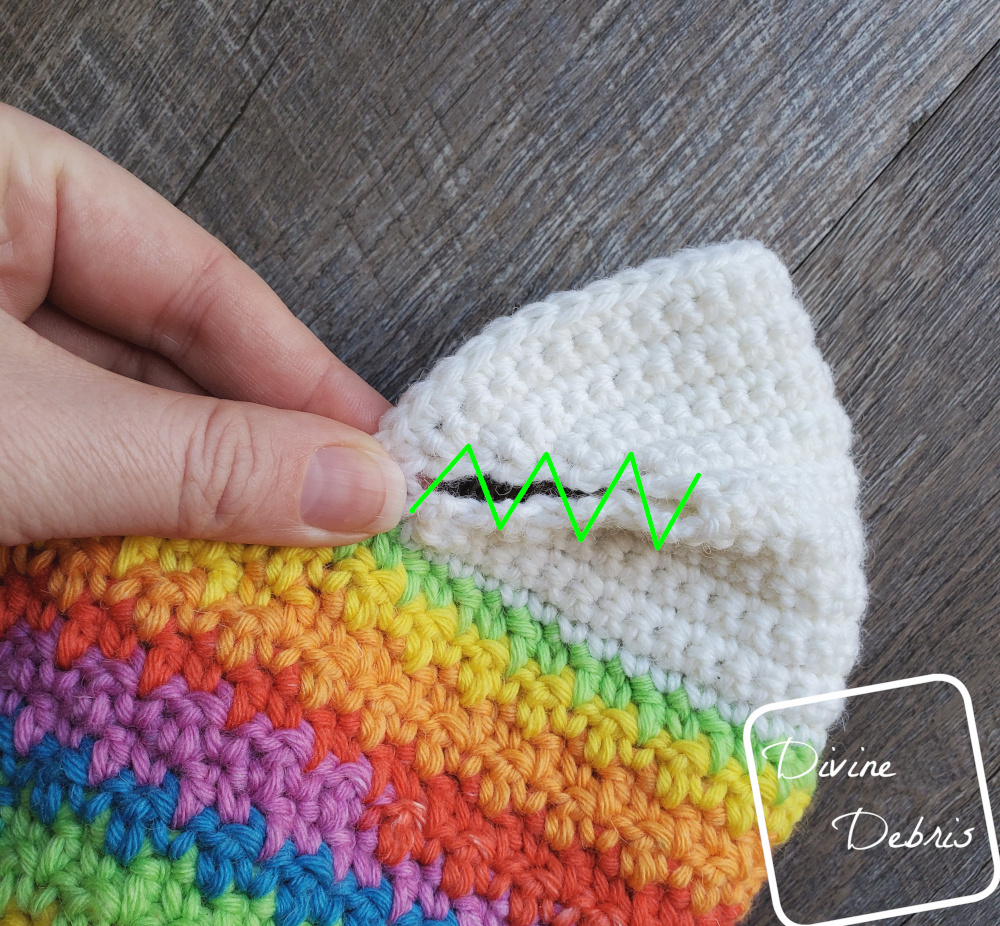
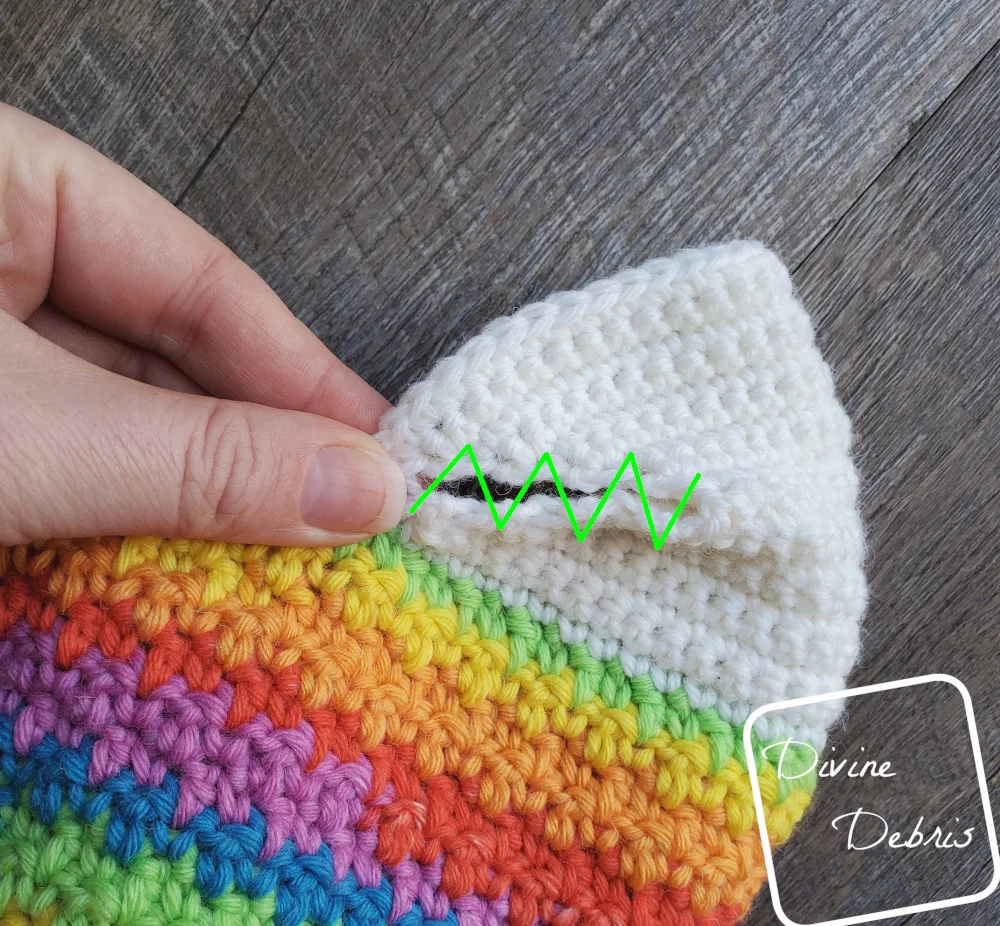
Fold your Heel in half along Row 10, lining up Rows 1 – 9 with Rows 11 – 19 (9 rows) and seam the row ends together in your preferred method of seaming. Repeat on the other side of the Heel.
Fasten off, weave in your ends.
Ankle
Pick up color A where you dropped it on the Arch. For Rnd 38 you will be working into the Rnd 37 of the Arch and then onto the 28 sts of the Heel.
Rnd 38: B: Ch 1, turn, sc into the first st, dc into the next st, *sc into the first st, dc into the next st,* repeat from * to * 25 more times (this includes sts on the Arch and Heel), join – 27 sc, 27 dc
Rnds 39 – 62: Ch 1, turn, sc into the first st, dc into the next st, *sc into the first st, dc into the next st,* repeat from * to * 25 more times, join – 27 sc, 27 dc
Cuff
Rnds 63 – 83: A: Ch 1, turn, sc into the next 54 sts, join – 54 sc
Fasten off, weave in your ends.
Loop
With color A ch 21, sc into the second ch from the hook and into the next 19 sts. Fasten off, leaving good sized tails on either end. With the right side facing you, fold the Cuff portion so it’s doubled over. Secure the Loop on the inside of the Cuff so it can be hung. You can also do a foundation single crochet or add rows to strengthen the loop.

Tada! There it is, the Kelsey Stocking crochet pattern! I hope you love it and use the hashtag #DivineDebris on Instagram and I’ll share it in my stories!

Cheri
Monday 28th of November 2022
Can you clarify what you are doing at the beginning of each round? Chain 1 "and turn"? Does that mean that you are flipping back and forth with the direction you are doing the round? Like one round is from the outside, and then the next round is from the inside view? I can't seem to visualize this. I usually do crocheting in the round in the same direction. But I have flipped back and forth when I have used a granny stitch. Is it the same idea?
Divine Debris
Tuesday 29th of November 2022
Yeah, when you ch and then turn you just work the round the way you just came, as if you were working in rows but you end the rnd with a slip st into the first st. This way your seam stays a bit straighter :)
Hope that helps -Amber
maria julia carmo
Sunday 6th of December 2020
obrigada.