
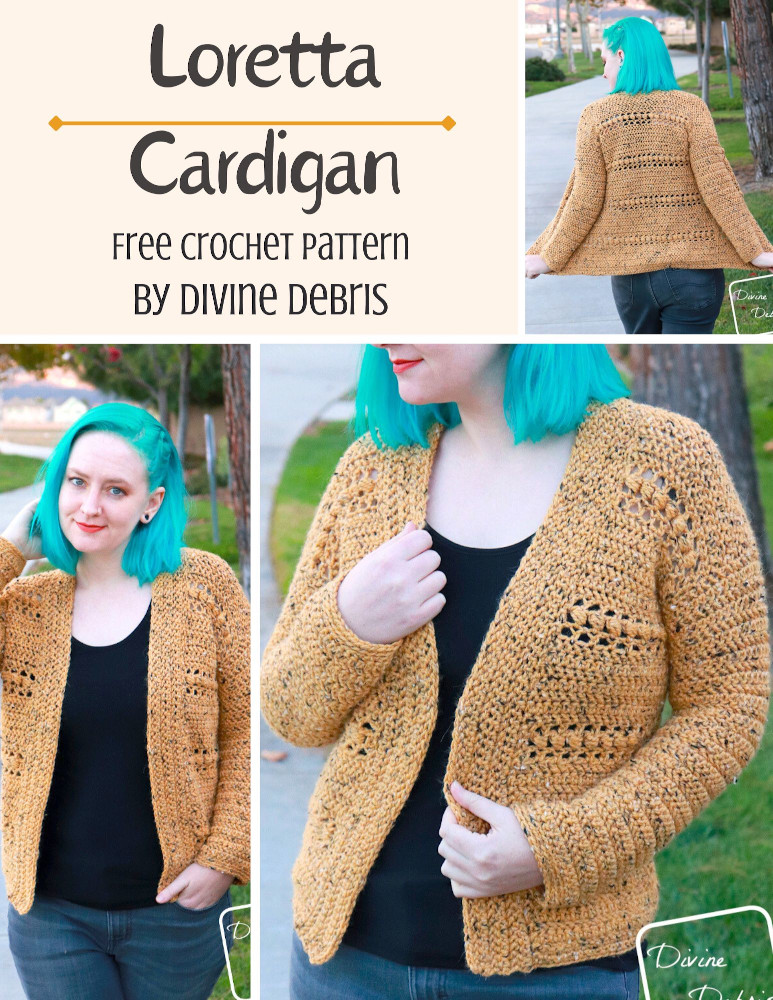
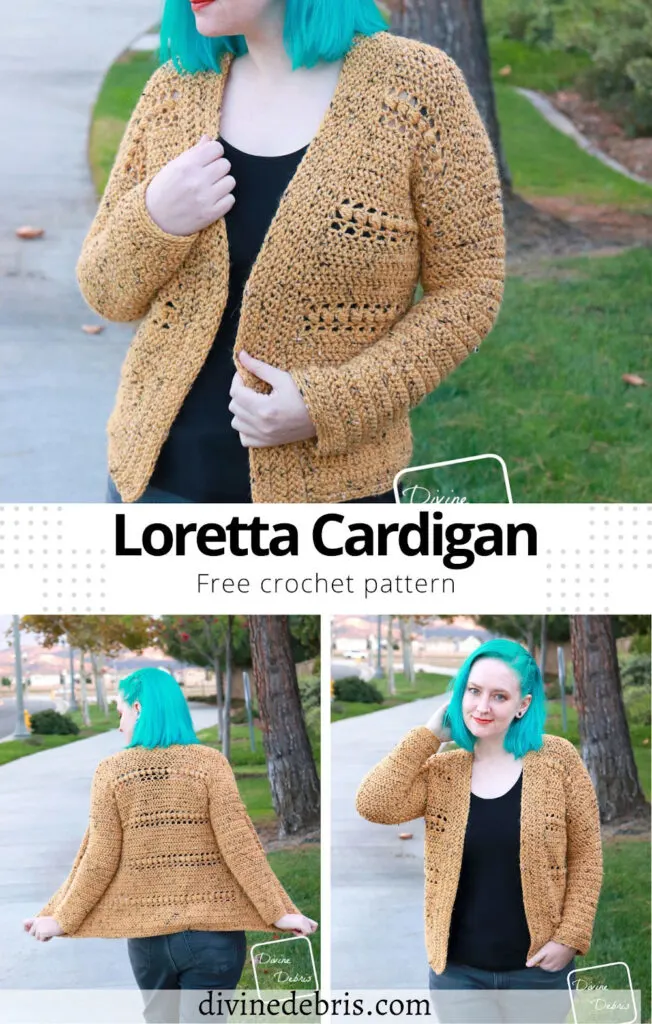
I’m so sad that October is almost over but, and this is a big one, I’m glad it’s finally cozy season. Honestly, this pattern is coming out at the perfect time because even here in Southern California where I live, we are definitely needing some nice layers to keep us cozy… just like this week’s new pattern, the Loretta Cardigan crochet pattern.
So this design is based off of my Loretta Shawl pattern I released earlier this year (oh my, that pattern came out in January… It feels like a whole other life time ago). And you know me, I both love lines and textures and this design has both – the combination of herringbone hdc and horizontal puff stitches makes my heart full. And in this tweed? It’s just too cute, right? I love it so much.
And this design is super customizable. You can make it longer if you’d like by continuing more repeats or make the front wider with some extra rows of the lapel for an even snugglier fit. It’s really all about what you’d like to make. I even had testers change colors for the puff stitches to really make them pop. That’s a fabulous idea and I loved how it worked up.
I really hope you like this week’s new pattern. I like to make these designs and I hope you like seeing them. Please remember to subscribe and share your photos on social media so I can see them!
Always to be kind to each other, wash your masks, and stay safe friends <3 <3
Please note: I was provided City Tweed yarn for this pattern by WeCrochet for the purposes of designing the Loretta Cardigan crochet pattern, with compensation. I wasn’t provided the yarn with the expectations of positive or negative reviews but I honestly can say I do enjoy this yarn, the tweed is fantastic. If you purchase yarn through any of the links in this post, I will be compensated.
(this post contains affiliate links)
If you appreciate my weekly patterns I hope you’d consider purchasing an ad-free pdf of this pattern in my Ravelry shop and Lovecrafts shop!
Thank you Maricella for becoming my newest patron on Patreon!
Where to purchase the Loretta Cardigan crochet pattern


![[Image description] A top down view of the Loretta Cardigan crochet pattern done except for the sleeves. The cardigan has 4 skeins of matching yarn on the left and a white woman's had holding it on the right.](https://d3gel9wqxksnxm.cloudfront.net/wp-content/uploads/2021/10/Loretta-Cardigan-858x1000-1.jpg)
Level
Advanced Easy
Materials
- US I (5.50 mm) crochet hook
- Heavy worsted/ medium/ size #4 weight yarn
- I used City Tweed by WeCrochet in the color Lemon Curd.
- Specifics listed in Product Dimensions (below)
- Notions: scissors, measuring tape, yarn needle
Gauge
- 10 HBhdc x 8 rows = 4″ (blocked)
Terms/ Stitches used
- RS: Right side
- St: Stitch
- Ch: Chain
- Sk: Skip
- Sc: Single crochet
- Join: Join with a slip st
- Hdc: Half double crochet
- HBhdc: herringbone half double crochet (explained below)
- HHPS: Half Double Crochet Horizontal Puff Stitch (explained below)
Notes
- HBhdc (herringbone half double crochet): yarn over, insert your hook into the st, yarn over, pull up a loop and draw through the first loop on your hook, yarn over, draw through both loops on your hook.
- Half Double Crochet Horizontal Puff Stitch (HHPS): hdc into the next st, *yarn over, insert hook around the hdc, pull up a loop (approx the height of 2 chs),* repeat from * to * 2 more times, yarn over, pull through all 7 loops on the hook. You will work into the puff (not the hdc) when you work into this row later.
- This pattern is worked in 5 sections: the Front Panels (2 of them), Back Panel, Sleeves (2 of them), the Lapel, and the Waistband. Everything is worked in rows, back and forth with a turn at the beginning of the row, except for the Sleeves which are worked in the round but also with a turn.
- The ch 1 at the beginning of the rows does not count as a stitch.
- Blocking is suggested for this pattern.
- In the photos: sample size is medium and City Tweed in the color Lemon Curd by We Crochet.
Approx Finished Product Details for the Loretta Cardigan crochet pattern (blocked)
| XSmall Height: 24” Width: 16” Fits Chest: 28″ – 30″ Yarn: 18.7 oz/ 869 yds | Small Height: 24” Width: 18” Fits Chest: 32″ – 34″ Yarn: 19.7 oz/ 915 yds | Medium Height: 24” Width: 20” Fits Chest: 36″ – 38″ Yarn: 21.9 oz/ 1017 yds |
| Large Height: 24” Width: 22” Fits Chest: 40”- 42” Yarn: 22.6 oz/ 1050 yds | 1X Height: 24” Width: 24” Fits Chest: 44″ – 46″ Yarn: 24.6 oz/ 1143 yds | 2X Height: 29” Width: 26” Fits Chest: 48″ – 50″ Yarn: 27 oz/ 1254 yds |
| 3X Height: 29” Width: 28” Fits Chest: 52″ – 54″ Yarn: 28.5 oz/ 1324 yds | 4X Height: 29” Width: 30” Fits Chest: 56″ – 58″ Yarn: 30.1 oz/ 1398 yds | 5X Height: 29” Width: 31” Fits Chest: 60″ – 62″ Yarn: 30.7 oz/ 1426 yds |
![[Image description] A white woman with blue hair stands facing away from the camera in front of a tree and grass in the yellow tweed Loretta Cardigan](https://d3gel9wqxksnxm.cloudfront.net/wp-content/uploads/2021/10/Loretta-Cardigan-846x1000-1.jpg)
Loretta Cardigan Crochet Pattern Instructions
Back Panel
Sizing as follows: XS (SM, MD, LG, 1X)(2X, 3X, 4X, 5X)
(RS)Row 1: Ch 42 (46, 52, 56, 62)(66, 72, 76, 78), HBhdc into the 2nd ch from the hook and across — 41 (45, 51, 55, 61)(65, 71, 75, 77) HBhdc
Rows 2 – 7: Ch 1, turn, HBhdc across — 41 (45, 51, 55, 61)(65, 71, 75, 77) HBhdc
Row 8: Ch 1, turn, HBhdc into the first st, *ch 1, sk the next st, HBhdc into the next st,* repeat from * to * all the way across — 21 (23, 26, 28, 31)(33, 36, 38, 39) HBhdc, 20 (22, 25, 27, 30)(32, 35, 37, 38) ch-1 spaces
Row 9: Ch 1, turn, hdc into the first st, *ch 1, sk the next ch space, HHPS into the next st* repeat from * to * until 1 ch space and the last st remains, ch 1, sk the next ch-1 space, hdc into the last st — 2 hdc (all sizes), 19 (21, 24, 26, 29)(31, 34, 36, 37) HHPS, 20 (22, 25, 27, 30)(32, 35, 37, 38) ch-1 spaces
Row 10: Ch 1, turn, HBhdc into the first st, *ch 1, sk the next ch-1 space, HBhdc into the next st,* repeat from * to * all the way across — 21 (23, 26, 28, 31)(33, 36, 38, 39) HBhdc, 20 (22, 25, 27, 30)(32, 35, 37, 38) ch-1 spaces
Row 11: Ch 1, turn, HBhdc across (this includes sts and ch-1 spaces) — 41 (45, 51, 55, 61)(65, 71, 75, 77) HBhdc
Rows 12 – 17: Ch 1, turn, HBhdc across — 41 (45, 51, 55, 61)(65, 71, 75, 77) HBhdc
Rows 18 – 47 (47, 47, 47, 47)(57, 57, 57, 57): repeat rows 8 – 17, a total of 3 (3, 3, 3, 3)(4, 4, 4, 4) more times. If you’d like your cardigan longer, feel free to add more repeats here, just be sure to add the same amount of repeats to the Front Panels.
Fasten off, weave in all your ends. Block your Back Panel so it measures 16” x 23.5 (18” x 23.5”, 20” x 23.5”, 22” x 23.5, 24” x 23.5”)(26” x 28.5”, 28” x 28.5”, 30” x 28.5”, 31” x 28.5”).
Front Panels
Sizing as follows: XS (SM, MD, LG, 1X)(2X, 3X, 4X, 5X)
Please note: there are 2 different Front Panels instructions, one will be your Right Panel and one will be your Left Panel (when you look at the cardigan, not when you wear it). They are intended to mirror each other when you seam them to the Back Panel.
Right Panel
Row 1: Ch 15 (17, 19, 21, 25)(27, 29, 31, 33), HBhdc into the 2nd ch from the hook and across — 14 (16, 18, 20, 24)(26, 28, 30, 32) HBhdc
Rows 2 – 7: Ch 1, turn, HBhdc across — 14 (16, 18, 20, 24)(26, 28, 30, 32) HBhdc
Row 8: Ch 1, turn, HBhdc into the first st, HBhdc into the next st, *ch 1, sk the next st, HBhdc into the next st,* repeat from * to * the rest of the way across — 8 (9, 10, 11, 13)(14, 15, 16, 17) HBhdc, 6 (7, 8, 9, 11)(12, 13, 14, 15) ch-1 spaces
Row 9: Ch 1, turn, hdc into the first st, *ch 1, sk the next ch space, HHPS into the next st* repeat from * to * until 1 ch space and 2 sts remain, ch 1, sk the next ch-1 space, hdc into the last 2 sts — 3 hdc (all sizes), 5 (6, 7, 8, 10)(11, 12, 13, 14) HHPS, 6 (7, 8, 9, 11)(12, 13, 14, 15) ch-1 spaces
Row 10: Ch 1, turn, HBhdc into the first st, HBhdc into the next st, *ch 1, sk the next ch-1 space, HBhdc into the next st,* repeat from * to * the rest of the way across — 8 (9, 10, 11, 13)(14, 15, 16, 17) HBhdc, 6 (7, 8, 9, 11)(12, 13, 14, 15) ch-1 spaces
Row 11: Ch 1, turn, HBhdc across (this includes sts and ch-1 spaces) — 14 (16, 18, 20, 24)(26, 28, 30, 32) HBhdc
Rows 12 – 17: Ch 1, turn, HBhdc across — 14 (16, 18, 20, 24)(26, 28, 30, 32) HBhdc
Rows 18 – 47 (47, 47, 47, 47)(57, 57, 57, 57): repeat rows 8 – 17, a total of 3 (3, 3, 3, 3)(4, 4, 4, 4) more times. If you’d like your cardigan longer, feel free to add more repeats here, just be sure to add the same amount of repeats to the Front Panels.
Fasten off, weave in all your ends. Block this Front Panel so it measures 5.5” x 23.5 (6.5” x 23.5”, 7.25” x 23.5”, 8” x 23.5, 9.5” x 23.5”)(10.5” x 28.5”, 11.25” x 28.5”, 12” x 28.5”, 12.8” x 28.5”).
Left Panel
Row 1: Ch 15 (17, 19, 21, 25)(27, 29, 31, 33), HBhdc into the 2nd ch from the hook and across — 14 (16, 18, 20, 24)(26, 28, 30, 32) HBhdc
Rows 2 – 7: Ch 1, turn, HBhdc across — 14 (16, 18, 20, 24)(26, 28, 30, 32) HBhdc
Row 8: Ch 1, turn, HBhdc into the first st, *ch 1, sk the next st, HBhdc into the next st,* repeat from * to * until one st remains, HBhdc into the last st — 8 (9, 10, 11, 13)(14, 15, 16, 17) HBhdc, 6 (7, 8, 9, 11)(12, 13, 14, 15) ch-1 spaces
Row 9: Ch 1, turn, hdc into the first st, hdc into the next st, *ch 1, sk the next ch space, HHPS into the next st* repeat from * to * until 1 ch space and the last st remains, ch 1, sk the next ch-1 space, hdc into the last st — 3 hdc (all sizes), 5 (6, 7, 8, 10)(11, 12, 13, 14) HHPS, 6 (7, 8, 9, 11)(12, 13, 14, 15) ch-1 spaces
Row 10: Ch 1, turn, HBhdc into the first st, *ch 1, sk the next ch-1 space, HBhdc into the next st,* repeat from * to * until one st remains, HBhdc into the last st — 8 (9, 10, 11, 13)(14, 15, 16, 17) HBhdc, 6 (7, 8, 9, 11)(12, 13, 14, 15) ch-1 spaces
Row 11: Ch 1, turn, HBhdc across (this includes sts and ch-1 spaces) — 14 (16, 18, 20, 24)(26, 28, 30, 32) HBhdc
Rows 12 – 17: Ch 1, turn, HBhdc across — 14 (16, 18, 20, 24)(26, 28, 30, 32) HBhdc
Rows 18 – 47 (47, 47, 47, 47)(57, 57, 57, 57): repeat rows 8 – 17, a total of 3 (3, 3, 3, 3)(4, 4, 4, 4) more times. If you’d like your cardigan longer, feel free to add more repeats here, just be sure to add the same amount of repeats to the Front Panels.
Fasten off, weave in all your ends. Block this Front Panel so it measures 5.5” x 23.5 (6.5” x 23.5”, 7.25” x 23.5”, 8” x 23.5, 9.5” x 23.5”)(10.5” x 28.5”, 11.25” x 28.5”, 12” x 28.5”, 12.8” x 28.5”).
![[Image description] A white woman with blue hair stands facing away and looking to the side in front of a winding sidewalk and grass in the yellow tweed Loretta Cardigan](https://d3gel9wqxksnxm.cloudfront.net/wp-content/uploads/2021/10/Loretta-Cardigan-867x1000-1.jpg)
Seaming
Shoulders
Line up the Front Panels with the Back Panel, with the WS touching each other (this is a great time to use stitch markers if you have them to line up the stitches). Using your preferred method of seaming, seam together the 14 (16, 18, 20, 24)(26, 28, 30, 32) of the Left Front Panels to the last 14 (16, 18, 20, 24)(26, 28, 30, 32) sts of the Back Panel. Repeat this seaming with the first 14 (16, 18, 20, 24)(26, 28, 30, 32) sts of the Back Panel and your Right Front Panel.
Sides
Line up Row 1 of the Left Front Panel and the Back Panel and starting from row 1 and with the WS facing you, seam together rows 1 – 34 (33, 32, 31, 30)(39, 38, 37, 37) in your preferred method of seaming. Repeat seaming with the Right Front Panel and the Back Panel. The unworked 13 (14, 15, 16, 17)(18, 19, 20, 20) rows are your arm holes.
![[Image description] A white woman with blue hair stands facing the camera in front of a winding sidewalk and grass in the yellow tweed Loretta Cardigan](https://d3gel9wqxksnxm.cloudfront.net/wp-content/uploads/2021/10/Loretta-Cardigan-735x1000-1.jpg)
![[Image description] A white woman with blue hair stands facing the camera in front of a winding sidewalk and grass in the yellow tweed Loretta Cardigan](https://d3gel9wqxksnxm.cloudfront.net/wp-content/uploads/2021/10/Loretta-Cardigan-735x1000-1.jpg.webp)
Sleeves
Sizing as follows: XS (SM, MD, LG, 1X)(2X, 3X, 4X, 5X)
Rnd 1: With the RS facing you, create a slipknot on your hook (this will make your first st a standing HBhdc) and begin in the first row end to the left of the seam you made on the Sides. *HBhdc into the next 3 sts, HBhdc twice into the next st,* repeat from * to * the rest of the way around, HBhdc in last 2 (0, 2, 0, 2)(0, 2, 0, 0) sts, join — 32 (35, 37, 40, 42)(45, 47, 50, 50) HBhdc
Rnd 2: Ch 1, turn, HBhdc around, join — 32 (35, 37, 40, 42)(45, 47, 50, 50) HBhdc
Rnd 3: Ch 1, turn, HBhdc around until 2 sts remain, hdc2tog the last 2 sts, join — 31 (34, 36, 39, 41)(44, 46, 49, 49) hdc (this counts both the HBhdc and hdc2tog here and throughout)
Rnds 4 – 36: repeat rnds 2 – 3 until you have a st count of 31 (31, 31, 31, 31)(36, 36, 36, 36) and then continue rnd 2 repeats.
Do not fasten off, move onto the Cuff.
Cuff
Rnd 37: Ch 1, turn, sc BLO around, join — 31 (31, 31, 31, 31)(36, 36, 36, 36) sc
Rnds 38 – 39: Ch 1, sc BLO around, join — 31 (31, 31, 31, 31)(36, 36, 36, 36)
Fasten off, weave in your ends. Block your Sleeve so it measures 18” long. Repeat Sleeve instructions on the other arm hole.
Waistband
Flip your pullover over so that you’re working into the other side of the original ch row with the RS facing you.
Row 1: Create a slipknot on your hook, sc into the 14 (16, 18, 20, 24)(26, 28, 30, 32) sts of the Front Panel, sc into the next 41 (45, 51, 55, 61)(65, 71, 75, 77) sts of the Back Panel, move onto the next 14 (16, 18, 20, 24)(26, 28, 30, 32) sts of the other Front Panel — 69 (77, 87, 95, 109)(117, 127, 135, 141) sc
Rows 2 – 3: Ch 1, turn, sc across — 69 (77, 87, 95, 109)(117, 127, 135, 141) sc
Fasten off, weave in all your ends. Block if this section is stiff.
Lapel
With the RS facing you, start in the last Waistband row of the Left Front Panel.
Row 1: Create a slipknot on your hook (this will make your first st a standing HBhdc), HBhdc into the next 3 Waistband rows and into the next 3 Front Panel row ends, *HBhdc twice into the next row end, HBhdc into the next 3 row ends,* repeat from * to * until you get to the seam (for sizes 2X – 5X you will have 2 extra row ends, HBhdc into that extra row end), HBhdc into the next 13 (13, 15, 15, 13)(13, 15, 15, 13) sts of Back Panel, HBhdc into the next 3 row ends of the Front Right Panel, *HBhdc twice into the next row end, HBhdc into the next 3 row ends,* repeat from * to * the rest of the way down the panel (sizes 2X – 5X work into the extra sts on the end) and HBhdc into the 3 row ends of the Waistband — 135 (135, 137, 137, 135)(159, 161, 161, 159) HBhdc
Rows 2 – 7: Ch 1, turn, HBhdc around — 135 (135, 137, 137, 135)(159, 161, 161, 159) HBhdc
Fasten off, weave in your ends. Block this section if it feels stiff.
And don’t forget you can buy this pattern on Ravelry.

Ann Marie Lemacks
Saturday 23rd of October 2021
I want to make patch pockets as well, but I always order an extra skein/ball just as a “buffer” or in case I want to make a matching accessory such as a hat or cowl! 😊
Divine Debris
Monday 25th of October 2021
That's a good idea to order extra, I bet one would be enough to make a couple pockets. I hope you share photos of it when it's done <3
-Amber
wendy
Tuesday 19th of October 2021
You really came up with one beautiful sweater with this creation ! Read the yarn requirements needed for each size. Did you have enough left over to make packets? Looking to make size Medium with We Crochet/Knit Picks yarn.
Divine Debris
Thursday 21st of October 2021
I don't know if you'll have enough, as the estimates are based on the pattern as it is written, plus a 10% - 15% extra buffer. You may need to go up a bit in the yarn order
I hope that helps <3