
![[Image description] A white woman, seen from the shoulders to the hips, is holding the soft pink Diana Basket with one had in the handles and another holding the base.](https://d3gel9wqxksnxm.cloudfront.net/wp-content/uploads/2022/05/Diana-Basket-1000x853-1.jpg)
![[Image description] A white woman, seen from the shoulders to the hips, is holding the soft pink Diana Basket with one had in the handles and another holding the base.](https://d3gel9wqxksnxm.cloudfront.net/wp-content/uploads/2022/05/Diana-Basket-1000x853-1.jpg.webp)
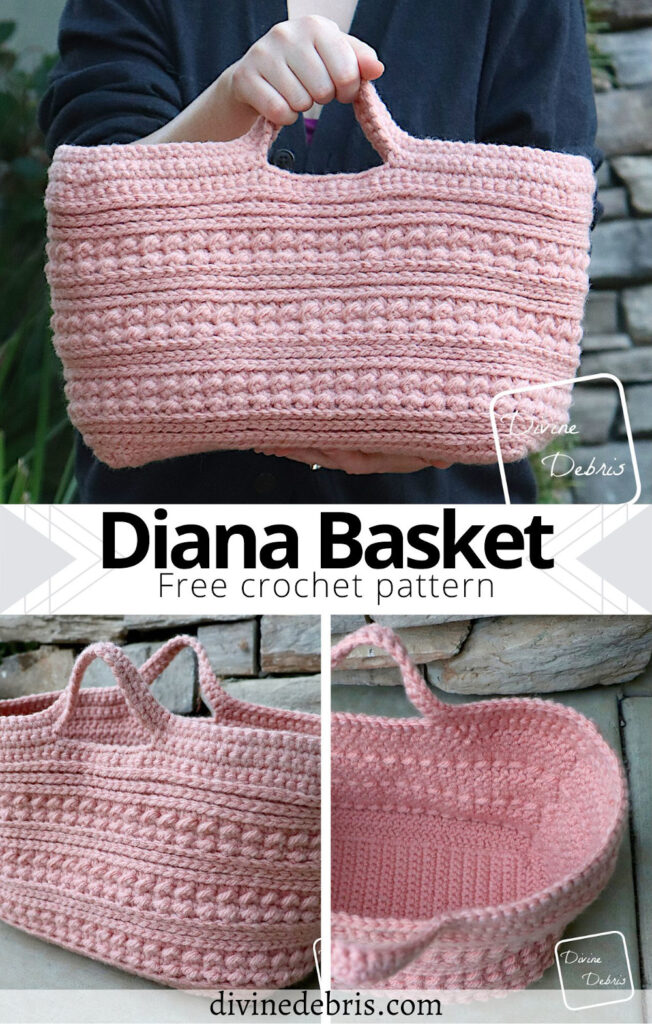
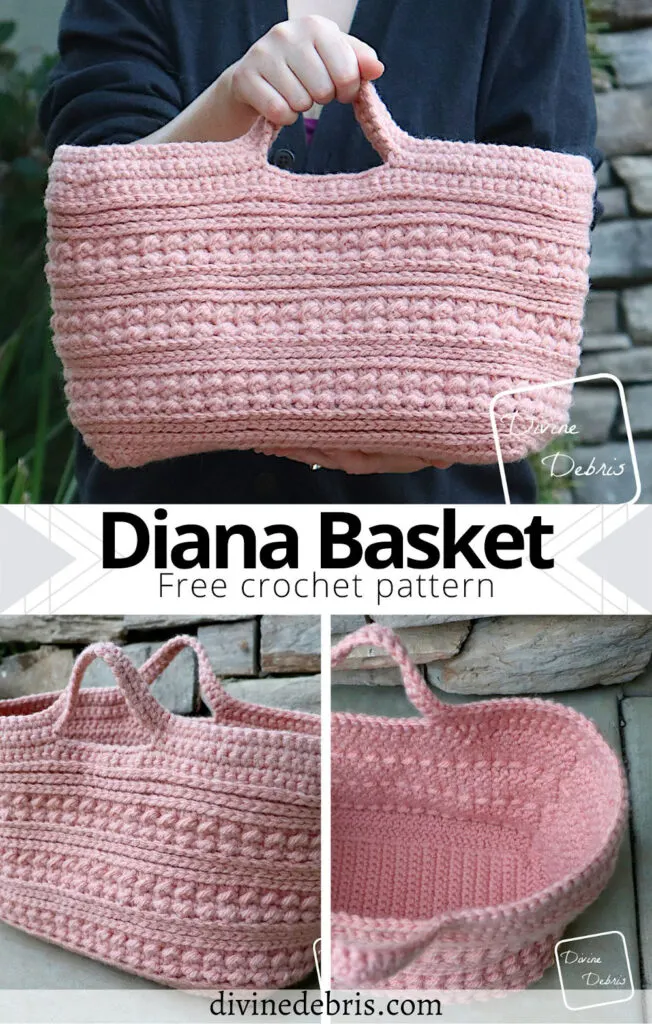
Ok, this week’s pattern has me pretty excited because I honestly cannot remember the last time I released a new addition to the Diana Line. Wait, no, I just looked it up and it was 2019! My last design in this line was basically forever ago. Well, now I’m extra super excited to introduce you to the Diana Basket crochet pattern this week!
Honestly, I’m a little surprised that it’s been so, so long since I made a Diana pattern (the Diana Mittens to be exact). I have long loved this texture for a variety of designs because it works up quick and makes such a lovely texture with really minimal effort. I’m a big fan of minimal effort (if you saw my craft office, you’d know that is so true) and love when it can be worked to a big effect.
Now for the specifics on this basket – it’s made in a couple parts, the first is the base where you will work back and forth in rows until your final rnd, which goes around the rectangle you made for your base. Then you build the sides by working in rounds all the way up to the handles. This part is important – if you want those sides to stay up you want to make sure your tension is tight. But also, this is a basket made of yarn, so if you don’t want the sides to stand up when it’s empty, it’s ok too. Just do what works the best for you. You can also keep doing repeats of the texture to make the sides taller, this will give you more room to store yarn (a plus in my book). And last, you will do a couple rows of the top where I decreased a few stitches so it’s a bit tighter and where I added some handles for easy transporting.
All in all this design is super easy and works up pretty fast. And if you like it but would like to make it smaller… maybe like a purse, the Diana Purse is waiting for you. You could have a Diana design for all your needs (sorta… I totally need to make a sweater this fall in this texture I think).
Overall, I hope you like this new pattern and give it a try. And please remember, call out injustice where you see it, wash your masks, and stay safe friends <3 <3
Please note: I was provided Hue + Me for this pattern by Lion Brand Yarn for the purposes of designing the Diana Basket crochet pattern, without compensation. I wasn’t provided the yarn with the expectations of positive or negative reviews but I honestly can say I do enjoy this yarn, I used it on my so many times, including on my for many other baskets.
his post is linked to Loop Scoop 39
Copyright @ Divine Debris 2022. No part of this document may be reproduced or transmitted in any form by any means, electronic, mechanical, photocopying, or otherwise, without prior written permission from the author. Sales of finished products are permitted, but the designer requests that you link back to the pattern and credit Divine Debris with the original design under the Creative Commons Attribution-Share Alike license. If you have any questions, comments or concerns please contact info@divinedebris.com.
(this post contains affiliate links)

If you appreciate my weekly patterns I hope you’d consider purchasing an ad-free pdf of this pattern in my Ravelry shop and Lovecrafts shop!
Thank you all my patrons on Patreon!
Where to purchase the Diana Basket crochet pattern


![[Image description] A low angle photo of the soft pink Diana Basket on grey piece of concrete in front of a grey post and plants to the left.](https://d3gel9wqxksnxm.cloudfront.net/wp-content/uploads/2022/05/Diana-Basket-1000x798-1.jpg)
Level
Advanced Easy
Materials
- US H (5.00 mm) crochet hook (or whatever hooks for gauge or tight stitches)
- Size #5 bulky weight yarn
- 11.55 oz/ 358 yds
- I used Hue + Me by Lion Brand Yarn in the color Rose Water.
- Notions: scissors, measuring tape, yarn needle
Gauge
- 13 sc x 14 rows = 4”
Terms/ Stitches used
- St: Stitch
- Ch: Chain
- Sk: Skip
- Slip st: Slip St
- RS: Right side
- Sc: Single crochet
- Join: Join with a slip st
- Sc2tog: Sc 2 sts together
- Hdc: Half double crochet
- BTLO: Back third loop only (explained below)
Notes
- Back third loop only (BTLO): when looking at the st you will have the 2 loops on top of the hdc (the V on top), lean the st towards you and will see the third loop that runs along the back of the st. This is the loop you will work into. This st is also known as the Camel Stitch. Please note on some rows where you work this st you will be looking at the back of the previous row’s hdc, so the third loop will be facing you.
- This pattern is worked from the bottom up in 3 sections: the Base, the Sides, and the Handles. The Base is worked back and forth in rows until the final rnd. The Sides and Handles are worked in the rnd with a slip st into the 1st st of the rnd.
- If you find that your seam moves, be sure to line it up with the corner before you move to the handles.
- There are turns on some rnds but not all.
- The ch 1 at the beginning of the rnds does not count as a stitch.
- If you would like to keep your sides standing, use the smallest hook you can to keep the stitches tight.
- The sample in the photos was made with Hue + Me by Lion Brand Yarn in the color Rose Water.
Approx Finished Product Details for the Diana Basket crochet pattern
| Height (not including extended handles) 8.5″ (from final base row to top of Row 67) | Across 17.5” (laid flat) | Base 5.5” x 12″ |
![[Image description] The soft pink Diana Basket sits on grey piece of concrete in front of a grey post and plants to the left.](https://d3gel9wqxksnxm.cloudfront.net/wp-content/uploads/2022/05/Diana-Basket-1000x704-1.jpg)
Diana Basket Crochet Pattern Instructions
Base
Row 1: Ch 17, sc into the 2nd ch from the hook and across – 16 sc
Rows 2 – 41: Ch 1, turn, sc across – 16 sc
(RS) Rnd 42: Ch 1 and rotate your piece so you’re working down the row ends, sc into the next 41 row ends, ch 1 at the corner and rotate your piece 90°, sc into the next 16 sts, ch 1 at the corner and rotate your piece 90°, sc into the next 41 row ends, ch 1 at the corner and rotate your piece 90°, sc into the next 16 sts, ch 1, join – 114 sc
Sides
(RS) Rnd 43: Ch 1, hdc around (skip the ch-1s), join – 114 hdc
Rnds 44 – 45: Ch 1, hdc BTLO around, join – 114 hdc
Rnd 46: Ch 1, turn, hdc into the BTLO of the first st, slip st into the BTLO of the next st, *hdc into the BTLO of the next st, slip st into the BTLO of the next st,* repeat from * to * around, join – 57 hdc, 57 slip st
Rnds 47 – 48: Ch 1, turn, hdc into the first st, slip st into the next st, *hdc into the next st, slip st into the next st,* repeat from * to * around, join – 57 hdc, 57 slip st
(RS) Rnd 49: Ch 1, turn, hdc around, join – 114 hdc
Rnds 50 – 54: Repeat rnds 44 – 48, once more.
(RS) Rnd 55: Repeat rnd 49, once more.
Rnds 56 – 60: Repeat rnds 44 – 48, once more.
(RS) Rnd 61: Repeat rnd 49, once more.
Rnds 62 – 63: Repeat rnds 44 – 45, once more.
Rnd 64: Ch 1, turn, sc BTLO around, join — 114 sc
(RS) Rnd 65: Ch 1, turn, sc2tog the first 2 sts, sc into the next 12 sts, sc2tog the next 2 sts, sc into the next 41 sts, sc2tog the next 2 sts, sc into the next 12 sts, sc2tog the next 2 sts, sc into the next 41 sts, join – 110 sc
Handles
If you find that your seam moves, be sure to line it up with the corner before you move to the handles.
Rnd 66: Ch 1, turn, sc into the next 15 sts, ch 20, sk 11 sts, sc into the next 15 sts, sc2tog the next 2 sts, sc into the next 10 sts, sc2tog the next 2 sts, sc into the next 15 sts, ch 20, sk 11 sts, sc into the next 15 sts, sc2tog the next 2 sts, sc into the next 10 sts, sc2tog the last 2 sts, join – 106 sc
Rnd 67: Ch 1, turn, sc around (into both the sc and ch sts), join – 124 sc
Rnd 68: Ch 1, turn, sc around, join — 124 sc
Fasten off, weave in your ends.
And don’t forget you can buy the Diana Basket crochet pattern on Ravelry.
![[Image description] A top down view of the empty Diana Basket, sitting on grey concrete and against a stone wall.](https://d3gel9wqxksnxm.cloudfront.net/wp-content/uploads/2022/05/Diana-Basket-1000x707-1.jpg)
Melanie
Thursday 28th of July 2022
I love the design! Can’t wait to make it. Thanks so much.
Kay
Friday 20th of May 2022
I’m a left handed crocheter, (beginner) will this pattern worked by a lefty result in the same design?
sarah wamala
Wednesday 18th of May 2022
Thank you for the pattern. You are a darling instructor.
Thanks a bunch.