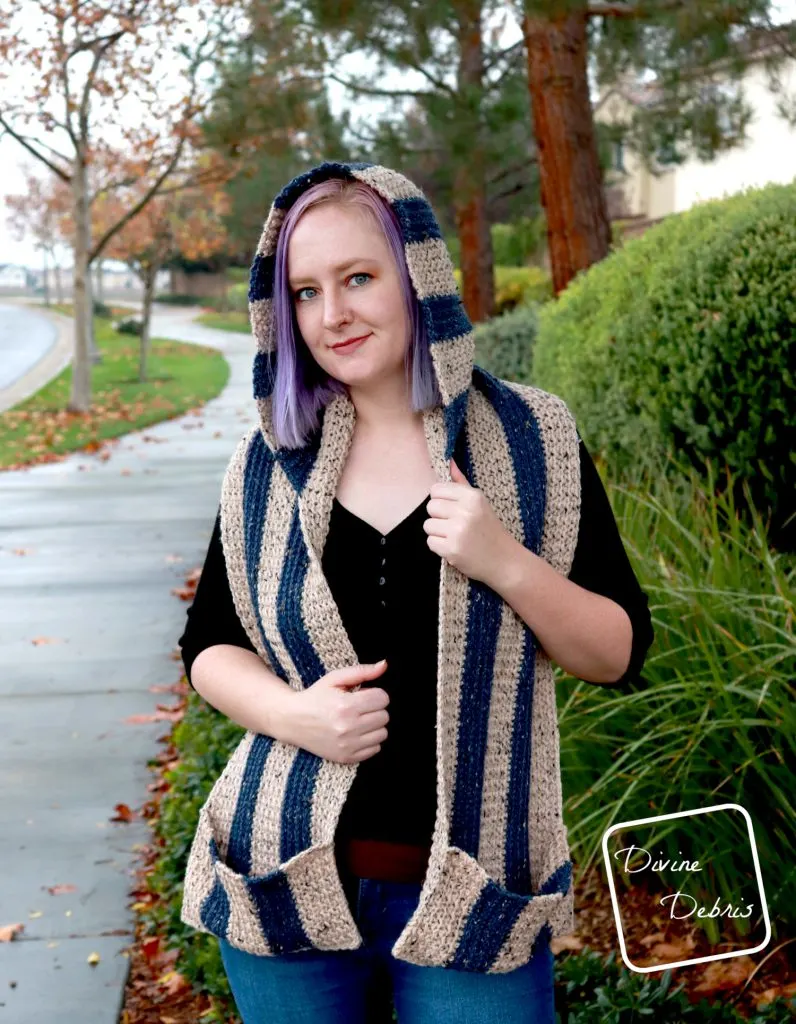
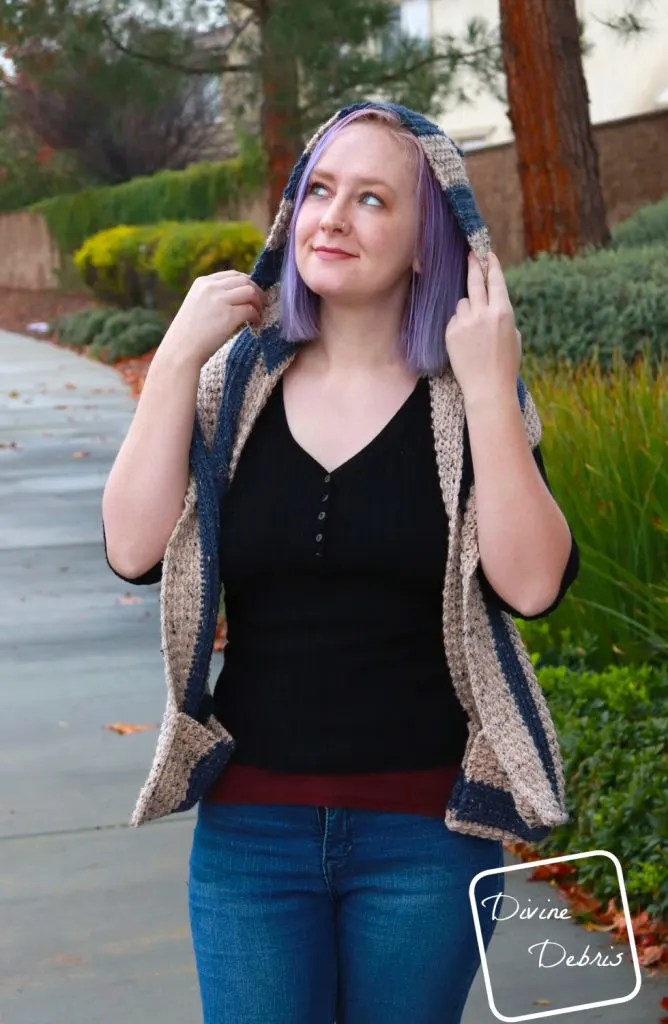
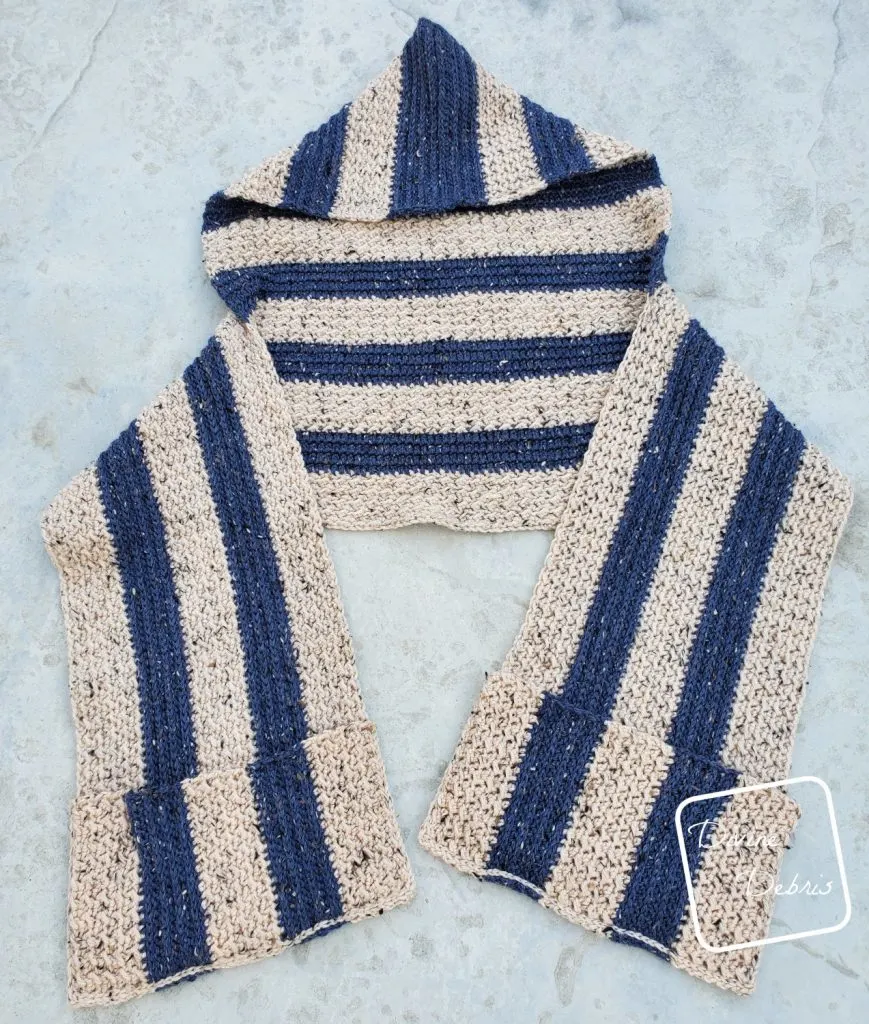
Want to know a secret? I’ve been dreaming of making a hooded scarf for long time. Long before the idea of the Artemis Hooded Scarf came around… Well, actually I want to make a cape with a hood but do you know how much time and effort goes into that? SO SO much. But I’m very pleased with this design, so I don’t even mind it’s not a flowy cape.
This scarf, hood, and pockets are all in the style of the Artemis Headband that I fell in love with last month. I wanted to make all sorts of yummy texture on a scarf and when WeCrochet messaged me about a pattern collaboration with some Knit Picks yarn, I jumped at the opportunity.
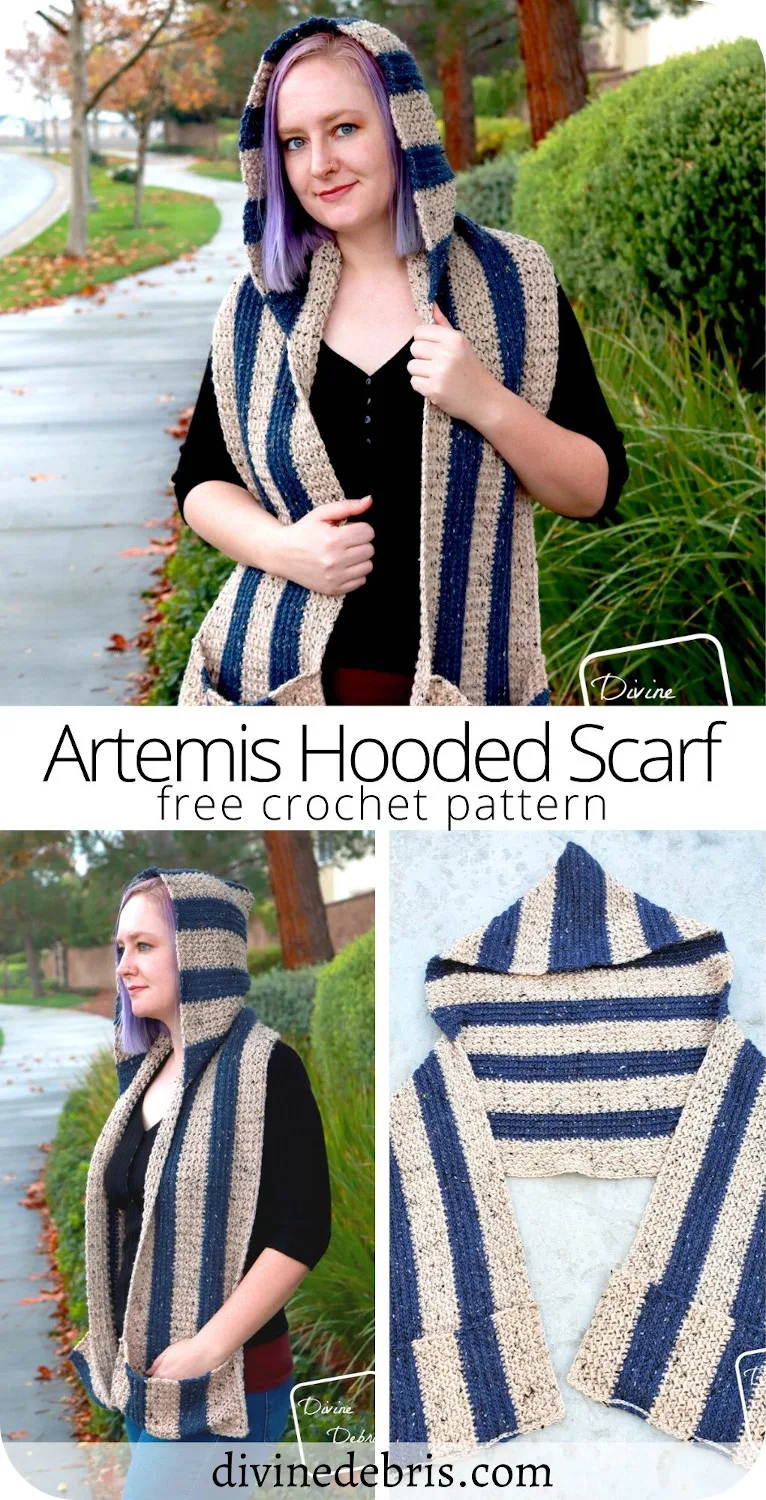
Overall this design is super simple. Barely any assembly required (you’ve got to sew the pockets to the scarf ends) but the hood is worked directly on the scarf and then seamed from there. I’m not a big fan of seaming myself so I try to eliminate it when I can. And you can just make the scarf, or the scarf and pockets if you want to get creative (or you could check out the Fiona Scarf for another scarf with pockets). You could also do the pockets and hood but I’m not sure how that would work out… but if you try it, please let me know!
Anyway! I really hope you give this design a try. I fell in love with this yarn almost as soon as I got it on my hook. And this stitch combination in the Artemis Line has be seeing all hearts. I can’t wait to make a tote bag or something in it in 2020.
I hope you year is ending on a good note. Mine has been going on.
See ya next week!
(this post contains affiliate links)
If you appreciate my weekly patterns I hope you’d consider purchasing an ad-free pdf of this pattern in my Ravelry shop.
Thank you Summer for becoming my newest patron on Patreon!
Thank you to all my Patreon supporters.
Materials
- US I (5.50 mm) crochet hook
- I used Knit Picks Armour Hooks
- Size #4/ Worsted weight yarn
- 2 colors
- I used Knit Picks Wool of the Andes
- Approx 17.5 oz/ 1170 yds total (specifics in the notes)
- Needle that will weave in your ends
- Notions: Scissors, tape measure, blocking mats and pins (optional)
Gauge
- 15 st (using Crunch St) x 19 rows = 4″

Terms/ Stitches used
- RS: right side
- Ch: chain
- St: stitch
- Slip st: slip stitch
- Hdc: half double crochet
Notes
- You will need to know how to work into the Back Third Loop (BTL) for this pattern. When looking at the you will have the 2 loops on top of the hdc (the V on top), lean the stitch towards you and will see the third loop that runs along the back of the stitch. This is the loop you will work into. This stitch is also known as the Camel Stitch. Please note that when you work this stitch you will be looking at the back of the previous row’s hdc, so the third loop will be facing you.
- This pattern is worked in 3 sections: the Scarf, the Hood, and the Pockets (2 pockets). The Scarf is created first, then the Hood is worked along the top, and the Pockets are worked separately and sewn to the ends of the Scarf.
- The ch-1 at the beginning of the row does not count as a stitch. The ch-1 is used in place of the traditional ch-2 to eliminate extra space on the beginning of the row. Feel free to use the ch-2 if you prefer.
- Make your ch-1 approx the same high as a hdc.
- To make this pattern longer or shorter, just add or subtract sts from the first row in multiples of 2.
- In the photos: Color A is tan (5 – 6 skeins|10.5 oz/ 642 yds of Wool of the Andes in Down Heather) and Color B is blue (3 – 4 skeins|6.7 oz/ 409 yds of Wool of the Andes in Prussian Heather).
Finished product dimensions (measurements may vary by gauge and yarn used)
Scarf: Approx 60″ length x 9″ – 9.5″ high
Hood: Approx 10″ deep x 13″ – 13.5″ high
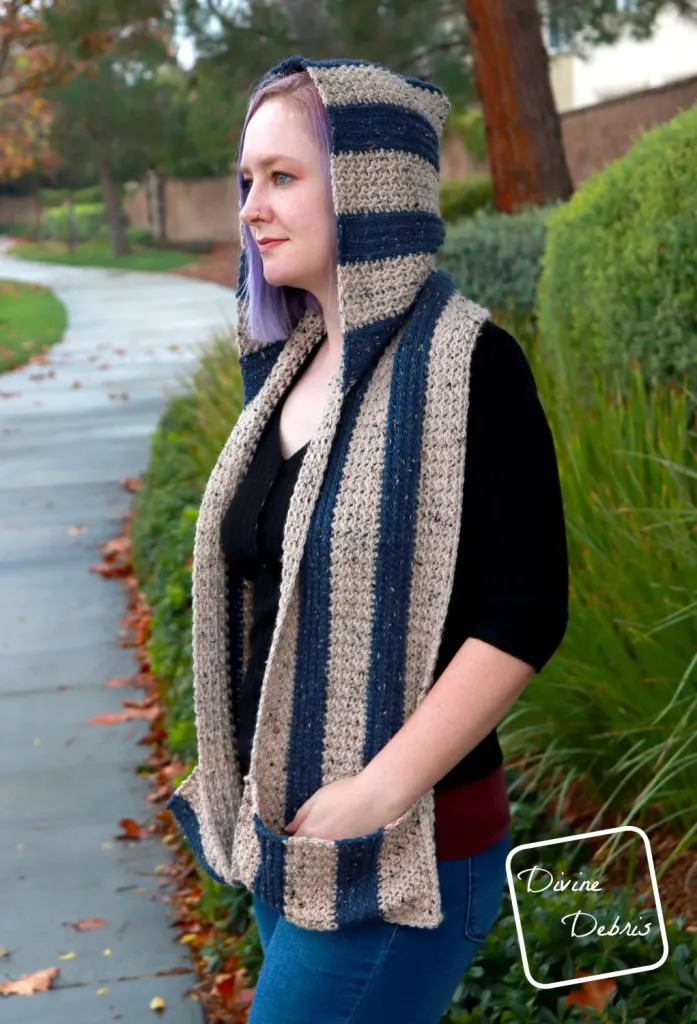
Artemis Hooded Scarf Pattern instructions
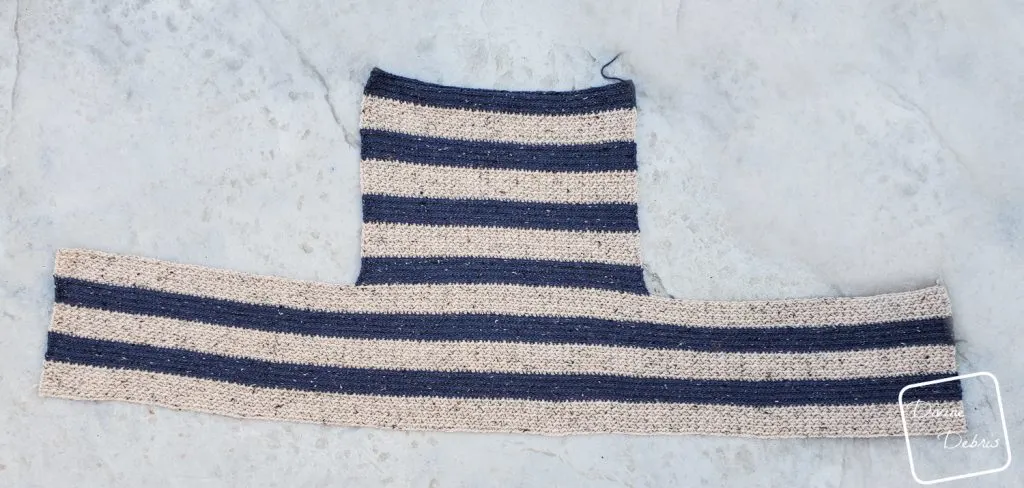
Scarf
(RS) Row 1: A: Ch 225 sts, slip st into the second st from the hook, hdc into the next st, *slip st into the next st, hdc into the next st,* repeat from * to * 110 more times – 112 hdc, 112 slip st
Rows 2 – 10: Ch 1, turn, slip st into the first st, hdc into the next st, *slip st into the next st, hdc into the next st,* repeat from * to * 110 more times – 112 hdc, 112 slip st
Fasten off color A.
Row 11: B: Ch 1, turn, hdc into the next 224 sts (counts both hdc and slip sts here and throughout) – 224 hdc
Please note:
For the next row the Back Third Loop Only will be facing you.
Row 12: Ch 1, turn, slip st into back third loop only of the first st and the next 223 sts – 224 slip st
Rows 13 – 18: repeat rows 11 – 12, 3 times
Fasten off color B.
Rows 19 – 28: A: Ch 1, turn, slip st into the first st, hdc into the next st, *slip st into the next st, hdc into the next st,* repeat from * to * 110 more times – 112 hdc, 112 slip st
Rows 29 – 46: repeat rows 11 – 28, once.
Fasten off color A. Block your scarf so it measures approx 60″ length x 9″ – 9.5″ high.
Hood
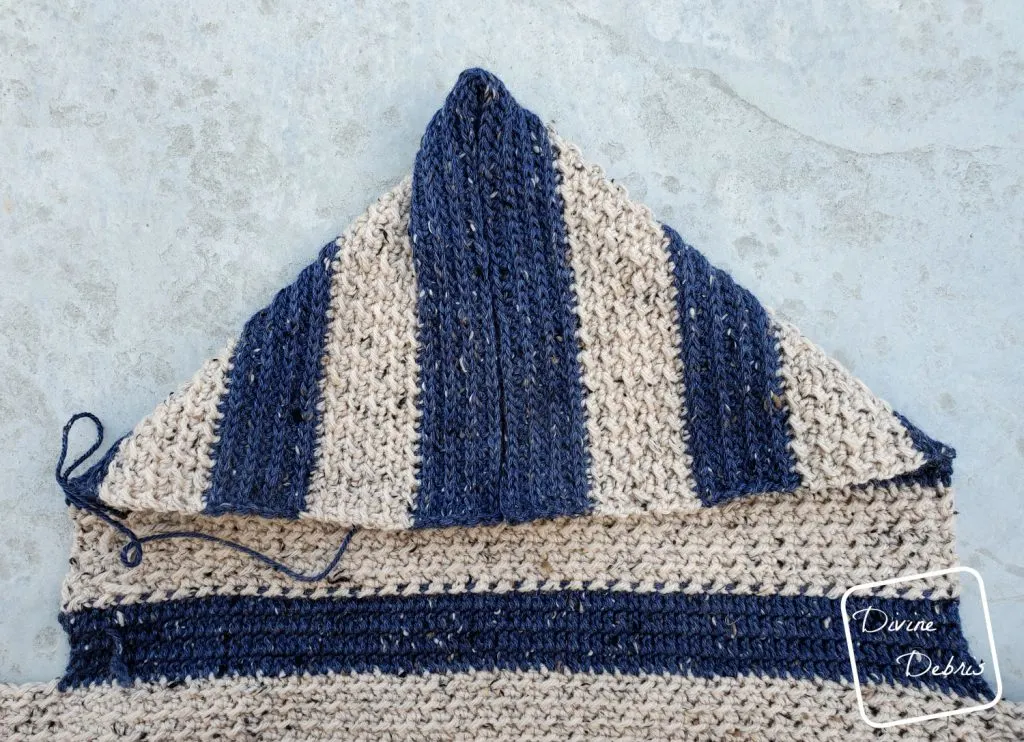
With the RS facing you, skip 74 sts from the beginning of row on Row 64, mark the next st.
Row 1: B: Create a slipknot on your hook and hdc into the next 76 sts starting in the st you marked on Row 64.
Row 2: Ch 1, turn, slip st into back third loop only of the first st and the next 76 sts – 76 slip st
Row 3: Ch 1, turn, hdc into the next 76 sts – 76 hdc
Row 4: Ch 1, turn, slip st into back third loop only of the first st and the next 76 sts – 76 slip st
Rows 5 – 8: repeat rows 3 – 4, twice.
Fasten off color B.
Rows 9 – 18: A: Ch 1, turn, slip st into the first st, hdc into the next st, *slip st into the next st, hdc into the next st,* repeat from * to * 36 more times – 38 hdc, 38 slip st
Fasten off color A
Row 19: B: Ch 1, turn, hdc into the next 76 sts – 76 hdc
Row 20: Ch 1, turn, slip st into back third loop only of the first st and the next 76 sts – 76 slip st
Rows 21 – 26: repeat rows 3 – 4, three times.
Rows 27 – 62: repeat rows 9 – 26, twice.
Fasten off. Block the Hood so it measures 20″ across x 13″ – 13.5″ high if you blocked your scarf.
Once blocked, fold the Hood in half and, with the wrong side facing you, sew up row 62 in your preferred method of seaming (this hides your seam).
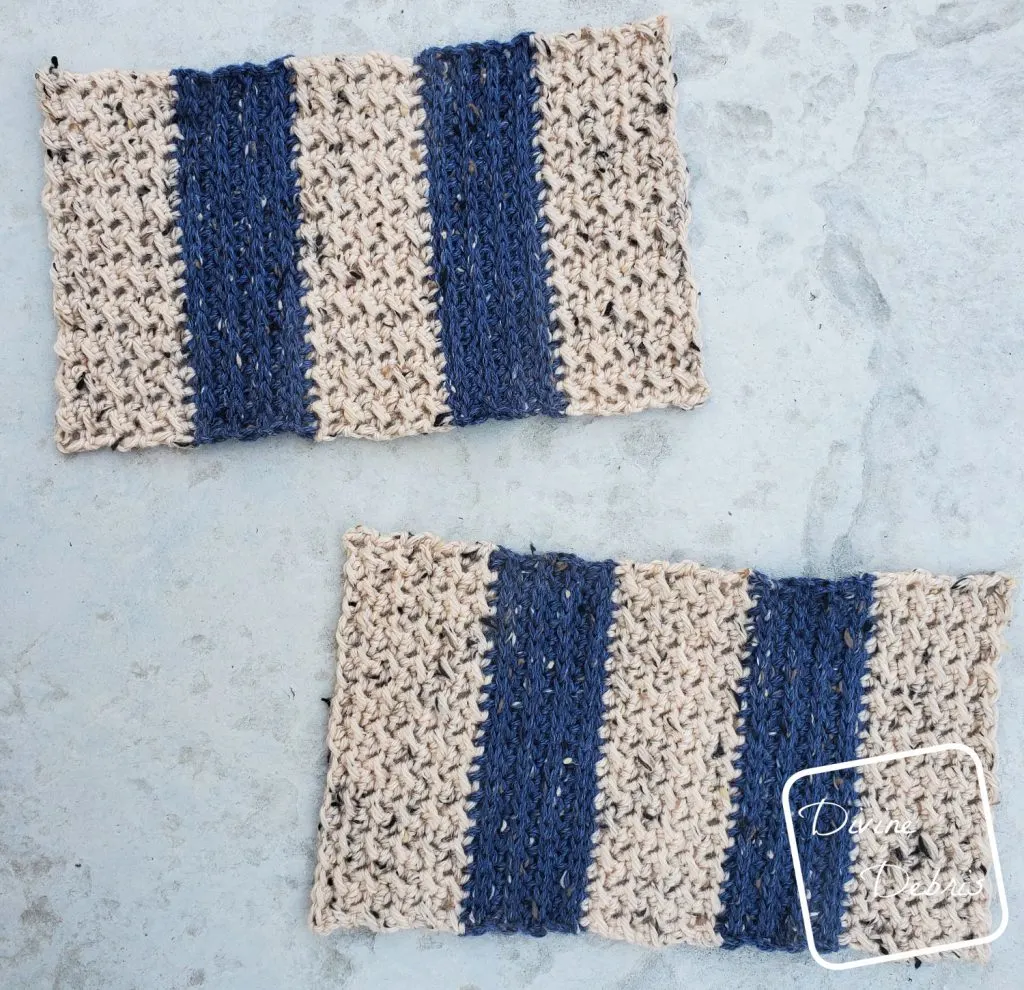
Pockets
(make 2)
(RS) Row 1: A: Ch 23 sts, slip st into the second st from the hook, hdc into the next st, *slip st into the next st, hdc into the next st,* repeat from * to * 9 more times – 11 hdc, 11 slip st
Rows 2 – 10: Ch 1, turn, slip st into the first st, hdc into the next st, *slip st into the next st, hdc into the next st,* repeat from * to * 9 more times – 11 hdc, 11 slip st
Fasten off color A.
Row 11: B: Ch 1, turn, hdc into the next 22 sts – 22 hdc
Row 12: Ch 1, turn, slip st into back third loop only of the first st and the next 21 sts – 22 slip st
Rows 13 – 18: repeat rows 11 – 12, 3 times
Fasten off color B.
Rows 19 – 28: A: Ch 1, turn, slip st into the first st, hdc into the next st, *slip st into the next st, hdc into the next st,* repeat from * to * 9 more times – 11 hdc, 11 slip st
Rows 29 – 64: repeat rows 11 – 28, twice.
Fasten off, block your pocket so it measures 6″ x 9″ -9.5″.
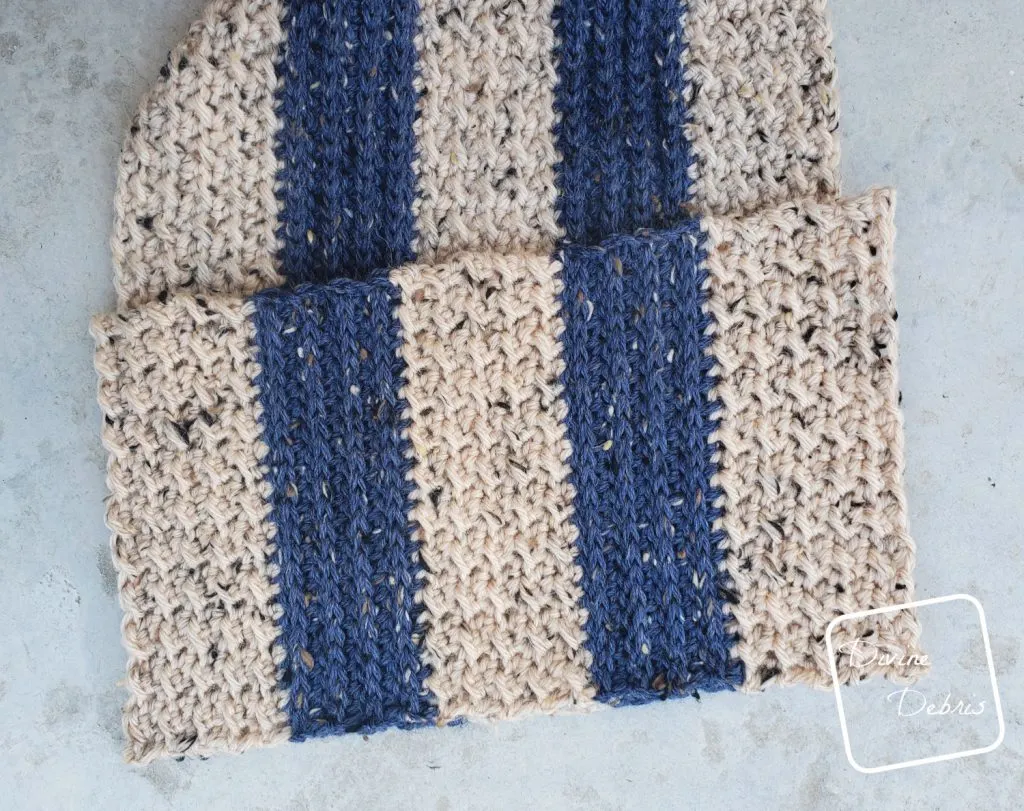
Seaming
Lay the Pockets on top of the ends of your Scarf (you can use stitch markers to line up the stitches), lining up the 22 sts of your Pockets with the first 22 sts and the last 22 sts of the Scarf. Starting on the outside edge (either side), slip st into the 22 sts on Row 1 going through both the Pocket and Scarf, slip st into the 64 row ends, and then slip st up the 22 sts of Row 64. Fasten off, weave in your ends.


Amanda Adams
Saturday 25th of January 2020
From looking at your sample and the pattern I'm a little confused. The pattern says to make row 11-12 a total of 3 times. ( this is your purple ) but your picture only shows twice. I have gotten to this point and only have 46 rows. If I did to the whole 64 I would have a third repeat of 11-12. Counting the rows in your picture it also looks like you have 46 rows instead of 64. So is this a misprint or did I do something incorrectly to get an accurate count? Hope I stated that right.
Divine Debris
Saturday 25th of January 2020
Yes, that was miss-print and has been fix. Sorry about the confusion
Vickie
Tuesday 10th of December 2019
Why not make the scarf a bit longer and just fold up the ends, sewing the sides together for the pockets? Seems like it would be easier.
Divine Debris
Tuesday 10th of December 2019
You can certainly do that if you'd like. But this scarf has a specific right side that all the texture faces and if you were to do that, your B color sections would have the incorrect side facing out on the pockets. I wanted the texture to be the same all through the design :) Hope that helps