Hi! It’s Tuesday again and I’m back here to share a new pattern with you. 😀 I actually made this pattern a couple of weeks ago but I’m at the point where I’ve got quite a few patterns all queued up my blog and I also have some ideas in mind for more! I’m always working and thinking of fun patterns. 😀 This week (and last week), despite having a pattern ready, I’m having a hard time getting things together. Lately I’ve been feelin’ bad about most things and I’m exhausted. It’s, been difficult to keep doing things, I’ve got no motivation. Even sitting and crocheting just doesn’t do anything for me! It’s been a hard time for me but I’ll be ok. Blah! I don’t know about talkin’ about stuff like this on here. I can’t decide, as the blog is now my co-main focus, if I should be more “professional” or be informal and talk about myself. Still haven’t decided. Also, my allergies are out of control, I can’t breathe and I’m sneezing constantly. Seriously, I just sneezed 3 times trying to write this sentence. I wouldn’t be surprised if that’s contributing to my mood.
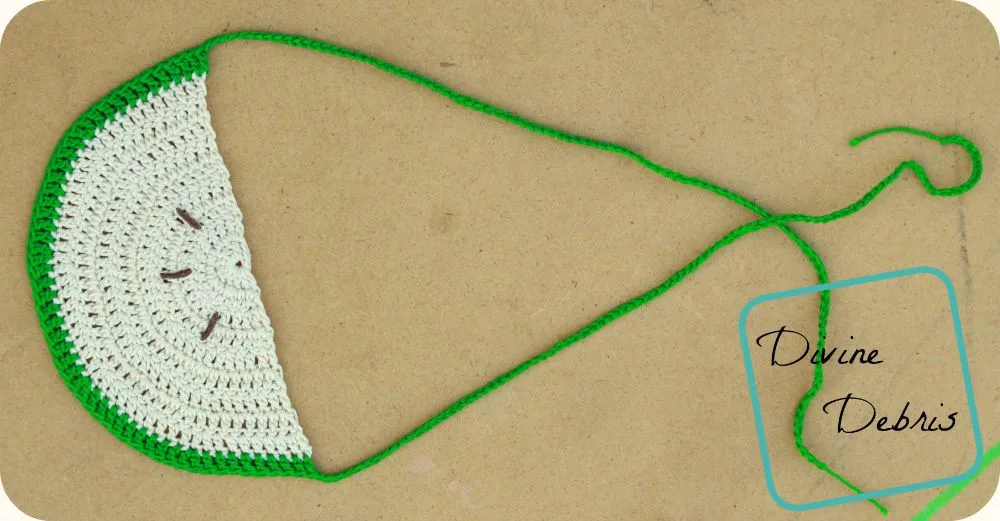
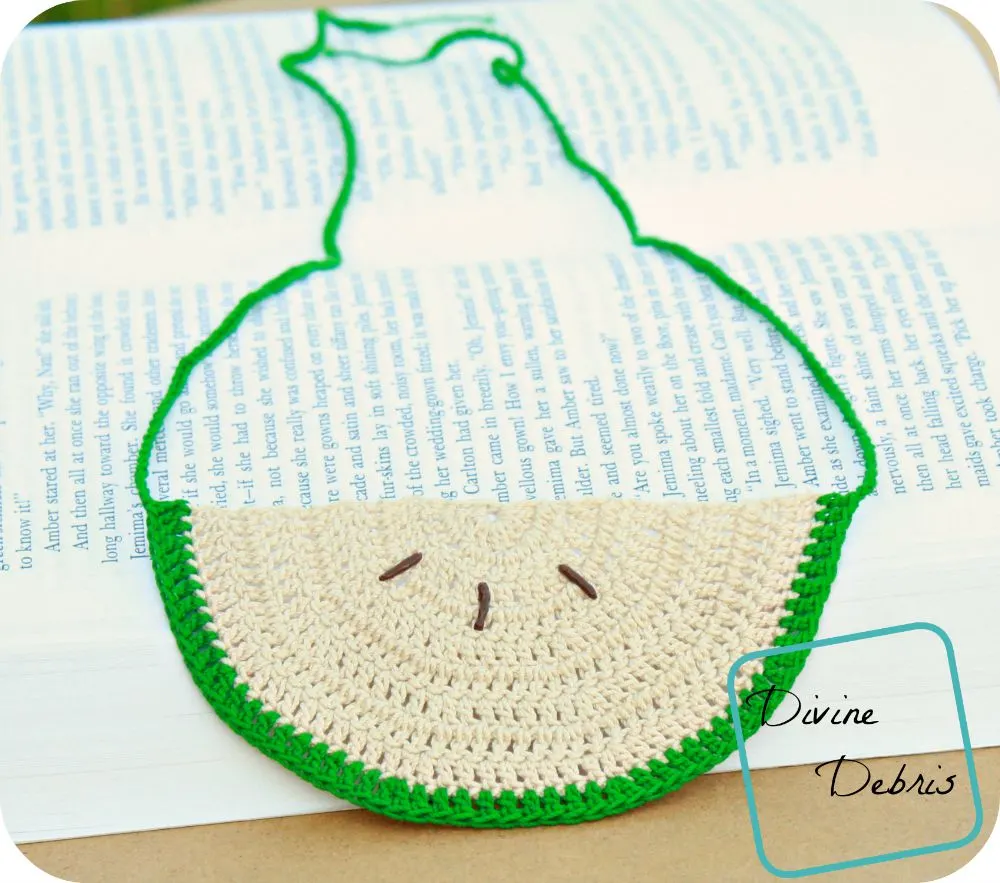
Anyway, the pattern that I wrote up is easy and another necklace. I can’t remember how I thought this up, I think I saw a little apple slice applique or charm and thought it would look adorable as a necklace. Funner still, you could make this into a watermelon for Summer. But the Fall is coming and how great would this necklace be for apple picking? I’ve worn this out a couple of times and it’s been complimented. So, are you ready for compliments too?
Materials:
*2.25 mm crochet hook
*Less than 1 oz of crochet thread (I used off white and green)
*You can use red or gold in place of the green and have something more
*Needle to weave in ends
*Puffy paint (I used chocolate brown)
*Fabric stiffener
Gauge:
*Gauge is not important for this pattern.
Terms/ Stitches used:
*Ch: Chain
*St: Stitch
*Dc: Double crochet
Notes:
*This necklace is worked back and forth, with a turn at the beginning of each row starting on row 3.
*The ch 3 at the beginning of the rows can also be replaced with a standing dc.
Finished measurements:
*Height: 2.25″, 13″ with straps
*Width: 4.5″
Pattern Instructions:
Row 1: Ch 4 slip st to form a ring. *note: if wanted to replace this with a magic circle you can.
Row 2: Ch 3 (counts as a dc), dc 9 times into the ring – 10 dcs
Row 3: Turn, ch 3, dc into the first st, dc once into the next st, dc twice into the next st, *dc into the next st, dc twice into the next st,* repeat from * to * 3 more times – 15 dcs
Row 4: Turn, ch 3, dc into the first st, dc once into the next 2 sts, *dc twice into the next st, dc once into the next 2 sts,* repeat from * to * 3 more times – 20 dcs
Row 5: Turn, ch 3, dc into the first st, dc once into the next 3 sts, *dc twice into the next st, dc once into the next 3 sts,* repeat from * to * 3 more times – 25 dcs
Row 6: Turn, ch 3, dc into the first st, dc once into the next 4 sts, *dc twice into the next st, dc once into the next 4 sts,* repeat from * to * 3 more times – 30 dcs
Row 7: Turn, ch 3, dc into the first st, dc once into the next 5 sts, *dc twice into the next st, dc once into the next 5 sts,* repeat from * to * 3 more times – 35 dcs
Row 8: Turn, ch 3, dc into the first st, dc once into the next 6 sts, *dc twice into the next st, dc once into the next 6 sts,* repeat from * to * 3 more times – 40 dcs
Row 9: Turn, ch 3, dc into the first st, dc once into the next 7 sts, *dc twice into the next st, dc once into the next 7 sts,* repeat from * to * 3 more times – 45 dcs
Row 10: Turn, ch 3, dc into the first st, dc once into the next 8 sts, *dc twice into the next st, dc once into the next 8 sts,* repeat from * to * 3 more times – 50 dcs
Fasten off with this color.
Row 11: Ch 90 (this will be the one of the straps) starting on the first dc/ ch 3 from row 10, dc twice into the first st, dc once into the next 9 sts, *dc twice into the next st, dc once into the next 9 sts,* repeat from * to * 3 more times, ch 90 (this is the second strap) – 55 dcs
Fasten off with this color.
*Note: If you want use chains, like metal chains used in jewelry making just skip the 90 chs at the beginning of row 11.
Finishing:
Stiffen the apple with fabric stiffener. If you don’t want to do this you don’t have to but it does make the necklace more secure and easy for others to see. Let the apple dry completely before you add the details of the seeds with the puffy paint. I did the 3 little strips, you can decide how you want to add the seeds. 😀 It just gives it some whimsy.
So what do you think? Do you like this apple? I hope you do and I hope you make some fun gifts or accessories for the Fall. Also, thank you for listening and not hating me for talking about my life. It’s not a glamorous life, but it’s mine and sometimes I need to complain or de-stress about my life. I hope you’re taking care and I will post again later!
This post is linked up to The Purple Poncho’s Linky Ladies Community Link Party #10


20 Free Patterns for Crochet Apples • Oombawka Design Crochet
Friday 4th of September 2015
[…] 17. Apple Necklace by Divine Debris […]
16 Free Accessory Patterns – The Crochet Cafe
Wednesday 2nd of September 2015
[…] Apple Necklace by Divine Design Kayla Barefoot Sandals by Divine Design Coastline Cloth by Danyel Pink Designs Dainty Flower Crown by Just Be Happy Patterns Eva Boot Cuffs by Divine Design Flower Garland by Accessorise Hair Spirals by Danyel Pink Hanging Towel by Snappy Tots The Ida Necklace by Divine Debris Pumpkin Ring by Divine Debris Radiant Rose by Danyel Pink Designs Crocheted Bracelet by Lilla Bjorn Crochet Willa Owl-Bat Pattern by Divine Debris Yoga Mat Tote Bag by Danyel Pink Designs […]
Jen
Thursday 20th of August 2015
Really cute! I could see using beads instead of puff paint, to give it a little 'glitz'. I also know what you are talking about with the allergies, as around here the pollens and molds have 'bloomed' into the extremely high category. Now, back to your pattern, I can see me making a few of these up, and as I have some glittery yarn in my stash, might have to experiment!