Hello everyone! Can you believe we’re almost done with December? And with 2018 entirely? It feels like it went by so fast (but also slow, if that makes sense to anyone).
Do you like this time of year? Reflecting on everything you’ve done and didn’t do? I’m doing that a lot this week. I can’t decide how I feel about everything, because emotions are so complicated. I feel so proud of what I’ve done this year! Not just moving across the country and starting over (again), but so much work has gone into my blog and social media, I feel really proud of how hard I worked. But I’m also tired, because working so hard is so exhausting. See? So many feelings! 😀
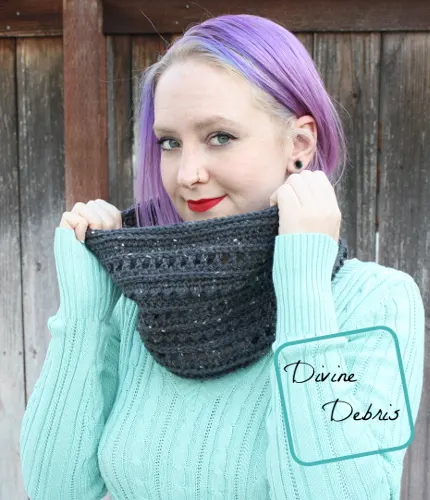
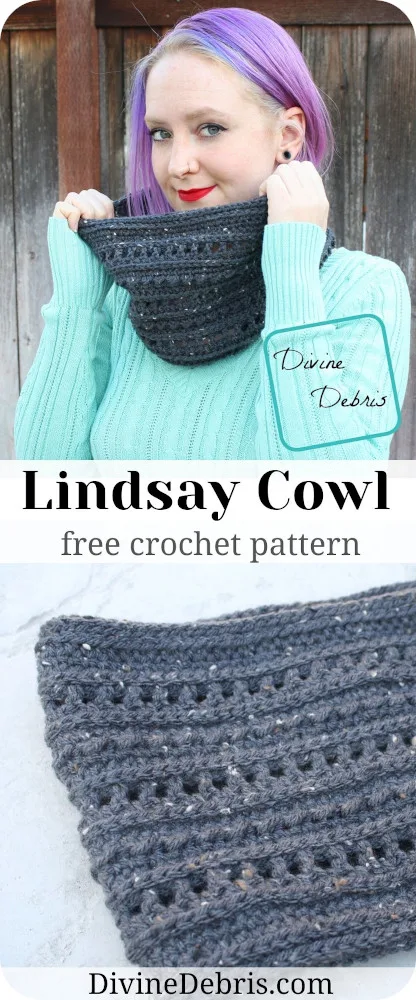
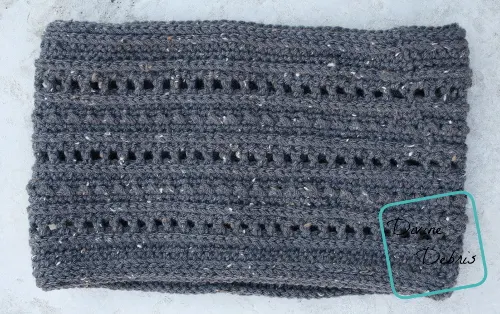
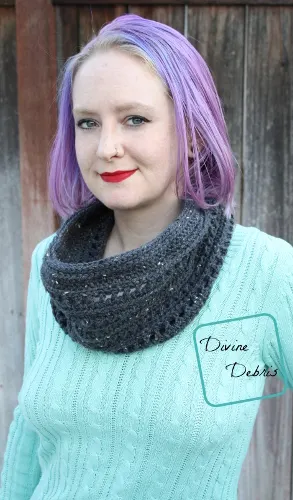
This week, because I’m all complicated and caught up in my head, I didn’t want to get complicated with my design. Personally, I loved the simple design of the Lindsay Beanie and wanted to make a scarf to go with it. Just lots of squishy, squishy texture! I think this cowl would work up well in bulky yarn (you’ll definitely want to go up a couple hook sizes). Or even going up a hook size for this cowl, with worsted, and it would have a super soft drape to it. The multiple is listed in the notes, so you can totally make this cowl as you’d like!
This post is link to Hookin’ on Hump Day #181
(This post may contain affiliate links)
If you appreciate my weekly patterns I hope you’d consider purchasing an ad-free pdf of this pattern in my Ravelry shop.
Thank you to Carol S for becoming my newest patron on Patreon!
Thank you to all my Patreon supporters.
Materials
- US J (6.00 mm) crochet hook

- Aran/ medium/ size #4 weight yarn
- 4.5 – 6.8 oz/ 218 – 329 yds
- I used Lion Brand Vanna’s Choice
- Yarn needle
Gauge
- 16 rows x 12 sc = 4″
Terms/stitches used
- RS: Right side
- Rnd: round
- St: stitch
- Ch: chain
- Slip st: slip st
- Sc: single crochet
- Hdc: half double crochet
- Dc: double crochet
Notes
- This pattern is work in 2 parts, the Body and the Band, in the round with a slip st into the first st of the rnd.
- You will need to know how to work into the back third loop of a hdc.
- You will need to know how create a slipknot on your hook.
- Some rnds feature a turn while some rnds do not.
- The ch-1 and ch-2 at the beginning of rnds do not count as stitches.
- The multiple for this cowl is 2 – to make the pattern larger or small just add or subtract from the chain row by 2s.
- The sample in the photos is size small.
- In the photos the hat is the small size and was made using Vanna’s Choice in Graphite.
Finished product dimensions (approx)
| Small
Height: 8″ Diameter: 13.5″ Yarn: 4.5 oz/218 yds | Large
Height: 12″ Diameter: 16.25″ Yarn: 6.8 oz/329 yds |
Pattern instructions:
Sizing as follows: 20” (22”)
-Body –
Rnd 1: Ch 100 (120), slip st to for a ring *DO NOT TWIST THIS RING*
(RS) Rnd 2: Ch 1, sc into the same st as join and into the next 99 (119) sts, slip st into the first st – 100 (120) sc
Rnd 3: Ch 1, hdc into the same st as join and into the next 99 (119) sts, slip st into the first st – 100 (120) hdc
Note: for the next rnd keep your slip sts even and not super tight.
Rnd 4: Ch 1, slip st into the back third loop only of the same st as join and into the back third loop only of the next 99 (119) sts, slip st into the first st – 100 (120) slip sts
Note: you will be working into the slip sts for the next rnd.
Rnd 5: Ch 4 (counts as a dc and ch 1 here throughout), turn, skip the next st, *dc into the next st, ch 1, skip the next st,* repeat from * to * 48 (58) more times, slip st into the top of the ch-3 – 50 (60) dc, 50 (60) ch-1 spaces
Note: you will be working into both the ch and dcs for the next rnd.
Rnd 6: Ch 1, turn, hdc into the next 100 (120) sts, slip st into the first st – 100 (120) hdc
Rnd 7: Ch 1, sc into the back third loop only of the same st as join and into the back third loop only of the next 99 (119) sts, slip st into the first st – 100 (120) sc
Rnd 8: Ch 1, sc into the same st as join and into the next 99 (119) sts, slip st into the first st – 100 (120) sc
Rnd 9: Ch 1, turn, slip st into the first st, hdc into the next st, *slip st into the next st, hdc into the next st,* repeat from * to * 48 (58) more times, slip st into the top of the ch-3 – 50 (60) slip st, 50 (60) hdc
Rnd 10: Ch 1, turn, sc into the same st as join and into the next 99 (119) sts, slip st into the first st – 100 (120) sc
Rnd 11: Ch 1, hdc into the same st as join and into the next 99 (119) sts, slip st into the first st – 100 (120) hdc
Note: if you want your cowl to be larger, just add repeats of rnds 4 – 11 until you’re happy and then move onto a repeat of rnds 4 – 8
For small:
Rnds 12 – 19: repeat rnds 4 – 11, once
Rnds 20 – 24: repeat rnds 4 – 8, once
Do not fasten off (unless you want your band a different color), move onto the Bands.
For large:
Rnds 12 – 27: repeat rnds 4 – 11, twice
Rnds 28 – 32: repeat rnds 4 – 8, once
Do not fasten off (unless you want your band a different color), move onto the Bands.
– Bands –
Begin where you left off on the Body.
Band 1:
Rnd 1: Ch 1, hdc into the same st as join and into the next 99 (119) sts, slip st into the first st – 100 (120) hdc
Rnd 2: Ch 1, hdc into the back third loop only of the same st as join and into the back third loop of the next 99 (119) sts, slip st into the first st – 100 (120) hdc
Rnd 3: Ch 1, slip st into the back third loop only of the same st as join and into the back third loop only of the next 99 (119) sts, slip st into the first st – 100 (120) slip sts
Fasten off, weave in your ends.
Band 2:
Flip your whole piece around and begin in the stitch to the left of your seam. You will be working into the other side of your original chain rnd (rnd 1)
Rnd 1: Create a slipknot on your hook and hdc into the first st to the left of the seam and into the next 99 (119) sts, slip st into the first st – 100 (120) hdc
Rnd 2: Ch 1, hdc into the back third loop only of the same st as join and into the back third loop of the next 99 (119) sts, slip st into the first st – 100 (120) hdc
Rnd 3: Ch 1, slip st into the back third loop only of the same st as join and into the back third loop only of the next 99 (119) sts, slip st into the first st – 100 (120) slip sts
Fasten off, weave in your ends.
Tada! There it is. I hope you like this cowl and give it a try, it’s really simple but that only means you’ve got lots of room to get wild with it 😀
See ya next week. <3 <3


Theresa
Wednesday 19th of December 2018
Beautiful pattern! Thank you!
Divine Debris
Friday 28th of December 2018
Thank you! <3
Louise
Tuesday 18th of December 2018
Gorgeous cowl! Thanks for the tutorial!
Divine Debris
Wednesday 9th of January 2019
Thank you <3
STEPHANIE S BEDELL
Tuesday 18th of December 2018
I love the Lindsay Hat and Cowl. Thank you for the pattern. I also love that they are simple but not boring. Have a very Merry Christmas.
Divine Debris
Wednesday 19th of December 2018
Thank you, so much! Have a merry Christmas too <3 <3