Hey everyone! It’s the day I’ve been super excited but also nervous for since I announced the #2018TSAP in December – the second month’s square! It’s not because it’s a bad design or a hard design, it’s just I don’t want that sophomore slump, ya know? 😉
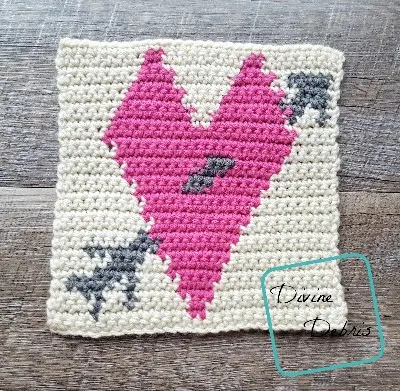
Actually this design is a bit harder than last month’s and because of that I wanted to talk about the design for a second. For this design I used a bobbin technique for the gray pieces, because I didn’t need a lot of the yarn and I didn’t want to carry the 3 colors the whole time. I just used the gray pieces when I needed them and dropped them when I didn’t.
That’s also what I did in January’s design – I only used the second color when I needed and then dropped the color when I didn’t carry the yarn all the way to the edges of the square, just held it where I needed. This technique can distort the square a bit but as long as your tension is consistent and you block it, it really isn’t noticeable or hurt the final out-come.
Also, when you’re working this there is a “right side” to the design. When I do a tapestry design I always pick a side for the “right side” and then I drop all the ends on the other side and try to make sure the carried yarn is less noticeable on the “right side” as compared to the back.
So that’s my little bit about the tapestry squares. I hope you are as excited as I am about this square! There’s a coupon in the pdf for this square so you get a deep discount on March’s design (which might show up on IG soon, so keep an eye out!).
You can purchase an ad-free pdf of this pattern for $1.75 in my Ravelry shop! Your purchase helps to keep these patterns coming to my blog week after week!
Week #3’s square is out!
This post is linked to Linky Ladies Community Link Party #23
A big thank you to Rita, Connie, & JJ for being my new patrons on Patreon!
Learn how you can become a patron here. If you’ve wanted to sign up, better do it sooner rather than later – the $1 tier is almost full!
2018 Tapestry Square Afghan Project or #2018TSAP
-Details-
12 squares (one a month)
8″ (square 7.5″ + sc border)
New square will be released on the 2nd Tuesday of each month
Completely free on my blog (although there will be pdfs available for purchase)
Use the tag #2018TSAP or #DivineDebris so I can see the projects – I might share them on my social media
Materials
- US H (5.00 mm) crochet hook
- Aran/ medium/ size #4 weight yarn
- 1 oz. / 55 yards
- At least 3 colors
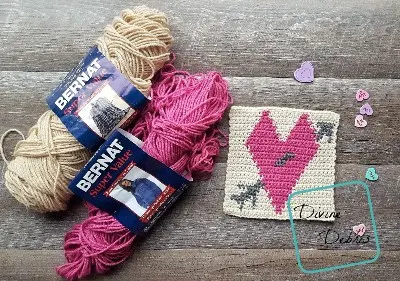
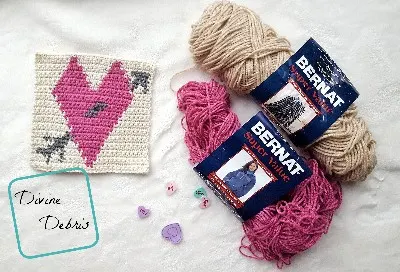
- I used Bernat Super Value
- Yarn needle
Gauge
Terms/stitches used
- RS: right side
- Ch: chain
- St: stitch
- Slip st: slip stitch
- Sc: single crochet
Notes
- This pattern is worked flat back in forth in rows, with a turn at the beginning/ end of the row, from the bottom up.
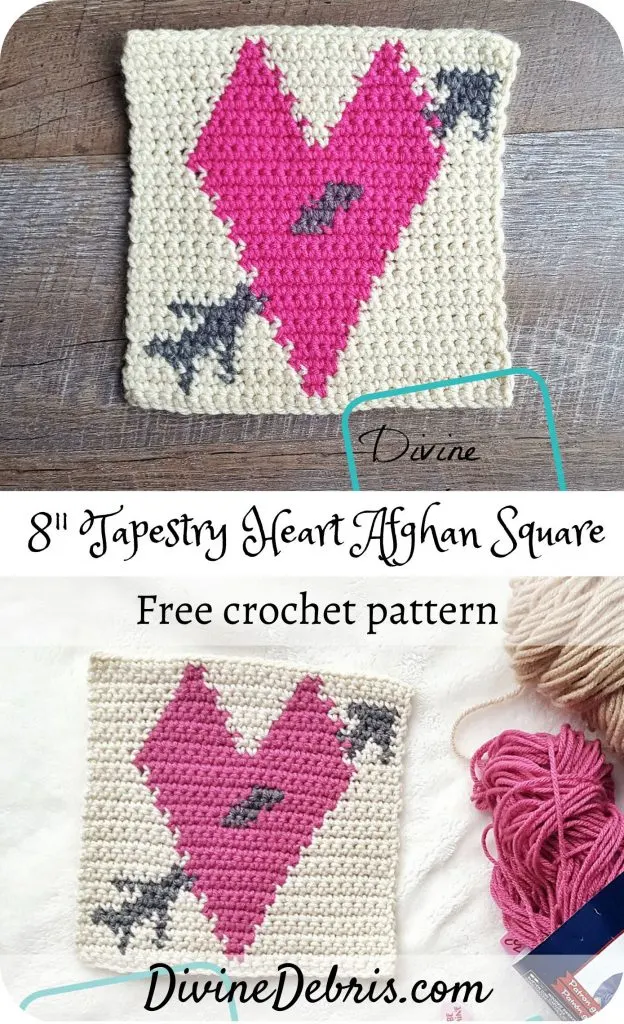
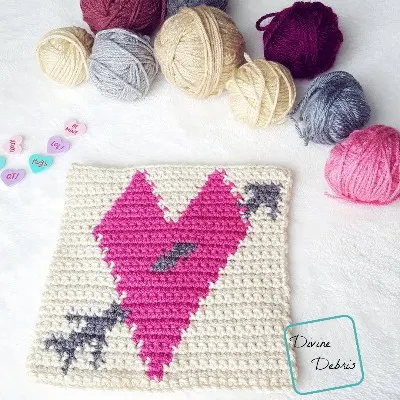
- This square measures about 7.5″ unblocked and will come out with 8″ with a sc border (explained below). The photos do not feature a border.
- The ch 1 at the beginning of the row does not count as a stitch.
- Every stitch in this pattern is a single crochet. The directions will only tell you what color (ie: Color A, Color B, etc…) and the number in the parentheses tells you how many scs to make.
- The use of bobbins like they did on Hodgepodge Crochet is suggested for this pattern.
- Your square may need some light blocking.
- You will need to know how to create a slipknot on your hook for this pattern.
- In the example, the inactive yarn is carried behind the active. If this is confusing, you might want to check out the helpful Moogly video on tapestry.
- Color A is off-white (Caron One Pound in Off-White), color B is pink (Bernat Super Value in Magenta), and color C is gray (Bernat Super Value in True Gray).
If you have any other join suggests or favorites, let me know!
Finished product dimensions
| Without border 7.5” x 7.5” | With border 8” x 8” |

Pattern instructions
– Square –
Row 1: A: Ch 29, sc into the second ch from the hook and into the next 27 sts – 28 scs
Note:
- The following directions will only tell you what color (ie: Color A, Color B, etc…) and the number in the parentheses tells you how many stitches to make.
(RS) Row 2: A: Ch 1, turn, (13), B: (2), A: (8), C: (1), A: (4) – 28 scs
Row 3: A: Ch 1, turn, (4), C: (1), A: (2), C: (1), A: (5), B: (2), A: (13) – 28 scs
Row 4: A: Ch 1, turn, (12), B: (4), A: (4), C: (1), A: (2), C: (2), A: (3) – 28 scs
Row 5: A: Ch 1, turn, (1), C: (5), A: (1), C: (1), A: (4), B: (4), A: (12) – 28 scs
Row 6: A: Ch 1, turn, (11), B: (6), A: (3), C: (4), A: (4) – 28 scs
Row 7: A: Ch 1, turn, (5), C: (3), A: (3), B: (6), A: (11) – 28 scs
Row 8: A: Ch 1, turn, (10), B: (8), A: (1), C: (6), A: (3) – 28 scs
Row 9: A: Ch 1, turn, (7), C: (3), B: (8), A: (10) – 28 scs
Row 10: A: Ch 1, turn, (9), B: (10), C: (1), A: (8) – 28 scs
Fasten off color C.
Row 11: A: Ch 1, turn, (9), B: (10), A: (9) – 28 scs
Rows 12 – 13: A: Ch 1, turn, (8), B: (12), A: (8) – 28 scs
Row 14: A: Ch 1, turn, (7), B: (14), A: (7) – 28 scs
Row 15: A: Ch 1, turn, (7), B: (5), C: (3), B: (6), A: (7) – 28 scs
Row 16: A: Ch 1, turn, (6), B: (6), C: (3), B: (7), A: (6) – 28 scs
Row 17: A: Ch 1, turn, (6), B: (8), C: (3), B: (5), A: (6) – 28 scs
Row 18: A: Ch 1, turn, (5), B: (5), C: (3), B: (10), A: (5) – 28 scs
Fasten off color C.
Row 19: A: Ch 1, turn, (5), B: (18), A: (5) – 28 scs
Rows 20 – 21: A: Ch 1, turn, (4), B: (20), A: (4) – 28 scs
Row 22: A: Ch 1, turn, (5), B: (8), A: (2), B: (8), A: (5) – 28 scs
Row 23: A: Ch 1, turn, (5), B: (8), A: (2), B: (8), C: (1), A: (2), C: (1), A: (1) – 28 scs
Row 24: A: Ch 1, turn, (1), C: (1), A: (1), C: (3), B: (6), A: (4), B: (6), A: (6) – 28 scs
Row 25: A: Ch 1, turn, (6), B: (6), A: (4), B: (6), A: (1), C: (4), A: (1) – 28 scs
Row 26: A: Ch 1, turn, (1), C: (3), A: (3), B: (4), A: (6), B: (4), A: (7) – 28 scs
Row 27: A: Ch 1, turn, (7), B: (4), A: (6), B: (4), A: (1), C: (5), A: (1) – 28 scs
Fasten off color C.
Rows 28 – 29: A: Ch 1, turn, (8), B: (2), A: (8), B: (2), A: (8) – 28 scs
Fasten off color B.
Row 30: A: Ch 1, turn, (28) – 28 scs
Fasten off, weave in your ends.
– Border –
(create in any color) – Create a slipknot on your hook and sc into the next 28 sts of row 30, ch 1 at the corner and rotate your square, sc down the edges of the rows (30 scs), ch 1 at the corner and rotate your square, sc across the back loops of the original chain row (28 scs), ch 1 at the corner and rotate your square, sc down the edges of the rows (30 scs), ch 1 at the corner and rotate your square, slip st into the first st – 116 scs, 4 ch-1 spaces
Fasten off, weave in all your ends.
So there it is! I can’t wait to see your photos <3 <3
See ya next week!


8″ Tapestry Heart Afghan Square | It's Handmade
Saturday 21st of April 2018
[…] months, 12 squares, and lots of fun tapestry designs. The 2018 Tapestry Square Afghan Project is going to be a fun way to try out the technique and make a fun blanket by December. The second […]
Joan
Tuesday 13th of February 2018
Well you've certainly given us a doozy this month. I'm going to enjoy doing this one. Thanks again, and keep up the good work, it is really appreciated
Divine Debris
Tuesday 13th of February 2018
As long as you take it slow and keep an eye on the "right side" then you shouldn't have any problems. I can't wait to see how your project turns out! Please add some photos to the Ravelry listing when you get it done :)