You might have guessed from today’s post but… Falloween is super underway. Sure, I posted some pumpkin designs in the month of August, but now we’re cooking in a cauldron and it’s time for Halloween patterns. I wanted to get started on Halloween designs this month because I’ve got a couple different blog hops going on in October that I won’t be able to make Halloween patterns for (one is specifically Winter themed, but it’ll be fun I promise).
And it’s not like I have a problem with making Halloween goodies, I’ve been walking through stores watching their Halloween stuff grow in size and it just makes my heart smile. It’s my favorite time of year. I love all the fun and goofy Halloween stuff (I can’t do scary, I’m too chicken for it). Also, the candy and pumpkin anything really make my heart smile.
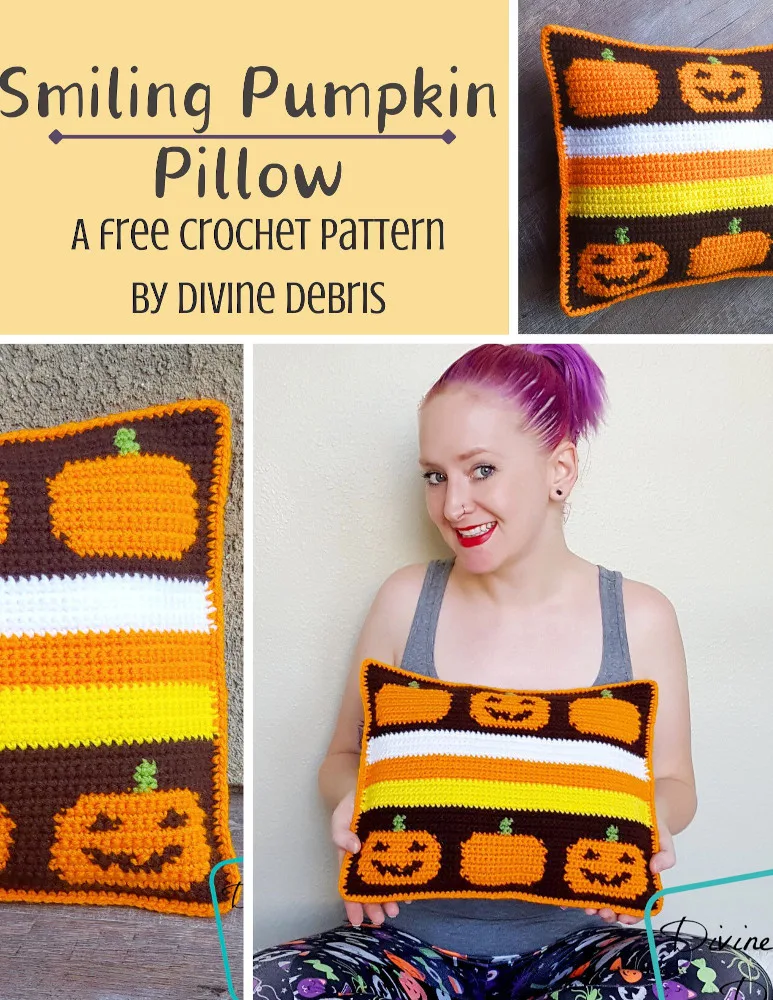
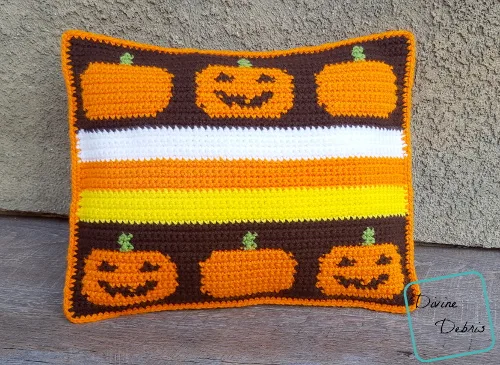
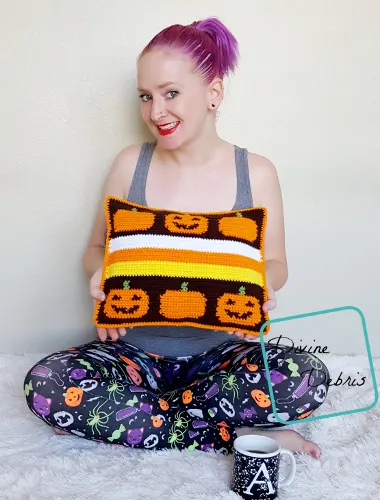
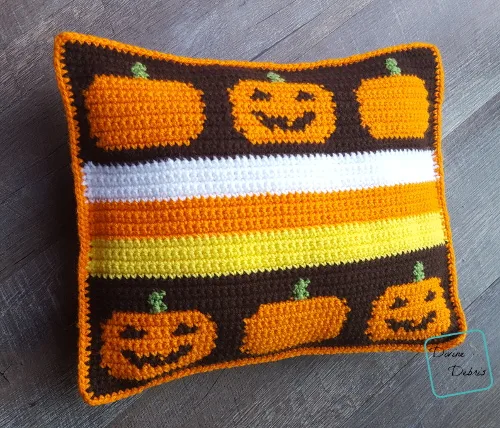
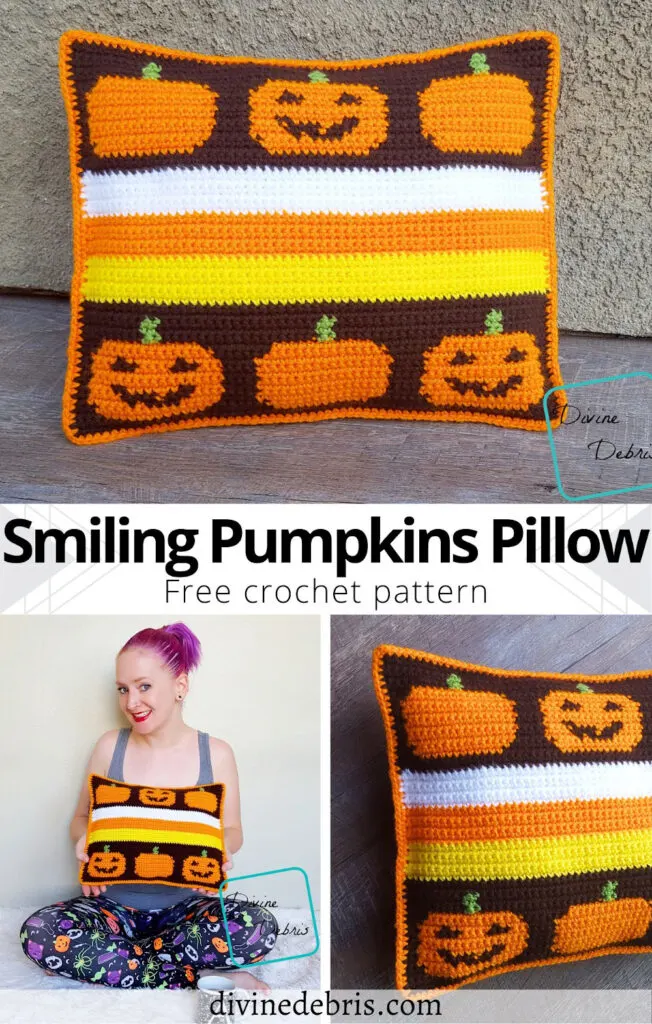
So this week’s design is a fun pillow that really gets the right to the heart of Halloween vibes – pumpkins, jack-o-lanterns, and a candy corn inspired interlude. Now, if you’ve been following my blog for a while you know that I HATE candy corn, it tastes like bad wax to me. But, I love using it to decorate with. It’s iconic! People knew exactly what I was getting at with this color design and I didn’t even have to shape them into triangles (although I did think about it). This is another reason I love tapestry crochet, you can make fun and recognizable designs like this! There’s so much you can do it with it.
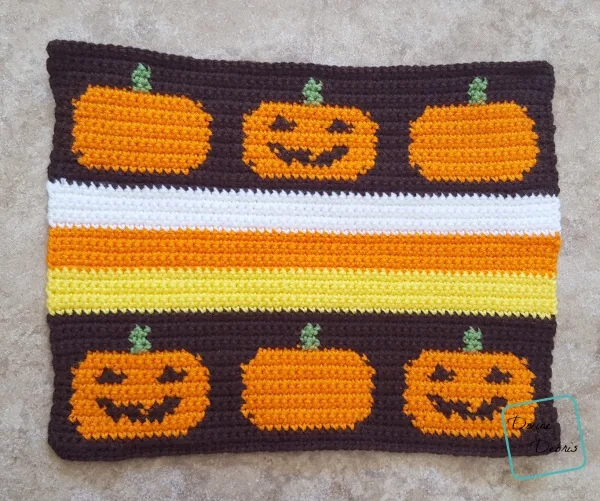
Also, for ones like this where you have a right and a wrong side, you can really just make the wrong a freakin’ mess of yarn and no one will ever see it! *evil laugh* And as you’ll see below, this pillow is one-sided (it’s so much easier than to make it beautiful on both sides). You can definitely make two sides with the pumpkin design (you could even switch the pumpkin rows so that across the top is 2 jack-o-lanterns and the bottom is the 1) if you want to make it your own. Or make the pumpkins candy corn colored! It’s totally up you and your imagination. Better still, this pillow would also make a great trick-or-treat bag if you just sew up the 3 sides and added a strap across the top. 😀
I can’t wait to see your photos – don’t forget to tag me in the picture or use the hashtag #DivineDebris so I can find you!
This post is linked to Hookin’ on Hump Day #176
#mc_embed_signup{background:#fff; clear:left; font:14px Helvetica,Arial,sans-serif; width:100%;}
/* Add your own MailChimp form style overrides in your site stylesheet or in this style block.
We recommend moving this block and the preceding CSS link to the HEAD of your HTML file. */
If you appreciate my weekly patterns I hope you’d consider purchasing an ad-free pdf of this pattern in my Ravelry shop.
A huge thank you Wendy M for becoming my newest patron on Patreon!
Level
Intermediate (need to know how to do color work)
Materials
- US G (4.00 mm) crochet hook
- Aran/ medium/ size #4 weight yarn
- approx 6.5 oz/ 338 yds
- 5 colors
- I used Bernat Super Value and Red Heart Super Saver
- Fiber fill/ Poly fill (stuffing)
- Yarn needle
Gauge
- 19 rows x 16 sc = 4”
Notes
- This pattern is worked in 3 parts: the Front, the Back, and the Securing.
- This pattern is worked flat back and forth in rows, with a turn at the beginning/ end of the row, from the bottom up.
- The ch 1 at the beginning of the row does not count as a stitch.
- Every stitch in this pattern is a single crochet. The directions will only tell you what color (ie: Color A, Color B, etc…) and the number in the parentheses tells you how many scs to make.
- Your Front/ Back pieces may need some light blocking.
- You will need to know how to create a slipknot on your hook for this pattern.
- In the example, the inactive yarn is carried behind the active. If this is confusing, you might want to check out the helpful Moogly video on tapestry.
- In the photos: Color A is brown (Bernat Super Value in Chocolate), color B is orange (Red Heart Super Saver in Pumpkin), color C is green (Bernat Super Value in Lush), color D is yellow (Red Heart Super Saver in Yellow), and color E is white (Red Heart Super Saver in White).
Finished measurements (approx)
Height: 11″ – 11.25″
Width: 13.5″ – 13.75″
Smiling Pumpkins Pillow Pattern instructions
Front
(RS) Row 1: A: Ch 61, sc into the second ch from the hook and into the next 59 sts – 60 sc
Note:
- The following directions will only tell you what color (ie: Color A, Color B, etc…) and the number in the parentheses tells you how many stitches to make.
Row 2: A: Ch 1, turn, (60) – 60 sc
Row 3: A: Ch 1, turn, (4), B: (12), A: (8), B: (12), A: (8), B: (12), A: (4) – 60 sc
Row 4: A: Ch 1, turn, (3), B: (14), A: (6), B: (14), A (6), B: (14), A: (3) – 60 sc
Row 5: A: Ch 1, turn, (2), B: (5), A: (4), B: (1), A: (1), B: (5), A: (4), B: (16), A: (4), B: (5), A: (4), B: (1), A: (1), B: (5), A: (2) – 60 sc
Row 6: A: Ch 1, turn, (2), B: (4), A: (4), B: (1), A: (3), B: (4), A: (4), B: (16), A: (4), B: (4), A: (4), B: (1), A: (3), B: (4), A: (2) – 60 sc
Row 7: A: Ch 1, turn, (2), B: (3), A: (2), B: (6), A: (2), B: (3), A: (4), B: (16), A: (4), B: (3), A: (2), B: (6), A: (2), B: (3), A: (2) – 60 sc
Rows 8 – 9: A: Ch 1, turn, (2), B: (16), A: (4), B: (16), A: (4), B: (16), A: (2) – 60 sc
Row 10: A: Ch 1, turn, (2), B: (3), A: (3), B: (4), A: (3), B: (3), A: (4), B: (16), A: (4), B: (3), A: (3), B: (4), A: (3), B: (3), A: (2) – 60 sc
Row 11: A: Ch 1, turn, (2), B (4), A: (1), B: (6), A: (1), B: (4), A: (4), B: (16), A: (4), B: (4), A: (1), B: (6), A: (1), B: (4), A: (2) – 60 sc
Row 12 A: Ch 1, turn, (3), B: (14), A: (6), B: (14), A (6), B: (14), A: (3) – 60 sc
Row 13: A: Ch 1, turn, (4), B: (12), A: (8), B: (12), A: (8), B: (12), A: (4) – 60 sc
Fasten off color B.
Rows 14 – 16: A: Ch 1, turn, (9), C: (2), A: (18), C: (2), A: (18), C: (2), A: (9) – 60 sc
Fasten off color C.
Rows 17 – 18: A: Ch 1, turn, (60) – 60 sc
Fasten off Color A.
Rows 19 – 24: D: Ch 1, turn, (60) – 60 sc
Fasten off color D.
Rows 25 – 30: B: Ch 1, turn, (60) – 60 sc
Fasten off color B.
Rows 31 – 36: E: Ch 1, turn, (60) – 60 sc
Fasten off color E.
Row 37 – 38: A: Ch 1, turn, (60) – 60 sc
Row 39: A: Ch 1, turn, (4), B: (12), A: (8), B: (12), A: (8), B: (12), A: (4) – 60 sc
Row 40: A: Ch 1, turn, (3), B: (14), A: (6), B: (14), A (6), B: (14), A: (3) – 60 sc
Row 41: A: Ch 1, turn, (2), B: (16), A: (4), B: (5), A: (4), B: (1), A: (1), B: (5), A: (4), B: (16), A: (2) – 60 sc
Row 42: A: Ch 1, turn, (2), B: (16), A: (4), B: (4), A: (4), B: (1), A: (3), B: (4), A: (4), B: (16), A: (2) – 60 sc
Row 43: A: Ch 1, turn, (2), B: (16), A: (4), B: (3), A: (2), B: (6), A: (2), B: (3), A: (4), B: (16), A: (2) – 60 sc
Rows 44 – 45: A: Ch 1, turn, (2), B: (16), A: (4), B: (16), A: (4), B: (16), A: (2) – 60 sc
Row 46: A: Ch 1, turn, (2), B: (16), A: (4), B: (3), A: (3), B: (4), A: (3), B: (3), A: (4), B: (16), A: (2) – 60 sc
Row 47: A: Ch 1, turn, (2), B: (16), A: (4), B (4), A: (1), B: (6), A: (1), B: (4), A: (4), B: (16), A: (2) – 60 sc
Row 48 A: Ch 1, turn, (3), B: (14), A: (6), B: (14), A (6), B: (14), A: (3) – 60 sc
Row 49: A: Ch 1, turn, (4), B: (12), A: (8), B: (12), A: (8), B: (12), A: (4) – 60 sc
Fasten off color B.
Rows 50 – 52: A: Ch 1, turn, (9), C: (2), A: (18), C: (2), A: (18), C: (2), A: (9) – 60 sc
Fasten off color C.
Rows 53 – 54: A: Ch 1, turn, (60) – 60 sc
Fasten off, weave in your ends.
If you need to block your pillow so it has smooth sides and lays flat, do so now.
Back
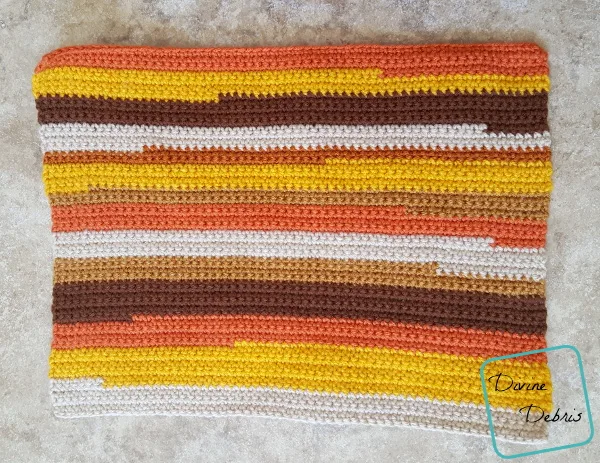
Note: I chose to make the back of this pillow a stash-buster, using random pieces of yarn I had laying around to create the 54 rows of single crochets. You can do 2 of the Front pieces (even flipping the pumpkin sections so that they’re different on each side) if you’d prefer.
(RS) Row 1: A: Ch 61, sc into the second ch from the hook and into the next 59 sts – 60 sc
Rows 2 – 54: A: Ch 1, turn, sc into the next 60 sts – 60 sc
Fasten off, weave in your ends.
Securing
Lay your Front and Back pieces against each other so that the wrong sides are touching. With color B, create a slipknot on your hook and start on the bottom right-hand corner, sc up the row ends (of both pieces here and throughout) to the next corner (54 sc), ch 1 at the corner, sc across the next 60 sts of the tops, ch 1 at the corner, sc down the row ends (54 sc), ch 1 at the corner, sc across the next 60 sts of the other side of the original chain rows (make sure you stuff your pillow before you close this side), ch 1, slip st into the first st – 228 sc, 4 ch-1 spaces
Fasten off, weave in all your ends.
Tada! There’s my new favorite Halloween pillow and I hope you like it. See ya next week




Debbie Yackanicz
Tuesday 4th of September 2018
I love this pillow!