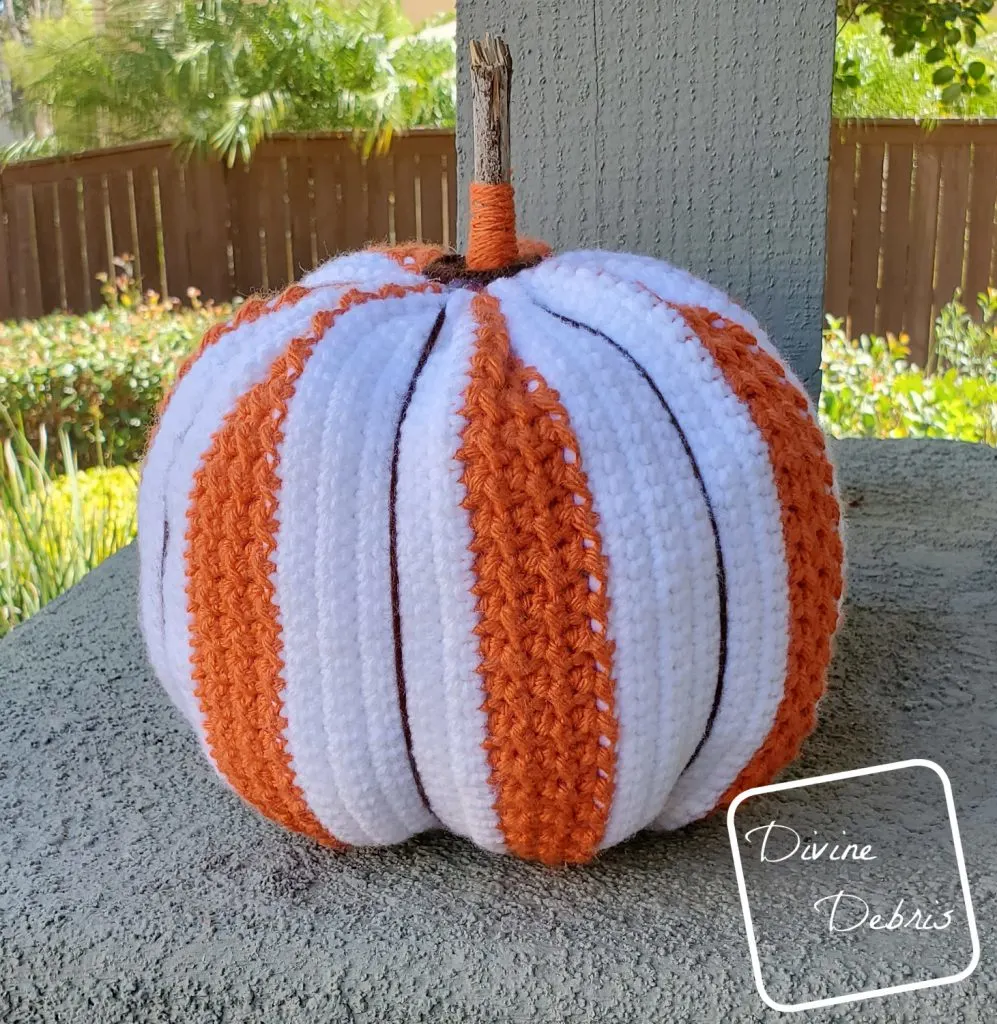
Happy new pumpkin Tuesday everyone… uh, I mean new pattern Tuesday featuring the new Simple Striped Pumpkin Amigurumi!
This year I’ve been feeling in the Falloween spirit a lot. Not that I’m not always in the spirit but this year I really couldn’t wait for it. It’s probably the heat. Yeah, now that I think about it, it’s definitely the heat that’s made me so anxious for Fall to being. And one of my favorite things about Fall is pumpkin. After all, I have quite a few different pumpkin iterations on my blog and that’s just for fiber.
So, this week’s pumpkin is very different from the other pumpkin I released this season, the Pretty in Gingham Pumpkin. The two are very different but definitely send the message that I love a good non traditional pumpkin. I hope you do too, but just in case you don’t, this pumpkin would look fantastic in 2 colors of orange.
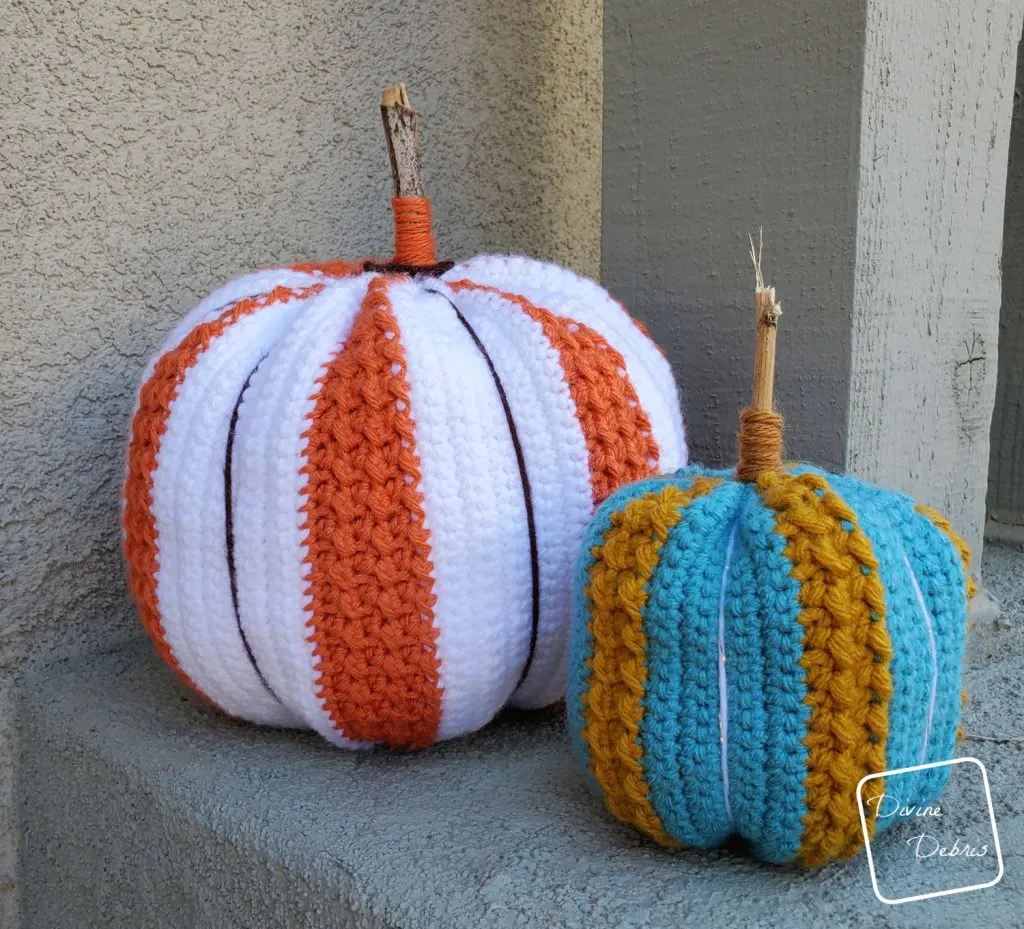
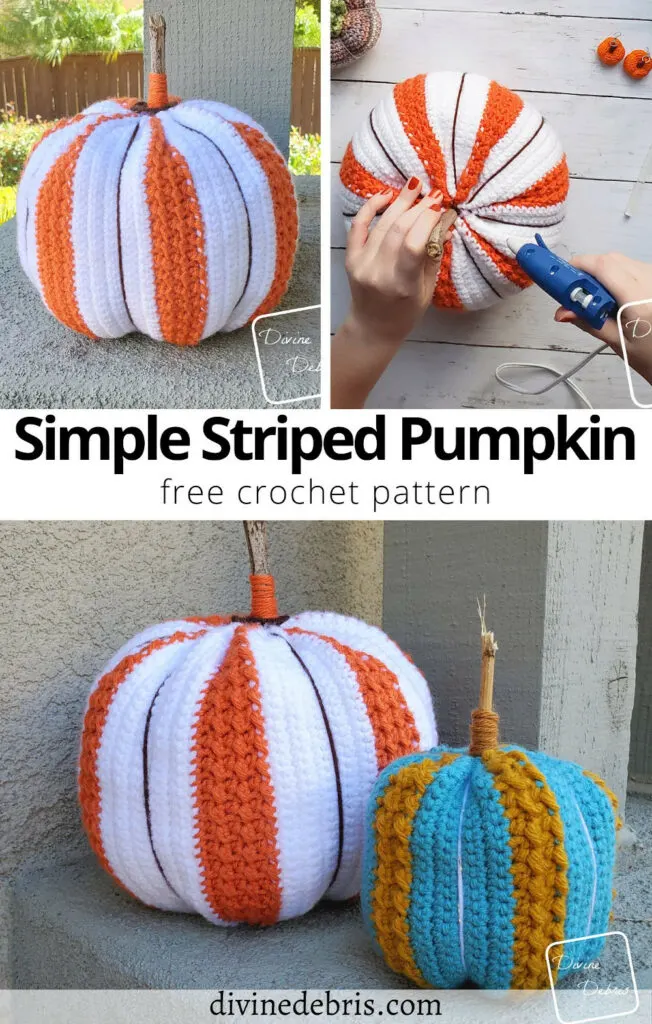
The funnest thing about the Simple Stripe Pumpkin Amigurumi is that it is SO customizable. I have 2 pumpkins in the photos here because I wanted to show off what you can do with the same pattern, just tweaked a bit. You can make larger or smaller sections for both colors or you can make the rows longer (to make a taller pumpkins). Either way, I hope you like this really really easy pattern.
Want more designs? Check out some Falloween patterns here!
See ya next week!
(this post may contain affiliate links)
If you appreciate my weekly patterns I hope you’d consider purchasing an ad-free pdf of this pattern in my Ravelry shop.
Thank you Kerry for becoming my newest patron on Patreon!
Materials
- US G (4.00 mm) crochet hook
- Size 4/medium/ worsted weight yarn
- 2 – 3 colors
- 6 oz/300 yds
- Specific colors and amounts in the Notes below
- Needle that will weave in your ends
- Ami Stuffing/Polyfill
Terms/ Stitches used
- Ch: chain
- St: stitch
- Slip st: slip stitch
- Sc: single crochet
- Hdc: half double crochet
Notes
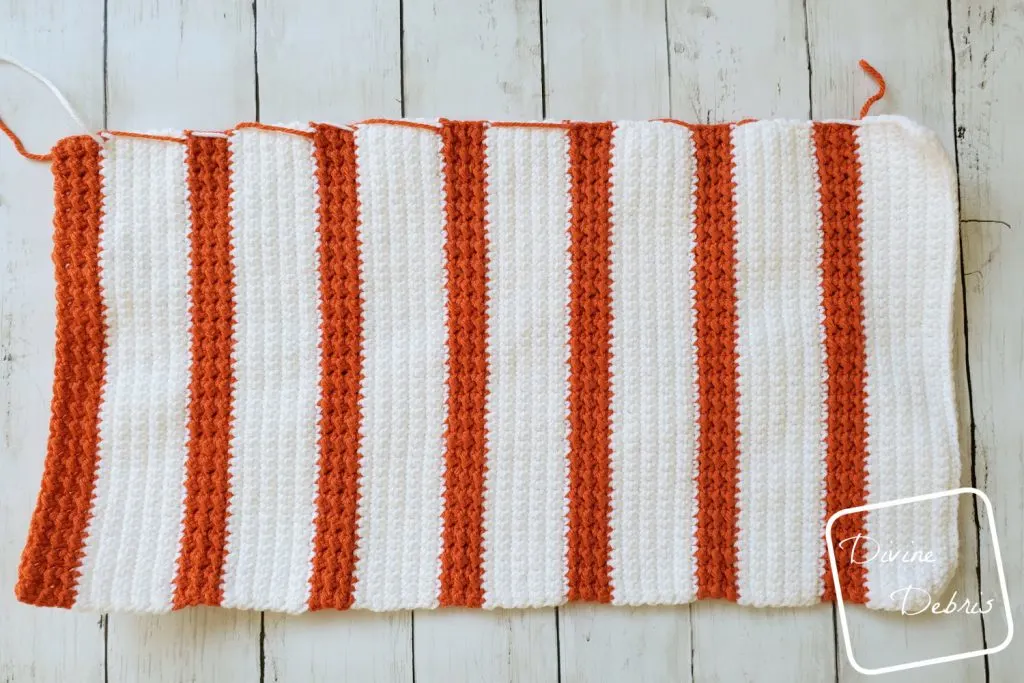
- This pattern is worked in one piece, flat, this is the Body. Then the first row and the last are sewn together to create a tube. One end of the tube is then cinched closed, you flip it over and stuff the tube, then cinch the other end closed. A third color is used to create the segments on the outside (optional) and a stick is added to create a stem.
- The ch-1 at the beginning of the rows does not count as a stitch
- You don’t, unless you’d like to, have to fasten off between colors. Instead you can carry them along the ends of the rows because they will be hidden when you cinch it closed.
- This pattern is easy to adapt, you can make it shorter by removing chains on the first row, just keep the stitch count even. And you can repeat the pattern of sc and hdc/slip st rows fewer times to make it thinner. The blue pumpkin in the photos was only 30 stitches across and 98 rows.
- For the larger pumpkin, color A is white (Caron One Pound in White) at least 4 oz/203 yds, Color B is orange 2 oz/97 yds (misc orange), and color C is brown (Caron One Pound in Espresso).
Finished product dimensions (measurements may vary by gauge and yarn used)
(as written) 6″ high x 9″ wide
Simple Striped Pumpkin Amigurumi Pattern Instructions
Body
Row 1: A: Ch 51, sc into the second ch from the hook and into the next 49 sts – 50 sc
Rows 2 -10: A: Ch 1, turn, sc into the next 50 sts – 50 sc
Row 11 -16: B: Ch 1, turn, *hdc into the first st, slip st into the next st,* repeat from * to * 24 more times – 25 hdc, 25 slip st
Rows 17 – 26: A: Ch 1, turn, sc into the next 50 sts – 50 sc
Rows 27 – 32: B: Ch 1, turn, *hdc into the first st, slip st into the next st,* repeat from * to * 24 more times – 25 hdc, 25 slip st
Rows 33 – 112: repeat rows 17 – 32, 5 more times
Seaming/Cinching
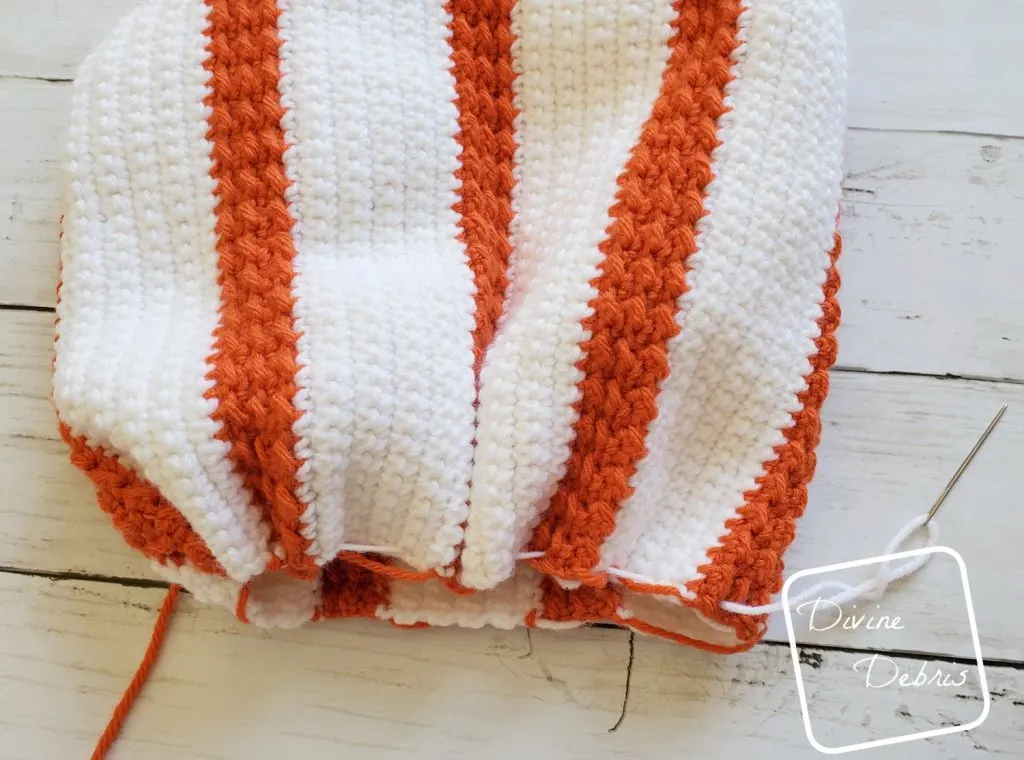
Fasten off leaving a long tail. Use your tail to secure row 112 to row 1 so that you now have a tube shape.
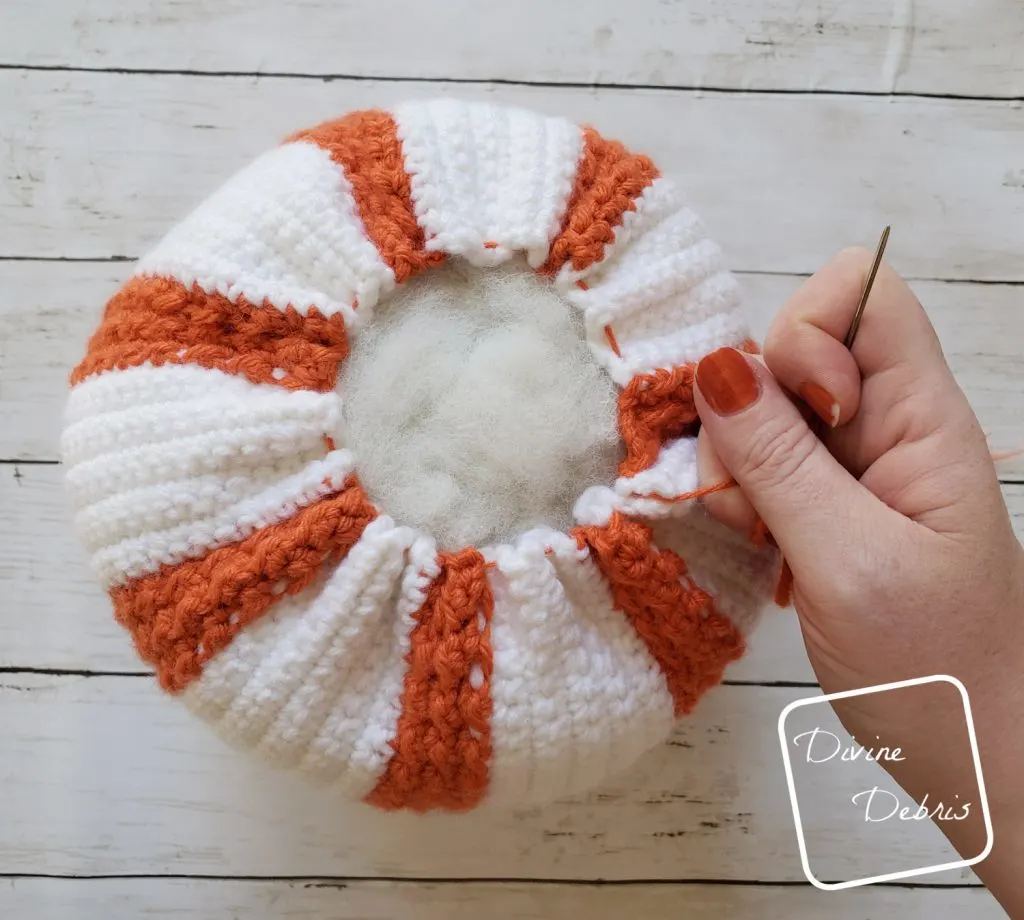
Using either color, weave back and forth along the row ends to close one of the ends of the tube. If the hole doesn’t close completely, feel free to sew it closed a bit.
Flip the Pumpkin over, stuff it with stuffing and then weave back and forth along the row ends of that side to close that end of the tube. This forms your pumpkin. Take color C (if you’d like 3 colors, or you can use color B) and run the yarn from the cinch on top of the pumpkin, down the outside of the body in the color A section and secure it to the cinch on the bottom, repeat this 6 more times for all the color A sections. Weave in your ends.
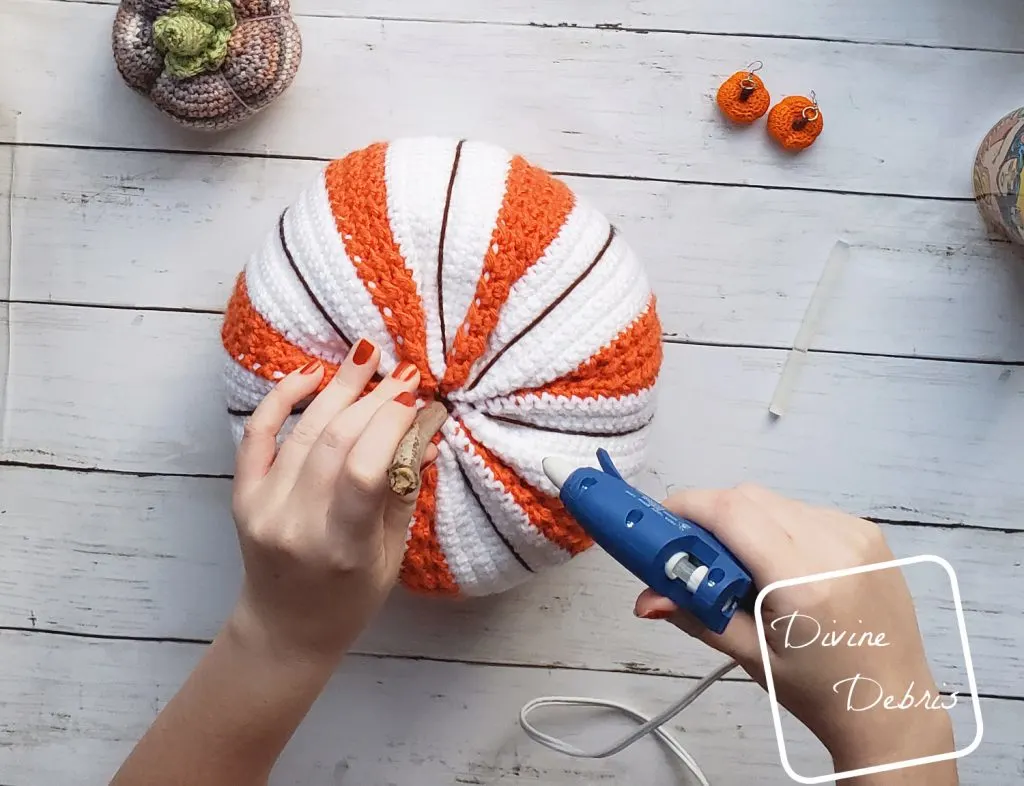
Add a stick for a stem (a wine cork will also work) or create a stem like I did on my Fun Fall Pumpkins pattern. You can also find some tendrils under the Fun Fall Pumpkins design, if you want to dress our pumpkin up. Wrap some extra yarn around the stem to give it more of a rustic look.


Victoria
Thursday 5th of October 2023
Looking for a pumpkin aplaque
Pam
Friday 20th of August 2021
Pretty pumpkin Did mine a little different Slipped stitch last three stitches in every row, then there isn’t so much to gather.
Sandra
Tuesday 8th of October 2019
Wow, they look great! <3