Hi! How are you doing today? Anyone else have a bit too full of cookies belly? Because I sure do. I made like 3 batches of cookies on Sunday and I’ve eaten a very large amount of them – worth it, they were so yummy.
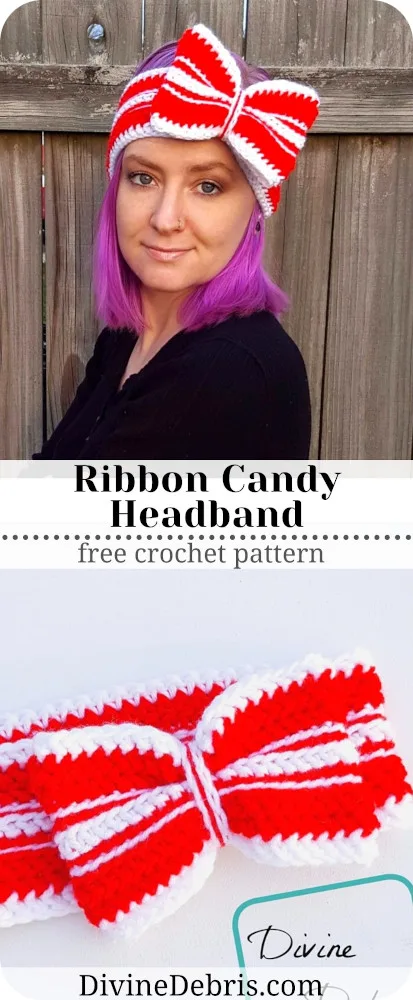
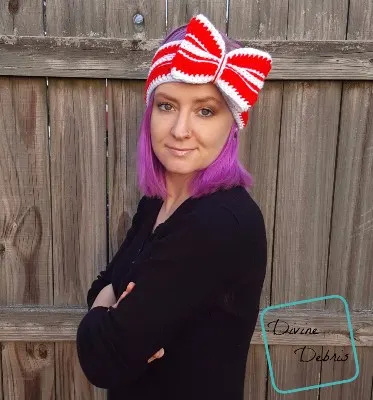
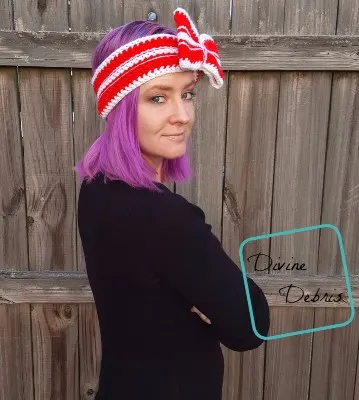
So, this week’s new pattern is very easy and super cute. I wrote this pattern a while ago but it didn’t get on the list until this week because it’s been a busy season. I designed it for Black Friday because I work retail and I wanted to look festive. I wrote it up in 3 sizes so it’s super easy for you to be able to find one that works for you (if you’re making one for yourself or someone else).
You can purchase this pattern for in my Ravelry shop.
Materials
- US J (6.00 mm) crochet hook
- US L (8.00 mm) crochet hook
- Aran/ medium/ size #4 weight yarn
- .8oz/1 oz./ 1.2 oz
- 42 yds/ 52 yds/ 62 yds
- At least 2 colors
- I used Red Heart Super Saver and Red Heart Soft
- Tapestry/ Yarn needle
Gauge: 9 rows x 13 HBhdcs = 4″
Terms/ stitches used
- Ch: Chain

- St: Stitch
- Slip St: Slip St
- HBhdc: herringbone half double crochet
- BLO: back loop only
Notes
- Both the headband the bow are worked in the round, with a slip st at the end of the row into the first stitch of that same row. If you’re making the bow, you work the bow separably and then attach it to the band.
- The bow is the same height as the headband, just smaller.
- This pattern is worked from the bottom up.
- The ch 1 at the beginning of the row does not count as a stitch.
- For the slip st rows, you should probably go up to a larger hook so that the fabric doesn’t get too tight and these rows will be worked into the back loop only. At the end of the row, slip st into both loops of your 1st st, this will help to keep your seam straight.
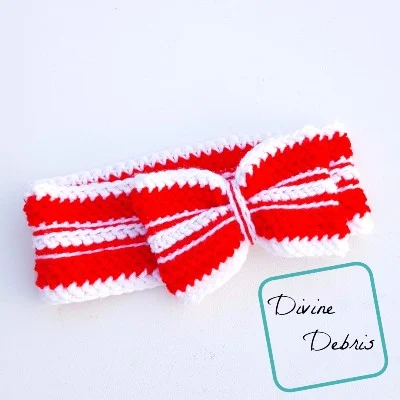
- In the photos, color A is the white (RHSS in White) and color B is the red (RHSS in Red). Or in the purple and cream, color A is Purple (Red Heart Soft in Berry) and color B is cream (Red Heart Soft in Off-White).
Finished measurements
| 18”
Height: 3.5” | 20”
Height: 3.5” | 22”
Height: 3.5” |
Pattern instructions
– Headband –
Sizing as follows: 18″ (20″, 22″)
With J (6.00 mm) hook:
Row 1: A: Ch 54 (60, 66), slip st into the first ch to form a ring *DO NOT TWIST THIS RING*
Row 2: A: Ch 1, HBhdc into the same st as join and into the next 53 (59, 65) sts, slip st into the first st – 54 (60, 66) HBhdcs
Rows 3 – 4: B: Ch 1, HBhdc into the same st as join and into the next 53 (59, 65) sts, slip st into the first st – 54 (60, 66) HBhdcs
With L hook:
Row 5: A: Ch 1, slip st into the BLO same st as join and into the BLO of the next 53 (59, 65) sts, slip st into the first st – 54 (60, 66) Slip sts
Row 6: B: Ch 1, slip st into the BLO same st as join and into the BLO of the next 53 (59, 65) sts, slip st into the first st – 54 (60, 66) Slip sts
With J hook:
Row 7: A: Ch 1, HBhdc into the same st as join and into the next 53 (59, 65) sts, slip st into the first st – 54 (60, 66) HBhdcs
With L hook:
Row 8: B: Ch 1, slip st into the BLO same st as join and into the BLO of the next 53 (59, 65) sts, slip st into the first st – 54 (60, 66) Slip sts
Row 9: A: Ch 1, slip st into the BLO same st as join and into the BLO of the next 53 (59, 65) sts, slip st into the first st – 54 (60, 66) Slip sts
With J hook:
Rows 10 – 11: B: Ch 1, HBhdc into the same st as join and into the next 53 (59, 65) sts, slip st into the first st – 54 (60, 66) HBhdcs
Fasten off color B.
Row 12: A: Ch 1, HBhdc into the same st as join and into the next 53 (59, 65) sts, slip st into the first st – 54 (60, 66) HBhdcs
Fasten off color A, weave in your ends.
– Bow –
With J (6.00 mm) hook:
Row 1: A: Ch 40, slip st into the first ch to form a ring *DO NOT TWIST THIS RING*
Row 2: A: Ch 1, HBhdc into the same st as join and into the next 39 sts, slip st into the first st – 40 HBhdcs
Rows 3 – 4: B: Ch 1, HBhdc into the same st as join and into the next 39 sts, slip st into the first st – 40 HBhdcs
With L hook:
Row 5: A: Ch 1, slip st into the BLO same st as join and into the BLO of the next 39 sts, slip st into the first st – 40 Slip sts
Row 6: B: Ch 1, slip st into the BLO same st as join and into the BLO of the next 39 sts, slip st into the first st – 40 Slip sts
With J hook:
Row 7: A: Ch 1, HBhdc into the same st as join and into the next 39 sts, slip st into the first st – 40 HBhdcs
With L hook:
Row 8: B: Ch 1, slip st into the BLO same st as join and into the BLO of the next 39 sts, slip st into the first st – 40 Slip sts
Row 9: A: Ch 1, slip st into the BLO same st as join and into the BLO of the next 39 sts, slip st into the first st – 40 Slip sts
With J hook:
Rows 10 – 11: B: Ch 1, HBhdc into the same st as join and into the next 39 sts, slip st into the first st – 40 HBhdcs
Fasten off color B.
Row 12: A: Ch 1, HBhdc into the same st as join and into the next 39 sts, slip st into the first st – 40 HBhdcs
Fasten off color A, weave in your ends.
– Bow Center –
With J hook:
Row 1: A: Ch 20.
Fasten off color A.
Row 2: B: Slip st into the BLO of the ch-20 – 20 Slip sts
Fasten off color B.
Move back to where you began row 2
Row 3: A: Slip st into the BLO of the ch-20 – 20 Slip sts
Fasten off color A.
– Finishing –
Wrap the bow center around both the bow and the headband (if you do this over the seam you can hide the seam) and use all the tails you have left over from the bow center section to secure the bow and bow center to the headband. Weave in the ends fully and fasten off.
Tada! There’s the new headband – I really hope you love it 😀


Sharon Fowler
Wednesday 8th of July 2020
Love your patterns! Thanks again.