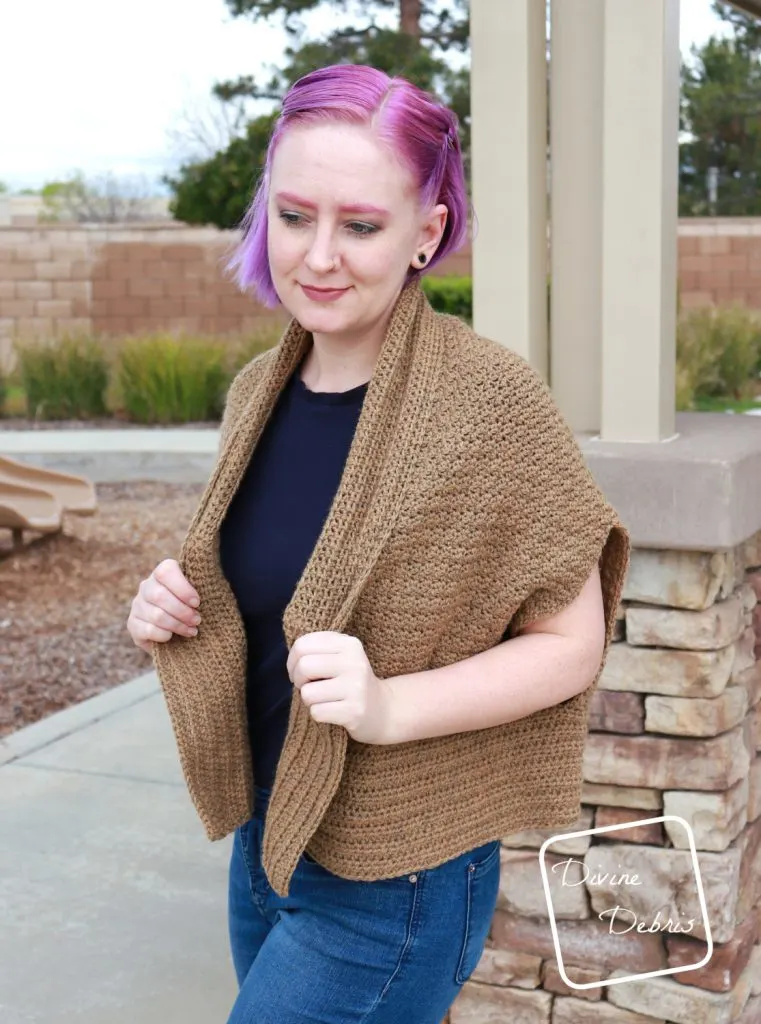
Hey friends! Who’s ready for a pattern to keep you cozy when you might be spending more time (than usual) at home? Because this week I’ve got the Raquel Cardigan crochet pattern for you and it’s both super easy and super cozy to make.
But first, how are you doing? I’m, I’m well. I primarily work from home on my blog and on my designs but I also work retail, part-time. So, being home isn’t hard on me but wow it is a lot, ya know? I know we’re all trying our best to keep people safe and healthy, but it’s also ok to feel bad that our lives are being disrupted. Yesterday I read a thread on Twitter that said just that, it’s ok to be sad and disappointed about everything we can’t do right now, because it is sad and hard, and that doesn’t make us bad people. That’s something that’s been weighing on my mind lately, being sad that I’m missing it out and wondering if I’m terrible because of it. You’re not, I’m not – we’re human. Ok, I’m done. Sending love and positive vibes to you.
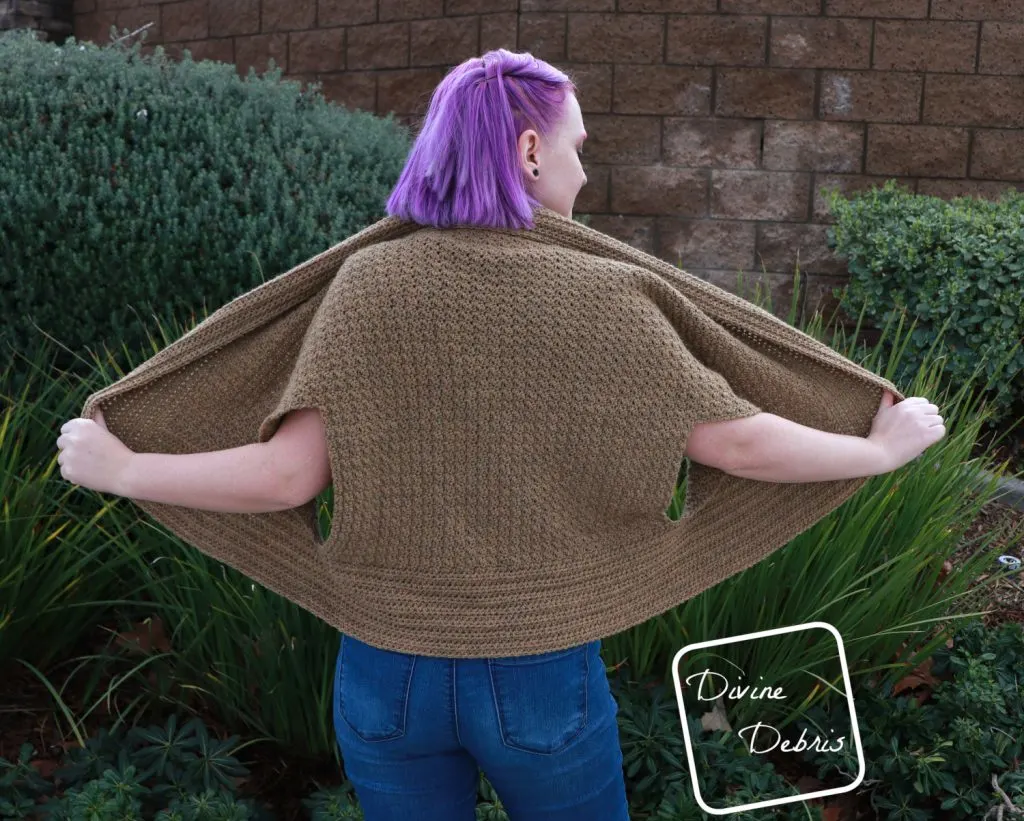
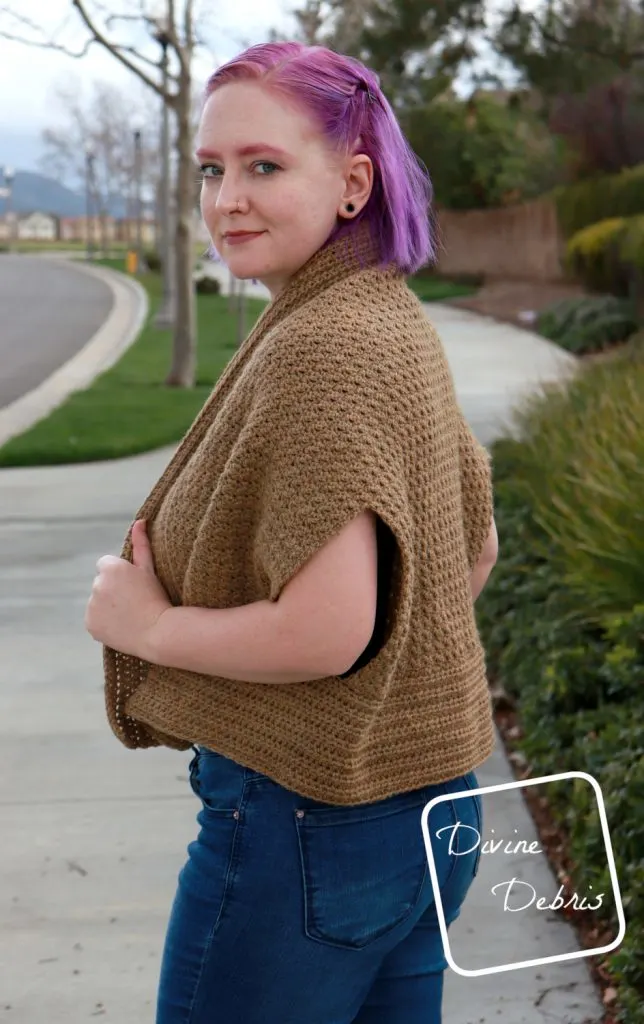
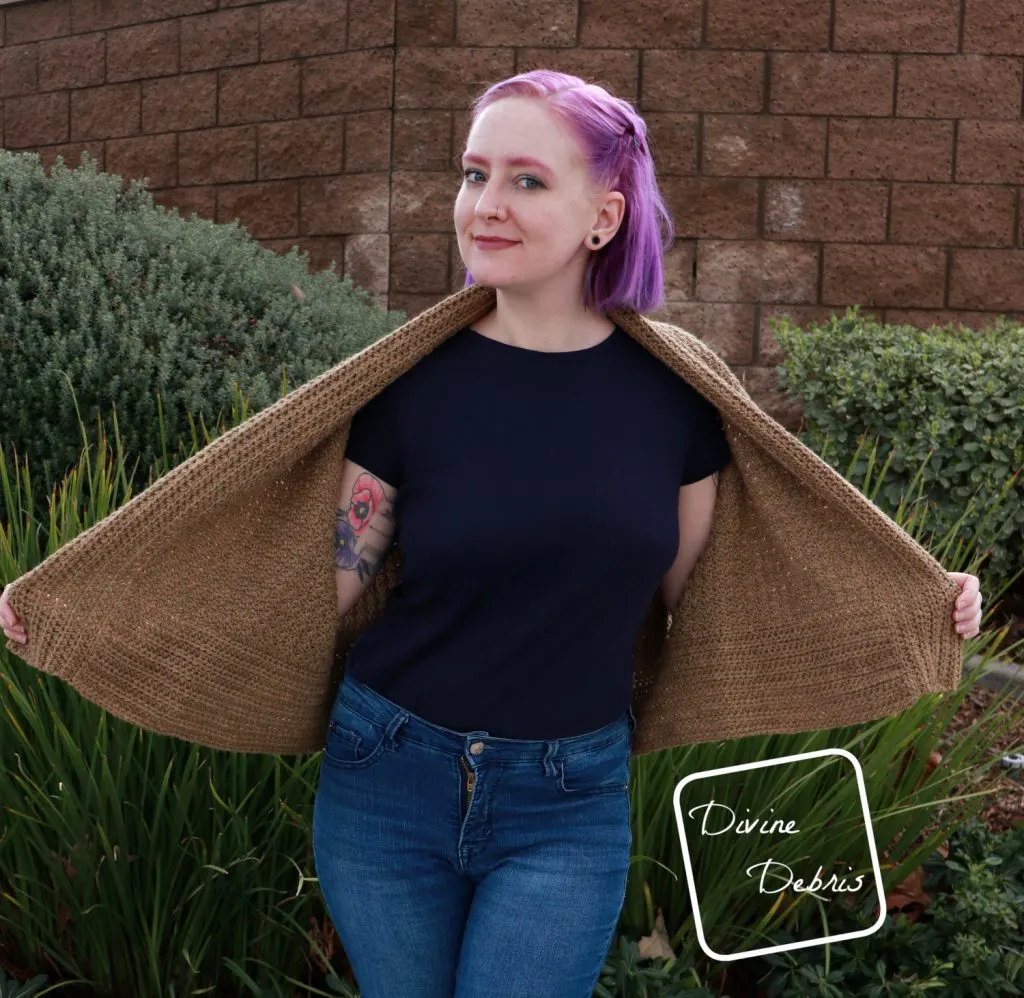
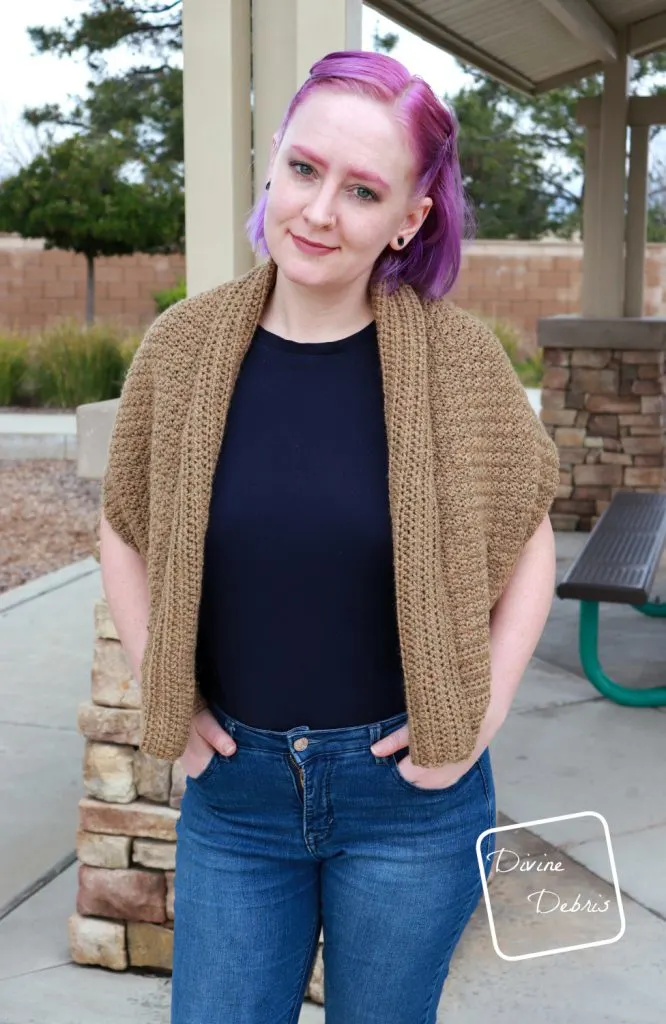
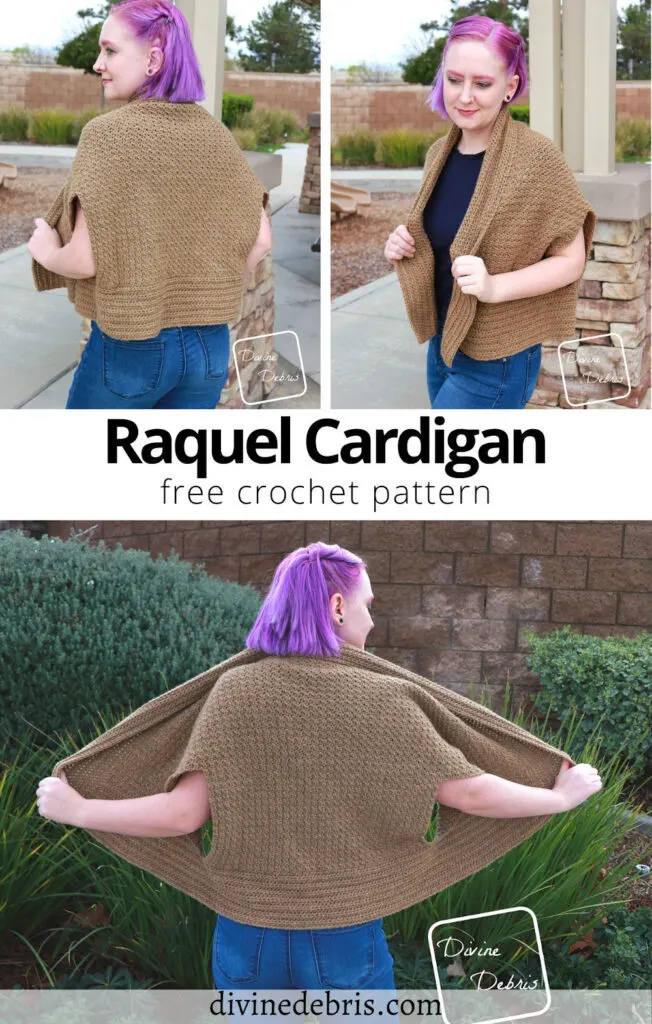
Ok, to this design – the Raquel Cardigan is fun and different, right? I wanted to make a cardigan that was a nice cocoon shape but not quite the same as all the others you see out there. I think I accomplished that, right? Honestly, I’m so happy with out this design turned out, it’s really delightfully cozy to curl up in.
And for this design I used Upcycle Reserve 100% Wool Worsted from Knit Picks (affiliate link), which was sent to me by We Crochet (affiliate link) with no expectation of a review positive or negative. I can honestly say that I loved using this yarn, it’s really nice and I’m not even a huge fan of wool in a lot of cases.
This post is linked to Hookin’ on Hump Day 212
(this post contains affiliate links)
If you appreciate my weekly patterns I hope you’d consider purchasing an ad-free pdf of this pattern in my Ravelry shop.
Thank you to all my patrons on Patreon!
Materials
- US I (5.50 mm) crochet hook
- Worsted/ medium/ size #4 weight yarn
- Specifics in the Finished Product Dimensions
- Notions: scissors, measuring tape, needle
Terms/ Stitches used
- RS: right side
- St: stitch
- Ch: chain
- Sc: single crochet
- Hdc: half double crochet
- Dc: double crochet
Notes
- This pattern is worked in one piece and in 5 sections: the Left side, Back piece, Right side, and 2 Lapel edging sections.
- The Left, Back, and Right side are worked as one continuous piece, then you secure end points to create the arm holes.
- The ch-1 at the beginning of the rows does not count as a stitch.
- The sample in the photos is Sm/Md worked in Knit Picks Upcycle Reserve Wool Worsted.
- The measurements are from the arm hole to arm hole on the Back, the Lapel edges are counted as a separate section of measurement and are not in the “back height” measurement.
Finished product dimensions (measurements may vary by gauge and yarn used)
SM/MD
Back Width: 18.5”
Back Height: 23”
Arm hole: 9”
Lapel edging: 5.5”
Yarn: 15.5 oz/ 962 yds
LG/1X
Back Width: 20”
Back Height: 24”
Arm hole: 9”
Lapel edging: 5.5”
Yarn: 17 oz/ 1055 yds
2X/3X
Back Width: 22”
Back Height: 25”
Arm hole: 10”
Lapel edging: 5.5”
Yarn: 18.6 oz/ 1154 yds
4X/5X
Back Width: 23”
Back Height: 26”
Arm hole: 10”
Lapel edging: 5.5”
Yarn: 20 oz/ 1241 yds
Raquel Cardigan Crochet Pattern Instructions
Left side
Sizing as follows: SM/MD (LG/1X, 2X/3X, 4X/5X)
Row 1: Ch 45 (49, 51, 53), sc into the second ch from the hook, dc into the next st, *sc into the next st, dc into the next st,* repeat from * to * 20 (22, 23, 24) more times – 22 (24, 25, 26) sc, 22 (24, 25, 26) dc
Rows 2 – 31 (31, 35, 35): Ch 1, turn, sc into the first st, dc into the next st, *sc into the next st, dc into the next st,* repeat from * to * 20 (22, 23, 24) more times – 22 (24, 25, 26) sc, 22 (24, 25, 26) dc
Row 32 (32, 36, 36): Ch 1, turn, sc into the first st, dc into the next st, *sc into the next st, dc into the next st,* repeat from * to * 20 (22, 23, 24) more times, ch 31 (31, 33, 33) – 22 (24, 25, 26) sc, 22 (24, 25, 26) dc
Back
Row 33 (33, 37, 37): sc into the second ch from the hook, dc into the next st, *sc into the next st, dc into the next st,* repeat from * to * 35 (37, 39, 40) more times – 37 (39, 41, 42) sc, 37 (39, 41, 42) dc
Rows 34 (34, 38, 38) – 97 (101, 109, 115): Ch 1, turn, sc into the first st, dc into the next st, *sc into the next st, dc into the next st,* repeat from * to * 35 (37, 39, 40) more times – 37 (39, 41, 42) sc, 37 (39, 41, 42) dc
Right side
Rows 98 (102, 110, 116) – 129 (133, 145, 151): Ch 1, turn, sc into the first st, dc into the next st, *sc into the next st, dc into the next st,* repeat from * to * 20 (22, 23, 24) more times – 22 (24, 25, 26) sc, 22 (24, 25, 26) dc
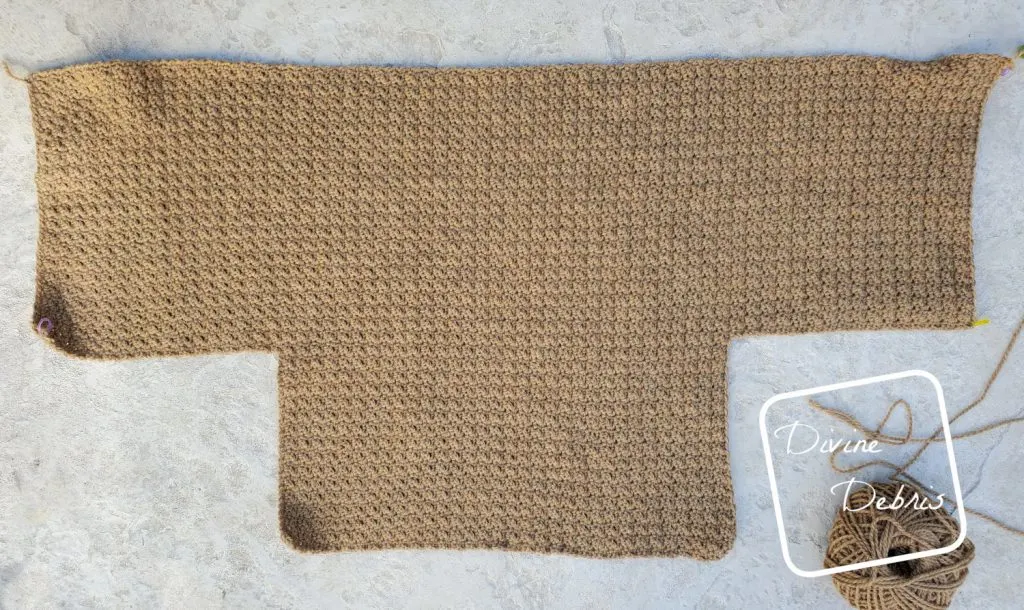
Do not fasten off. Move onto the 1st Lapel edging section.
Your cardigan should look like the photo below now.
For the Lapel you will need to work down the Right side row to the pink X, move to the next pink X on the Back piece, crochet into those row ends towards the blue X, move to the next blue X on the Left side piece, and work across the other side of the original chain row.
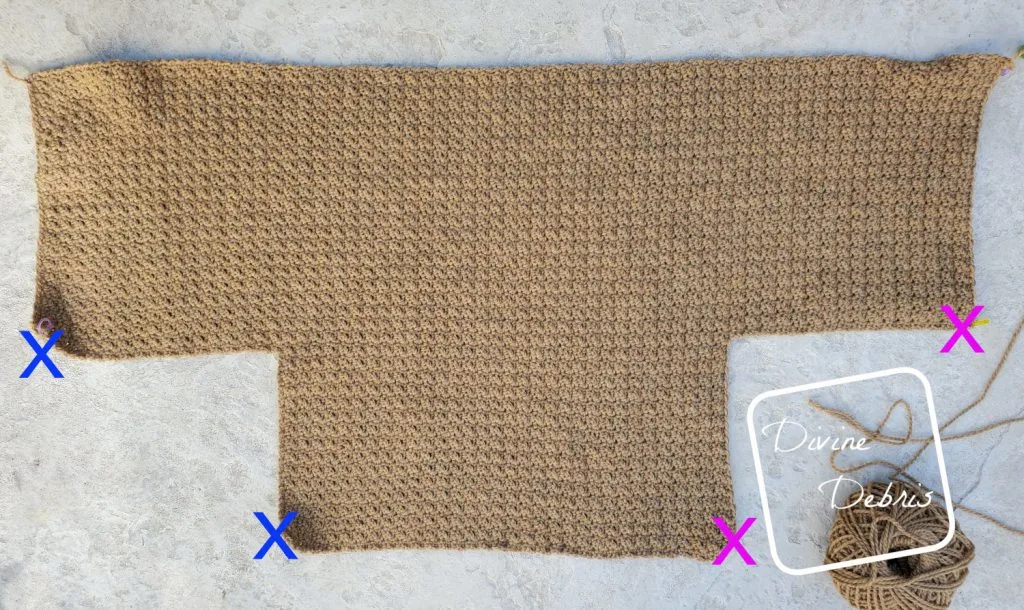
1st Lapel edging
Row 1: Ch 1, turn, hdc into the next 44 (48, 50, 52) sts on the Right side, move to the row ends of the the Back, hdc into the next 65 (69, 73, 79) row ends, move to the other side of Row 1 of the Left side, hdc into the next 44 (48, 50, 52) sts of the other side of Row 1 – 153 (165, 173, 183) hdc
Rows 2 – 15: Ch 1, turn, hdc into the next 153 (165, 173, 183) sts – 153 (165, 173, 183) hdc
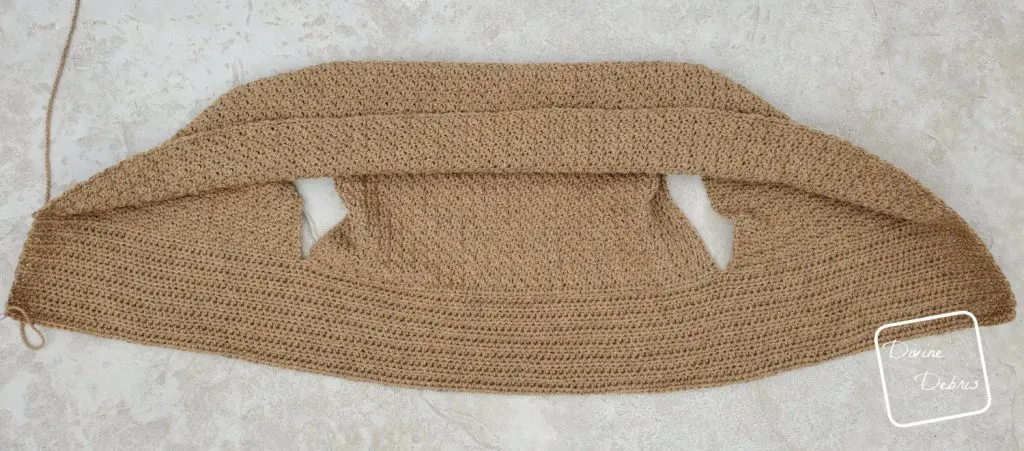
Do not fasten off, move to the 2nd Lapel edging.
Your piece should look something like the photo below.
2nd Lapel edging
Row 1: Ch 1, turn, hdc into the next 15 row ends of the 1st Lapel edging, hdc into the next 129 (133, 145, 151) row ends (of the Right side, Back, and Left side) sections, hdc into the next 15 row ends – 159 (163, 175, 181) hdc
Rows 2 – 15: Ch 1, turn, hdc into the next 159 (163, 175, 181) sts – 159 (163, 175, 181) hdc
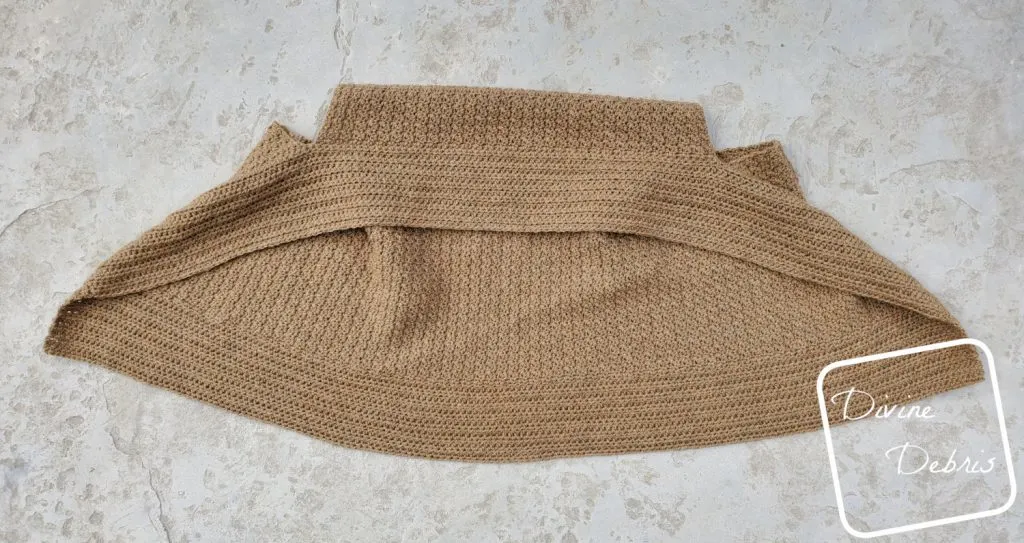
Fasten off, weave in your ends.



Adriana Chavez
Tuesday 13th of April 2021
I love this pattern, I just finished the principal part (T). But I don't understand how to start with the first lapel :(
Divine Debris
Saturday 24th of April 2021
What exactly are you having problems with? The first Lapel section is worked around the outer edges of the main body section. And the second Lapel is worked around the other side of the row ends. Just make sure to refer to the pictures :)
Olive
Sunday 31st of January 2021
Hi! I really love this model. I do not understand from the end of row 1 ending with (24,25,26) dc and Row 2 starting with 31 and no augmentation at row 1 Thank you,
Divine Debris
Monday 1st of February 2021
Hi! The numbers at the end, everything after "-" are your stitch counts. The sizing is SM/MD (LG/1X, 2X/3X, 4X/5X), so the placement in the corresponds with your size. Then with Rows 2 - 31 (31, 35, 35) are your row counts, you repeat the instructions for as many rows as it says for your size. I hope that helps.
Jo
Friday 19th of June 2020
Oh my! This is great and so much simpler to make than I expected. I've got a lovely orange/ brown yarn that would look fabulous made up into this. I love your patterns!
Pam
Tuesday 14th of April 2020
Hi there. I loved this pattern when I saw it on Hookin on Hump Day. This colour is one of my favourites too.
SHIRLEY G PACK
Wednesday 8th of April 2020
I think I may be missing something with the change from the left side to the back should there be a chain to stitch into as it says in row 33 sc into the second ch from the hook. Can you help? I really want to make this to wear in the hospital while recovering from surgery. Thanks Shirley Pack
Divine Debris
Wednesday 8th of April 2020
Hello Yes, you're missing the chain instructions are at the end of row 32. I hope that helps.
<3