Hi everyone! How’s your week going? Personally, I need to report for jury duty today so I’m feeling a bit anxious. But enough about me and my ordeals, you’re here for the new Linen Log Cabin Square pattern, right?
This square fits right into what’s making me smile right now, the linen stitch. If you saw my Whitney Headband from last month, or my Whitney Poncho on Instagram, you know what I’m talking about. I just love the linen texture! It’s so pretty. Also, for those who are wondering, yes the moss stitch is the same as the linen stitch.
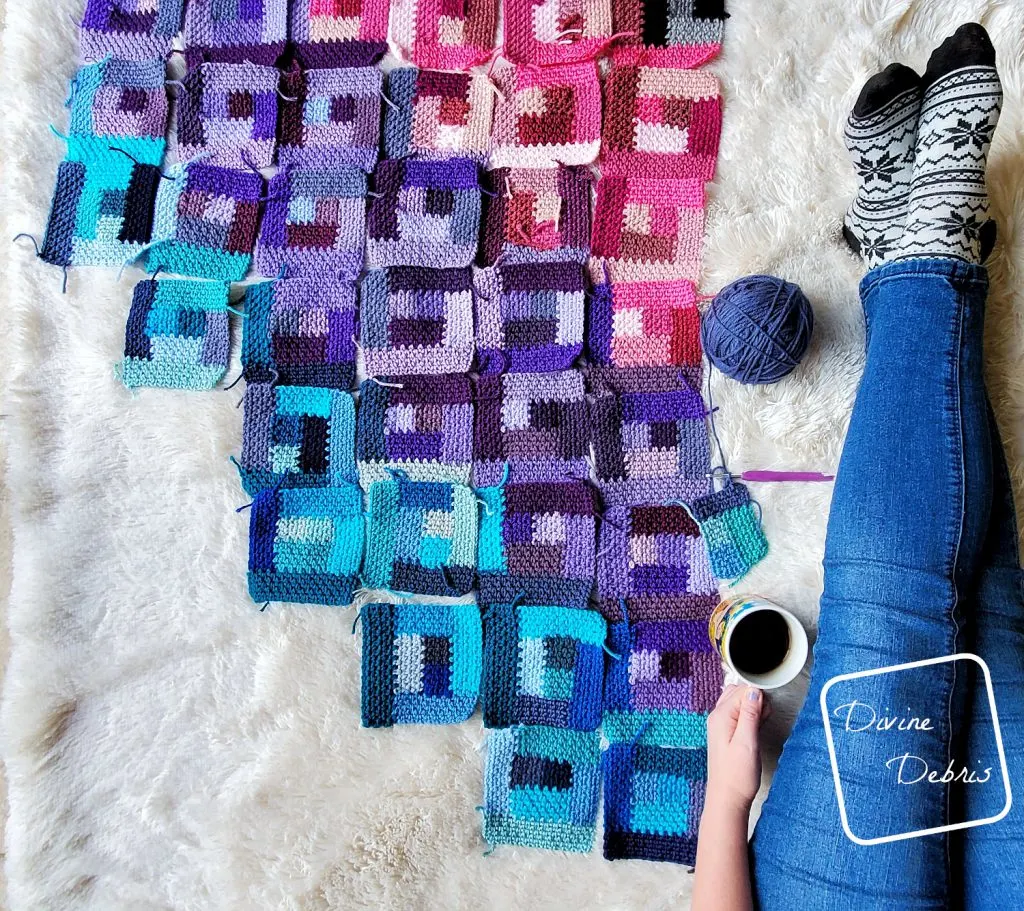
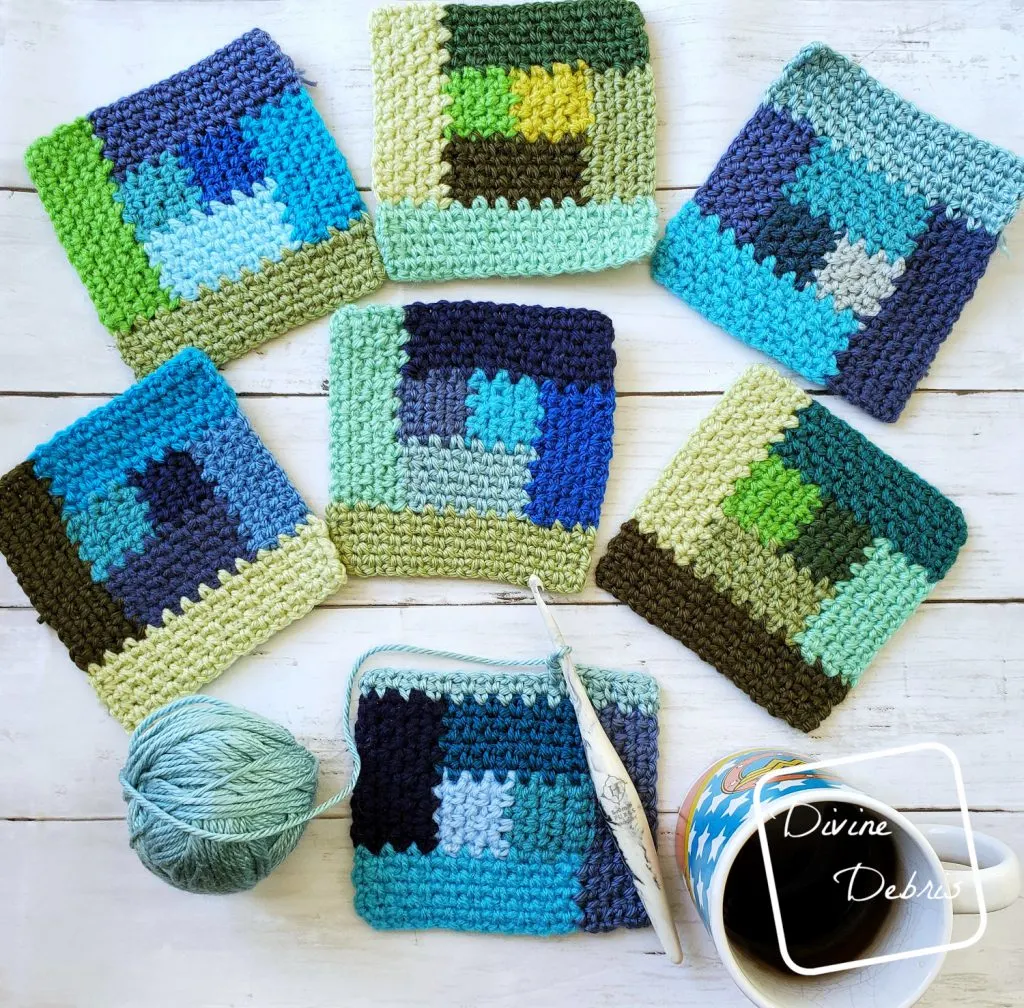
Like my Divine Diamonds Blanket pattern from September, this design is very influenced by quilting. It will also feature a ton of ends to weave in. I’m sorry about that too. Sorry to me, especially, because it’s already been so many ends and I’m not even done with my sample. Which brings me to my next part, I wanted to release this design before I finished my blanket.
Originally I didn’t want to do that, I wanted some lovely photos of me holding the blanket looking all happy but… that didn’t work out. I have a billion other things to work on and realized I wouldn’t have the design out until September if I kept going the way I was. So, yay, here’s the individual square and you and I now get to make the square together! How exciting is that?
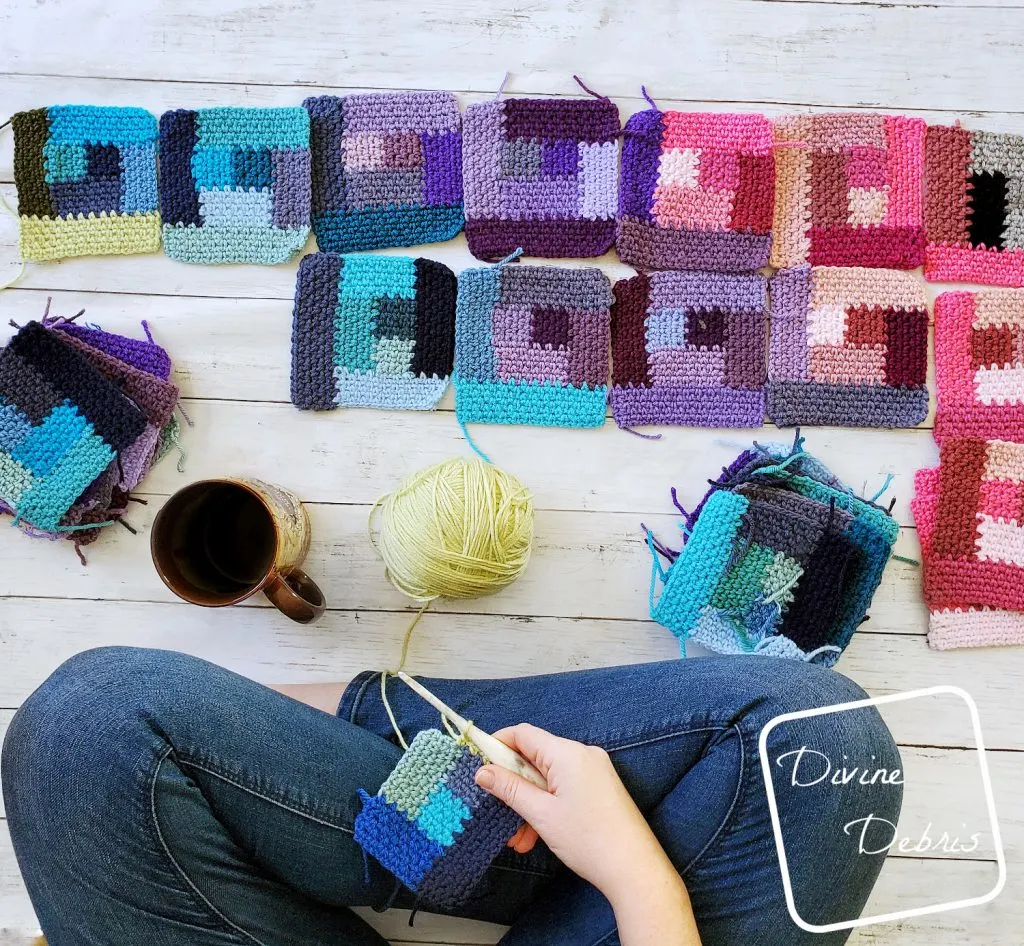
So, I hope you join me using all your random bits and ends! It’s a great in-between-other-projects WIP, I know, I’ve been working on it late since November/ early December 😀
This post is linked to Hookin’ on Hump Day 209
(this post may contain affiliate links)
If you appreciate my weekly patterns I hope you’d consider purchasing an ad-free pdf of this pattern in my Ravelry shop.
Thank you Brittany for becoming my newest patron on Patreon!
Materials
- US H (5.00 mm) crochet hook
- Worsted/ medium/ size #4 weight yarn
- each square is .5 – 1 oz in size
- As many colors as you need
- Notions: needle, measuring tape, scissors
Gauge
- 18 rows × 20 sc + ch1 across 4″ (Linen stitch)

Terms/ Stitches used
- RS: right side
- Ch: chain
- St: stitch
- Sc: single crochet
Notes
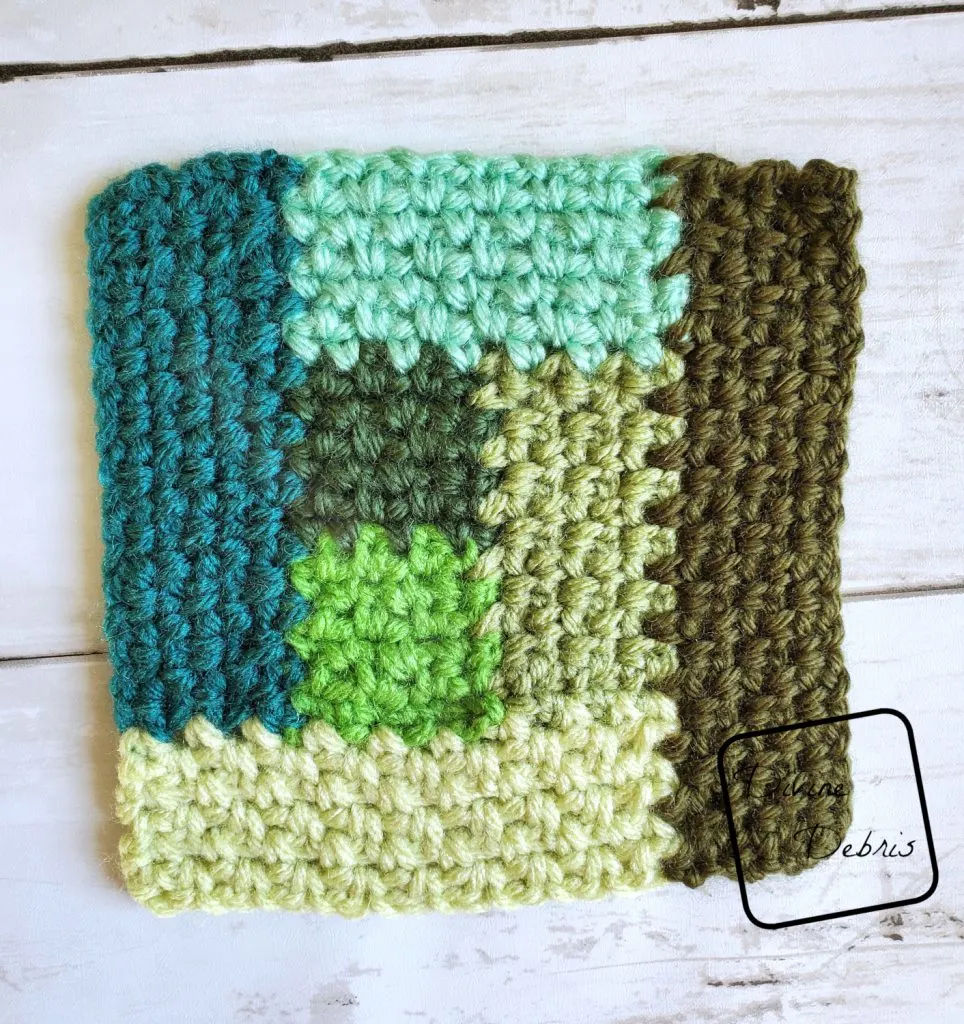
- This square is worked from the center out in 7 sections. It’s best to change colors each section to highlight the difference sections.
- The ch1 at the beginning of the rows does not count as a stitch.
- Turn back to the RS after you’re done with each section.
- You can block the individual squares to make it easier to sew them all together.
- You will need to know how to create a slipknot on your hook for this st.
Finished product dimensions (measurements may vary by gauge and yarn used)
Approx 5″ – 5″ (square) but can be blocked to be larger
Linen Log Cabin Square Crochet Pattern instructions
Section 1
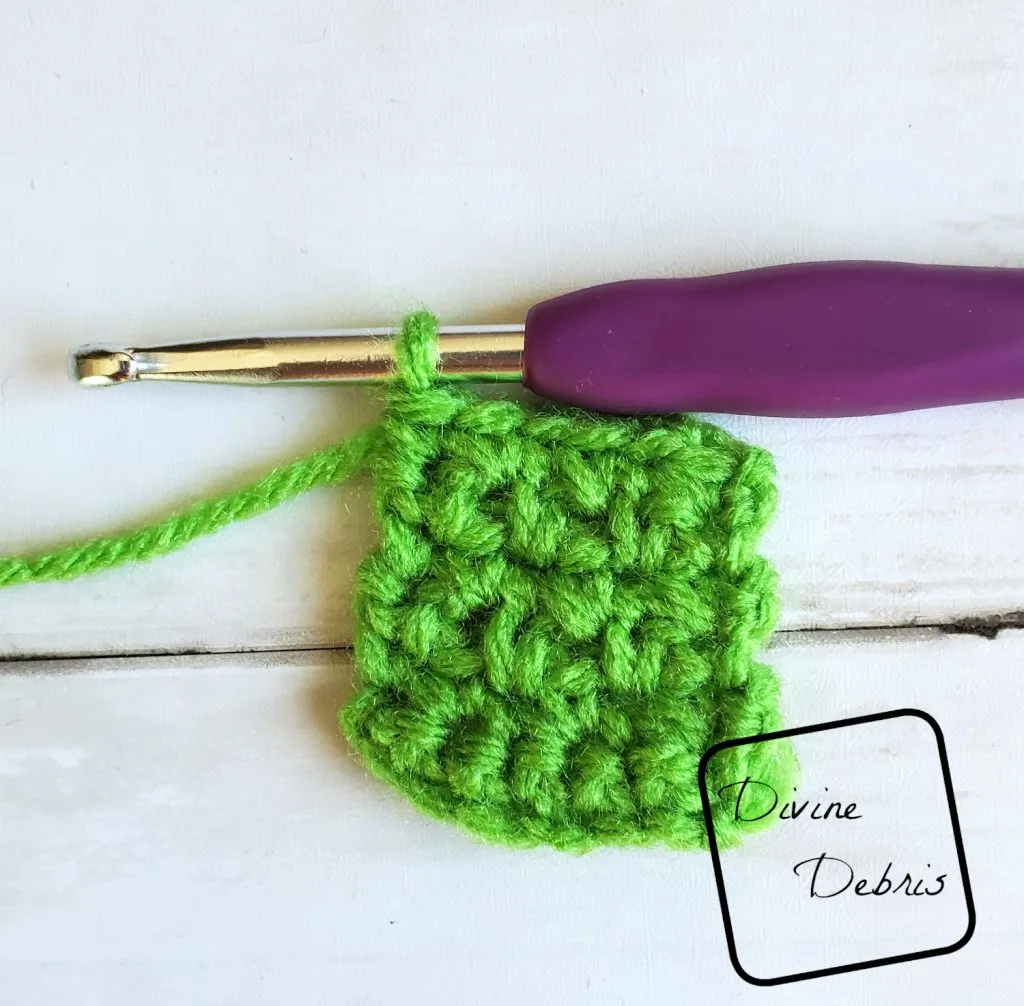
(RS) Row 1: Ch 7, sc into the second ch from the hook and into the next 5 sts – 6 sc
Row 2: Ch 1, turn, sc into the first st, ch 1 and skip the next st, sc into the next st, ch 1 and skip the next st, sc into the last 2 sts – 4 sc, 2 ch 1
Rows 3 – 6: Ch 1, turn, sc into the first st, ch 1 and skip the next st, sc into the next ch space, ch 1 and skip the next st, sc into the next ch space, sc into the last st – 4 sc, 2 ch 1
Fasten off with this color.
Section 2
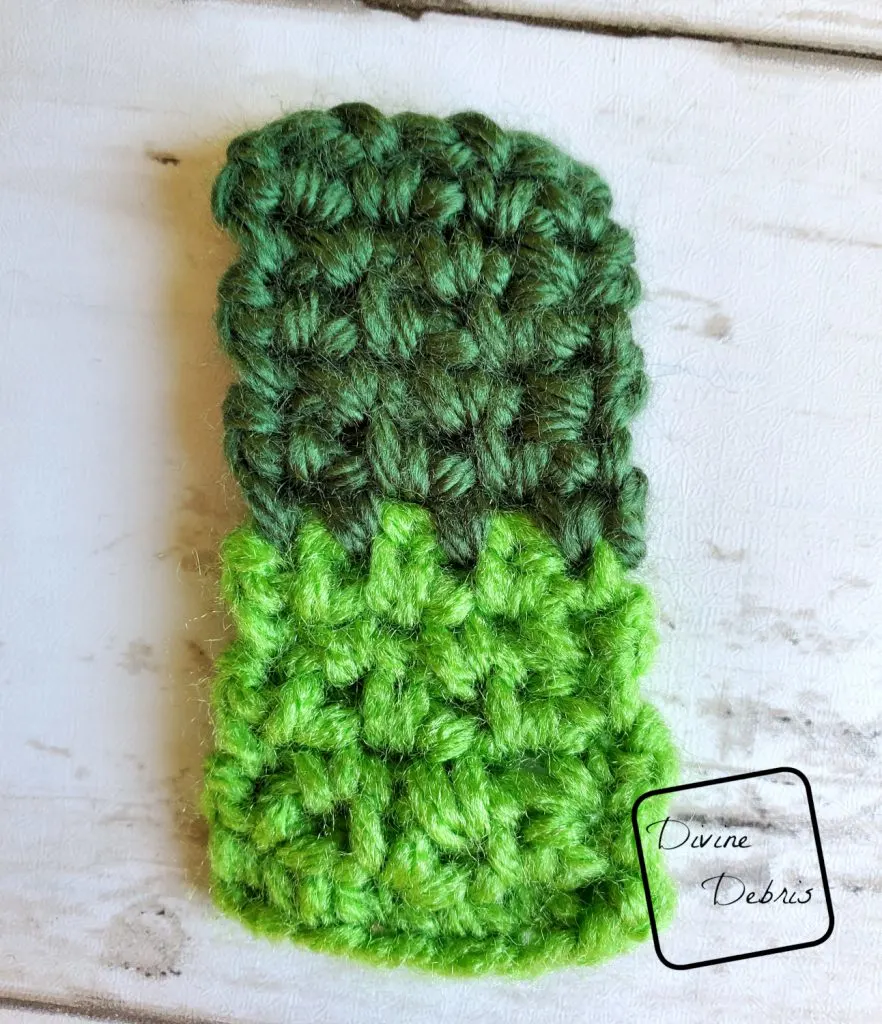
Start where you stopped on Section 1
Rows 1 – 6: Ch 1, turn, sc into the first st, ch 1 and skip the next st, sc into the next ch space, ch 1 and skip the next st, sc into the next ch space, sc into the last st – 4 sc, 2 ch 1
Fasten off with this color. Turn your piece back to the RS.
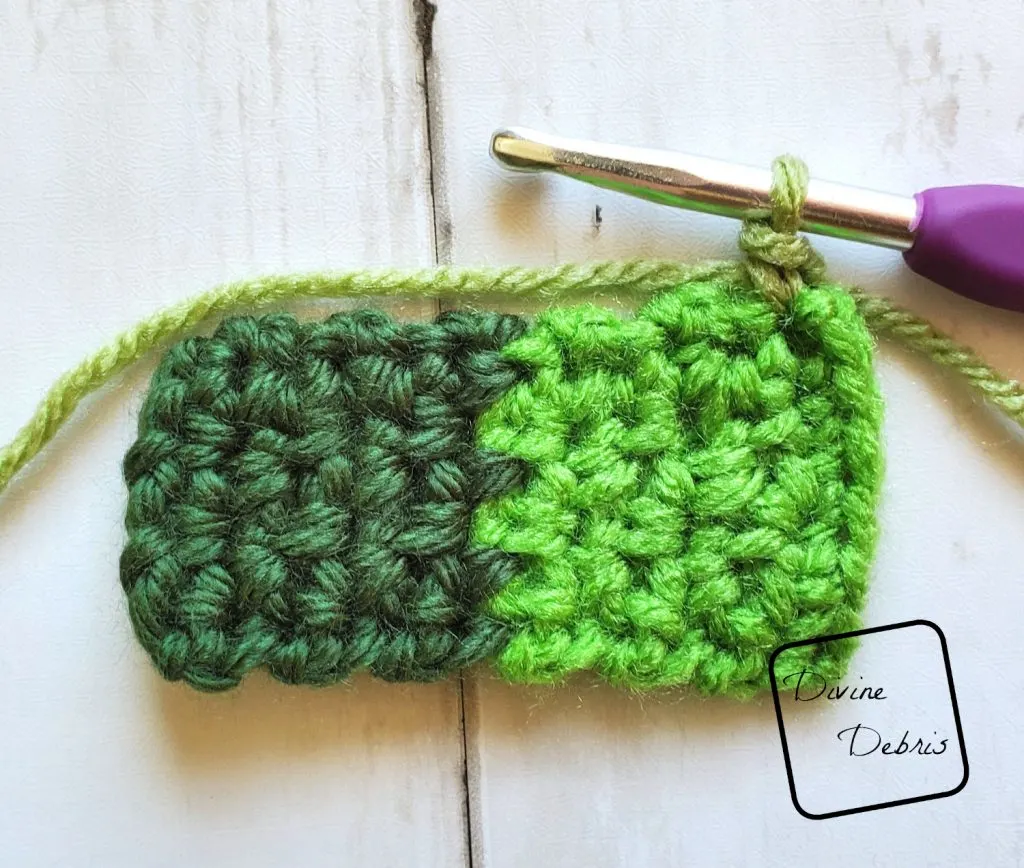
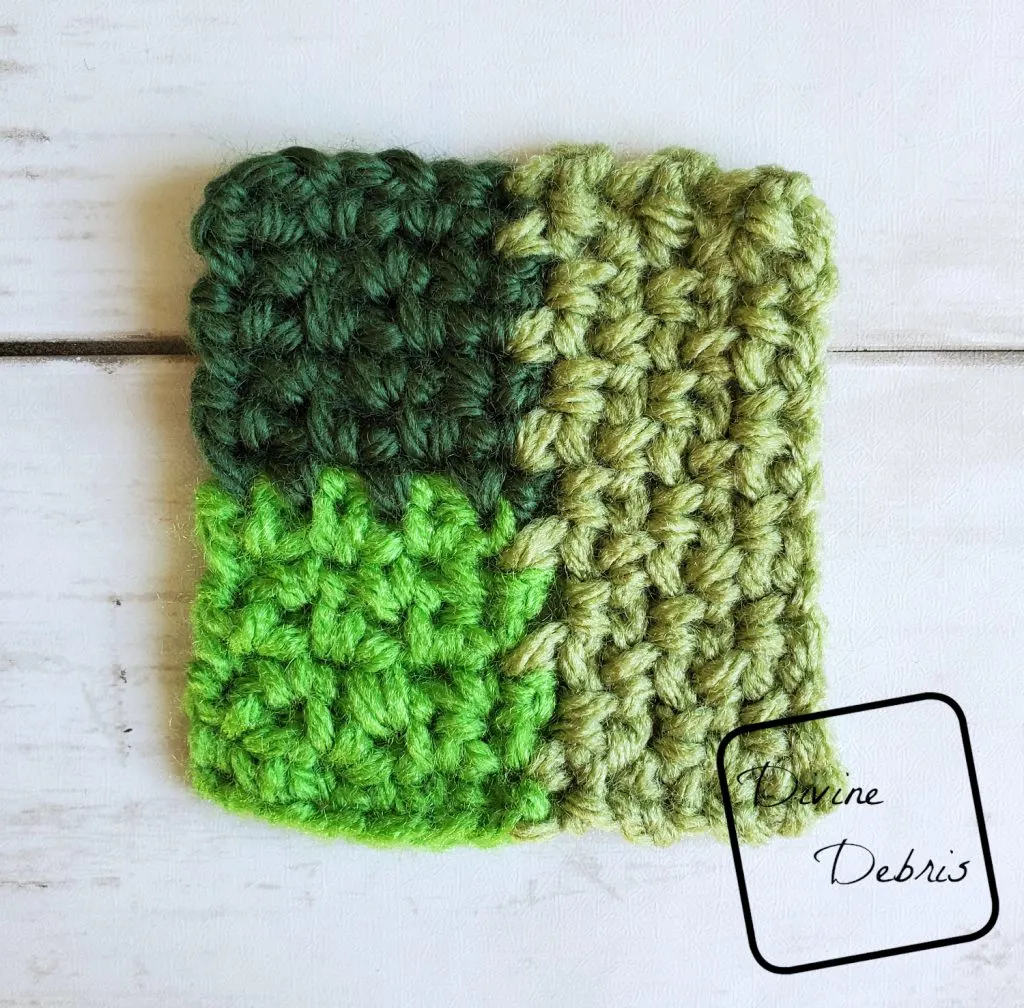
Section 3
Create a slipknot on your hook and with the RS facing you, start in the first row end on the right-hand side of the Section 1.
Row 1: Sc into the first row end, *ch 1 and skip the next row end, sc into the next row end,* repeat from * to * 4 more times, sc into the last row end – 7 sc, 5 ch 1
Rows 2 – 6: Ch 1, turn, sc into the first st, ch 1 and skip the next st, sc into the next ch space, *ch 1 and skip the next st, sc into the next ch space,* repeat from * to * 3 more times, sc into the last st – 7 sc, 5 ch 1
Fasten off with this color. Turn your piece back to the RS.
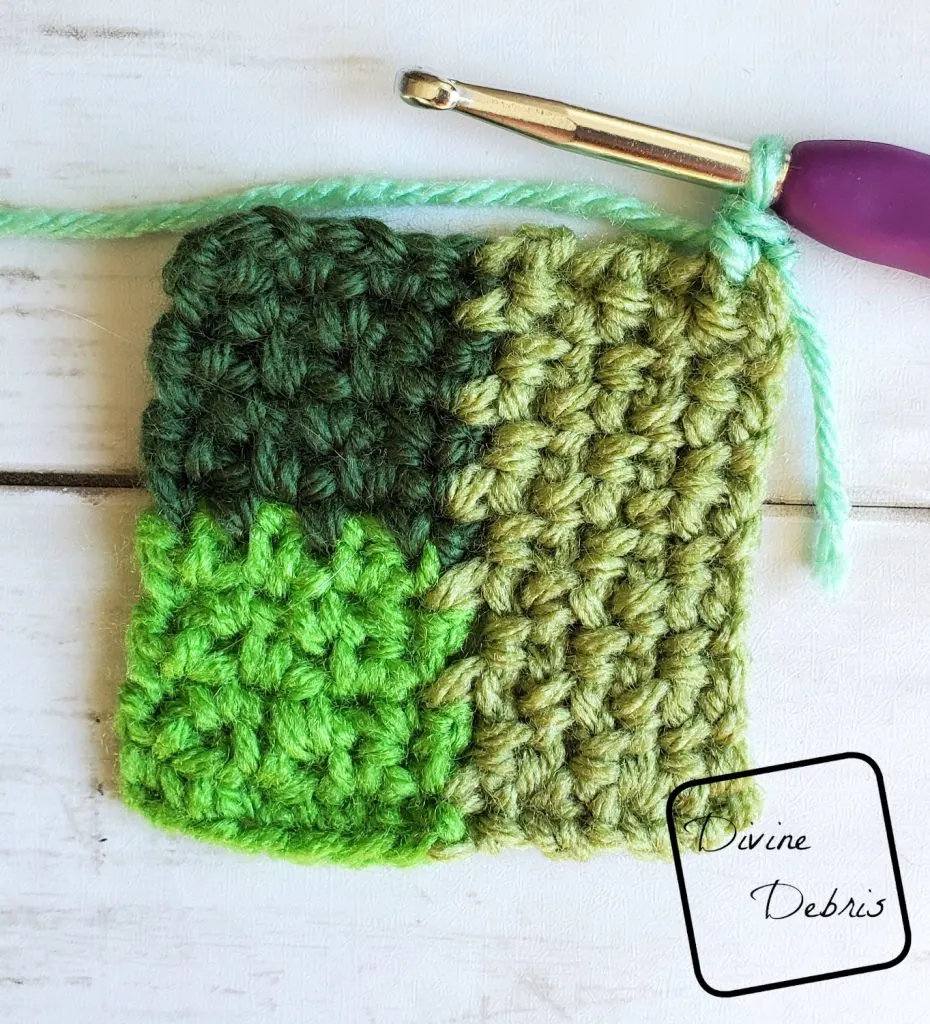
Section 4
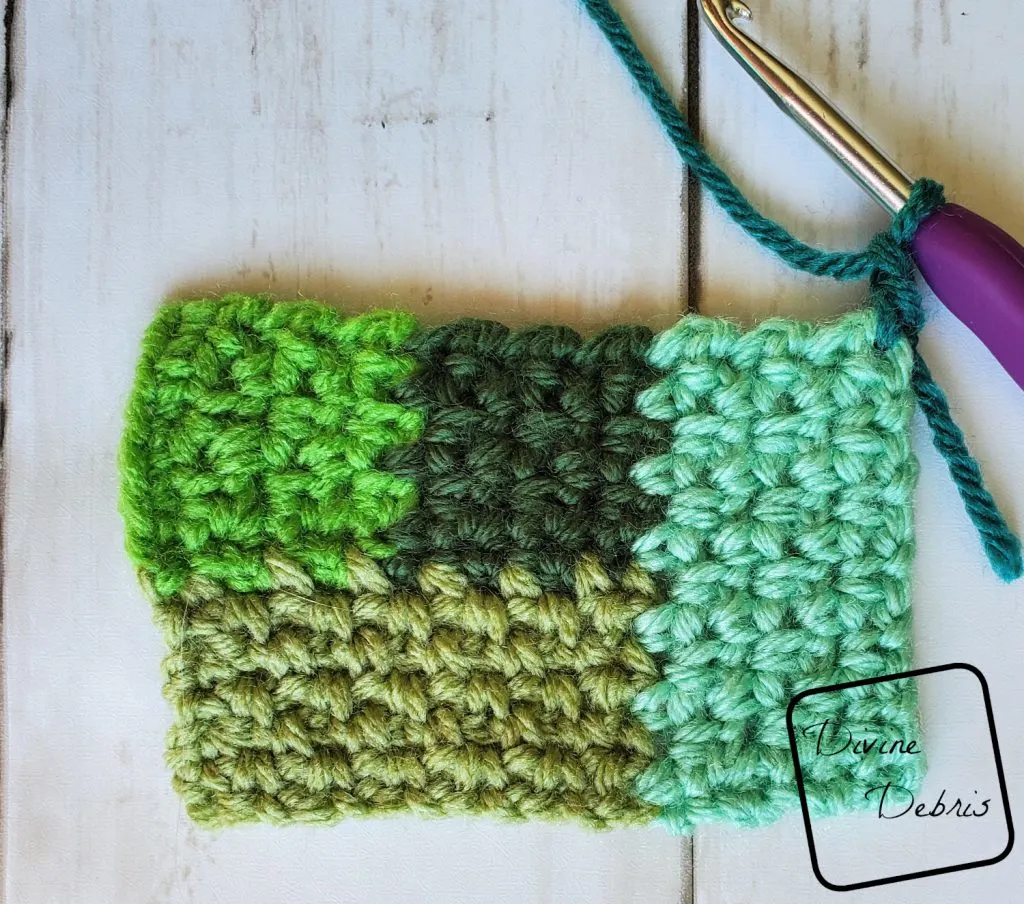
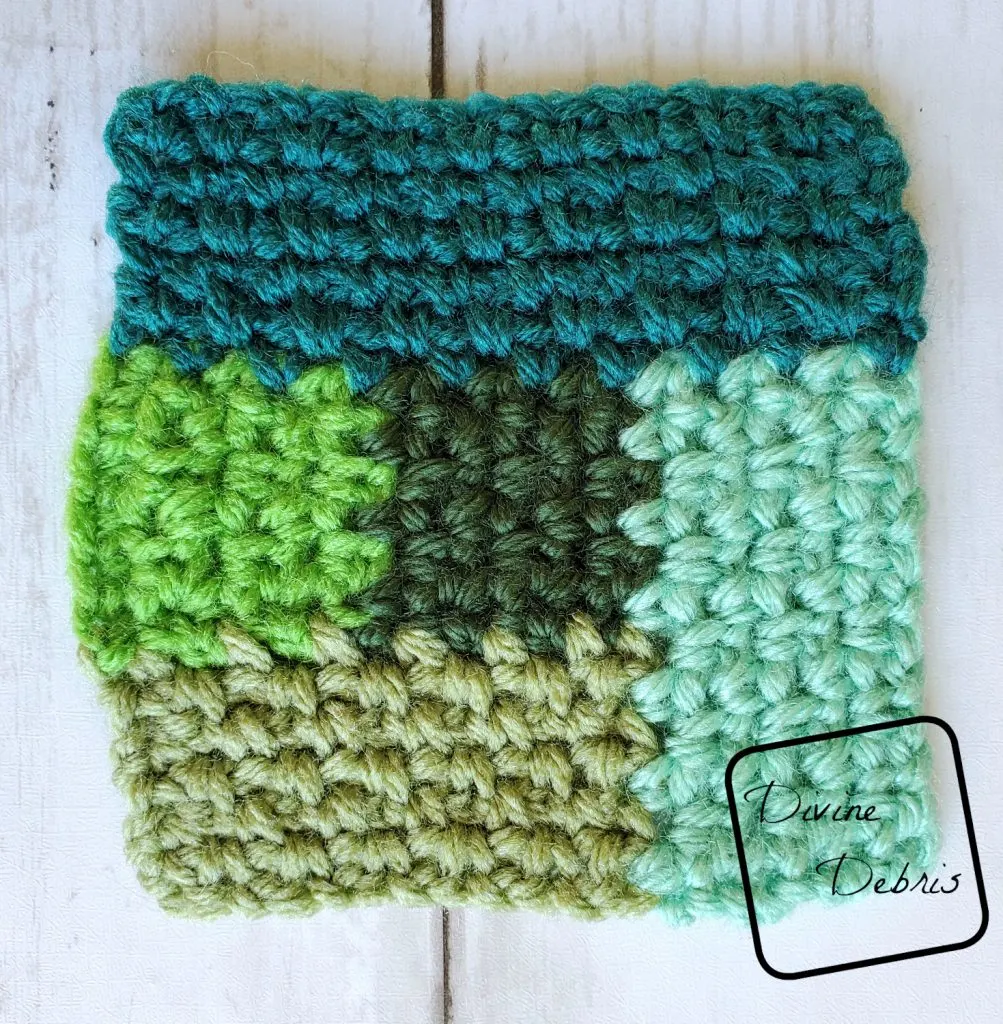
Create a slipknot on your hook and with the RS facing you, start in the last row end of Section 3 so that you’re working down the row ends towards row 6 of Section 2.
Row 1: Sc into the first row end, ch 1 and skip the next row end, sc into the next row end, ch 1 and skip the next row end, sc into the next row end, ch 1 and skip the next row end, sc into the next st, ch 1 and skip the next st, sc into the next st, ch 1 and skip the next st, sc into the next st, sc into the last st – 7 sc, 5 ch 1
Rows 2 – 6: Ch 1, turn, sc into the first st, ch 1 and skip the next st, sc into the next ch space, *ch 1 and skip the next st, sc into the next ch space,* repeat from * to * 3 more times, sc into the last st – 7 sc, 5 ch 1
Fasten off with this color. Turn your piece back to the RS.
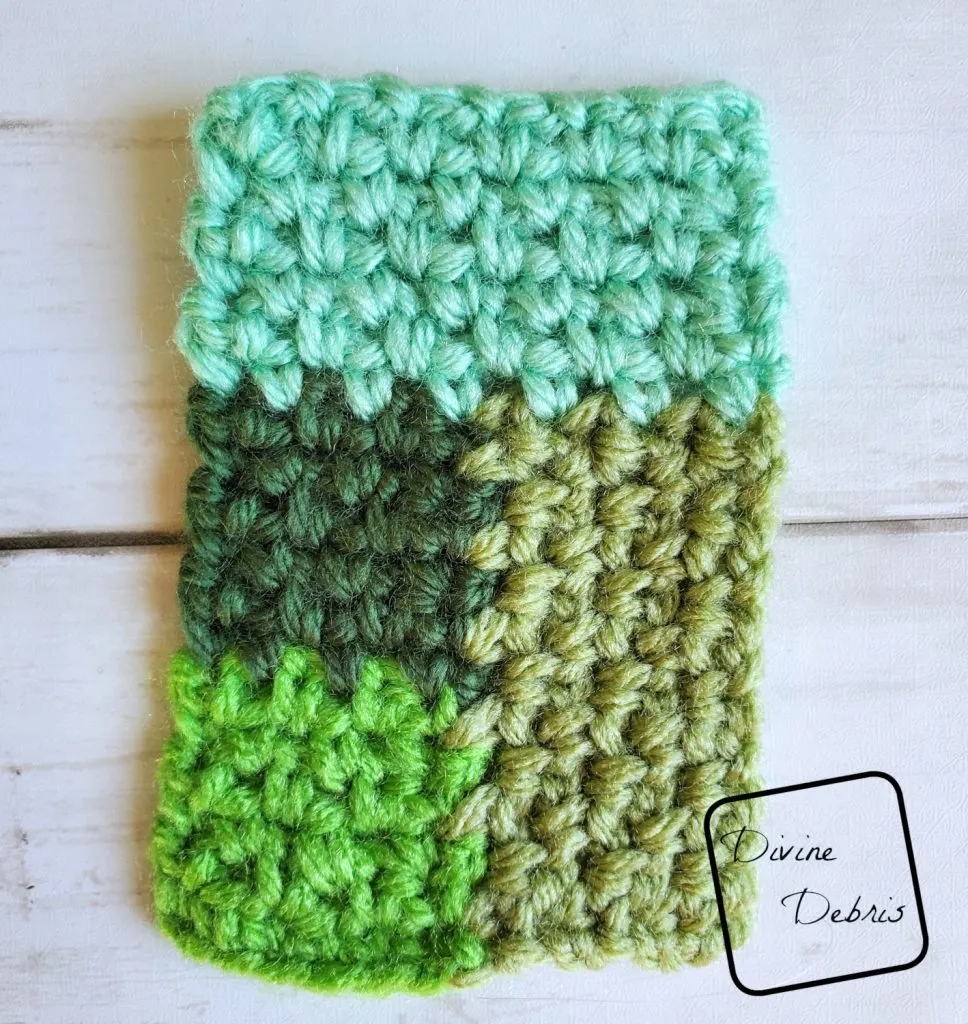
Section 5
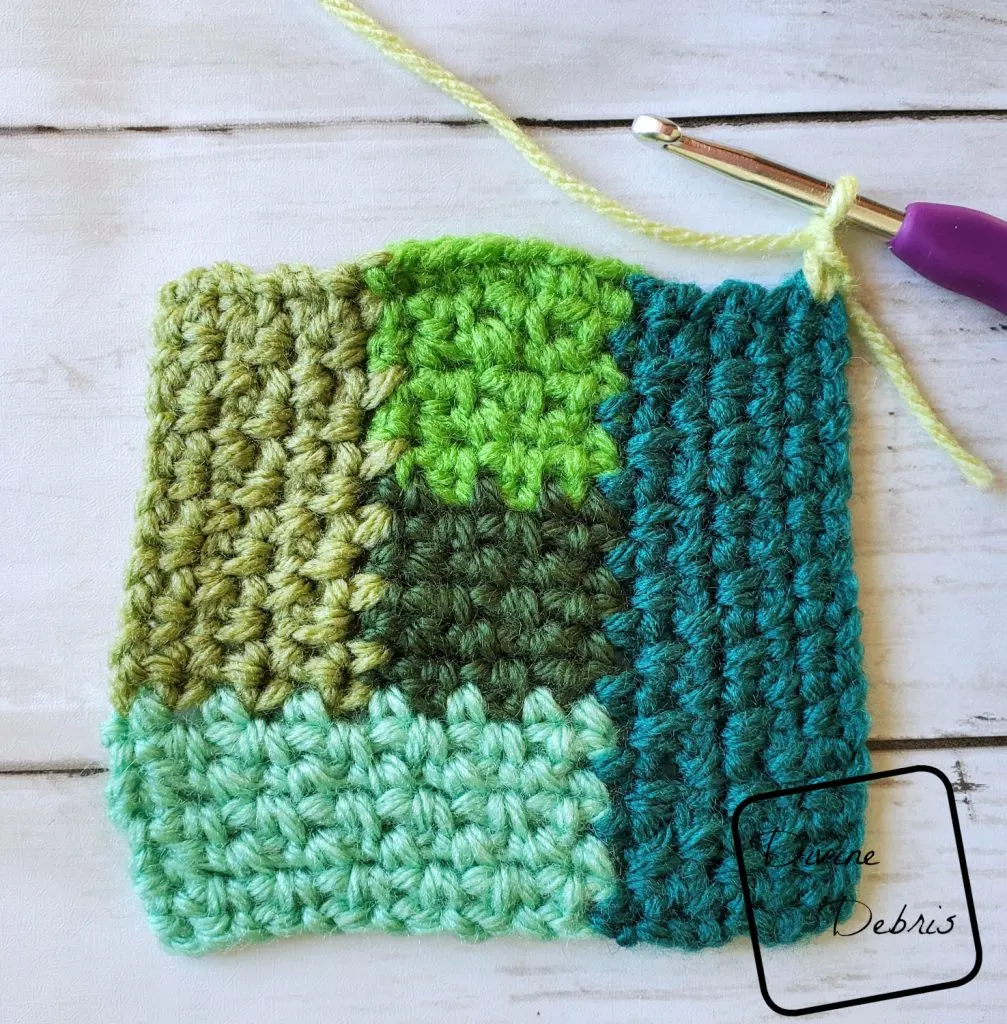
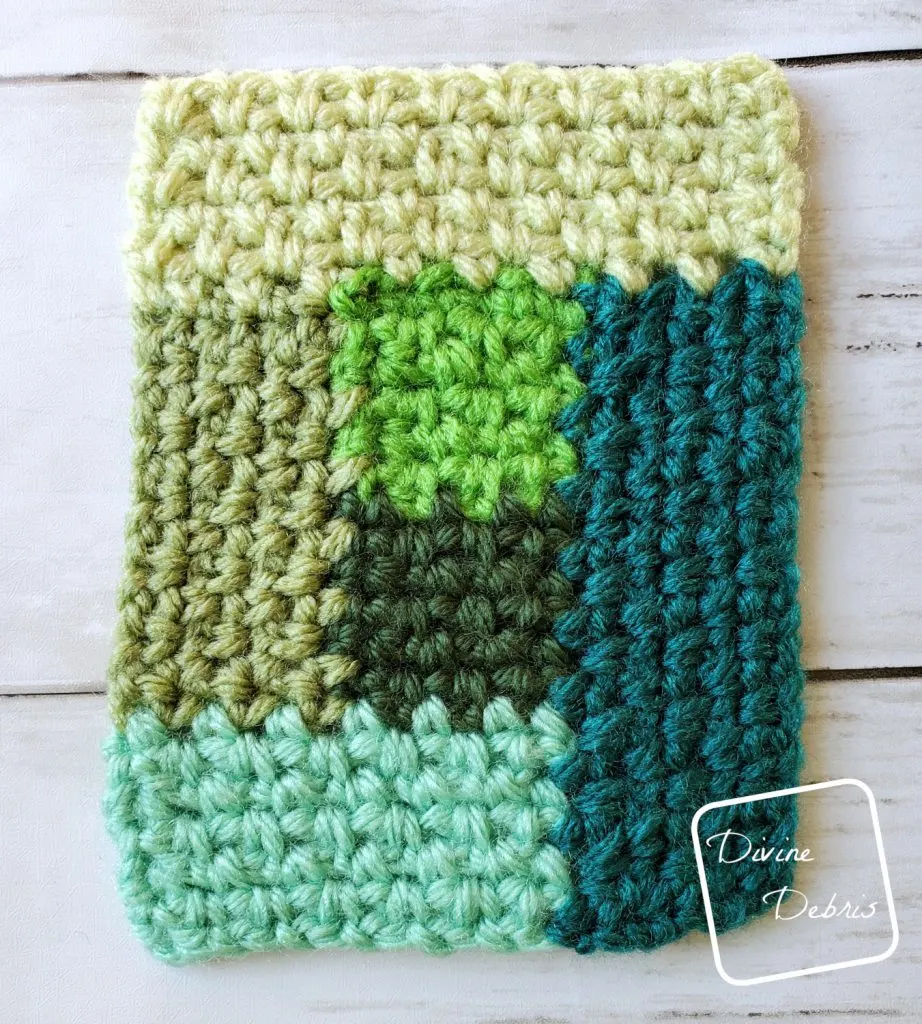
Create a slipknot on your hook and with the RS facing you, start in the last row end of Section 4 so that you’re working down the row ends of Sections 2 and 1 (in that order).
Row 1: Sc into the first row end, *ch 1 and skip the next row end, sc into the next row end,* repeat from * to * 7 more times, sc into the last row end – 10 sc, 8 ch 1
Rows 2 – 6: Ch 1, turn, sc into the first st, ch 1 and skip the next st, sc into the next ch space, *ch 1 and skip the next st, sc into the next ch space,* repeat from * to * 6 more times, sc into the last st – 10 sc, 8 ch 1
Fasten off with this color. Turn your piece back to the RS.
Section 6
Create a slipknot on your hook and with the RS facing you, start in the last row end of Section 5 so that you’re working down the row ends of Section 5, into the other side of row 1 of Section 1, and the row ends of Section 3.
Row 1: Sc into the first row end, ch 1 and skip the next row end, sc into the next row end, ch 1 and skip the next row end, sc into the next row end, ch 1 and skip the next row end, *sc into the next st, ch 1 and skip the next st,* repeat from * to * twice more, [sc into the next row end, ch 1 and skip the next row end,] repeat from [ to ] once more, sc into the last 2 sts – 10 sc, 8 ch 1
Rows 2 – 6: Ch 1, turn, sc into the first st, ch 1 and skip the next st, sc into the next ch space, *ch 1 and skip the next st, sc into the next ch space,* repeat from * to * 6 more times, sc into the last st – 10 sc, 8 ch 1
Fasten off with this color. Turn your piece back to the RS.
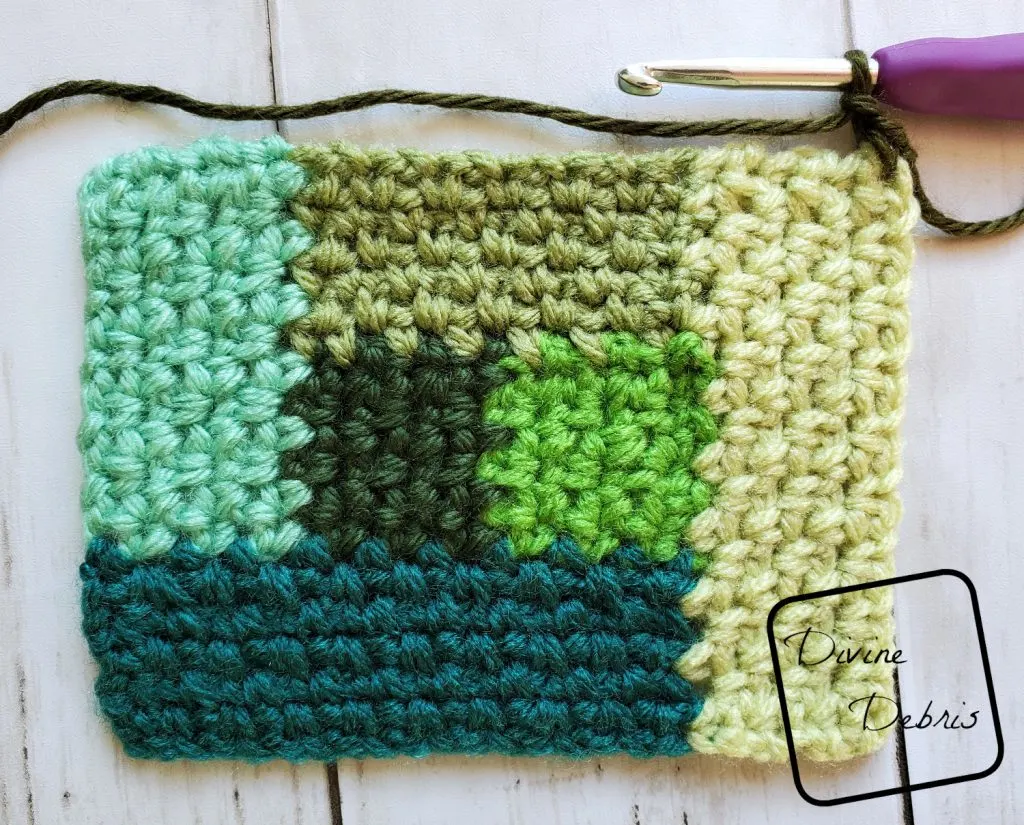
Section 7
Create a slipknot on your hook and with the RS facing you, start in the last row end of Section 6 so that you’re working down the row ends of Section 6, into row 6 of Section 3, and the row ends of Section 4.
Row 1: Sc into the first row end, ch 1 and skip the next row end, sc into the next row end, ch 1 and skip the next row end, sc into the next row end, ch 1 and skip the next row end, *sc into the next st, ch 1 and skip the next st,* repeat from * to * 5 more times, [sc into the next row end, ch 1 and skip the next row end,] repeat from [ to ] once more, sc into the last 2 sts – 13 sc, 11 ch 1
Rows 2 – 6: Ch 1, turn, sc into the first st, ch 1 and skip the next st, sc into the next ch space, *ch 1 and skip the next st, sc into the next ch space,* repeat from * to * 9 more times, sc into the last st – 13 sc, 11 ch 1
Fasten off with this color. Turn your piece back to the RS.
Weave in all your ends. Block if you desire.
And you’re all done! Make sure to block your squares before you seam, especially because not all worsted weights are created equal and this will help your squares be the same size.
Seaming
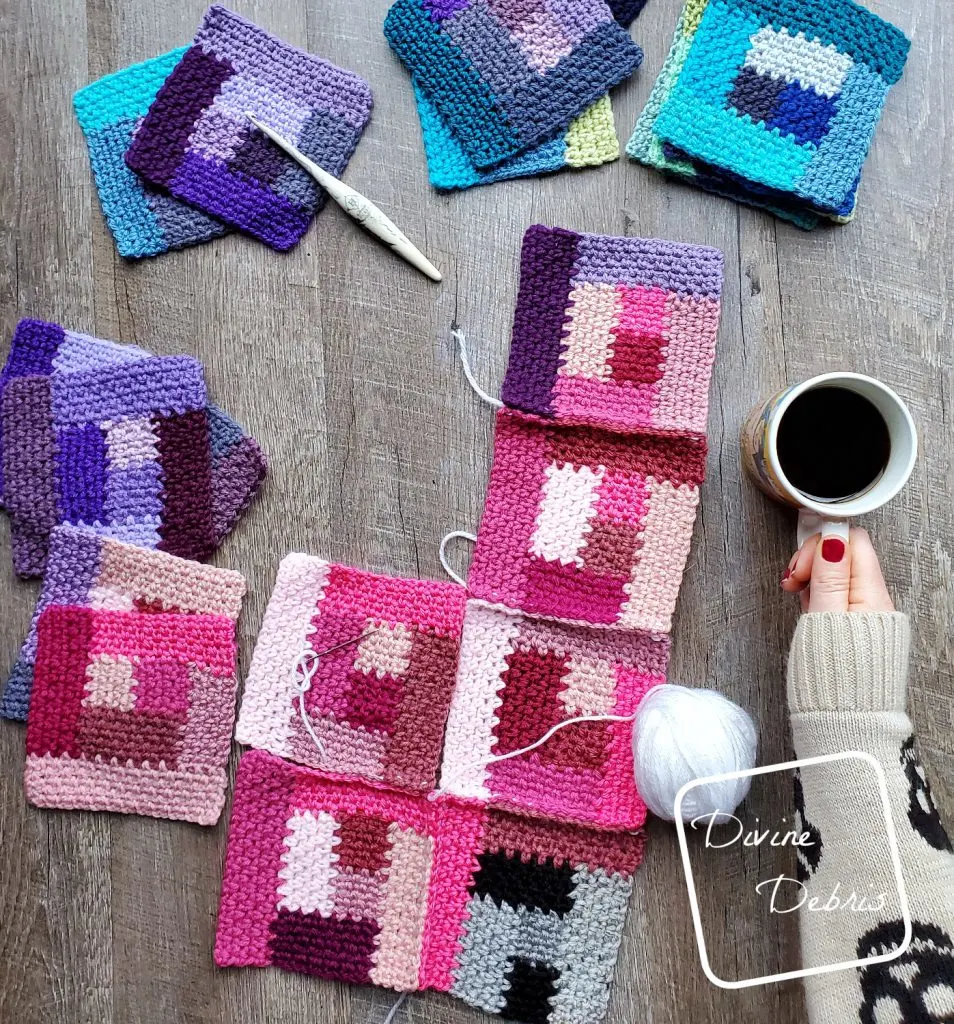
For the seaming I’m just sewing my squares together but feel free to slip stitch them together like I did on the Divine Diamonds Blanket or any other method of seaming, like the ones I shared in my Coffee Afghan Project, that makes you happy.


Anne
Thursday 23rd of October 2025
Thank you! I made a bit smaller for grandchild. With green 5 squares as my middle row! I just finished with invisible seam stitch I did buy your pattern (on sale) wish I could post pic. It is such a great way to use yarn leftovers and enjoyed every square!
Divine Debris
Sunday 26th of October 2025
I'm so glad you liked it!
Doreen
Sunday 1st of September 2024
Thank you so much for this pattern. I'm wondering if it works in Tunisian crochet
Cassia
Wednesday 8th of June 2022
Beautiful! Loved It! I think It must be very difficult to choose the colors. Your choice of colors was fabulous. From São Paulo Brazil
LaTasha
Monday 2nd of August 2021
Thanks for sharing! I love the log cabin pattern as a quilt block. So when I ran across your crochet log cabin pattern, I had to try it. It's so easy. Love it!!!
Lisa
Sunday 22nd of March 2020
Lovely pattern! Do you know roughly how many yards/metres you used?
Divine Debris
Sunday 22nd of March 2020
I don't quite know, because this was a scrap pattern and all the yarn was random bits, but maybe around 50 - 100 yards total?