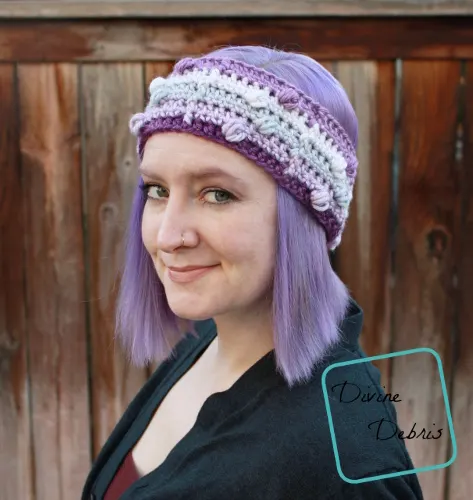
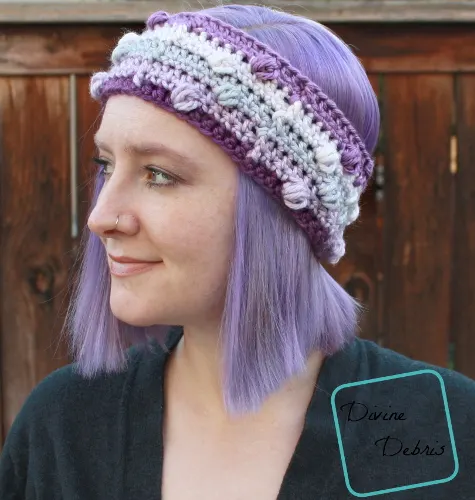
Hello friends, I’d like to introduce you to my running headband. This is the Kira Headband and it’s really cozy. Like, really cozy. It’s been doing a great job keeping the tips of my ears warm as my husband and I try to get back into shape in the early Spring mornings around here. I don’t want to brag, but I think it’s doing such a good job that I’m running a bit faster 😉
With the exception of the running faster thing, this headband is doing a great job and does keep my ears warm. I modeled it after the Kira Beanie from February. I loved the bobbles of that design but I wanted to make it easy to wear when I was running (you can get really sweaty running) and thus the Kira Headband was born.
It’s a really easy pattern and I bet you could make it with some worsted weight yarn. I used what I had on hand, which also happened to be some ridiculously soft yarn, but you can probably use what you want. Just check your gauge, you might need to adjust your hook a bit to make it still fit right.
I do hope you like this pattern. It’s so easy to make and you can wip up a few in one evening.
(This post may contain affiliate links)
If you appreciate my weekly patterns I hope you’d consider purchasing an ad-free pdf of this pattern in my Ravelry shop.
Thank you Gayle for becoming my newest patron on Patreon!
Learn how you can get 4 patterns a month and become a patron here for as low as $2.50 a month.
Materials
- US K (6.50 mm) crochet hook
- Size #5 Bulky weight yarn
- 1.8 – 2.1 oz/50 – 58 yds
- I used Red Heart Soft Essentials Stripes
- Needle that will weave in your ends
Gauge
Terms/ Stitches used
- RS: right side
- Ch: chain
- St: stitch
- BLO: back loop only
- Slip st: slip stitch
- Sc: single crochet
- Hdc: half double crochet
- HDCPuff (explained below)
- FPDC/BPDC: front post/back post double crochet
Notes
- HDCPuff: *yarn over, insert your hook into the specified st, pull up a loop,* repeat from * to * 3 more times, yarn over, pull through all 9 loops on your hook.
- You could probably make this pattern in worsted weight yarn, just check your gauge.
- You will turn after each rnd on the Body.
- The ch 2 at the beginning of the rnd does count as a stitch.
- The ch 1 a the beginning of the rnd does not count as a stitch.
- The example is the 22″ – 23″ size, made in Red Heart Soft Essentials Stripes in Purple Reign.
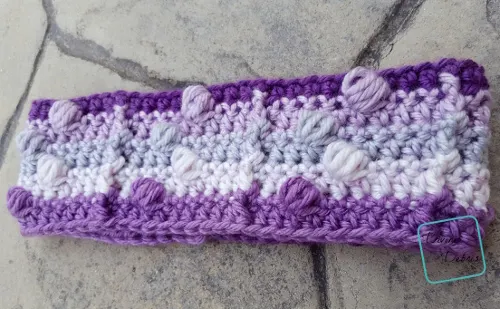
Finished product dimensions (measurements may vary by gauge and yarn used)
| 18″ Height: 3″ – 3.5″ Width: 9″ | 22″ Height: 3″ – 3.5″ Width: 11″ |

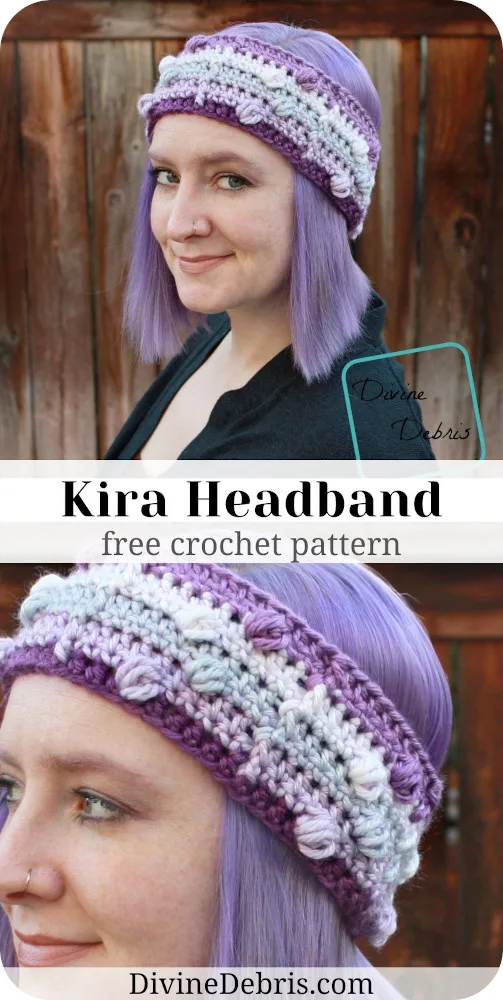
Kira Headband Pattern instructions
Sizing as follows: 18″ (22)
Rnd 1: Ch 50 (60), slip st to form a ring. *Do not twist this ring*
(RS) Rnd 2: Ch 2 (counts as a st here & throughout), hdc into the next 49 (59) sts, slip st into the first st – 50 (60) hdc
Rnd 3: Ch 1, turn, sc into the same st as join and into the next st, HDCPuff into the next st, sc into the next 4 sts, bpdc round the next st, *sc into the next 4 sts, HDCPuff into the next st, sc into the next 4 sts, bpdc around the next st,* repeat from * to * 3 (4) more times, sc into the next 2 sts, slip st into the first st – 5 (6) HDCPuff, 40 (48) hdc, 5 (6) bpdc
Rnd 4: Ch 2, turn, hdc into the next st, fpdc around the next bpdc, *hdc into the next 9 sts, fpdc around the next bpdc,* repeat from * to * 3 (4) more times, hdc into the next 7 sts, slip st into the first st – 54 (63) hdc, 5 (6) fpdc
Rnd 5: Ch 1, turn, sc into the same st as join and into the next 2 sts, HDCPuff into the next st, sc into the next 3 sts, bpdc round the next fpdc, *sc into the next 5 sts, HDCPuff into the next st, sc into the next 3 sts, bpdc around the next fpdc,* repeat from * to * 3 (4) more times, sc into the next 2 sts, slip st into the first st – 5 (6) HDCPuff, 40 (48) hdc, 5 (6) bpdc
Rnd 6: Ch 2, turn, hdc into the next st, fpdc around the next bpdc, *hdc into the next 9 sts, fpdc around the next bpdc,* repeat from * to * 3 (4) more times, hdc into the next 7 sts, slip st into the first st – 54 (63) hdc, 5 (6) fpdc
Rnds 7 – 10: repeat rows 3 – 6, once
Fasten off, weave in all your ends.
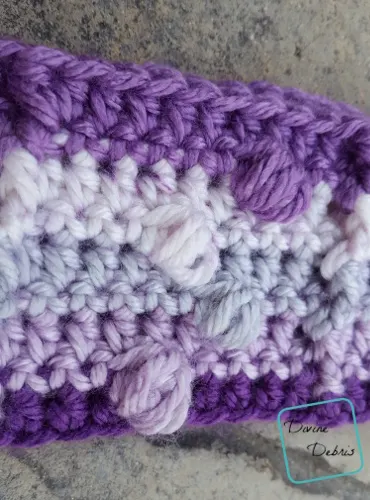
Tada! There it is. I hope you love it and share photos on Instagram with the hashtag #DivineDebris

