Holy December, Batman! Who’s excited for the cold, the gifts, the candy, the pies, the campy movies on tv, and the lights on houses? Last night the spouse and I went for a nice long walk through our neighborhood and looked at all the pretty lights on the houses. Alas, we haven’t put up any lights yet because it gets so dark so early now that we don’t have a lot of time to get things done on a regular week day and weekend can be so busy! Hopefully we’ll find some time this weekend to put some up.
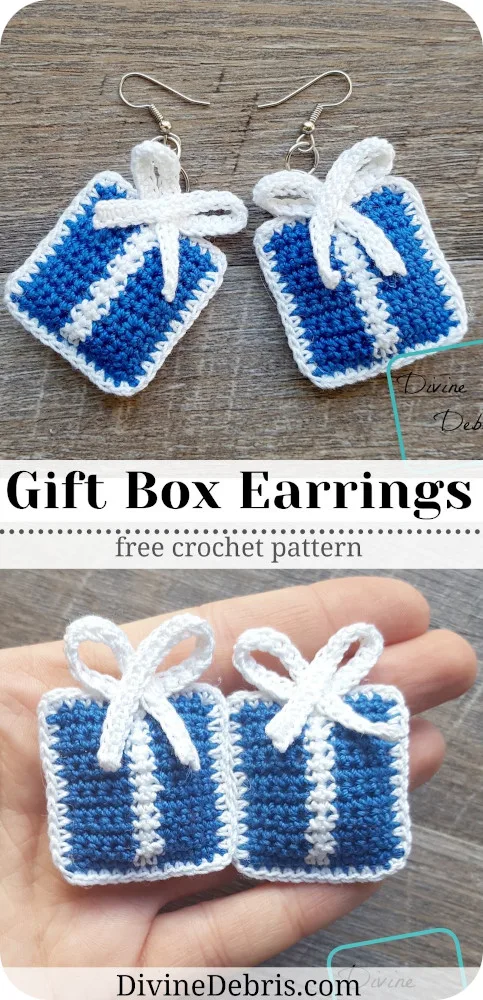
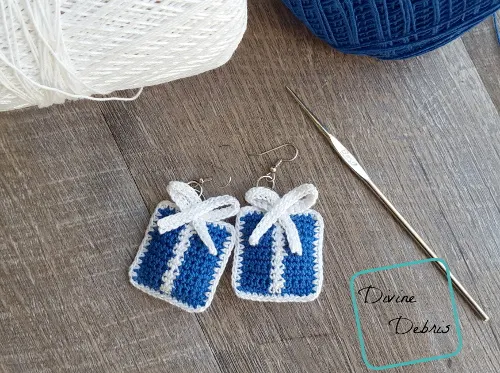
So, this week’s pattern is in the spirit of the season (or all seasons if you’re into giving gifts) – they’re cute little gift boxes! I love earrings and I may have talked about it before, I started out making earrings when I started designing crochet patterns. I loved how delicate and fun the earrings would turn out to be and how easy it was to make a billion of individual accessories. I also had some awesome friends who would buy up all my designs when I made them, which gave me the courage to keep designing. Now here I am, years later, and I’m still making fun earrings. 😀
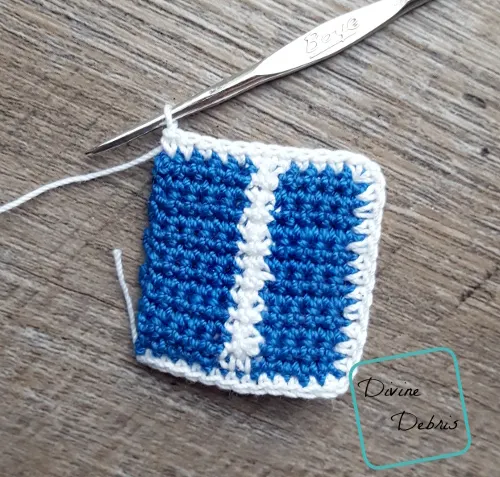
These are pretty simple, although they do require you to know how to change colors in the row, but with one side being hidden by the center of the mini-ami, you don’t have to worry about your yarn looking like a mess on that side. Does that make sense? I did floaters on this design so that my “good side” pieces were as clean as possible.
I really hope you all give these a shot. I love to make seasonal earrings and I already wore them to work, where I got compliments so that’s always fun!
This post is linked to Hookin’ on Hump Day #180
Don’t forget to use the hashtag #DivineDebris when sharing your photos on Instagram so I can see them!
(This post may contain affiliate links)
If you appreciate my weekly patterns I hope you’d consider purchasing an ad-free pdf of this pattern in my Ravelry shop.
Thank you to Susan B for becoming my newest patron on Patreon!
Materials
- US steel 2.10 mm crochet hook
- Size #10 crochet thread
- Less than 1 oz/ 10 yds

- 2 colors
- I used Aunt Lydia’s crochet thread
- Less than 1 oz/ 10 yds
- Needle that will weave in your ends
- Glue
- Jump rings
- Metal french hooks
- Polyfill
Gauge
- 9 rows x 9 sc = 1″ (not critical)
Terms/stitches used
- St: stitch
- Ch: chain
- Slip st: slip st
- Sc: single crochet
Notes
- This pattern is work in 4 parts: the Square, the Securing, the Bow, and the Assembly. The Square is worked back and forth with a turn at the beginning of the row. the Securing is worked around the edge of 2 of the squares. The Bow is worked as on long piece.
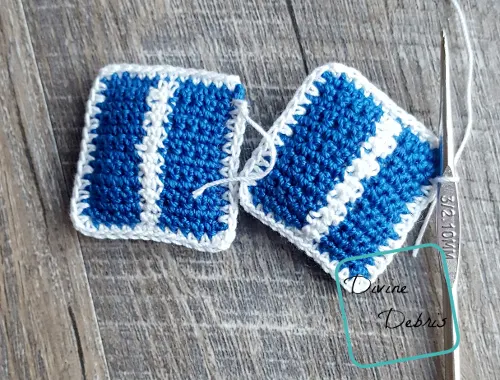
- You will need to make 4 Squares. The Securing will secure 2 of the squares together with a round of sc around the edge of the Square. You will want to stuff some Polyfil or yarn ends in-between your Squares before you finish securing them.
- You will need to know how create a slipknot on your hook.
- Your gauge isn’t critical with this project, just make it tight enough that the Polyfil/ stuffing won’t show.
- You don’t have to make these earrings 3D as they’re written. You can just make one, lay it flat with Stiffy & let it dry, then add the Bow when it’s all dry.
- In the photos: Color A is blue and color B is white (Aunt Lydia‘s was used for both).
Finished product dimensions (approx)
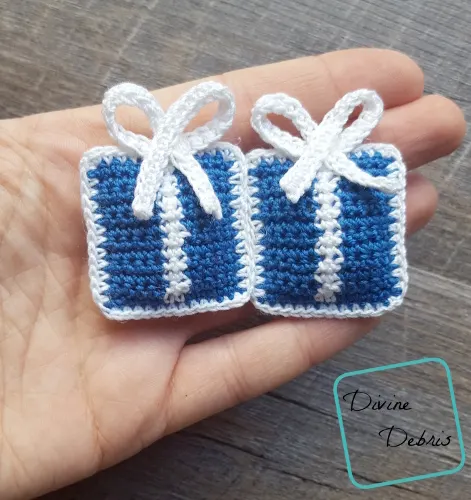
1.5″ x 1.5″ (not including jump rings and hook)
Gift Box Earrings Free Crochet Pattern Instructions
-Square-
(make 4)
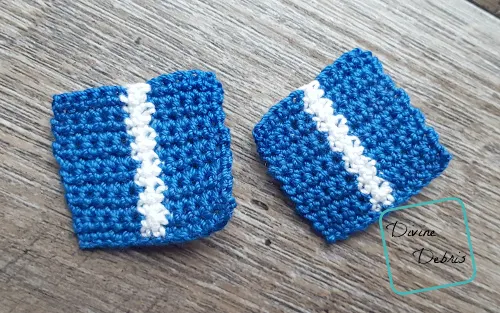
Row 1: A: Ch 12 sc into the 2nd ch from the hook and into the next 4 sts, with B sc into the next 2 sts, with A sc into the next 5 sts – 12 sc
Note:
- The following directions will only tell you what color (ie: Color A, Color B, etc…) and the number in the parentheses tells you how many stitches to make.
Rows 2 – 12: A: Ch 1, turn, (5), B: (2), A: (5) – 12 sc
Fasten off both colors, weave in your ends.
-Securing-
Hold 2 of your Squares together so their edges line up. There is no “right side” to this design, just make sure whatever side is nicer if facing out and not touching the other Square.
Rnd 1: B: Create a slipknot on your hook, on the lower left corner in the unused loops of your ch row and sc into the next 12 sts (working through both squares all the way around), ch 1 at the corner and rotate your whole piece, sc into the next 12 row ends, ch 1 at the corner and rotate your whole piece, sc into the next 12 sts of row 12, ch 1 at the corner and rotate your whole piece, (stuff your project before moving onto this next portion) sc into the next 12 row ends, ch 1 at the corner and rotate your whole piece, slip st into your first st – 48 sc, 4 ch-1 spaces
Fasten off, weave in your ends.
-Bow-
(make 2)
With color B, ch 41, sc into the second ch from the hook and into the next 39 sts – 40 sc
Fasten off, weave in your ends.
Arrange your segment so it resembles a bow and glue it so it stays in place. If you’d like to make your segment longer to make a proper bow, that’s completely fine too.
-Assembly-
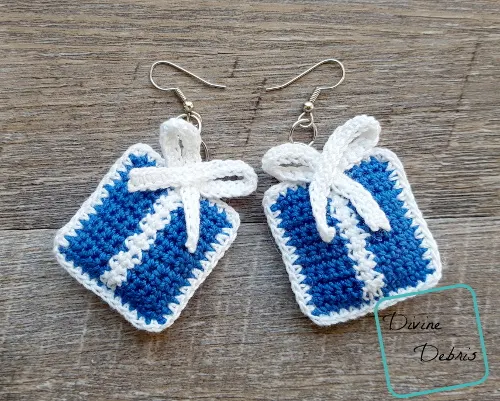
Attach your jump rings and then your hook to your earrings wherever you’d like them on your earrings. Glue your Bow so it sits on top of the color B stripe that goes along your Square.
Tada! There they are. I hope you love them and give them a try!
See ya next week


Glenda
Saturday 28th of August 2021
These earrings are adorable! Thank you so much for sharing this pattern!!!
Tonia Deakin
Tuesday 4th of December 2018
I love these earrings! They are so stinking cute! Thanks for the pattern. I've been looking for something festive for the holidays.
Divine Debris
Tuesday 11th of December 2018
I'm so glad you like them! I hope you share photos of them all done up!
<3 <3 Amber