
![[Image description] Striped Alix Bag lays in the center on a white fur blanket, one hand holding it on the left bottom side. Yarn cakes are in line on the right side, a cup of coffee and a star platter with a candle on it lay on the left.](https://d3gel9wqxksnxm.cloudfront.net/wp-content/uploads/2021/03/Alix-Bag-1000x999-1.jpg)
![[Image description] Striped Alix Bag lays in the center on a white fur blanket, one hand holding it on the left bottom side. Yarn cakes are in line on the right side, a cup of coffee and a star platter with a candle on it lay on the left.](https://d3gel9wqxksnxm.cloudfront.net/wp-content/uploads/2021/03/Alix-Bag-1000x999-1.jpg.webp)
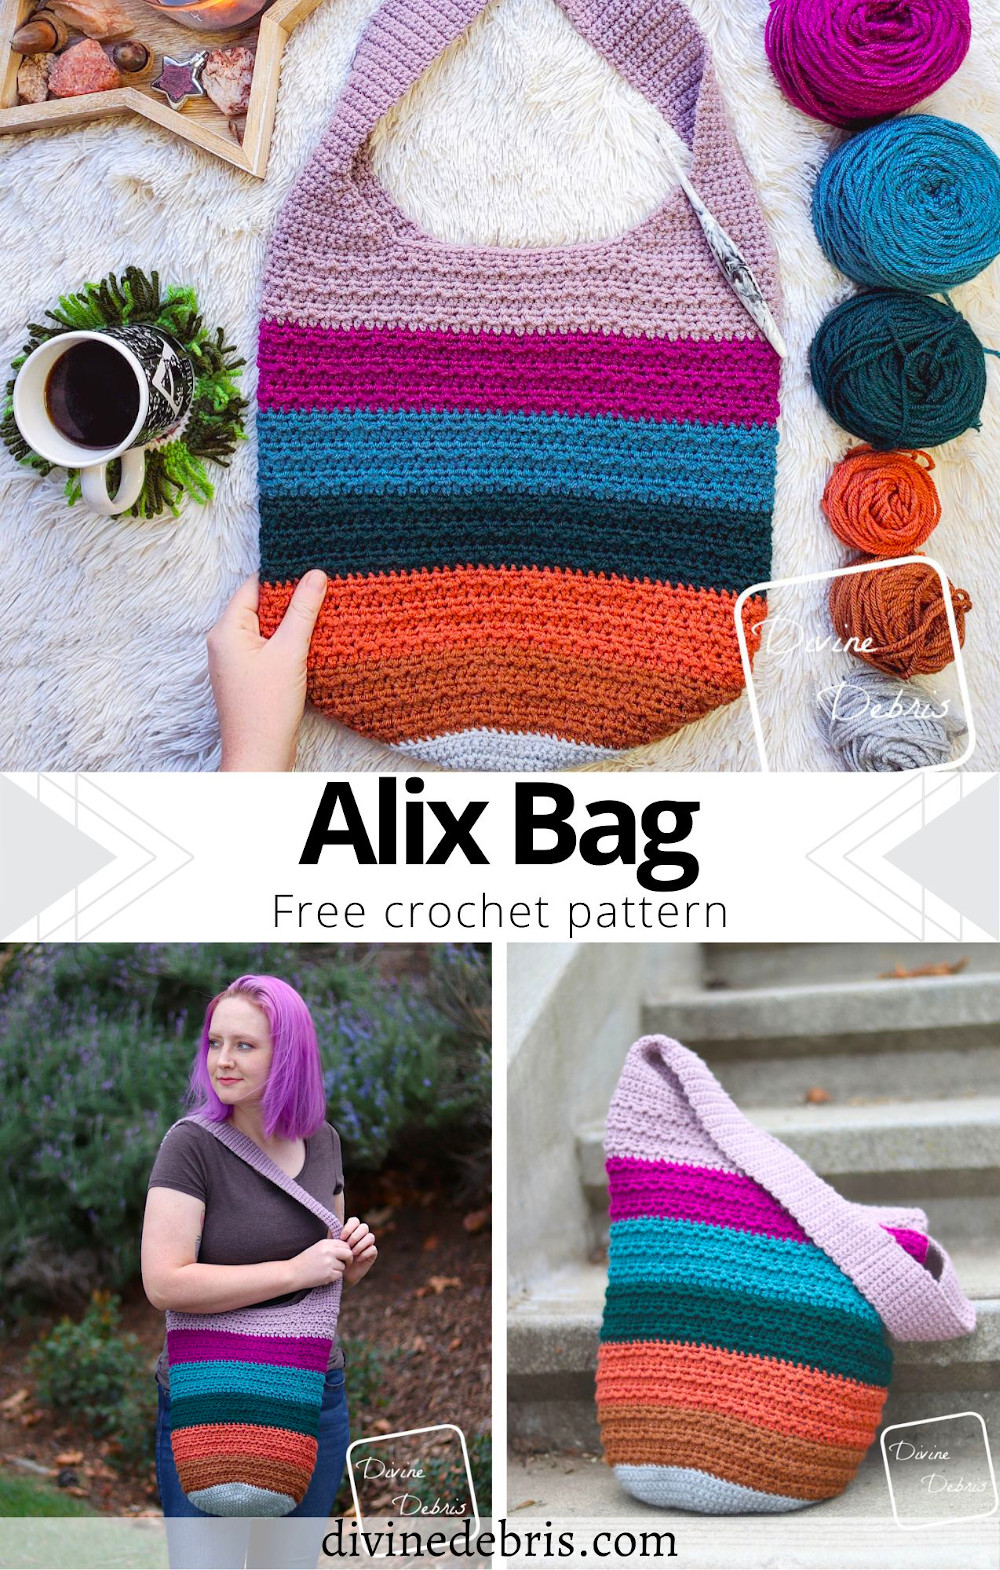
Hey! Remember the Amelia Pullover from last month? I loved the way the colors on that sweater worked together so that as soon as I finished with it, I knew I wanted to make something else with the exact colors. Well, guess what, I finally did it! I hope you’re happy to meet the Alix Bag crochet pattern.
First off, you might notice that this isn’t exactly the same color combo. I didn’t want to completely repeat the colors, instead I wanted to show how fun colors can be when you have fun. So, yes, the same colors were used in this pattern as the Amelia Pullover but the arrangement is different, giving the 2 patterns totally different vibes.
The second thing you might notice about this pattern is the texture. Isn’t it fun? This year of “lets go big with texture” still continues wildly in this pattern. Just make sure you know how to do the Camel stitch, a bit one of my favorites of the last few years. There’s a photo below in the pattern that will highlight the which loop you’ll be using here. I just know when you get used to it, you’ll love it.
Also, make sure you note how to make this bag more sturdy. I like that it has a lot of sag to it, you can get so much yarn in there, but others might not. So you can double up on the base and re-inforce the Straps with a couple notes I’ve included below. That way this bag will be awesome for you in the end.
Most of all, I hope you like this pattern! It’s a lot of fun texture and lots of room for creativity.
I hope where ever you are you’re having a great time and being safe and healthy. Hugs friends. Wash your hands and masks.
Please note: I was provided the yarn for this pattern by We Crochet for the purposes of designing the Alix Bag crochet pattern, with compensation. I wasn’t provided the yarn with the expectations of positive or negative reviews but I did enjoy using this yarn, I’ve used it many times and it’s always a great worsted acrylic yarn. If you purchase yarn through any of the links in this post, I will be compensated.
This post is linked to The Loop Scoop 10
(this post contains affiliate links)


If you appreciate my weekly patterns I hope you’d consider purchasing an ad-free pdf of this pattern in my Ravelry shop and Lovecrafts shop!
Thank you Vicki, Kathleen, and Paula for becoming my newest patrons on Patreon!
Where to purchase the Alix Bag crochet pattern


![[Image description] Striped Alix Bag lays flat on the group, at an angle, with caked up yarn on the top right of the photo.](https://d3gel9wqxksnxm.cloudfront.net/wp-content/uploads/2021/03/Alix-Shoulder-Bag-848x1000-1.jpg)
Level
Easy
Materials
- US H (5.00 mm) crochet hook
- Size #4 worsted weight yarn
- measurements listed in the Details section
- I used 7 colors
- I used We Crochet’s Brava Worsted for this project
- 8 oz / 496 yds
- .7 – 1.3 oz 43 – 81 yds ea
- Notions: scissors, measuring tape, yarn needle
Gauge
- 13 hdc x 10 rows = 4”
Terms/ Stitches used
- RS: right side
- Rnd: round
- Join
- St: stitch
- Ch: chain
- Sc: single crochet
- Sc2tog: sc 2 sts together
- BLO: back loop only
- BTLO: back third loop only (explained below)/Camel Stitch (photo below)
- Hdc: half double crochet
Notes
- BTLO: (back third loop only): when looking at the stitch you will have the 2 loops on top of the hdc (the V on top), lean the stitch towards you and will see the third loop that runs along the back of the stitch. This is the loop you will work into. This stitch is also known as the Camel Stitch. Please note that when you work this stitch you will be looking at the back of the previous row’s hdc, so the third loop will be facing you.
- This pattern is worked from the Base up. The Base and Sides are worked in the round with a join in the first st with a slip st. The Strap is worked in 2 sections in rows.
- For added structure you can double up on the base (make the base twice, sew them together and then move onto the sides) and add the Strap detailing (in the pattern below)
- The ch-1 at the beginning of the rnds/rows does not count as a st.
- This design was made using 7 colors; color A is gray (WeCrochet Brava Worsted in Dove Grey), color B light brown (Brava Worsted in Brindle), color C is orange brown (Brava Worsted in Persimmon), color D is dark green (Brava Worsted in Hunter), color E is teal (Brava Worsted in Tidepool), color F is magenta (Brava Worsted in Fairy Tale), and color G is lavender (Brava Worsted in Seraphim).
Approx finished product details (measurements may vary by gauge and yarn used)
| Height (not including the Strap) | Width |
| 14.4” | 14.5” – 15” |
![[Image description] Camel stitch example with the back third loop highlighted,](https://d3gel9wqxksnxm.cloudfront.net/wp-content/uploads/2021/03/Camel-Stitch.jpg)
![[image description] White woman with purple hair looks to the left while holding the strap of the striped Alix Bag, pulling it across her body.](https://d3gel9wqxksnxm.cloudfront.net/wp-content/uploads/2021/03/Alix-Shoulder-Bag-833x1000-1.jpg)
Alix Bag Crochet Pattern Instructions
Base
Rnd 1: A: Create a magic circle, ch 1, sc 6 times into the circle, join — 6 sc
Rnd 2: Ch 1, turn, sc twice into each st around, join — 12 sc
Rnd 3: Ch 1, turn, sc twice into the first st, sc into the next st, *sc twice into the next st, sc into the next st,* repeat from * to * 4 more times, join — 18 sc
Rnd 4: Ch 1, turn, *sc twice next the first st, sc into the next 2 sts,* repeat from * to * 5 more times, join — 24 sc
Rnds 5 – 16: repeat rnd 4 increasing 1 sc each repeat every rnd ie: “sc into the next 3 sts” or “sc into the next 4 sts” etc… until you reach a st count of 96.
Rnd 17: Ch 1, turn, sc into the next 96 sts, join — 96 sc
Fasten off color A.
![[Image description] The striped Alix Bag laying against a stair with the strap across the front.](https://d3gel9wqxksnxm.cloudfront.net/wp-content/uploads/2021/03/Alix-Shoulder-Bag-868x1000-1.jpg)
Sides
Rnd 18: B: Ch 1, hdc BLO of the next 96 sts, join — 96 hdc
Rnd 19: Ch 1, turn, *hdc into the next st, hdc BTLO into the next st,* repeat from * to * 47 more times, join — 96 hdc
Rnd 20: Ch 1, turn, hdc into the next 96 sts, join — 96 hdc
Rnd 21: Ch 1, turn, *hdc into the next st, hdc BTLO into the next st,* repeat from * to * 47 more times, join — 96 hdc
Rnds 22 – 23: repeat rnds 20 – 21, once.
Fasten off color B.
Rnds 24 – 29: C: repeat rnds 20 – 21, 3 times.
Fasten off color C.
Rnds 30 – 35: D: repeat rnds 20 – 21, 3 times.
Fasten off color D.
Rnds 36 – 41: E: repeat rnds 20 – 21, 3 times.
Fasten off color E.
Rnds 42 – 47: F: repeat rnds 20 – 21, 3 times.
Fasten off color F.
Rnds 48 – 53: G: repeat rnds 20 – 21, 3 times.
Rnd 54: Ch 1, turn, sc into the next 96 sts, join
Do not fasten off, move onto the Strap.
Strap
1st Side
Row 1: G: Ch 1, turn, sc into the next 30 sts — 30 sc
Row 2: Ch 1, turn, sc into the first st, sc2tog the next 2 sts, sc into the next 24 sts, sc2tog the next 2 sts, sc into the last st — 28 sc
Row 3: Ch 1, turn, sc into the first st, sc2tog the next 2 sts, sc into the next 22 sts, sc2tog the next 2 sts, sc into the last st — 26 sc
Row 4: Ch 1, turn, sc into the first st, sc2tog the next 2 sts, sc into the next 20 sts, sc2tog the next 2 sts, sc into the last st — 24 sc
Row 5: Ch 1, turn, sc into the first st, sc2tog the next 2 sts, sc into the next 18 sts, sc2tog the next 2 sts, sc into the last st — 22 sc
Row 6: Ch 1, turn, sc into the first st, sc2tog the next 2 sts, sc into the next 16 sts, sc2tog the next 2 sts, sc into the last st — 20 sc
Row 7: Ch 1, turn, sc into the first st, sc2tog the next 2 sts, sc into the next 14 sts, sc2tog the next 2 sts, sc into the last st — 18 sc
Row 8: Ch 1, turn, sc into the first st, sc2tog the next 2 sts, sc into the next 12 sts, sc2tog the next 2 sts, sc into the last st — 16 sc
Row 9: Ch 1, turn, sc into the first st, sc2tog the next 2 sts, sc into the next 10 sts, sc2tog the next 2 sts, sc into the last st — 14 sc
Row 10: Ch 1, turn, sc into the first st, sc2tog the next 2 sts, sc into the next 8 sts, sc2tog the next 2 sts, sc into the last st — 12 sc
Row 11: Ch 1, turn, sc into the first st, sc2tog the next 2 sts, sc into the next 6 sts, sc2tog the next 2 sts, sc into the last st — 10 sc
Rows 12 – 60: Ch 1, turn, sc into the next 10 sts — 10 sc
Fasten off, weave in your ends. Move onto the next Side.
2nd Side
Row 1: Create a slipknot on your hook with color G and skip 18 sts from the last st you made on Rnd 1 of the 1st Strap (this will place you opposite of your 1st Strap on Rnd 54 of the Sides), sc into the next 30 sts — 30 sc
Rows 2 – 60: repeat rows 2 – 60 from the 1st Side.
Fasten off leaving a long enough tail that you can seam together both Row 60s from both Sides of the Strap. Make sure this is secure, as it will be the top of your Strap.
Strap Detailing (optional)
Create a slipknot on your hook with any color and start in the first st of the Row 1 of the 1st Side of the Strap, sc into the next 60 row ends of that Side, move to the next Side, sc into the next 60 row ends, sc into the 19 unworked sts from the Sides, join — 139 sc
Repeat the detailing starting in the first st of Row 1 of the 2nd Side of the Strap. Fasten off, weave in your ends.

Tauna
Thursday 26th of December 2024
Thank you so much for the pattern. Love it.
Cari
Tuesday 31st of May 2022
I am currently making my second one! I love this pattern. Thank you so much for all your hard work!
Caroline
Wednesday 5th of May 2021
Lovely design! But I am reluctant to try another crochet bag since they always seem to stretch and lose their shape. Does the stitch you are using minimize that result? I've wondered about using double strands to make it stronger. Any thoughts? Thanks for the pattern!
Divine Debris
Friday 7th of May 2021
This bag will definitely stretch but I kind alike that, it looks more homey that way but if you don't you can change up the materials - carry a cord throughout or use hemp perhaps cotton that won't have as much give. And doubling up on the base could keep the base from stretching too much. I hope that helps.
-Amber
Lilith
Saturday 1st of May 2021
Does ALIX mean something? As English is not my 1st language I was wondering if it was "just-a-name", or really meant something? Thanks for replying that would be nice! Greetings, Lilith from Antwerp in Belgium in Europe!
Divine Debris
Friday 7th of May 2021
Hi! Alix is just a name. I like to name many of my designs just "name + design" to keep it easy to remember and then if I use same stitch combo again then I can keep them all coordinated as a "line" if that makes sense. & hi to Belgium, I visited there in 2018, beautiful country!
-Amber
Greg Nugam
Thursday 1st of April 2021
Its lovely, cant wait to try it. Can you send me a tutorial video on the basic of stitching?