
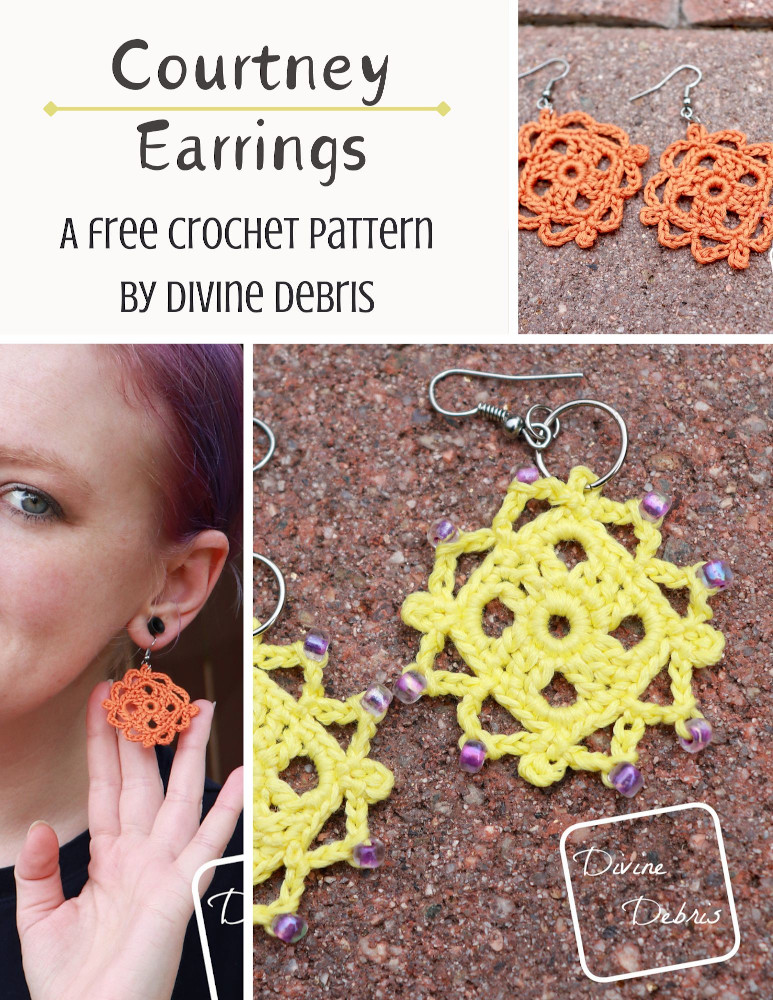
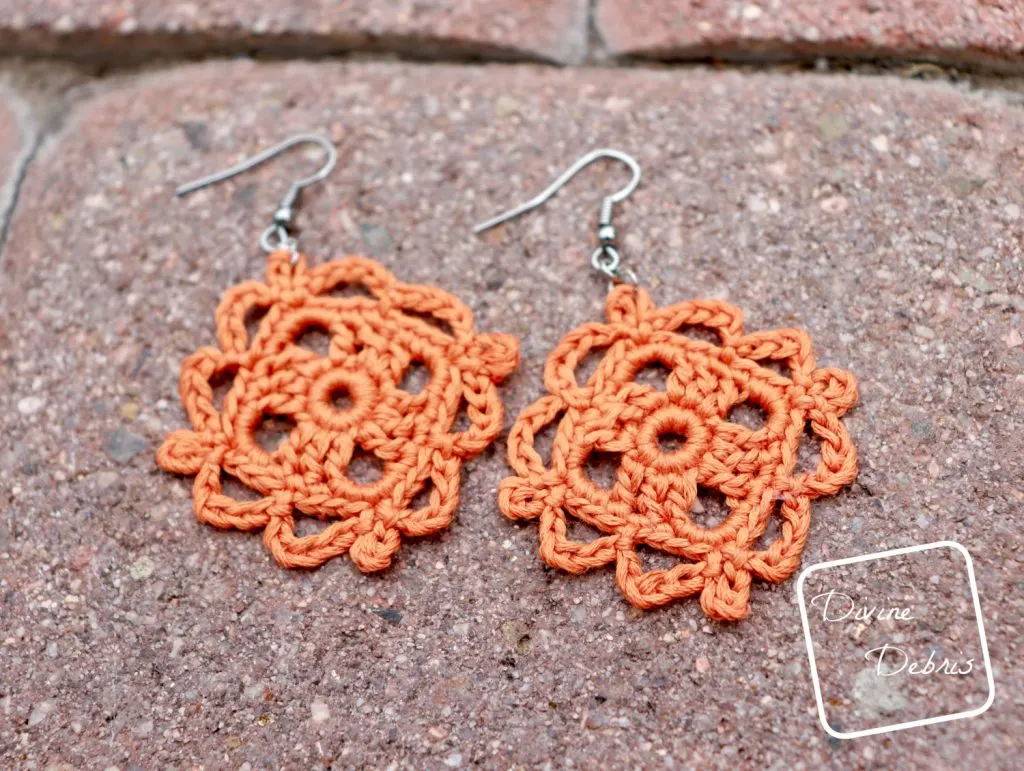
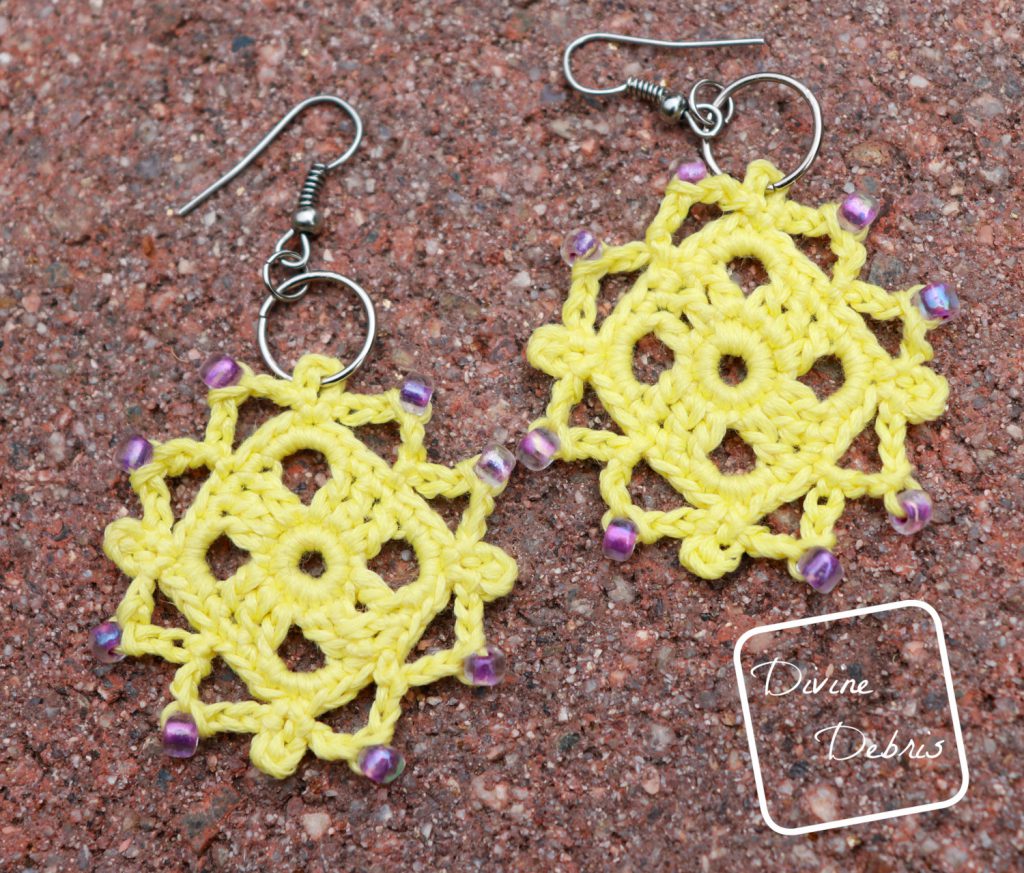
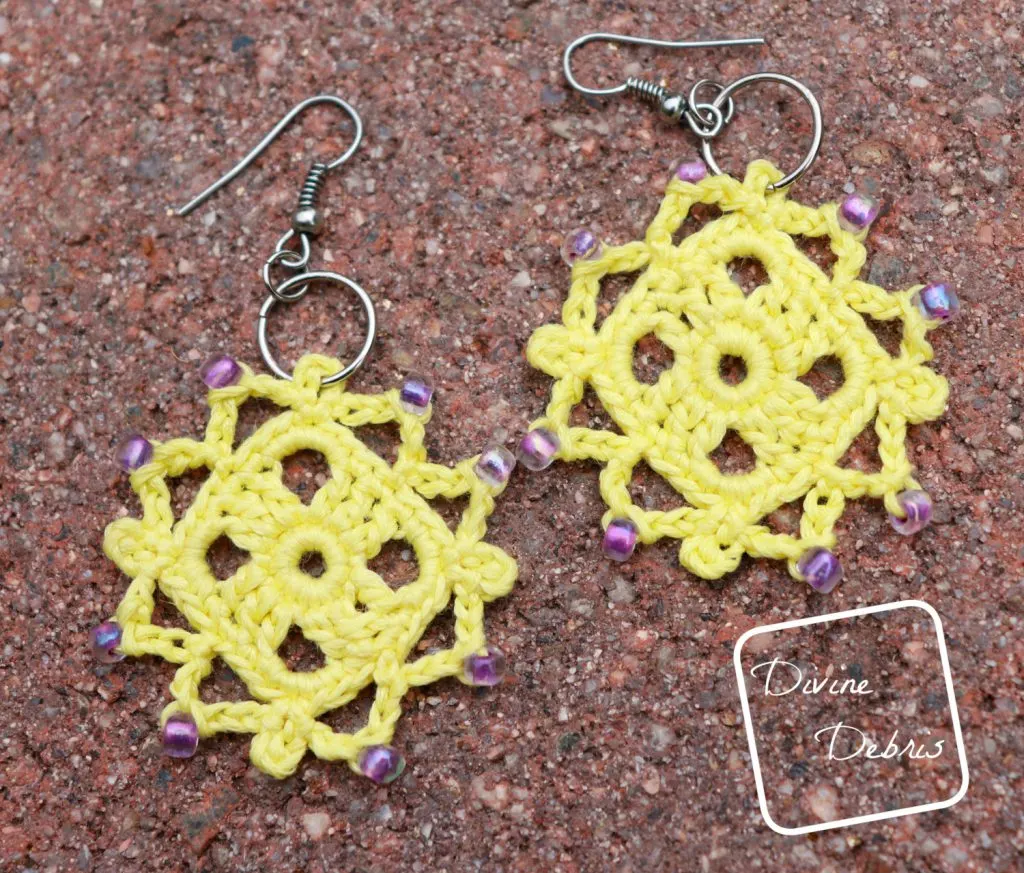
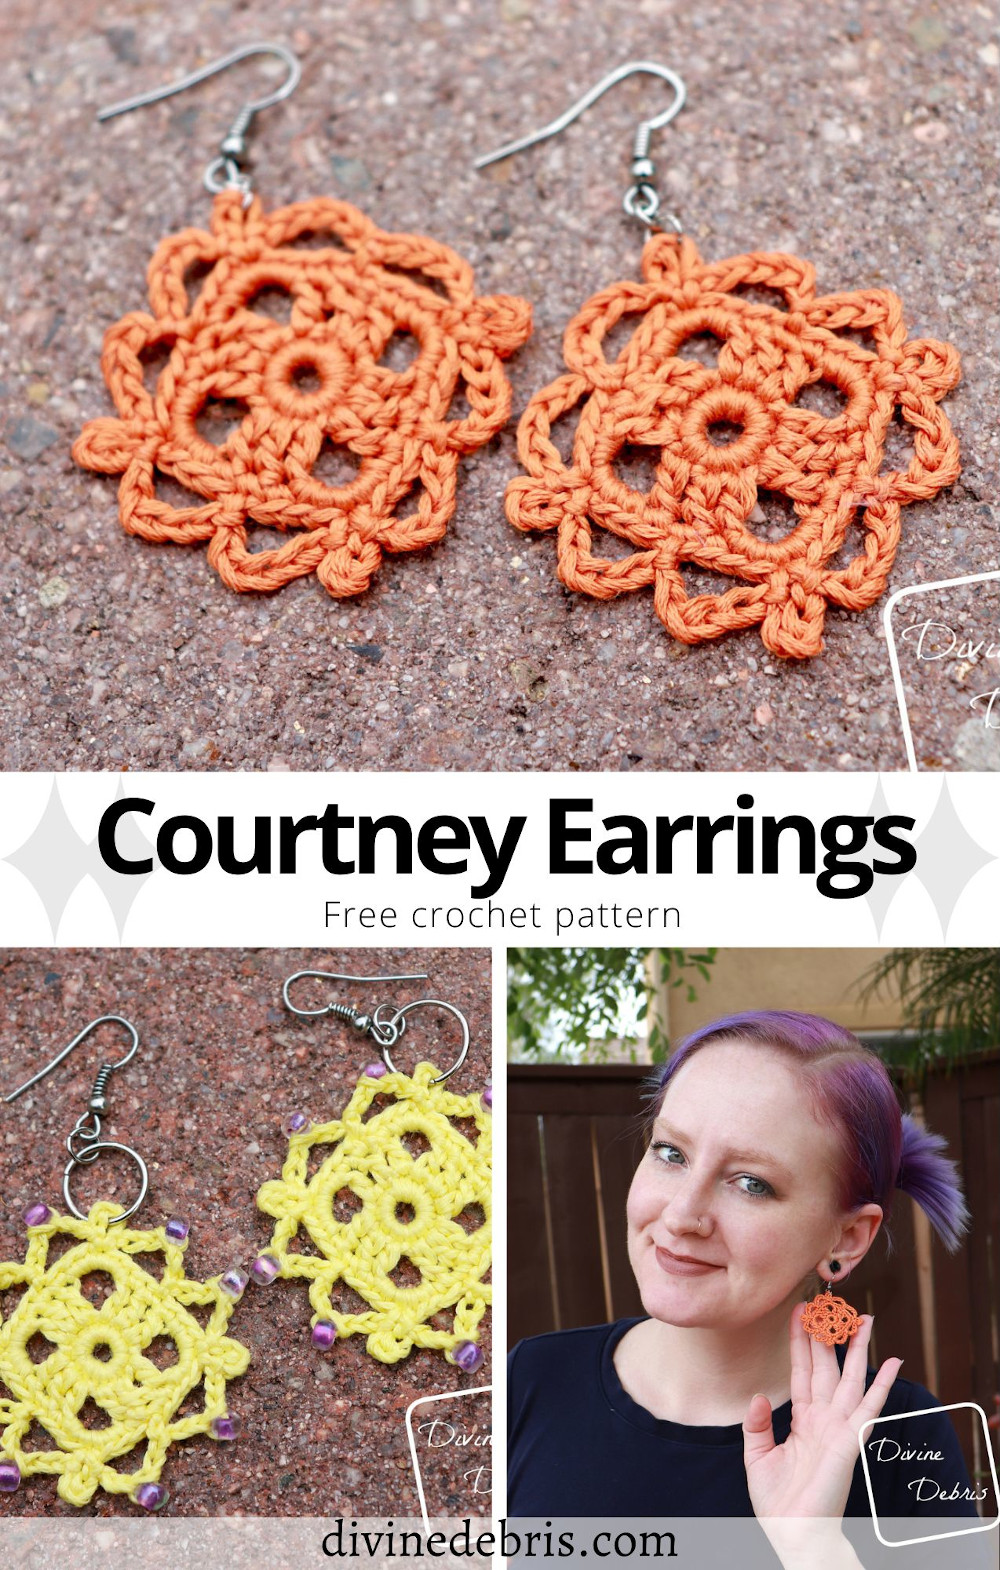
Happy April friends! Is it all Spring looking where you are? It’s definitely rainy April here. I keep hoping to see a change in weather but it hasn’t arrived yet. So, instead I’m going to ready myself for Spring with this week’s new pattern – the Courtney Earrings crochet pattern.
Ok, ok. I know that for a lot of people, this pattern is going to be an immediate “nope” because of that small crochet hook. But I’m telling you, these earrings are so easy that you could make them in a few minutes and then glare at the tiny hook for days after. Set it aside for however long you need, teach it who’s boss. Because you can make these earrings in under 30 minutes. When I was working on this pattern (after finding the photo in my FB album) I made 3 pairs of earrings in one day. Takes no time. I promise 🙂
Anyway… A week ago I asked on both Facebook and Instagram which people would rather see, the Emma or Courtney earrings – an overwhelming amount of people wanted the Courtney Earrings. They were the clear winner. Like, whoa! Winner. So I set out to make the earrings and see if there were ways to dress up this very simple design.
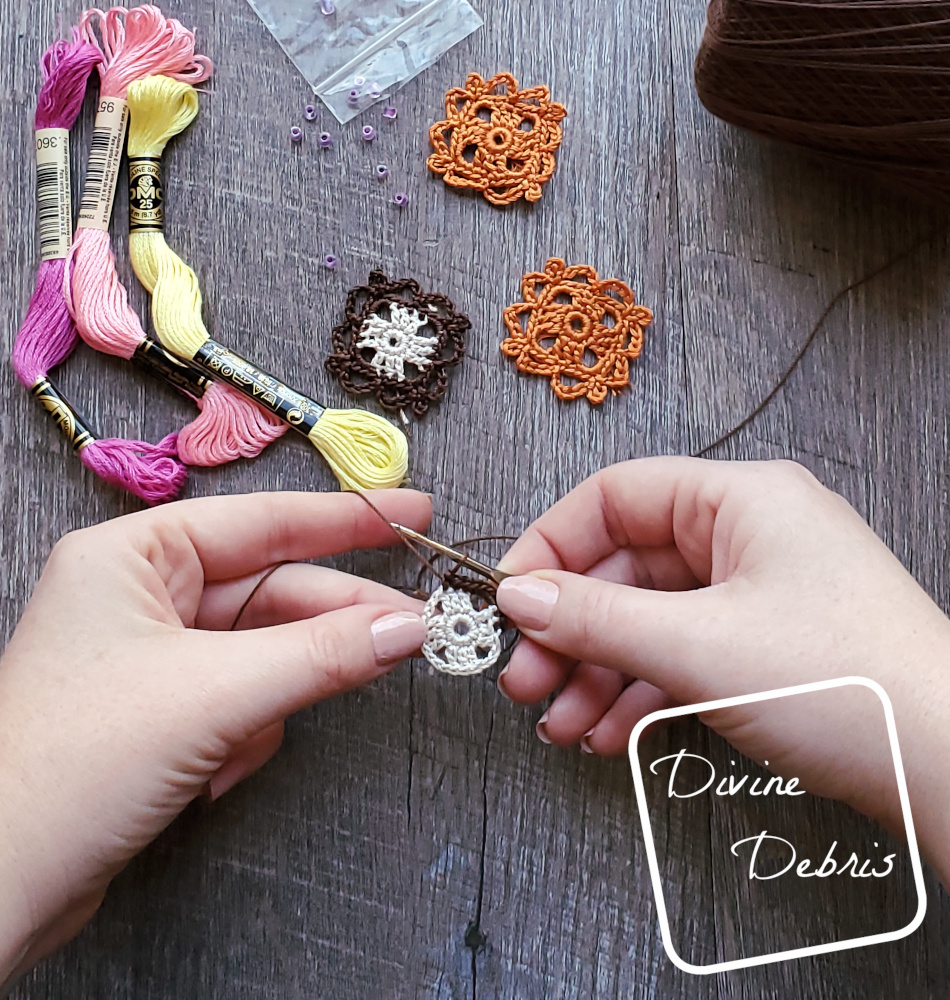
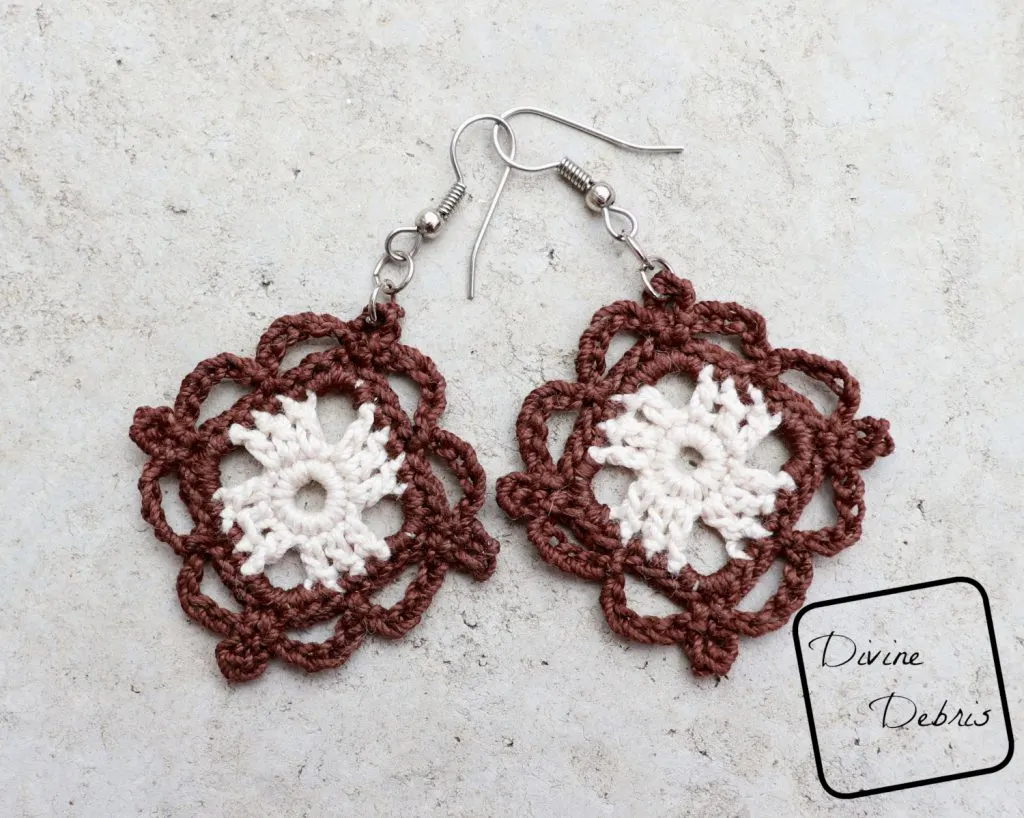
I added some beads, I did 2 colors, and I think later I’m going to add some fringe some of the other earrings. Basically I wanted to show you all the fun you could do with this design. Ooh! And I used DMC Floss for the yellow ones, because they have some lovely colors that I don’t have in cotton thread. Better still, you can make one pair a skein of Floss, so that’s handy right? So very many options to make each an every pair of the Courtney Earrings unique and special.

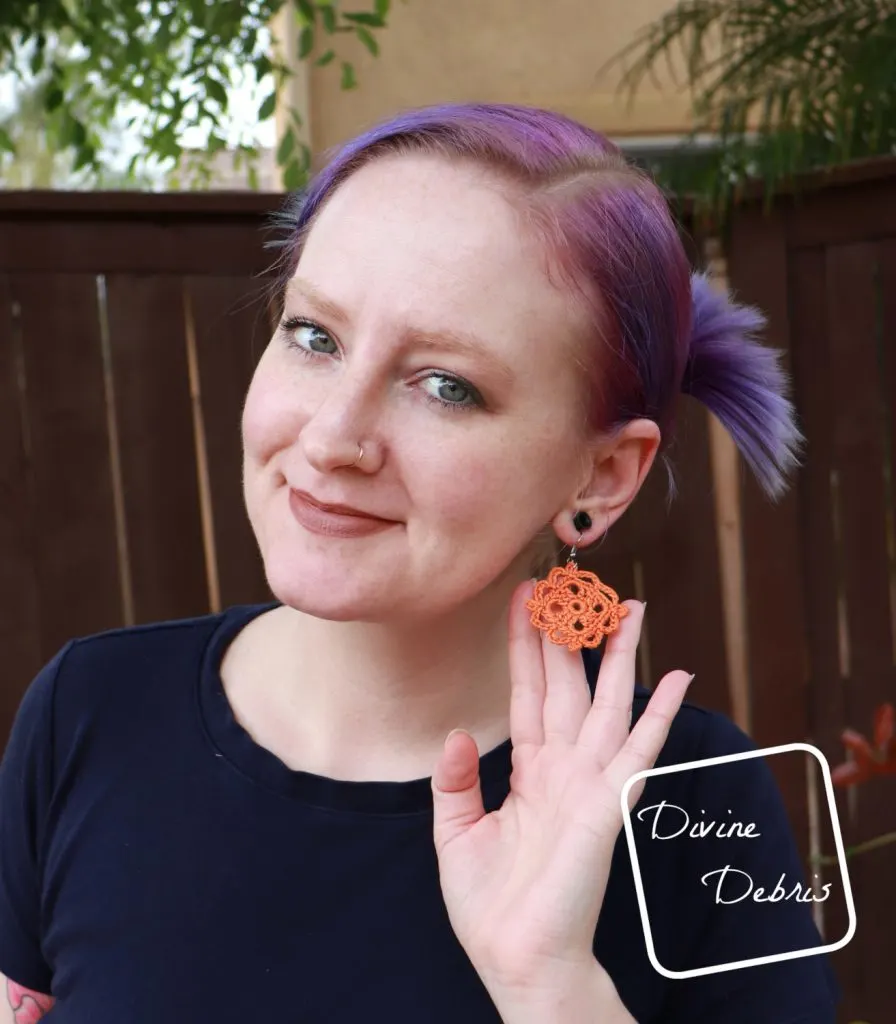
I hope that the options I’ve shown here have inspired you (and the small hook doesn’t dissuade you from trying this pattern). And if you’re like me and you’re stuck at home trying to think of new projects to try, I hope you give this design a shot. And if you find you like them, give some of my other earring patterns a try.
Stay healthy and safe friends <3
(this post contain affiliate links)

If you appreciate my weekly patterns I hope you’d consider purchasing an ad-free pdf of this pattern in my Ravelry shop.
Thank you to all my patrons on Patreon!


Materials
- US 2.25 mm crochet hook
- Size 10 crochet thread
- Less than 1 oz
- I used Aunt Lydia’s Crochet Thread and DMC Floss
- Needle that will weave in your ends
- Metal Jump rings
- Metal french hooks
- Jewelry pliers (I used these)
- Fabric stiffener
Gauge
- Gauge is not critical
Terms/ Stitches used
- RS: right side
- Rnd: round
- Ch: chain
- St: stitch
- Join
- Slip st: slip stitch
- Sc: single crochet
- Dc: double crochet
Notes
- These earrings are worked in the round, with a slip st into the first st of the rnd to join.
- The ch 1 at the beginning of some rows does not count as a stitch.
- You will need to know how to create a slipknot on your hook for this pattern.
- You will need to stiffen your earrings with fabric stiffener to wear correctly.
- Aunt Lydia’s size 10 Crochet thread and DMC floss were used for these earrings.
Finished product dimensions (measurements may vary by gauge and yarn used)
1.5” x 1.5”
Courtney Earrings Pattern instructions
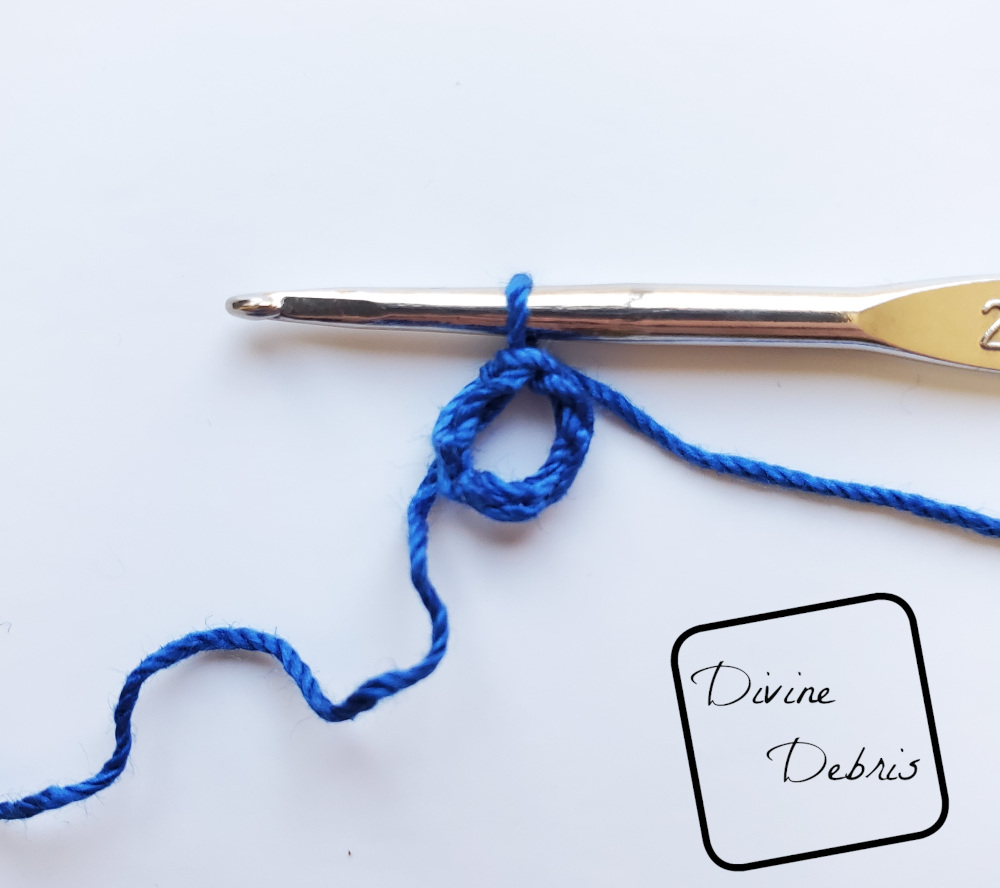
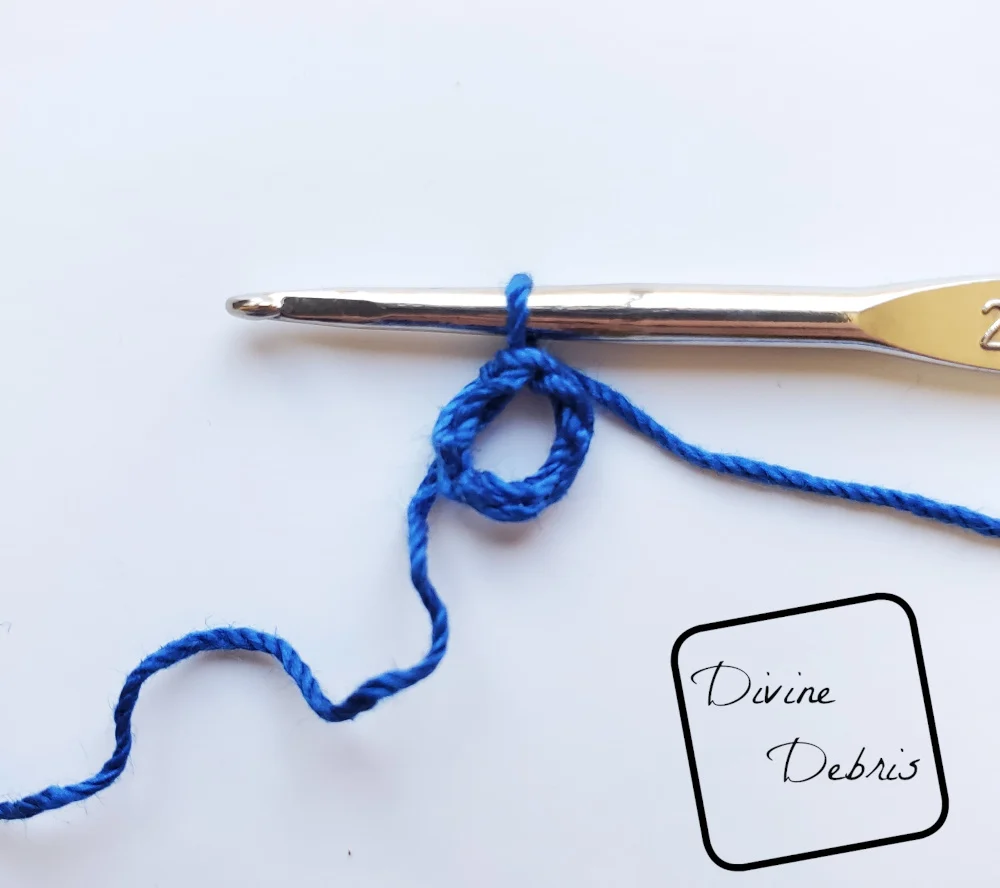
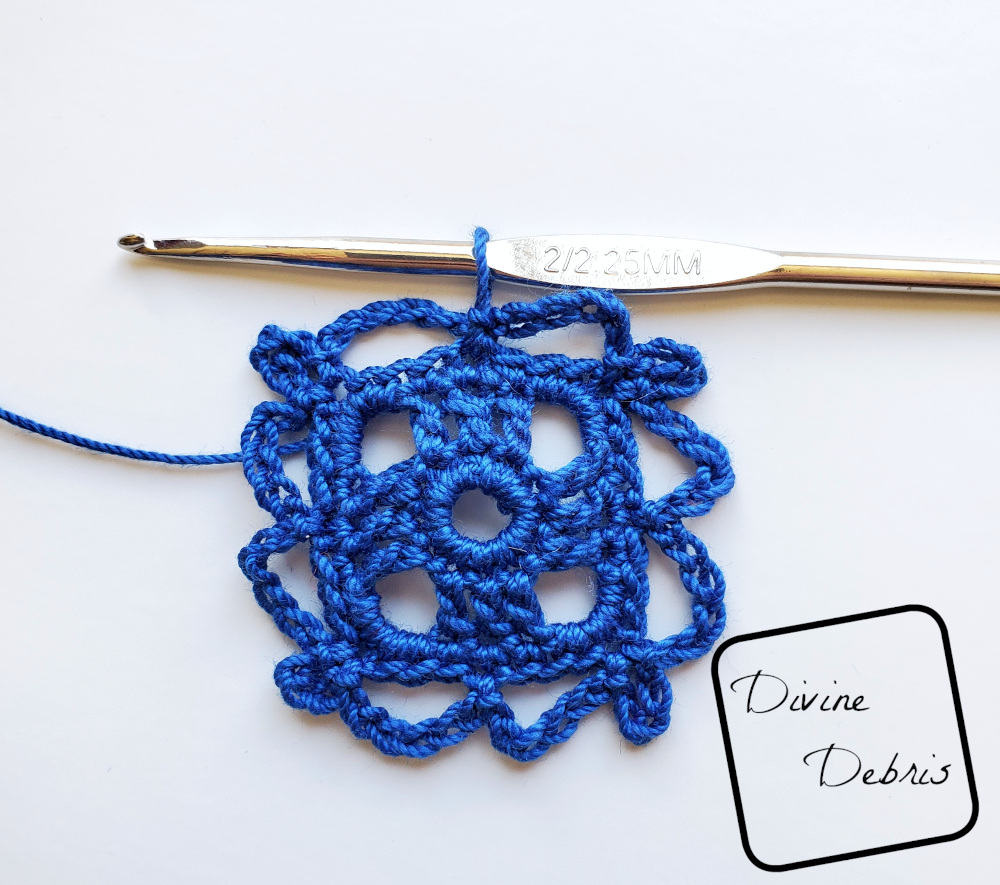
Rnd 1: Ch 5, slip st to form a ring *do not twist this ring*
Please note: this ch-5 is to create a very snug center of the earring. You’re going need to squish the 12 sc for the next rnd into the ring.
Rnd 2: Ch 1, sc 12 times into the ring, join – 12 sc
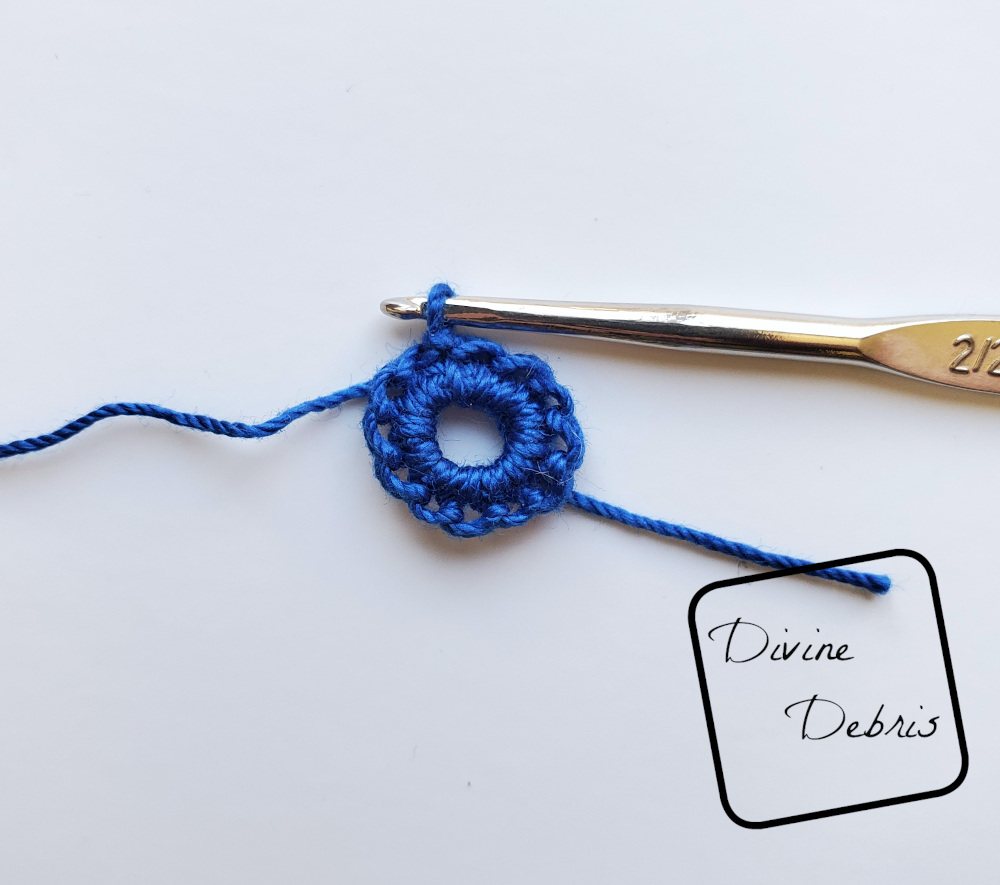
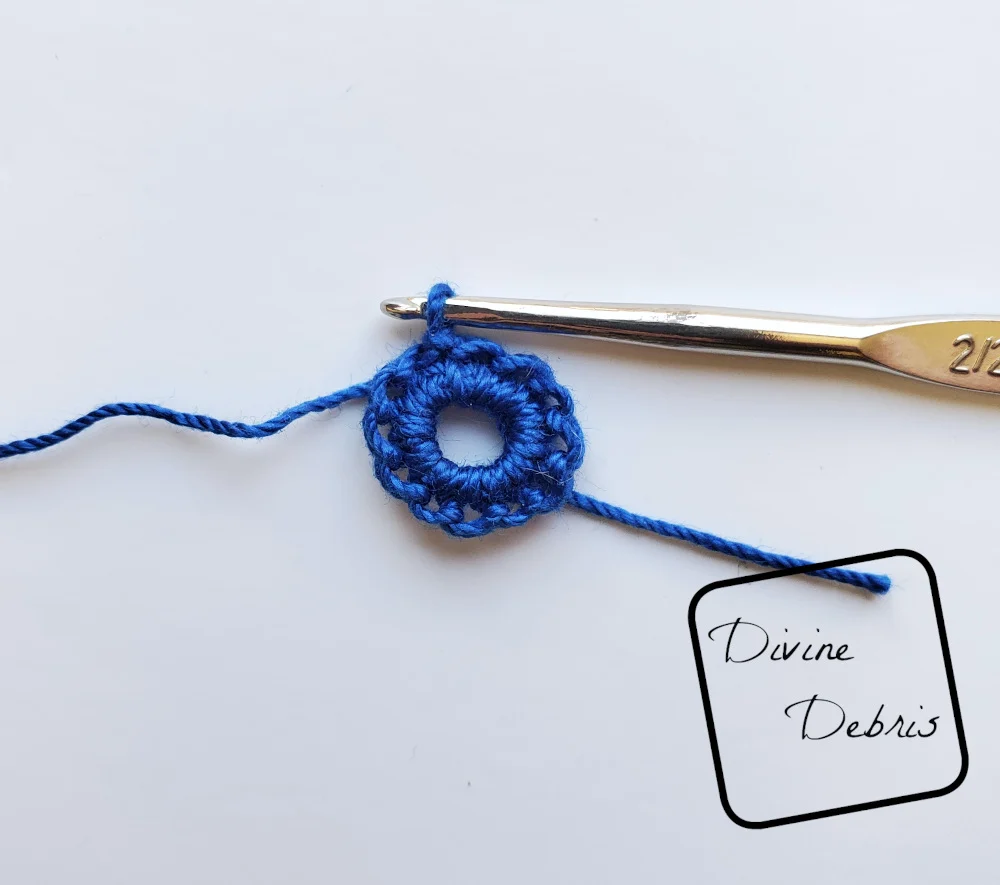
Rnd 3: Ch 3 (counts as a dc), dc into the next st, ch 3, *dc into the next 3 sts, ch 3,* repeat from * to * twice more, dc into the next st, join – 12 dc, 4 ch-3 spaces

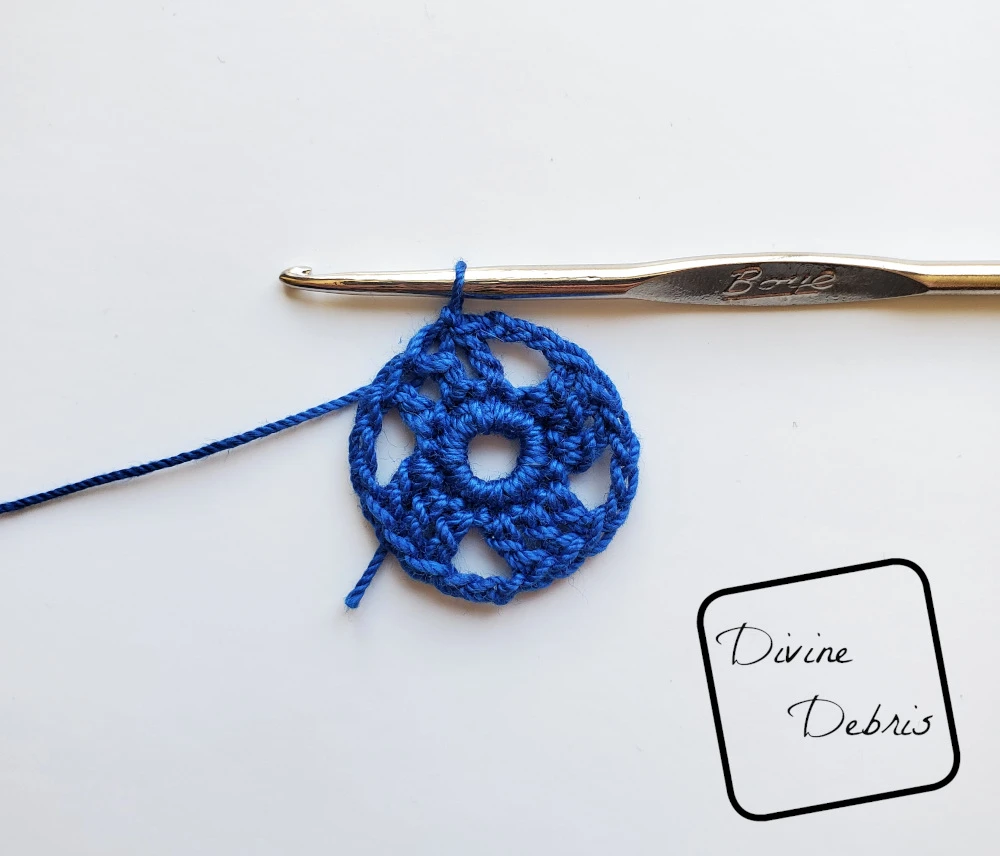
Rnd 4: Ch 1, sc into the same st as join, sc into the next st, sc 5 times into the ch-3 space, *sc into the next 3 sts, sc 5 times into the ch-3 space,* repeat from * to * twice more, sc into the next st, join – 32 sc

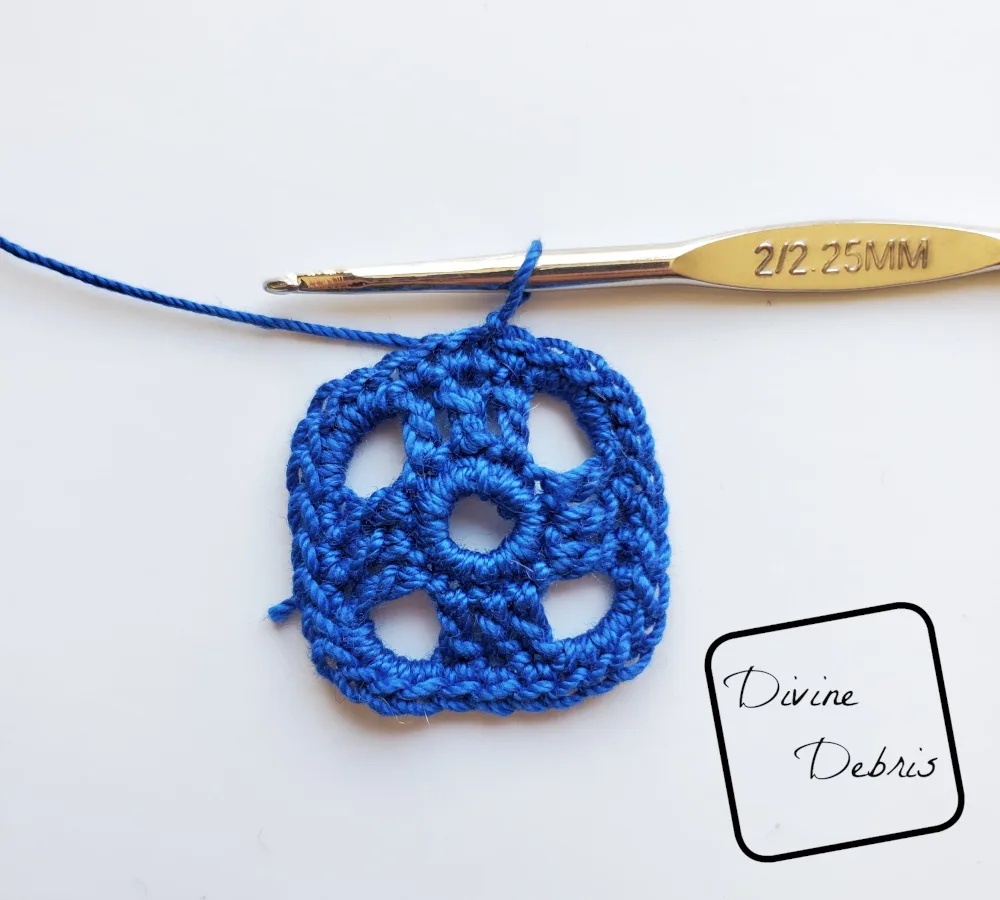
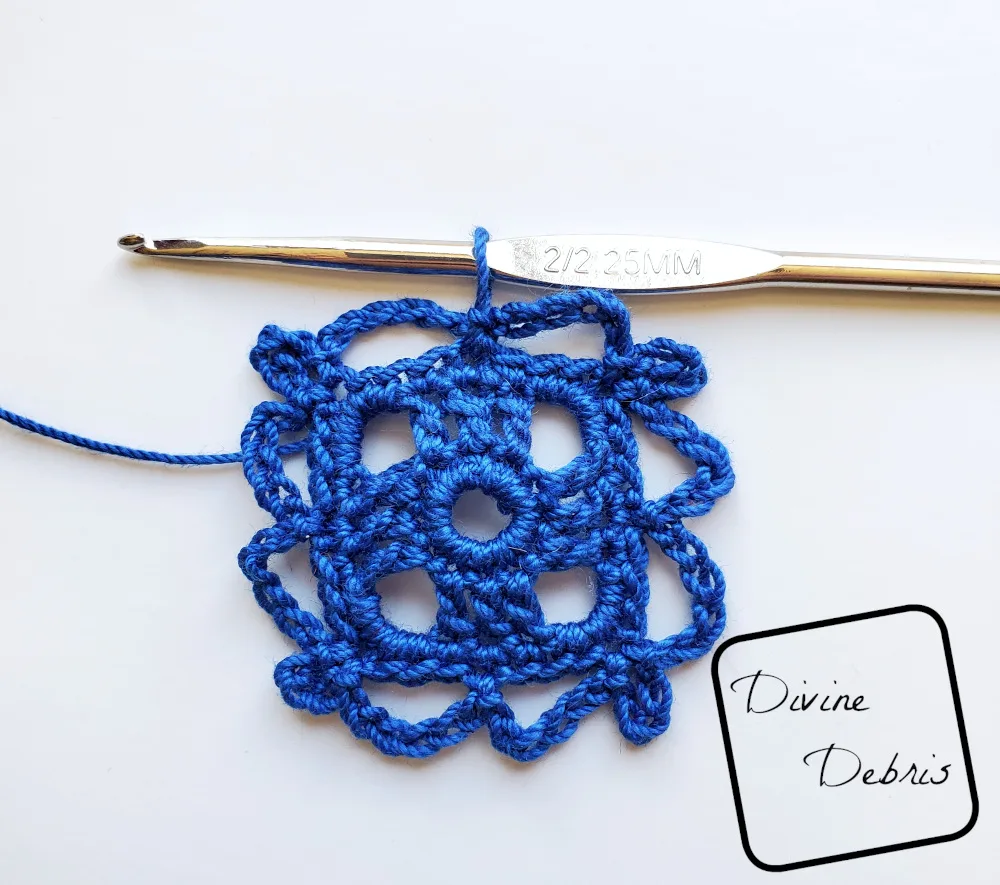
Rnd 5: Ch 6, skip the next 3 sc, (slip st, ch 5, slip st) into the next sc, *ch 6, skip 3 sc, slip st into the next st, ch 6, skip 3 sc, (slip st, ch 5, slip st) into the next sc,* repeat from * to * twice more, ch 6, slip st into the same st as join – 8 ch-6 spaces, 4 ch-5 spaces
Fasten off, weave in your ends.
-Finishing-
Like I do with all my earrings, I stiffened these with fabric stiffener. Just wet them down with the stiffener (I dilute it with water some) and lay them flat to dry completely. When they’re dry, attach the findings and wear.

Tiffany
Sunday 25th of August 2024
Would it be ok if I sell the earrings I make from your pattern? I will credit you of course! I’m just starting out and I love making these!
Divine Debris
Friday 30th of August 2024
Yeah, you can sell the earrings made from this pattern but not the pattern itself. I'm glad you like them :D
Annelies
Saturday 20th of July 2024
What a nice pattern. I used Gütermann Top Stitch thread and a hook 0,75mm to create micro crochet earrings. Thank you for sharing!
Tine
Monday 18th of December 2023
Maybe it's just me but I don´t see the pattern here and only the one picture at the top.
Tine
Monday 18th of December 2023
@Divine Debris, different browser helped 👍
Divine Debris
Monday 18th of December 2023
Do you have ad-block on? Or have you tried opening the pattern in a different browser? This is a photo tutorial, so the instructions are after each photo if that helps.
Daniel
Thursday 2nd of November 2023
Hiya, what does it mean by some slip stitches count as a stitch please
Divine Debris
Thursday 2nd of November 2023
Oh the final round, the slip sts are not worked as a join but as a st within the round. I hope that helps.
Zoe
Friday 27th of October 2023
Hey the pattern is not showing x
Divine Debris
Friday 27th of October 2023
Hi there! This is a photo tutorial, with the instructions falling below each photo. I'm not having any trouble viewing it, perhaps your ad-block is preventing it from loading?