
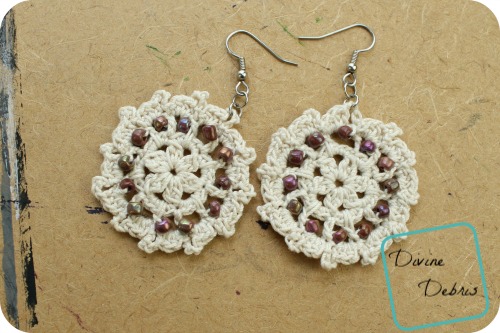
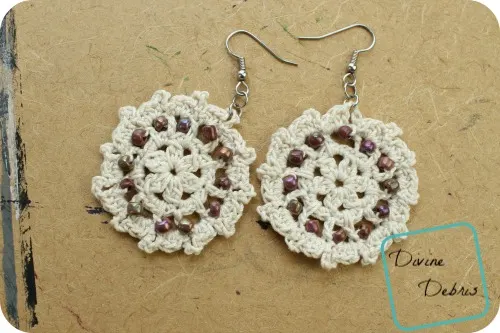
Happy Tuesday! How are you this week? Me, I’m well, pretty much the same as I always am. For this week’s post I decided to reach in my bag of tricks and pull out a design that I made a couple years ago. In fact, I asked on Facebook if anyone wanted the pattern and it went over well… So, here it is! And the pattern has a new name, the Carrie Earrings. As always, I hope you like this pattern and I’ve got another idea for next week too.
You can get an ad-free downloadable pdf in my Ravelry shop.
Materials:
- 2.25mm Steel Hook
- Size 10 crochet thread
- Less than 1 oz.
- I used Aunt Lydia’s crochet thread
- Needle that will weave in your ends
- Fabric stiffener (optional)
- Jump rings
- Metal french hooks
- Jewelry pliers
- Seed beads


Gauge: Not critical
Terms/ stitches used:
- Magic circle
- St: stitch
- Ch: chain
- Sc: single crochet
- Hdc: half double crochet
- Dc: double crochet
- Dc cluster: double crochet cluster (explained below)
Notes:
- Dc cluster: yarn over, insert your hook into the specified stitch, yarn over, pull up a loop, yarn over, pull through 2 loops, yarn over, insert into the same specified stitch, yarn over, pull up a loop, yarn over, pull through 2 loops, yarn over, pull through the final 3 loops on the hook.
- This pattern is worked in the round with a slip st into the first st following the last.
- You’ll need to know how to work with beads for this pattern.
- You’re going to need to know how to create a magic circle for this pattern.
Finished measurements:
Height & width: 1.75″ (without findings)
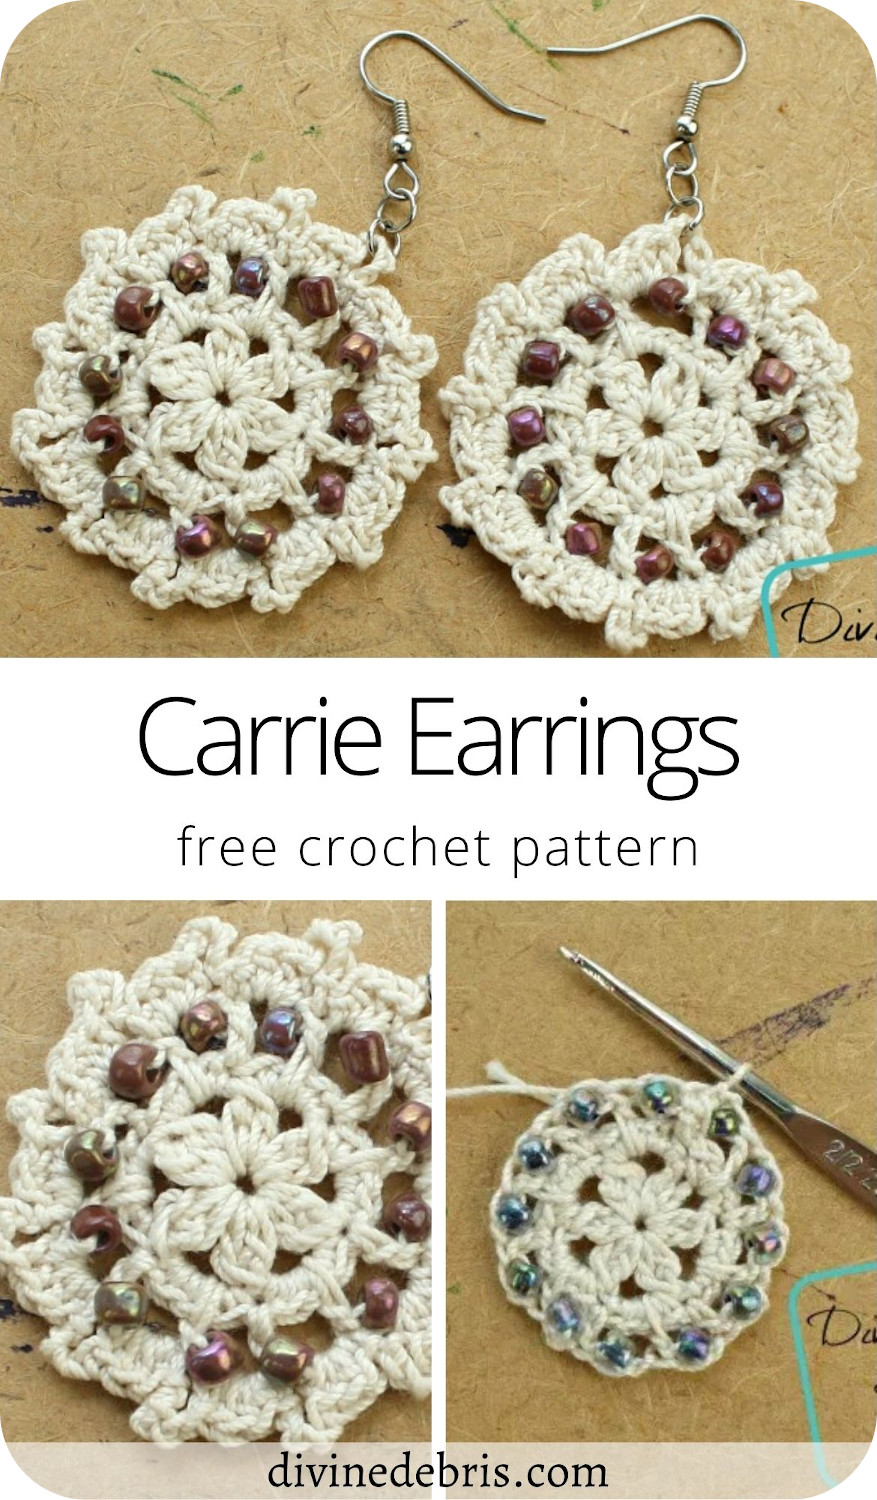
Carrie Earrings Pattern instructions
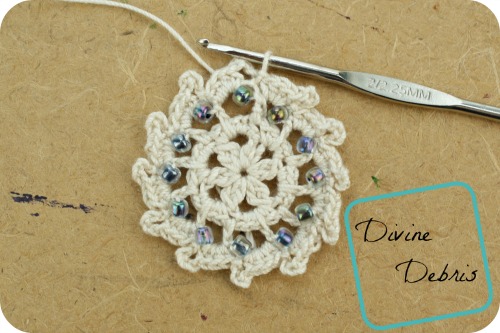
Note: string 12 beads on your thread before you begin the pattern.
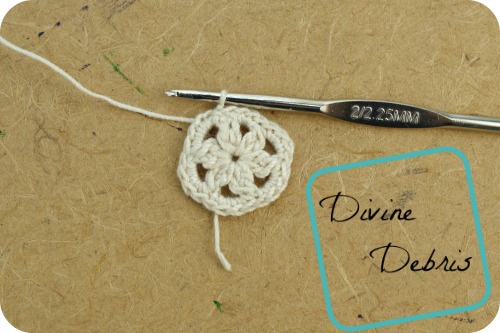
Row 1: Create a magic circle, ch 2 and dc (these 2 things count as the first dc cluster), ch 2, *dc cluster into the magic circle, ch 2,* repeat from * to * 4 more times, slip st into the first st to secure – 6 dc clusters, 6 ch-2 spaces

Row 2: Ch 1, slip st into the next ch-2 space, ch 1, sc 4 times into the same ch-2 space, ch 1, skip the next dc cluster, *sc 4 times into the next ch-2 space, ch 1, skip the next dc cluster,* repeat from * to * 4 more times, slip st into the first st to secure – 24 scs, 6 ch-1 spaces
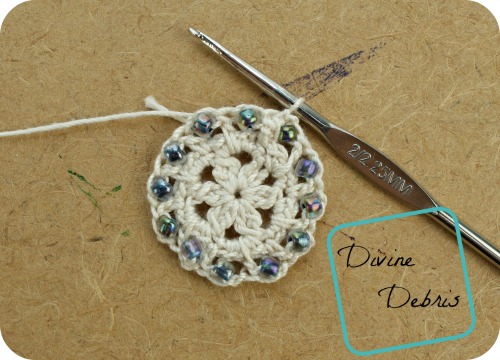
Row 3: Ch 3 (counts as a dc here), ch 1 with a bead, ch 1, skip the next 2 scs, dc around the next sc into the ch-2 space from row 2, ch 1 with a bead, ch 1, skip the next sc, dc into the next ch-1 space, *ch 1 with a bead, ch 1, skip the next 2 scs, dc around the next sc into the ch-2 space from row 2, ch 1 with a bead, ch 1, skip the next sc, dc into the next ch-1 space,* repeat from * to * 3 more times, ch 1 with a bead, ch 1, skip the next 2 scs, dc around the next sc into the ch-2 space from row 2, ch 1 with a bead, ch 1, skip the next sc, slip st into the top of the first ch-3 – 12 dcs, 12 ch-1 w/ a bead, 12 ch-1 spaces
Row 4: Ch 4, skip the next ch-1 w/ a bead, hdc 4 times into the next ch-1 space, slip st into the next dc, *ch 4, skip the next ch-1 w/ a bead, hdc 4 times into the next ch-1 space, slip st into the next dc,* repeat from * t0 * 10 more times, slip st into the same st a join to secure – 48 hdcs, 12 ch-4 spaces
Fasten off, weave in your ends.
Finishing:
Once each earring is done, use fabric stiffener to harden your earrings, which I like to dilute with water and apply with a soft paint brush. Once both earrings are dried, usually overnight for me, use your jewelry pliers to attach jump rings to your earrings. I use one of the ch-4 spaces from row 4 to attach the findings to the earring. I like to use 2 jump rings and a french hook for a little length and dangly-ness.
So, there it is! I hope you like the Carrie Earrings pattern. It’s pretty easy, but has a lot of movement and openess, which I love. I hope you have fun making a bunch!
See you next week. 😀
This post is linked to Linky Ladies’ Community Link Party #53, and Hookin’ on Hump Day #119.
Mary
Tuesday 9th of January 2024
Hello. Your link working with beads is broken. Can you please give me the correct link
Divine Debris
Thursday 18th of January 2024
It's just a link to a random blog I found on Google
Elizabeth
Monday 26th of December 2016
These look lovely, & I'd love to give them a try, but no matter how many tutorials I look at, I've never been able to get the hang of the magic circle, so I always have to create my starting circles by making (however many are needed) chain stitches & then joining with a slip stitch to the first chain stitch. For this particular project, how many chains would you recommend?
Divine Debris
Tuesday 10th of January 2017
Hi! For the Carrie Earrings instead of using a magic circle you could ch 3 (which would count as your first ch-2 and the magic circle), Dc into the ch first ch (the ch-2 and dc would count as your first dc cluster), then *dc cluster into the 1st ch, ch 2,* repeat from * to * 4 more times, slip st into the first st to secure - 6 dc clusters, 6 ch-2 spaces
I think that should work out the same as it would if you used a magic circle.
Marybeth P.
Wednesday 13th of July 2016
I might have to give these a go!
S
Tuesday 24th of May 2016
Thank you <3