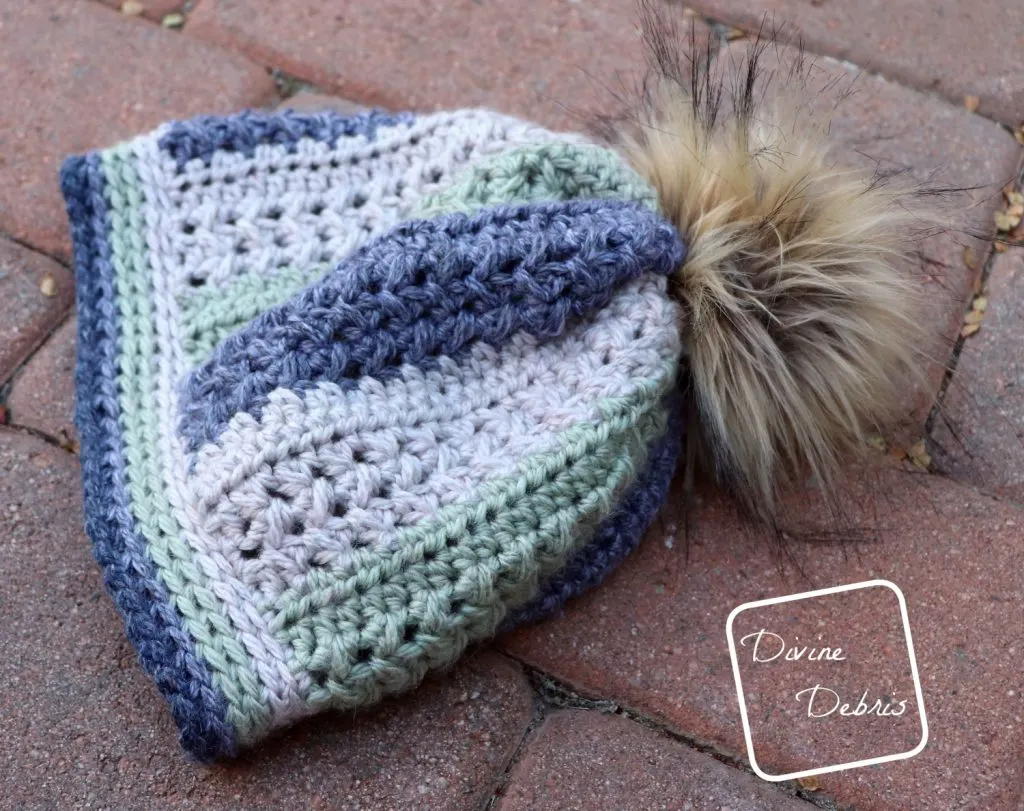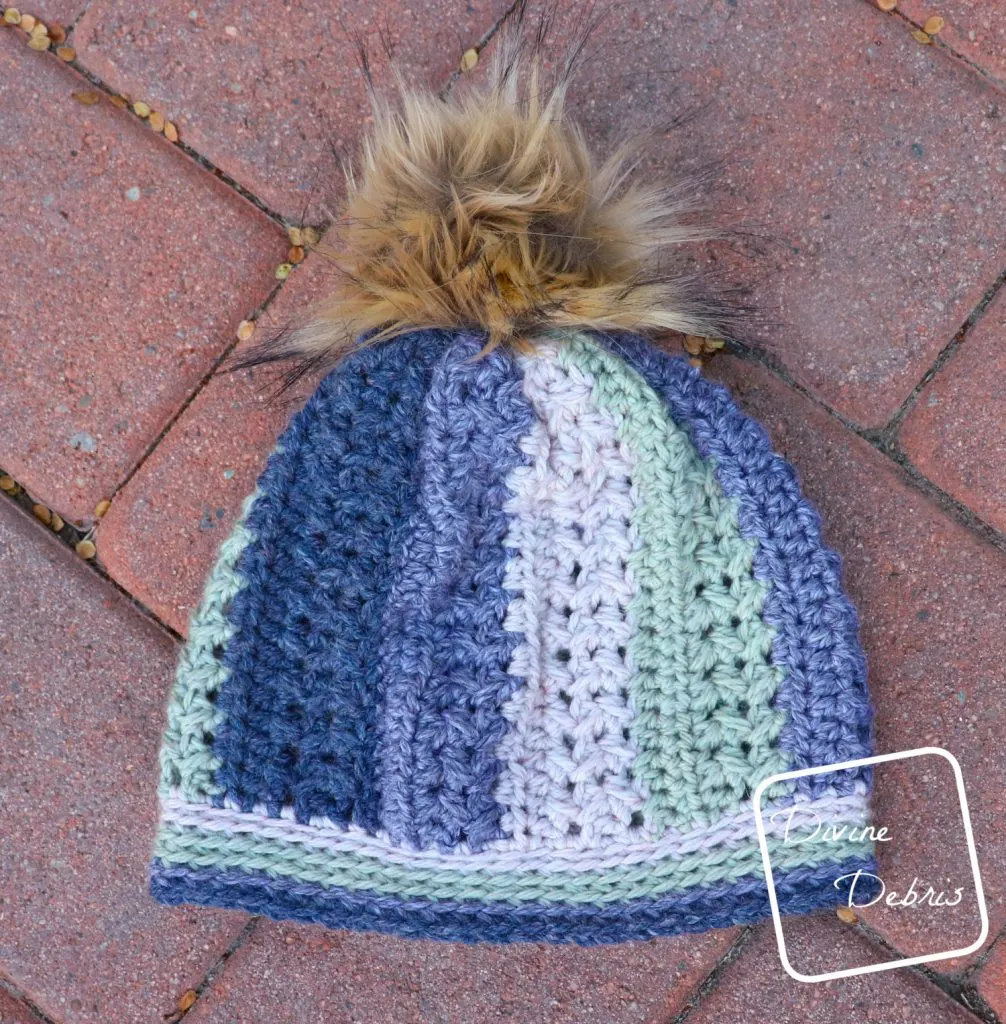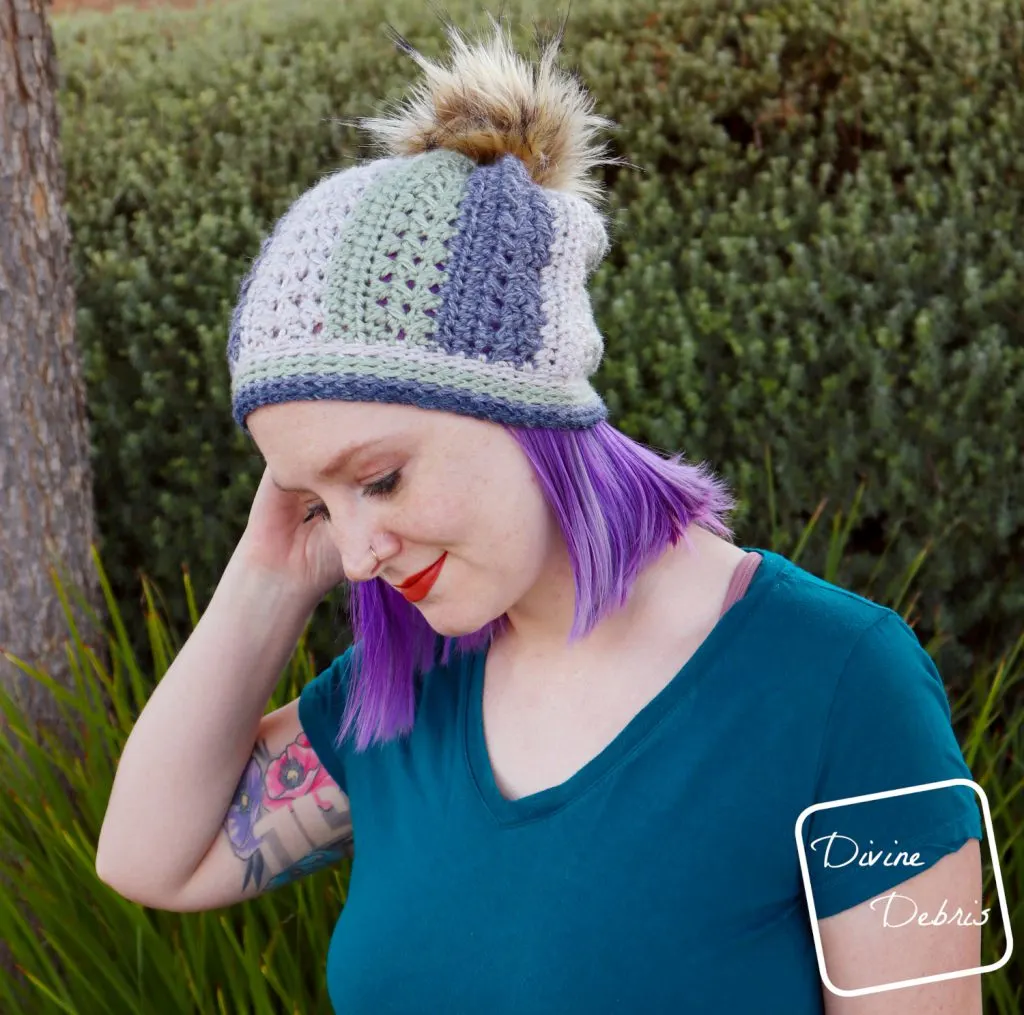
It’s Tuesday friends! And weirdly enough, this pattern is the second Sherbet pattern of November. Allow me to introduce you to the Sherbet Beanie crochet pattern.
This pattern features the alternating hdcc and hdc of my Sherbet Line and is super easy to customize. And actually, this yarn is leftover from the Sherbet Sweater and I’ve had it tucked away waiting to be used on a hat since earlier this year, when I finished the sweater. I didn’t have as much of all the colors left but this design can be made with as many or as few colors as you’d like (I think I may have lost a couple of them too, which is whatevs. If you saw my office, you’d get why stuff gets lost).
So, yeah, if you’re like me and you’re ready for snuggly and cozy, blanket heavy season, then I think you’re going to like this design. It’s made with bulky yarn but you could easily make this with a lighter weight yarn, just check your gauge or add more rows. And it’s a great quick project that you can work up in an afternoon or evening. I’m serious, with the bulky yarn, this really only took me a few hours of inconsistent work to complete. And it’s definitely work the time.
I hope you like it!
(this post may contain affiliate links)
If you appreciate my weekly patterns I hope you’d consider purchasing an ad-free pdf of this pattern in my Ravelry shop.
Thank you Alice for becoming my newest patron on Patreon!
Materials
- US K (6.50 mm) crochet hook
- Bulky/ size #5 yarn
- 3 – 5 colors
- I used Premier Yarns Anti-Pilling Bamboo
- Needle that will weave in your ends
- Scissors
- Measuring tape
- Pom pom (optional)
Terms/ Stitches used
- Rnd: Round
- Ch: chain
- St: stitch
- BLO: back loop only
- Slip st: slip stitch
- Sc: single crochet
- Hdc: half double crochet
- Hdcc: half double crochet cluster (explained below)
- Join: join the row with a slip st
Notes
- This pattern is worked in 2 parts, the Body and the Band. The Body is worked in rows back and forth with a turn at the beginning of the row. The Band is worked in the round with a slip st to join at the end of the rnd.
- Hdcc (half double crochet cluster): (this stitch is worked into two stitches) yarn over, insert your hook into the first st, pull up a loop, yarn over, insert your hook into the next st, pull up a loop, yarn over, pull through all 5 loops on your hook, ch 1. This stitch is worked like a hdc2tog and a ch 1 that count together as one stitch. When working into this stitch, you will work into the hdctog and the ch 1 space.
- The ch 1 at the beginning of the rows/rnds does not count as a stitch.
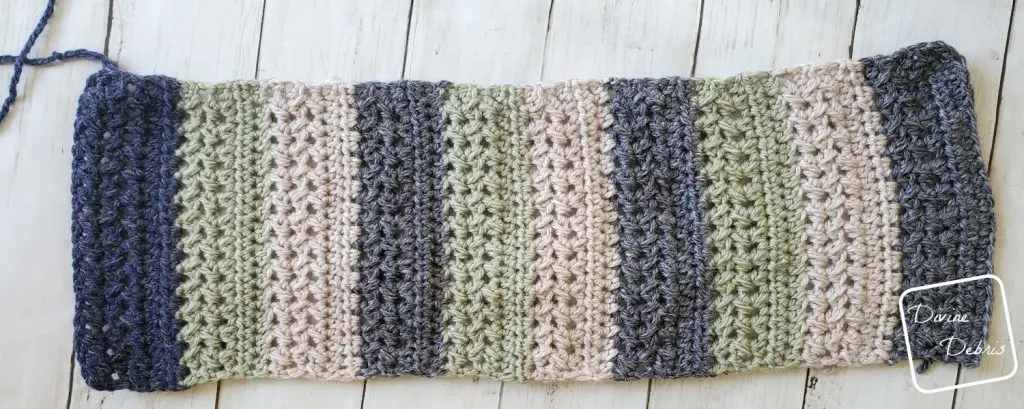
- The colors on the Body are designed to have 1 strip of color D. You can adjust the colors as you’d like.
- You can make this hat longer or shorter by adding or subtracting stitches in the Body section in multiples of 2.
- You will need to know how to create a slipknot on your hook for this pattern.
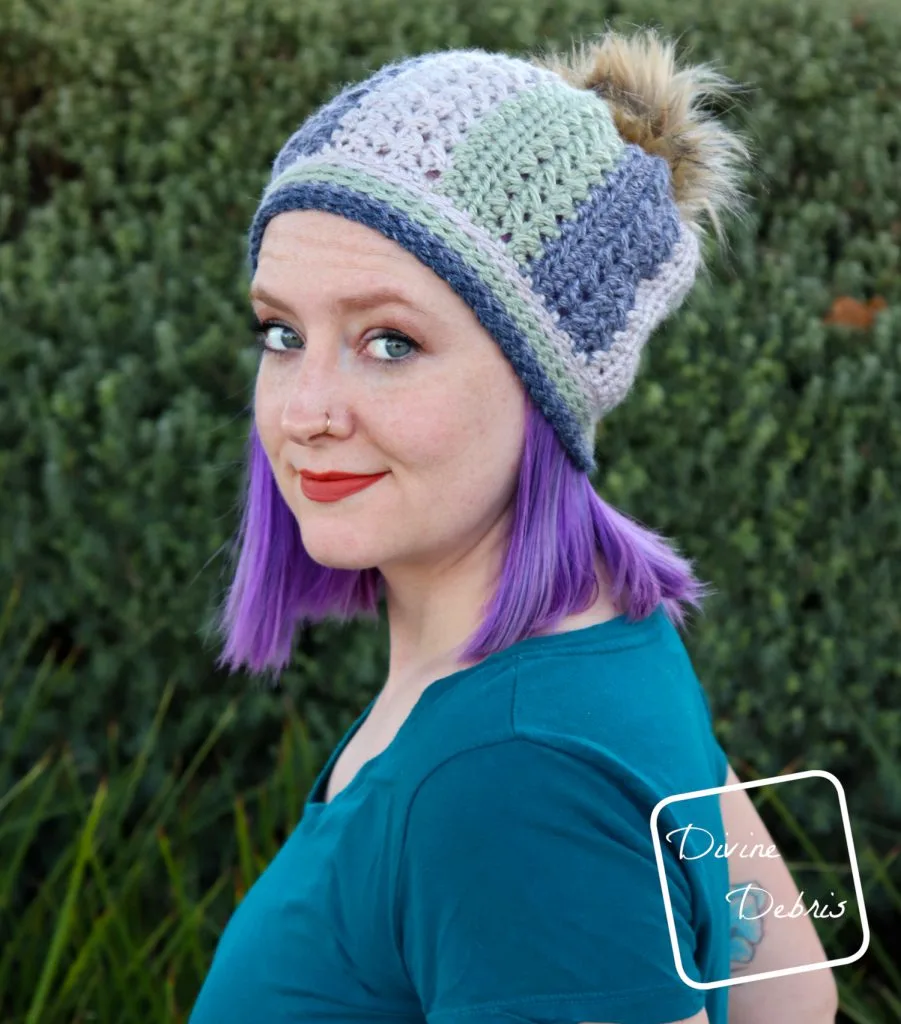
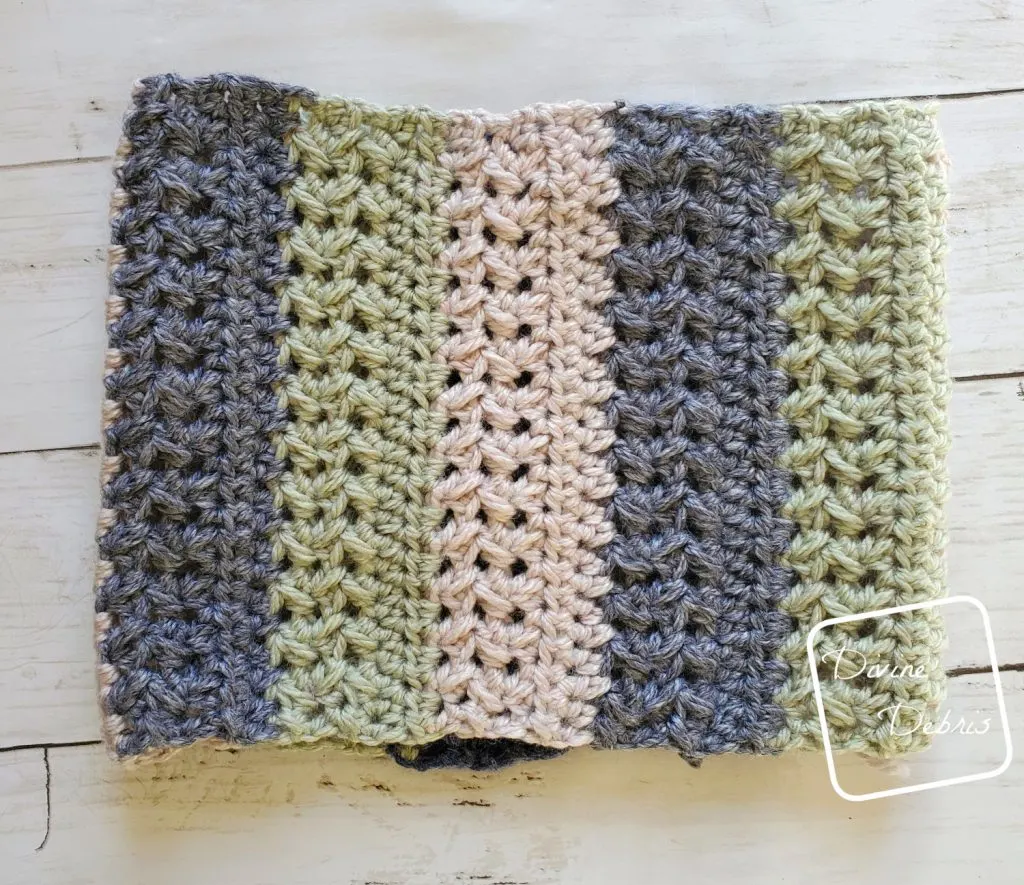
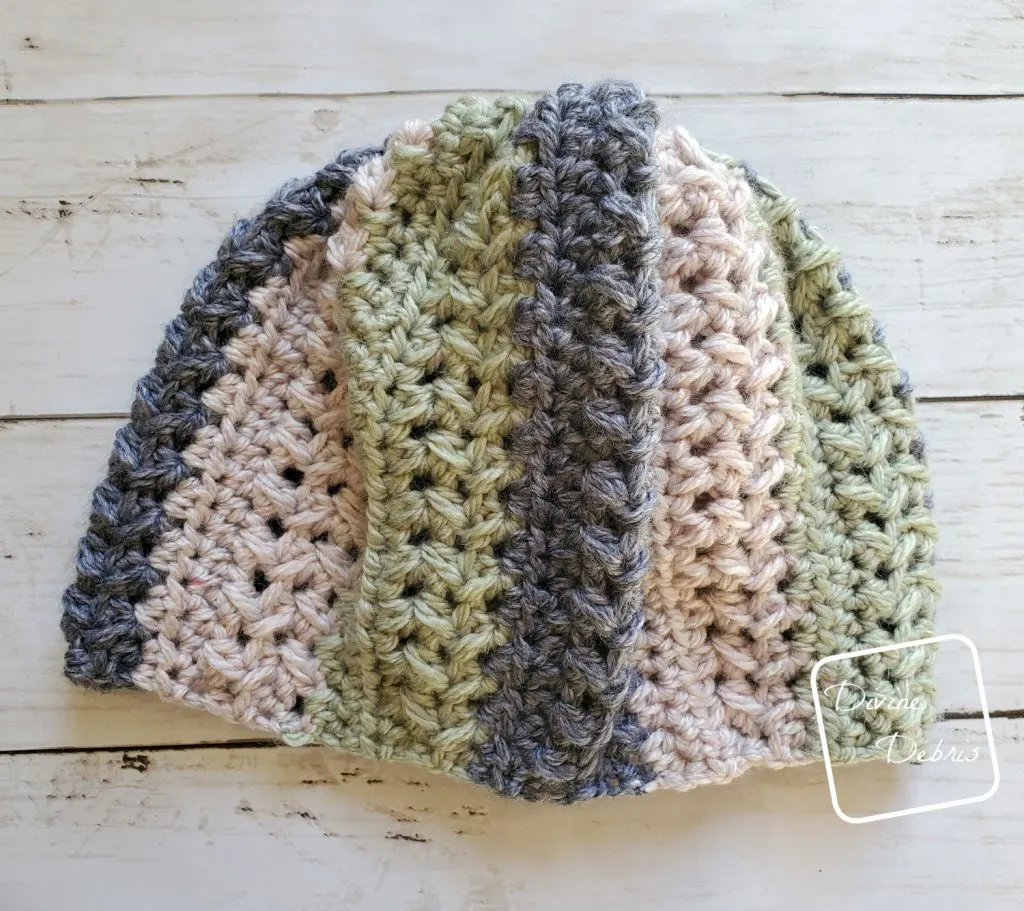
- The size in the photos is the 22″. Color A is gray (Anti-Pilling Bamboo in Poppy Seed), color G is tan (Anti-Pilling Bamboo in Mushroom), color F green (Anti-Pilling Bamboo in Kiwi), and color C is blue (Anti-Pilling Bamboo in Blueberry Pie). This is a good stashbusting pattern because you need less than 1 oz/ 37 yds of the yarn for each color.
Finished product dimensions (measurements may vary by gauge and yarn used)
| 18″ | 20″ | 22″ |
| Diameter: 9″ Height: 7.3″ – 7.5″ Yarn: 2.3 oz/ 86 yds (total) Less than 1oz for colors A – D. | Diameter: 10″ Height: 9.5″ – 9.75″ Yarn: 2.7 oz/ 101 yds (total) Less than 1oz for colors A – D. | Diameter: 11″ Height: 10″ – 10.15″ Yarn: 3.3 oz/ 124 yds (total) Less than 1oz for colors A – D. |
Sherbet Beanie Crochet Pattern Instructions
Body
Sizing as follows: 18″ (20″, 22″)
Row 1: A: Chain 23 (25, 27), hdc into the 3rd st from the hook (the skipped sts count as a st), hdc into the 20 (22, 24) sts – 22 (24, 26) hdc
Row 2: A: Ch 1, turn, hdc into the next 21 (23, 25) sts – 22 (24, 26) hdc
Row 3: A: Ch 1, turn, hdc into the first st, hdcc into the next 20 (22, 24) sts, hdc into the last st – 2 hdc (all sizes), 10 (11, 12) hdcc
Rows 4 – 5: A: Ch 1, turn, hdc into the first st, hdcc into the next 10 (11, 12) sts, hdc into the last st – 2 hdc (all sizes), 10 (11, 12) hdcc
Fasten off color A.
Rows 6 – 7: B: Ch 1, turn, hdc into the next 21 (23, 25) sts – 22 (24, 26) hdc
Row 8: B: Ch 1, turn, hdc into the first st, hdcc into the next 20 (22, 24) sts, hdc into the last st – 2 hdc (all sizes), 10 (11, 12) hdcc
Rows 9 – 10: B: Ch 1, turn, hdc into the first st, hdcc into the next 10 (11, 12) sts, hdc into the last st – 2 hdc (all sizes), 10 (11, 12) hdcc
Fasten off color B.
Rows 11 – 12: C: Ch 1, turn, hdc into the next 21 (23, 25) sts – 22 (24, 26) hdc
Row 13: C: Ch 1, turn, hdc into the first st, hdcc into the next 20 (22, 24) sts, hdc into the last st – 2 hdc (all sizes), 10 (11, 12) hdcc
Rows 14 – 15: C: Ch 1, turn, hdc into the first st, hdcc into the next 10 (11, 12) sts, hdc into the last st – 2 hdc (all sizes), 10 (11, 12) hdcc
Fasten off color C.
Rows 16 – 17: A: Ch 1, turn, hdc into the next 21 (23, 25) sts – 22 (24, 26) hdc
Row 18: A: Ch 1, turn, hdc into the first st, hdcc into the next 20 (22, 24) sts, hdc into the last st – 2 hdc (all sizes), 10 (11, 12) hdcc
Rows 19 – 20: A: Ch 1, turn, hdc into the first st, hdcc into the next 10 (11, 12) sts, hdc into the last st – 2 hdc (all sizes), 10 (11, 12) hdcc
Rows 21 – 35: repeat rows repeat rows 6 – 20
For 20″ (22″) only:
Rows 36 – 40 (36 – 45): repeat rows 6 – 10 (6 – 15)
Rows 36 – 37 (41 – 42, 46 – 47): D: Ch 1, turn, hdc into the next 21 (23, 25) sts – 22 (24, 26) hdc
Row 38 (43, 48): D: Ch 1, turn, hdc into the first st, hdcc into the next 20 (22, 24) sts, hdc into the last st – 2 hdc (all sizes), 10 (11, 12) hdcc
Rows 39 – 40 (44 – 45, 49 – 50): D: Ch 1, turn, hdc into the first st, hdcc into the next 10 (11, 12) sts, hdc into the last st – 2 hdc (all sizes), 10 (11, 12) hdcc
Fasten off leaving a tail long enough that will seam row 40 (45, 50) to row 1 to form a tube. Weave in your ends.
Closing
With a long piece of yarn and your needle, weave your needle back and forth through every other row end all the way around your hat. When you reach the beginning, pull your ends tight until the hole closes. You may need to weave the yarn around the hole again or sew it if it doesn’t completely close. Add a pom pom to the end you closed.
Band
Sizing as follows: 18″ (20″, 22″)
Create a slipknot on your hook with any color and start in the st to the left of your seam from on the Body. Change colors as you’d like or how much yarn you have. Sample is 2 rnds of B, 2 rnds of C, 1 rnd of A, and 1 rnd of D.
Rnd 1: Sc twice into the first st, sc into the next 7 (8, 9) sts, *sc twice into the first st, sc into the next 7 (8, 9) sts,* repeat from * to * 3 more times, join – 45 (50, 55) sc
Rnds 2 – 6: Ch 1, sc into the BLO of the same st as join and into the BLo of the next 44 (49, 54) sts, join – 45 (50, 55) sc
Fasten off, weave in your ends.
