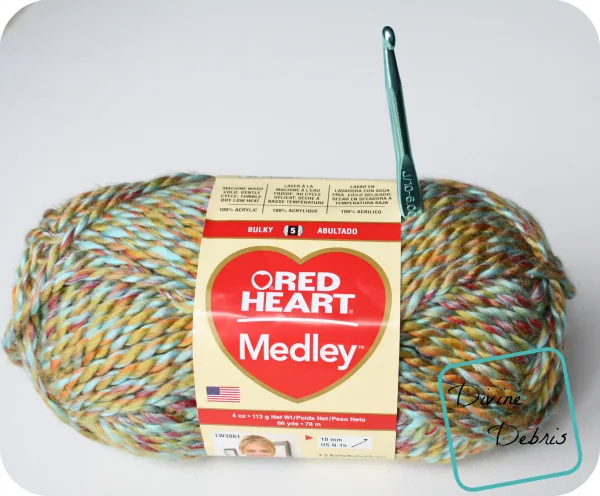
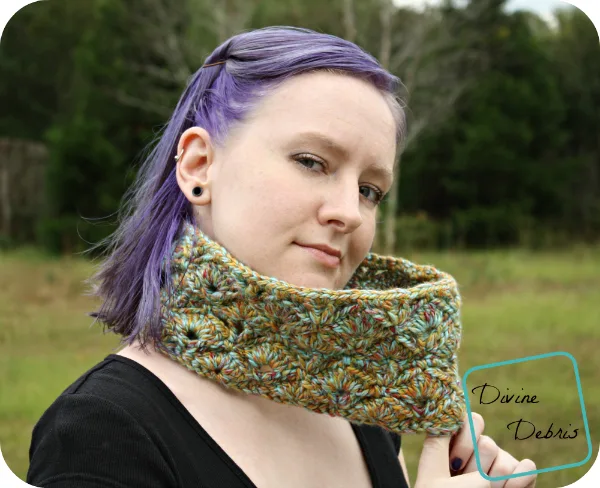
So, full disclosure, this is my first review of yarn and the first time someone gave me something to review! I’m super excited and I had a ton of fun with this yarn. I was sent Red Heart Medley, in the color Garden, and this was the stand out of all the yarn I received. Oh, the colors are so pretty and the way that the amount of certain colors change (the red for instance) as you move through the skein is really quite lovely. I don’t know if I would have paired the peachy orange and the sky blue with a yellowish olive green, topping it with bits of garnet red, because in theory those colors might not be so nice together, but in this yarn they actually look really gorgeous. And I can’t forget, there’s a nice little sheen to the yarn (think Red Heart Soft).
Overall, I really enjoyed working with this yarn. It frogs easily, it works up fast, it’s soft, and has a nice shine to it. Like any bulky yarn, the skein is small so you’ll need multiples for any large project but I’ve written a one skein Medley pattern especially for this review.
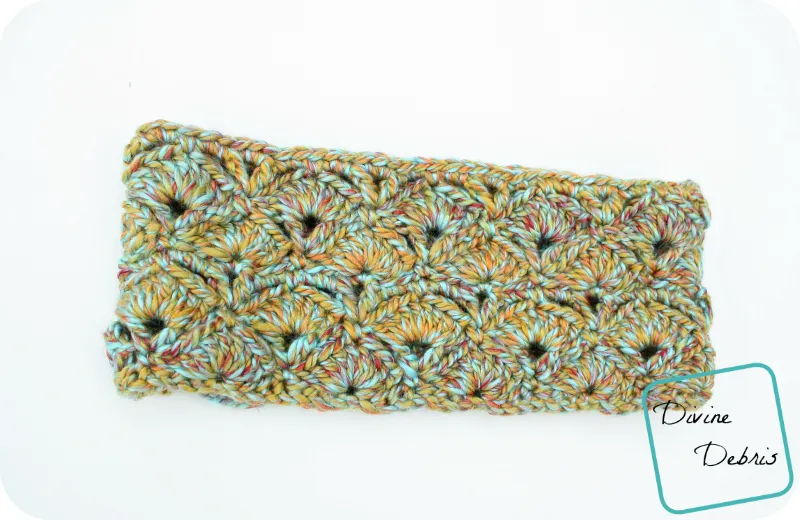
For the pattern I decided to adapt a pattern I made years ago, the Janice. This is a really simple, fan based project, that I hope you’ll like. I like the smaller, one skein scarf but if you would like to make it larger, definitely do so. I listed the multiple in the notes section so you can make it longer.
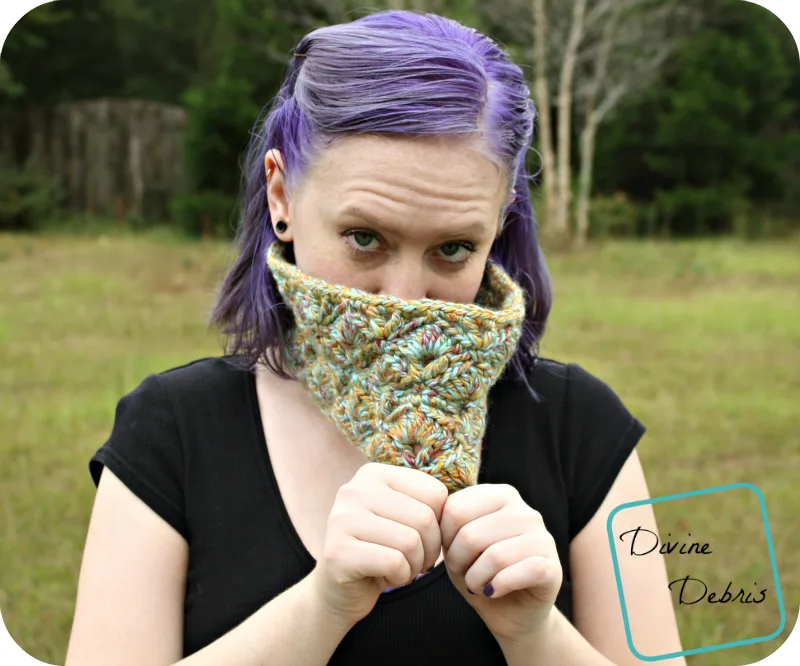
I feel like this yarn was given to me at the perfect time, as I’m having so much fun with chunky yarn patterns! Also, yes I dyed my hair purple, it’s High Voltage by Manic Panic.
Thank you to all my Patreon supporters.
Gauge:
- 11 dcs x 6 rows = 4.25″ x 4.25″
Terms/ stitches used:
- St: stitch
- Slip st: slip stitch
- Fsc: foundation single crochet
- Ch: chain
- Sc: single crochet
- Dc: double crochet
Notes:
- This pattern is worked from the bottom up.
- You can easily make this pattern taller by repeating rows 2 – 5 as many times as you would like.
- You can also create this in any yarn weight, you’ll just have to adjust your hook and stitch count (see next point).
- The multiple of this pattern is 8 (want to make it larger just add stitches in multiples of 8, same for making it smaller only subtract by 8s).
- This pattern is worked in the round, with a slip st from the last st into the first st.
- The ch 1 at the beginning of some rows does not count as a stitch.
Finished measurements:
- Height: 5″
- Width: 11.5″
Pattern Instructions:
Row 1: Fsc 80 sts, slip st into the first st to secure – 80 fscs
Note: don’t forget to leave a long tail (4″ or so, more if you’re worried about it being secure) before beginning this row so you can secure the opposite side of the slip st.
Row 2: Ch 1, sc into the same st as join, skip 3 sts, dc 9 times into the next st, skip 3 sts, *sc into the next st, skip 3 sts, dc 9 times into the next st, skip 3 sts,* repeat from * to * 8 more times, slip st into the first sc to secure – 90 dcs, 10 scs
Row 3: Ch 3 (counts as a dc), ch 5, skip the next 9 dcs, *[dc, ch 1, dc] into the next sc, ch 5, skip the next 9 dcs,* repeat from * to * 8 more times, dc into the same st as join, ch 1, slip st into the top of original ch 3 – 20 dcs
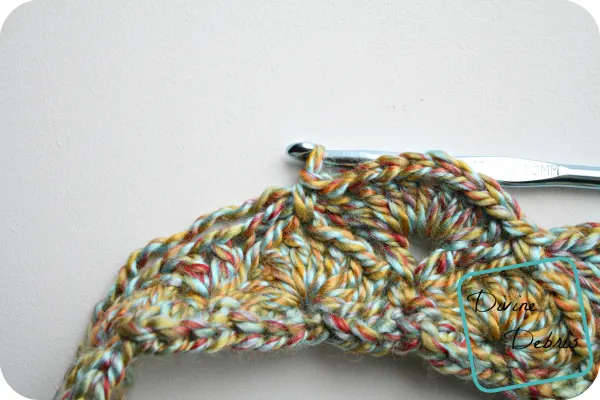
Row 4: Slip st into the ch 1 space right before you secured your previous row, ch 3 (still counts as a dc) dc 4 times into the ch 1 space, sc into the middle dc of the next 9 dcs from rows 2 ago, *dc 9 times into the ch 1 space of the next [dc, ch 1, dc] from the previous row, sc into the middle dc of the next 9 dcs from rows 2 ago,* repeat from * to * 8 more times, dc 4 times into the ch 1 space you originally started this row in, slip st into the top of the first ch 3 to secure – 90 dcs, 10 scs
Row 5: Ch 1, sc into the top of the same st as join, ch 2, [dc, ch 1, dc] into the next sc from the previous row, *ch 5, skip 9 dcs, [dc, ch 1, dc] into the next sc from the previous row,* repeat from * to * 8 more times, ch 2, slip st into the first sc to secure – 20 dcs
Row 6: Ch 1, sc around the first sc of the previous row (this means you will be scing into the top of the ch 3 from 2 rows ago), sc twice into the ch 2 space, sc 3 times into the ch 1 space of the next [dc, ch 1, dc] from the previous row, *[sc twice, sc around the ch and into the middle dc of the next 9 dcs from two rows ago, sc twice] into the next ch 5 space, sc 3 times into the ch 1 space of the next [dc, ch 1, dc] from the previous row,* repeat from * to * 8 more times, sc twice into the next ch 2 space, slip st into the first sc to secure – 80 scs
Rows 7 – 10: repeat rows 2 – 5 once more
Fasten off, weave in your ends.
Tada! I hope you like this pattern and give Medley a chance if you find it. I really liked working with it and can’t wait to see what other colors they have. Next week I plan on another review and a giveaway! 😀



CJ
Monday 18th of November 2024
I am a little lost in the beginning of row four. When it says “ Slip st into the ch 1 space right before you secured your previous row, ch 3 (still counts as a dc) dc 4 times into the ch 1 space,”. I’m not clear on the ch 1 space in the row before. Is it Row3? Or row 2? And then dc 4 into ch 1 space where?
Thanks!CJ
Divine Debris
Tuesday 19th of November 2024
The last instructions of Row 3 are " ch 1, slip st into the top of original ch 3" and this is the "ch 1" you slip st into and then work a ch 3 and 4 dc into to begin Row 4. The "previous row" just means the last row you made. I hope that helps :)
- Amber