Happy last post of May, everyone! And it’s a Monday post at that!
This post is brought to you by the CAL Central Softie CAL organized by the fantastic Marie at Underground Crafter and sponsored by Fairfield World Poly-Fil.
A lot of my designs I get to pick what I want to make. I decide what feels right for that week and I go for it. But for this design, I had to make an ami/softie and I loved that challenge. I love to make amigurumi, I make one every few months for my blog here. And I did have an idea to make a cactus but I wasn’t sure when and how I wanted it to look. The this CAL came around and it all lined up – I needed a fun ami design and I here was an opportunity to make one that a few people would see.
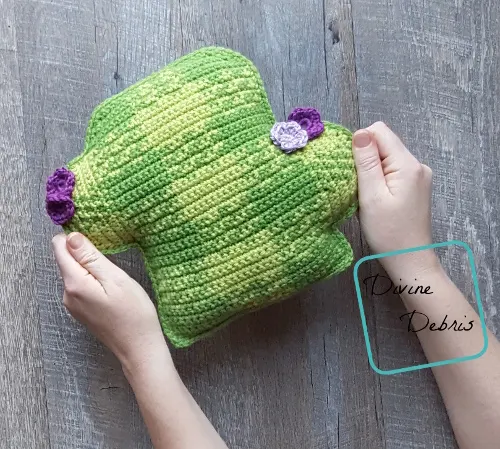
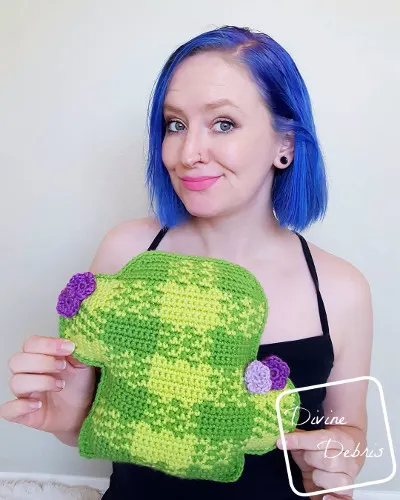
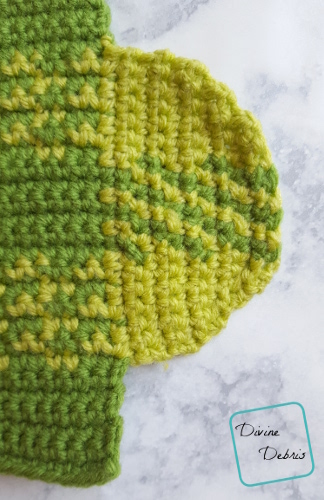
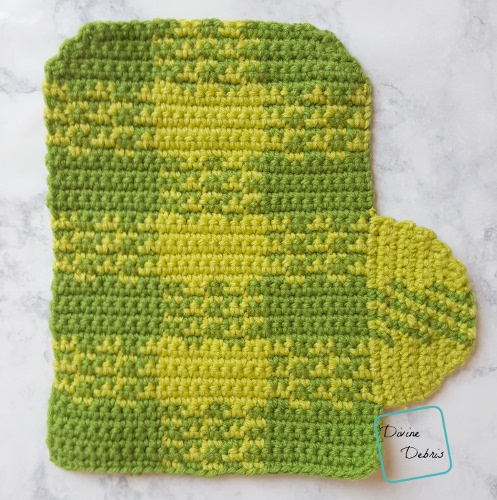
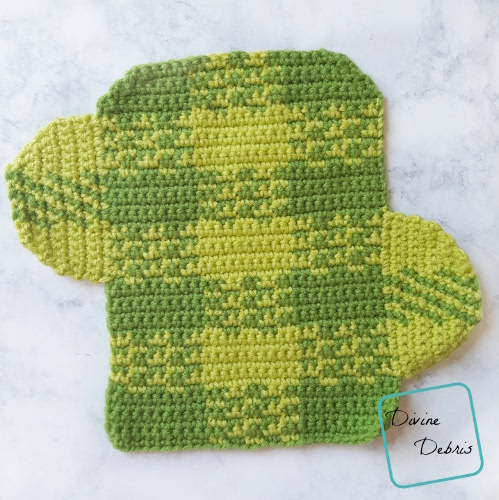
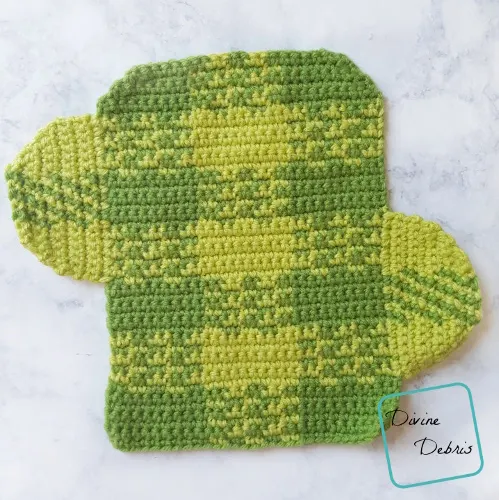
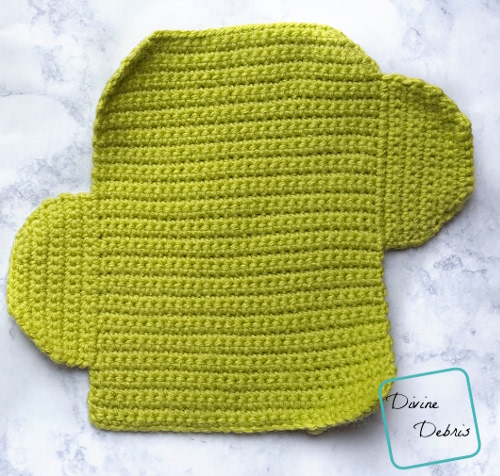
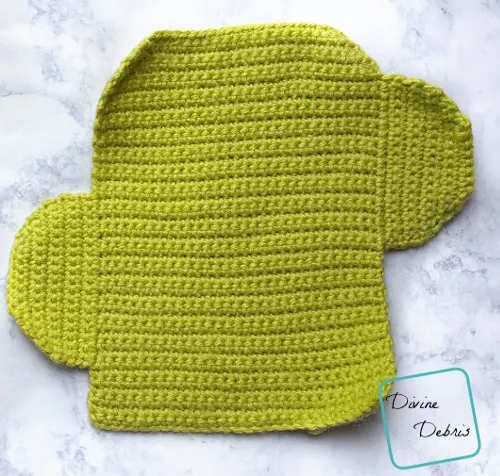
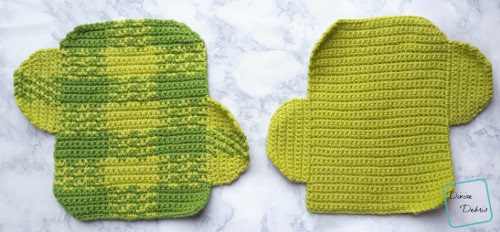
My only concern with my Plaid Cactus is that it’s, uh, weird. It’s not your normal cactus, it’s a plactus and it shows. Even though the back of the cactus is a nice green you could easily go off of to make 2 that look like something out of Super Mario Bros, I really hope people give the plaid side a try. It’s not hard, I swear, you just need to pay a bit more attention to the color changes than you would if you were making the plain side. And just think of all the fun colors you could make your cactus in! How fun would a rainbow plaid cactus be? Now isn’t that an idea.
Anyway, which ever side you pick I really hope you love the design. I had a lot of fun making it and sharing it you all.
If you appreciate my weekly patterns I hope you’d consider purchasing an ad-free pdf of this pattern in my Ravelry shop.


Thank you Janet for becoming my newest patron on Patreon!


Materials
- US G (4.00 mm) crochet hook
- Aran/ medium/ size #4 weight yarn
- 4 oz/203 yds (total)
- 2 colors
- I used Caron One Pound
- Needle that will weave in your ends
- Fairfield Polyfill
Gauge
- 18 sc x 18 rows = 4”
Terms/ Stitches used
- RS: right side
- Rnd: round
- Magic circle
- Ch: chain
- St: stitch
- Slip st: slip stitch
- Sc: single crochet
- Sc2tog: single crochet 2 sts together
- Hdc: half double crochet
Notes
- This pattern is in 4 main pieces: the Front (which consists of the Body and 2 Bumps), the Back (which consists of the Body and 2 Bumps), Securing, and the Flowers. The Front and Backs sections are worked in rows back and forth with a turn at the beginning of the rows.
- The ch 1 at the beginning of the row does not count as a stitch.
- Every stitch in this pattern is a single crochet. The directions for the Front piece and the Front piece Bumps will only tell you what color (ie: Color A, Color B, etc…) and the number in the parentheses tells you how many scs to make.
- You will need to know how to create a slipknot on your hook for this pattern.
- The instructions that read (sc2tog + a number) or (a number + sc2tog) means that you sc2tog into the specified sts and work 1 sc in the number of stitches indicated.
- In the example, the inactive yarn is carried behind the active. If this is confusing, you might want to check out the helpful Moogly video on tapestry.
- Color A is dark green (Caron One Pound in Grass Green), color B is light green (Bernat Super Value in Grass), and color C is purples (Stitch Studio by Nicole Storybook Lullaby).
Finished product dimensions (measurements may vary by gauge and yarn used)
Height: 9.5″
Width: 11″ (at widest) | 6.5″ (Front/Back pieces w/o Bumps)
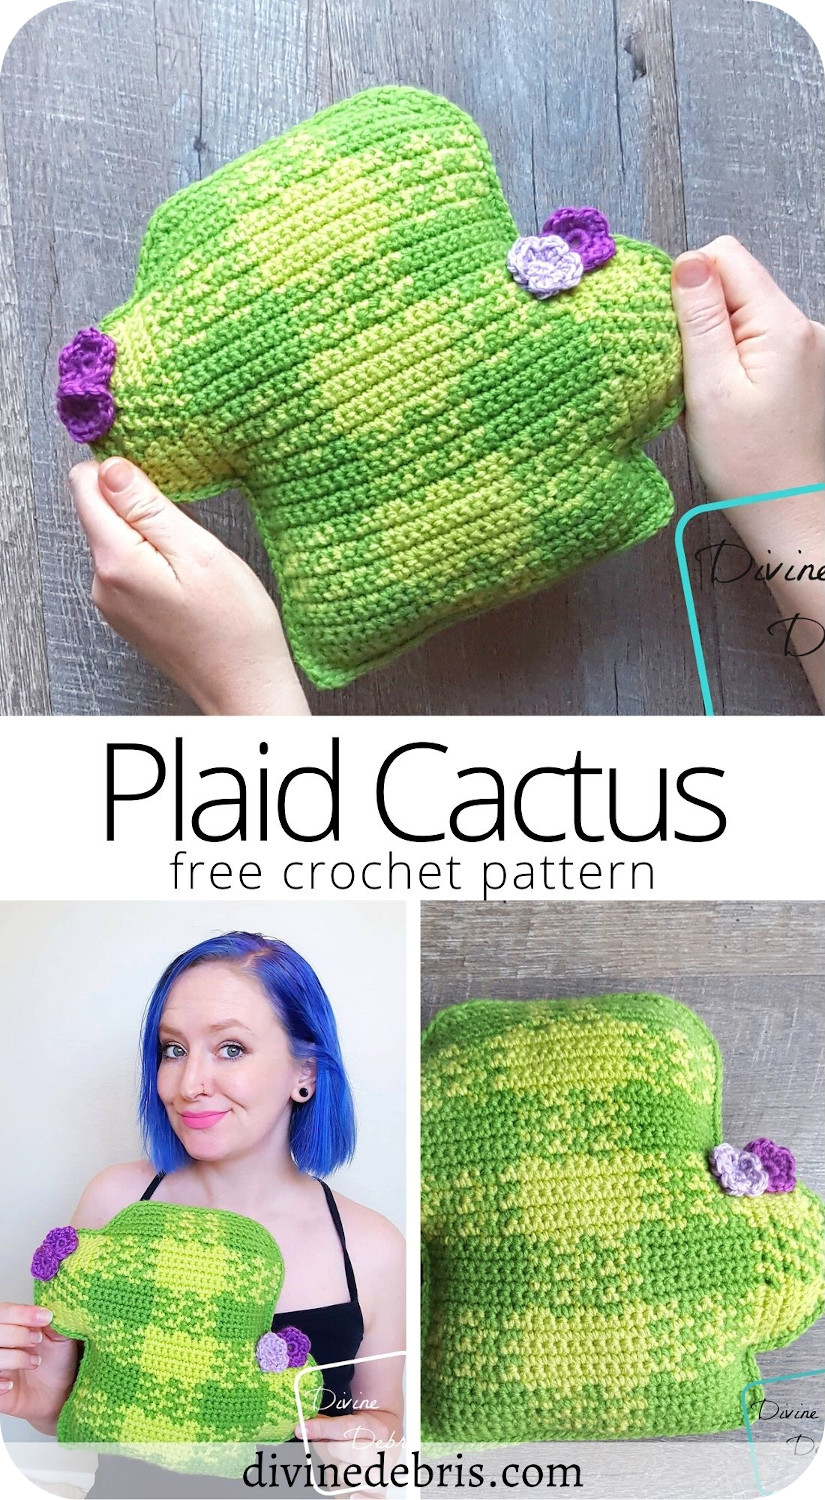
Plaid Cactus Amigurumi Pattern Instructions
-Front-
Body
(RS) Row 1: A: Ch 31, turn, sc into the 2nd st from the hook and into the next 9 st, B: sc into the next 2 sts, *A: sc into the next 2 sts, B: sc into the next 2 sts,* repeat from * to * once more, A: sc into the next 10 sts – 30 sc
Note:
- The following directions will only tell you what color (ie: Color A, Color B, etc…) and the number in the parentheses tells you how many stitches to make.
- The instructions that read (sc2tog + a number) or (a number + sc2tog) means that you sc2tog into the specified sts and work 1 sc in the number of stitches indicated.
Row 2: A: Ch 1, turn, (12), B: (2), A: (2), B: (2), A: (12) – 30 sc
Row 3: A: Ch 1, turn, (10), B: (2), A: (2), B: (2), A: (2), B: (2), A: (10) – 30 sc
Row 4: A: Ch 1, turn, (12), B: (2), A: (2), B: (2), A: (12) – 30 sc
Row 5: A: Ch 1, turn, (10), B: (2), A: (2), B: (2), A: (2), B: (2), A: (10) – 30 sc
Row 6: A: Ch 1, turn, (12), B: (2), A: (2), B: (2), A: (12) – 30 sc
Row 7: A: Ch 1, turn, (2), B: (2), A: (2), B: (2), A: (2), B: (10), A: (2), B: (2), A: (2), B: (2), A: (2) – 30 sc
Row 8: B: Ch 1, turn, (2), A: (2), B: (2), A: (2), B: (14), A: (2), B: (2), A: (2), B: (2) – 30 sc
Rows 9 – 12: repeat rows 7 – 8, twice
Rows 13 – 18: repeat rows 5 – 6, 3 times
Rows 19 – 24: repeat rows 7 – 8, 3 times
Rows 25 – 30: repeat rows 5 – 6, 3 times
Rows 31 – 36: repeat rows 7 – 8, 3 times
Row 37: A: Ch 1, turn, (10), B: (2), A: (2), B: (2), A: (2), B: (2), A: (10) – 30 sc
Row 38: A: Ch 1, turn, (sc2tog + 10), B: (2), A: (2), B: (2), A: (10 + sc2tog) – 28 sc
Row 39: A: Ch 1, turn, (sc2tog + 7), B: (2), A: (2), B: (2), A: (2), B: (2), A: (7 + sc2tog) – 26 sc
Row 40: A: Ch 1, turn, (sc2tog + 8), B: (2), A: (2), B: (2), A: (8 + sc2tog) – 24 sc
Row 41: A: Ch 1, turn, (sc2tog + 5), B: (2), A: (2), B: (2), A: (2), B: (2), A: (5 + sc2tog) – 22 sc
Row 42: A: Ch 1, turn, (sc2tog + 6), B: (2), A: (2), B: (2), A: (6 + sc2tog) – 20 sc
Fasten off colors A and B. Weave in all your ends.


Bumps
1st Bump (right-hand side of your Front piece with the RS facing you)
With the RS facing you, create a slipknot on your hook with color B and start in the first st of row 7 on the right-hand side of the Front piece.
Note:
- The following directions will only tell you what color (ie: Color A, Color B, etc…) and the number in the parentheses tells you how many stitches to make.
- The instructions that read (sc2tog + a number) or (a number + sc2tog) mean that you sc2tog into the specified sts and work 1 sc in the number of stitches indicated.
- You will be working this Bump into the row ends going up toward row 42.
Row 1: B: (6), A: (1), B: (1), A: (1), B: (1), A: (1), B: (7) – 18 sc
Row 2: B: Ch 1, turn, (7), A: (1), B: (1), A: (1), B: (1), A: (1), B: (6) – 18 sc
Row 3: B: Ch 1, turn, (7), A: (1), B: (1), A: (1), B: (1), A: (1), B: (6) – 18 sc
Row 4: B: Ch 1, turn, (6), A: (1), B: (1), A: (1), B: (1), A: (1), B: (7) – 18 sc
Row 5: B: Ch 1, turn, (6), A: (1), B: (1), A: (1), B: (1), A: (1), B: (7) – 18 sc
Row 6: B: Ch 1, turn, (sc2tog + 5), A: (1), B: (1), A: (1), B: (1), A: (1), B: (4 + sc2tog) – 16 sc
Row 7: B: Ch 1, turn, (sc2tog + 4), A: (1), B: (1), A: (1), B: (1), A: (1), B: (3 + sc2tog) – 14 sc
Row 8: B: Ch 1, turn, (sc2tog + 2), A: (1), B: (1), A: (1), B: (1), A: (1), B: (3 + sc2tog) – 12 sc
Row 9: B: Ch 1, turn, (sc2tog + 1), A: (1), B: (1), A: (1), B: (1), A: (1), B: (2 + sc2tog) – 10 sc
Row 10: B: Ch 1, turn, (sc2tog + 1), A: (1), B: (1), A: (1), B: (1), A: (1), B: (sc2tog) – 8 sc
Fasten off colors A and B. Weave in all your ends.

2nd Bump (left-hand side of your Front piece with the RS facing you)
With the RS facing you, create a slipknot on your hook with color B and start in the last st of row 36 on the left-hand side of your Front piece.
Note:
- The following directions will only tell you what color (ie: Color A, Color B, etc…) and the number in the parentheses tells you how many stitches to make.
- The instructions that read (sc2tog + a number) or (a number + sc2tog) mean that you sc2tog into the specified sts and work 1 sc in the number of stitches indicated.
- You will be working this Bump into the row ends going down toward row 1.
Row 1: B: (6), A: (1), B: (1), A: (1), B: (1), A: (1), B: (7) – 18 sc
Row 2: B: Ch 1, turn, (7), A: (1), B: (1), A: (1), B: (1), A: (1), B: (6) – 18 sc
Row 3: B: Ch 1, turn, (7), A: (1), B: (1), A: (1), B: (1), A: (1), B: (6) – 18 sc
Row 4: B: Ch 1, turn, (6), A: (1), B: (1), A: (1), B: (1), A: (1), B: (7) – 18 sc
Row 5: B: Ch 1, turn, (6), A: (1), B: (1), A: (1), B: (1), A: (1), B: (7) – 18 sc
Row 6: B: Ch 1, turn, (sc2tog + 5), A: (1), B: (1), A: (1), B: (1), A: (1), B: (4 + sc2tog) – 16 sc
Row 7: B: Ch 1, turn, (sc2tog + 4), A: (1), B: (1), A: (1), B: (1), A: (1), B: (3 + sc2tog) – 14 sc
Row 8: B: Ch 1, turn, (sc2tog + 2), A: (1), B: (1), A: (1), B: (1), A: (1), B: (3 + sc2tog) – 12 sc
Row 9: B: Ch 1, turn, (sc2tog + 1), A: (1), B: (1), A: (1), B: (1), A: (1), B: (2 + sc2tog) – 10 sc
Row 10: B: Ch 1, turn, (sc2tog + 1), A: (1), B: (1), A: (1), B: (1), A: (1), B: (sc2tog) – 8 sc
Fasten off colors A and B. Weave in all your ends.
-Back-
Front
Note:
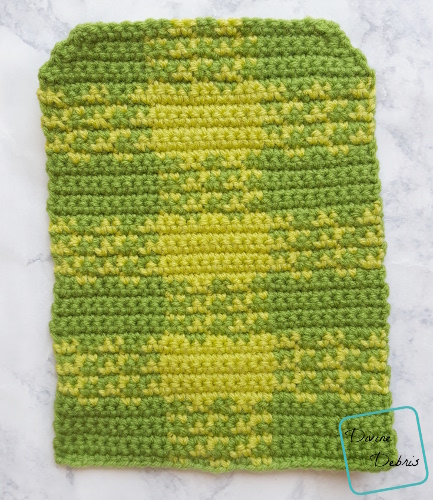
You can make the Back plain or in plaid, it’s up to you. If you decide to make it plaid you just repeat the instructions for the Front but flip it (this way your bumps line up) so that the even rows are your right side. The plain instructions are below.
Row 1: B: Ch 31, sc into the second ch from the hook and into the next 29 sts – 30 sc
Rows 2 – 37: B: Ch 1, turn, sc into the next 30 sts – 30 sc
Row 38: B: Ch 1, turn, sc2tog the first 2 sts, sc into the next 26 sts, sc2tog the last 2 sts – 28 sc
Row 39: B: Ch 1, turn, sc2tog the first 2 sts, sc into the next 24 sts, sc2tog the last 2 sts – 26 sc
Row 40: B: Ch 1, turn, sc2tog the first 2 sts, sc into the next 22 sts, sc2tog the last 2 sts – 24 sc
Row 41: B: Ch 1, turn, sc2tog the first 2 sts, sc into the next 20 sts, sc2tog the last 2 sts – 22 sc
Row 42: B: Ch 1, turn, sc2tog the first 2 sts, sc into the next 18 sts, sc2tog the last 2 sts – 20 sc
Fasten off color B. Weave in all your ends.
Bumps
1st Bump (right-hand side of your Back piece with the RS facing you)
With the RS facing you, create a slipknot on your hook with color B and start in row 19 on the right-hand side of your Back piece.
Note:
- The following directions will only tell you what color (ie: Color A, Color B, etc…) and the number in the parentheses tells you how many stitches to make.
- The instructions that read (sc2tog + a number) or (a number + sc2tog) means that you sc2tog into the specified sts and work 1 sc in the number of stitches indicated.
- You will be working this Bump into the row ends going up toward row 42.
Row 1: B: sc into the next 18 sts – 18 sc
Rows 2 – 5: B: Ch 1, turn, sc into the next 18 sts – 18 sc
Row 6: B: Ch 1, turn, sc2tog the first 2 sts, sc into the next 14 sts, sc2tog the next 2 sts – 16 sc
Row 7: B: Ch 1, turn, sc2tog the first 2 sts, sc into the next 12 sts, sc2tog the next 2 sts – 14 sc
Row 8: B: Ch 1, turn, sc2tog the first 2 sts, sc into the next 10 sts, sc2tog the next 2 sts – 12 sc
Row 9: B: Ch 1, turn, sc2tog the first 2 sts, sc into the next 8 sts, sc2tog the next 2 sts – 10 sc
Row 10: B: Ch 1, turn, sc2tog the first 2 sts, sc into the next 6 sts, sc2tog the next 2 sts – 8 sc
Fasten off color B. Weave in all your ends.
2nd Bump (left-hand side of your Back piece with the RS facing you)
With the RS facing you, create a slipknot on your hook with color B and start in the last st of row 24 on the left-hand side of your Back piece.
Note:
- The following directions will only tell you what color (ie: Color A, Color B, etc…) and the number in the parentheses tells you how many stitches to make.
- The instructions that read (sc2tog + a number) or (a number + sc2tog) mean that you sc2tog into the specified sts and work 1 sc in the number of stitches indicated.
- You will be working this Bump into the row ends going down toward row 1.
Row 1: B: sc into the next 18 sts – 18 sc
Rows 2 – 5: B: Ch 1, turn, sc into the next 18 sts – 18 sc
Row 6: B: Ch 1, turn, sc2tog the first 2 sts, sc into the next 14 sts, sc2tog the next 2 sts – 16 sc
Row 7: B: Ch 1, turn, sc2tog the first 2 sts, sc into the next 12 sts, sc2tog the next 2 sts – 14 sc
Row 8: B: Ch 1, turn, sc2tog the first 2 sts, sc into the next 10 sts, sc2tog the next 2 sts – 12 sc
Row 9: B: Ch 1, turn, sc2tog the first 2 sts, sc into the next 8 sts, sc2tog the next 2 sts – 10 sc
Row 10: B: Ch 1, turn, sc2tog the first 2 sts, sc into the next 6 sts, sc2tog the next 2 sts – 8 sc
Fasten off color B. Weave in all your ends.

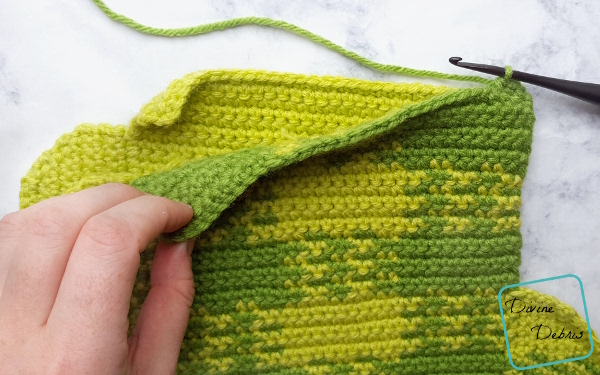
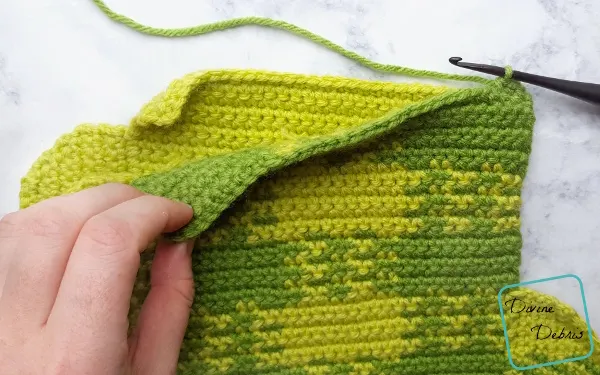
-Securing-
Line up the wrong sides of your Front and Back pieces (make sure the bumps line up). You will be working into both pieces in this section. With color A, create a slipknot on your hook and start in the bottom left-hand corner with the RS of the Front piece facing you.
Rnd 1: A: sc into the next 30 sts on the other side of row 1 of the Front/Back pieces, sc into the next 6 sts of the Front/Back pieces, sc 26 times around the First Bump (9 row ends, 8 for row 10, 9 for other side row ends), sc into the next 38 sts of the Front/Back pieces (17 row ends, 20 sts of row 42, 1 row end), sc 26 times around the Second Bump (9 row ends, 8 for row 10, 9 for other side row ends), (make sure to stuff your cactus before moving on past this point) sc into the next 18 row ends of the Front/Back pieces, slip st into the first st – 144 sc
Fasten off, weave in your ends.
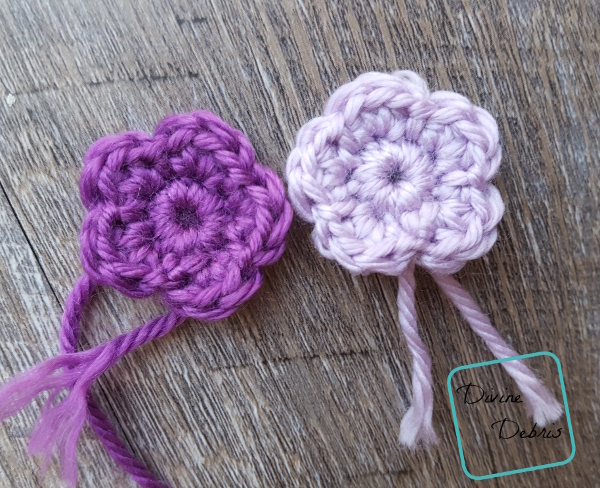

-Flowers-
Rnd 1: C: Create a magic circle, ch 1, sc 10 times into the circle, slip st into the first st – 10 sc
Rnd 2: Ch 1 (make this chain about the height of a hdc), hdc 3 times into the same st as join, slip st into the next st, *hdc 3 times into the next st, slip st into the next st,* repeat from * to * 3 more times, slip st into the first st – 15 hdc
Fasten off leaving long tails. Weave in your ends some and then use the ends to secure your flower to your cactus.