

Whoa! It looks like I didn’t look at a calendar when I scheduled this pattern. I, uh, didn’t know that I was going to release the Divine Diamonds Bag on Christmas Eve. Oops! I bet you all are going to be busy making cookies, visiting family, and watching The Grinch and not looking at crochet patterns. Oh well, at least I have a jump start on 2020, right?
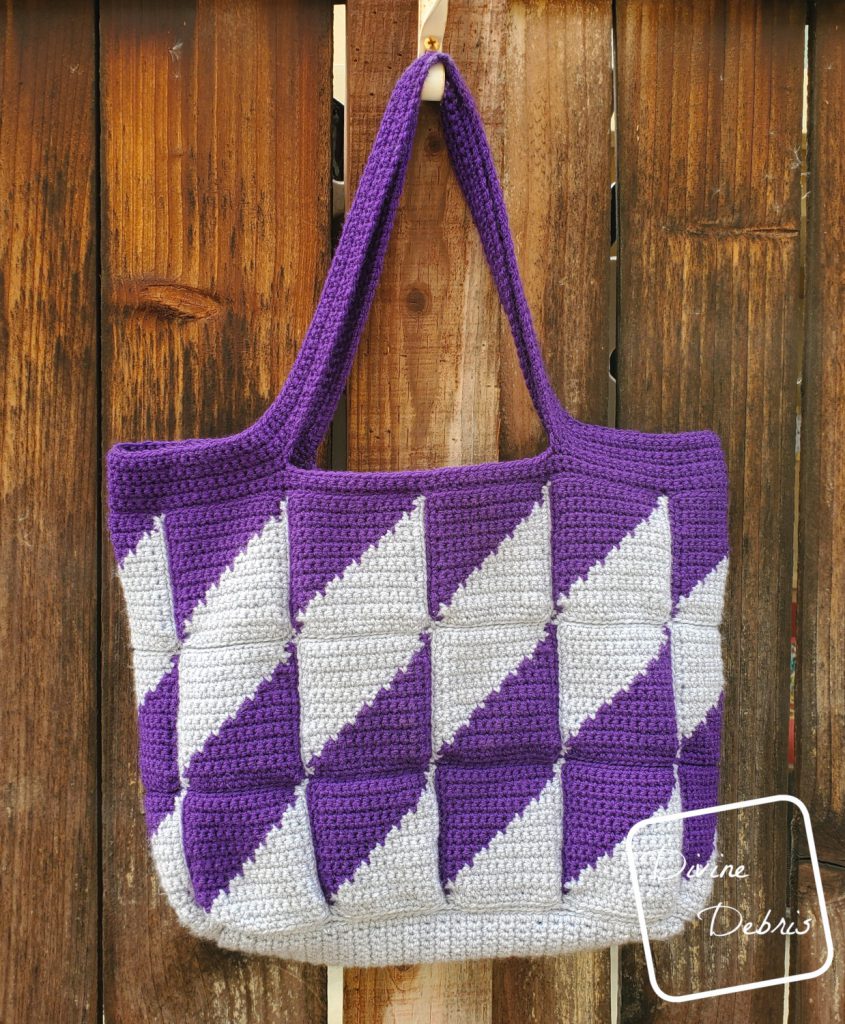
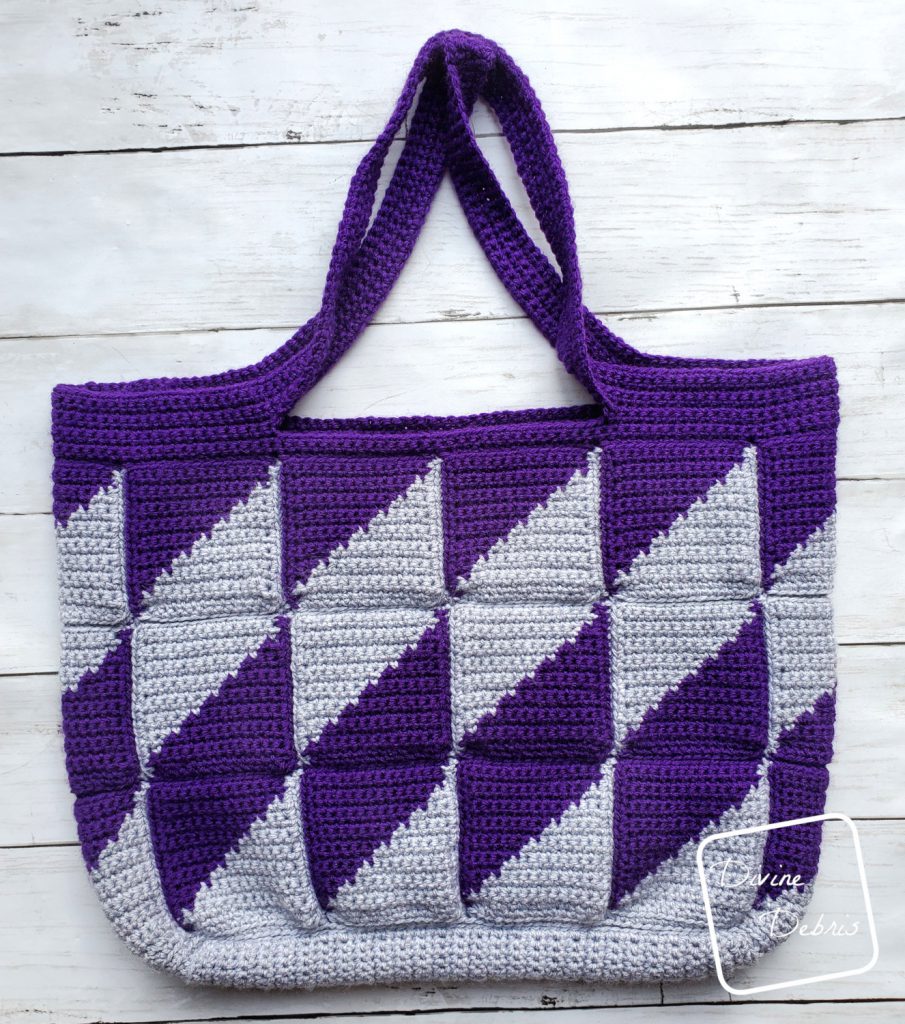
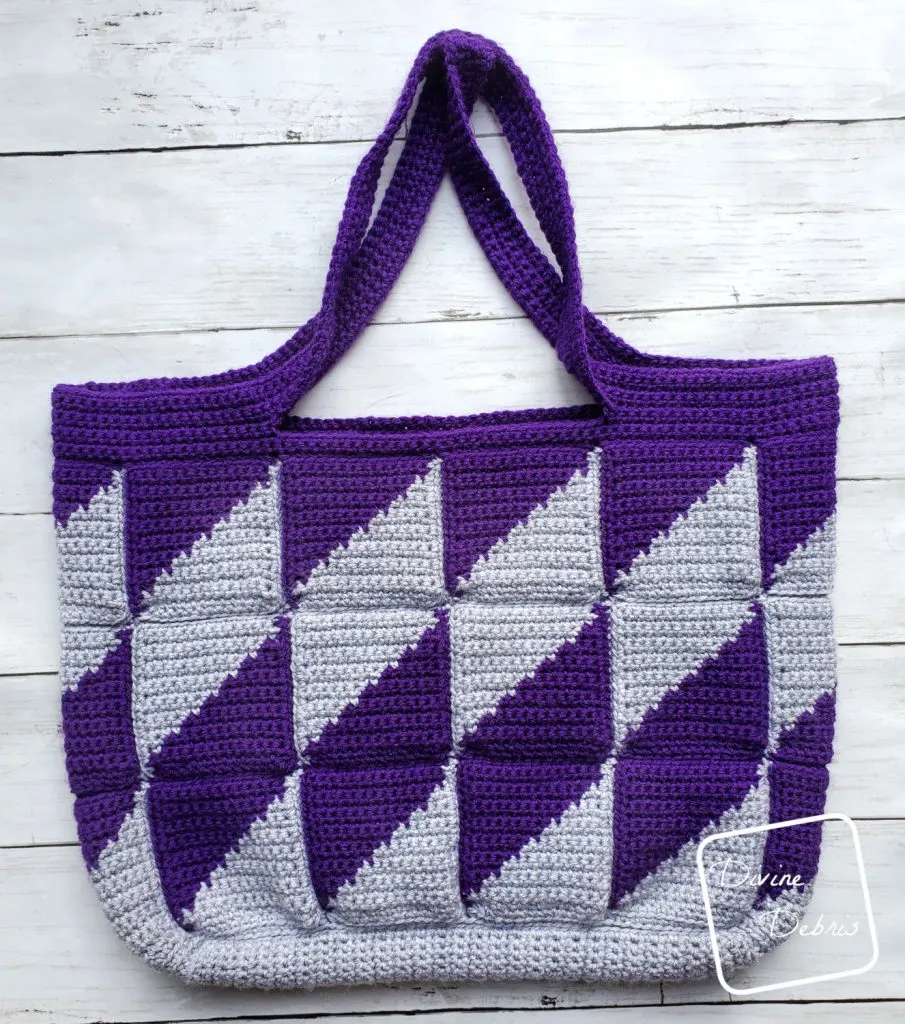
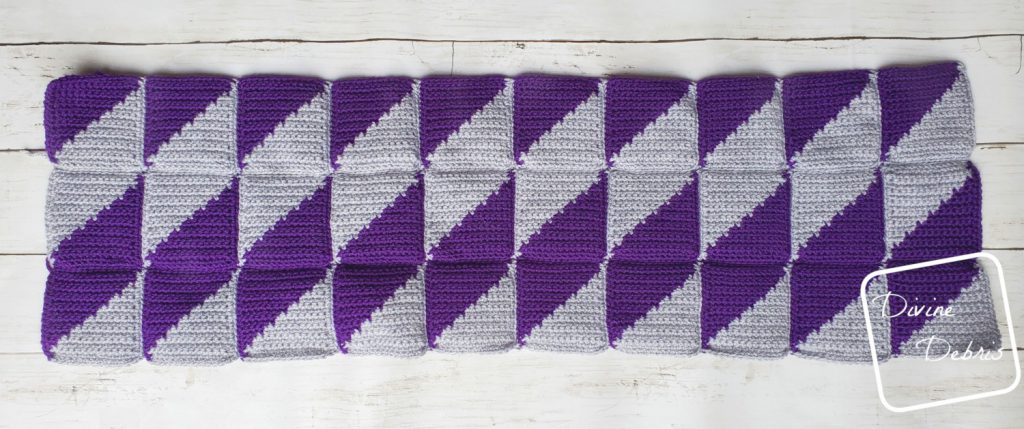
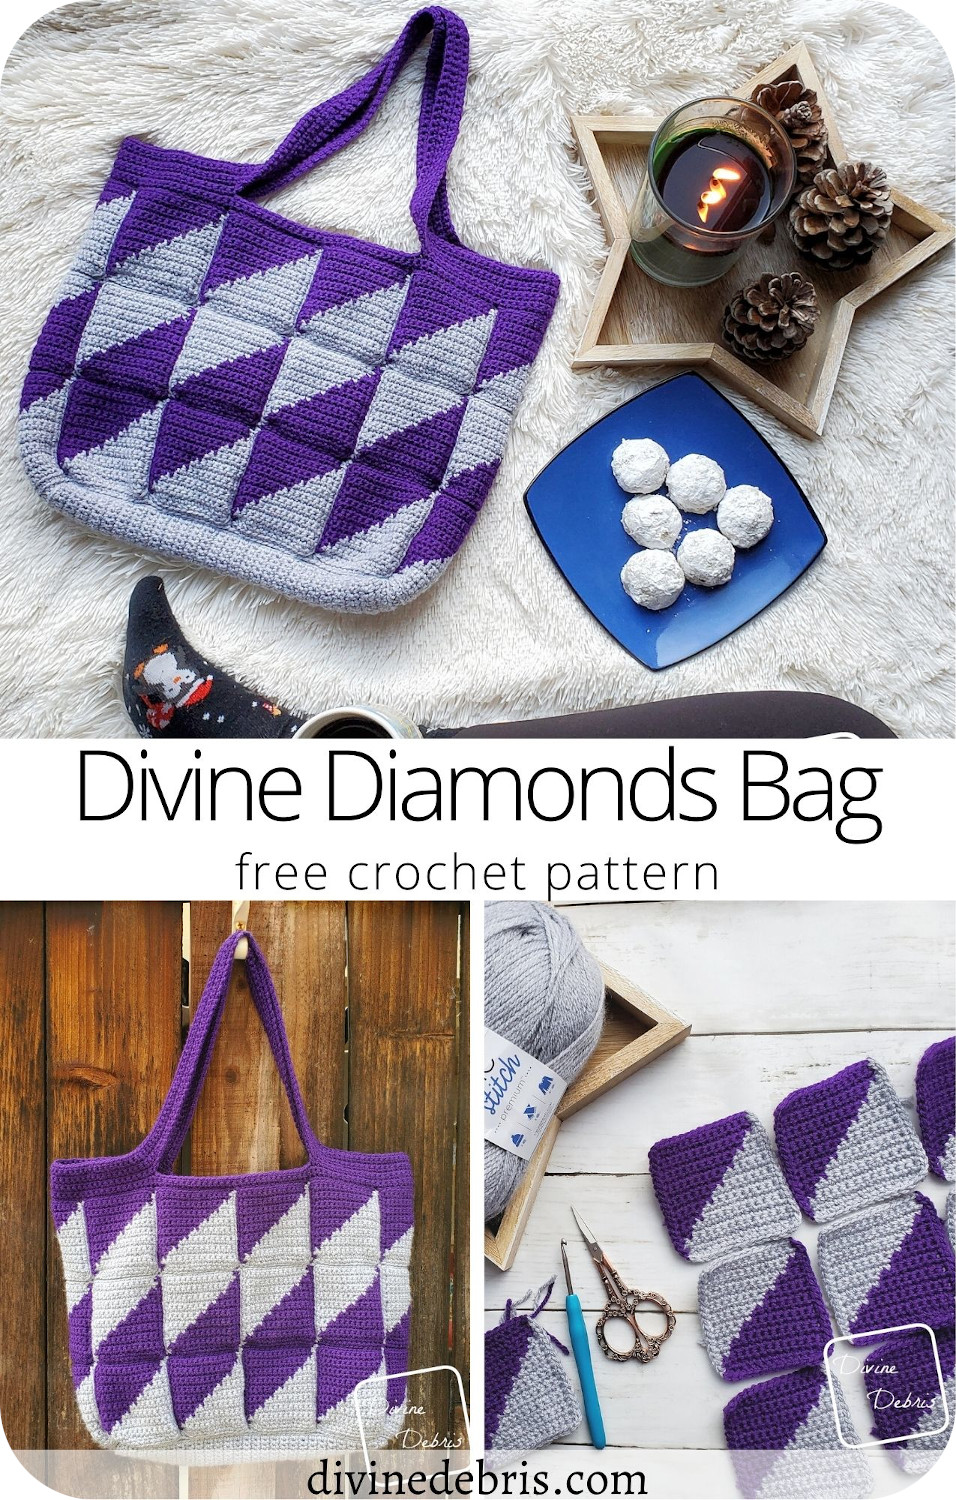
Anyway… I love how this bag turned out! I wanted to elaborate on my Divine Diamonds Blanket (to make a whole Divine Diamonds Line), showing you could easily make the squares into something more than a blanket. And it’s really easy. I am serious, the most complicated part of this pattern is knowing where to seam and attach the pieces. Did I mention that it’s only a skein of yarn each?
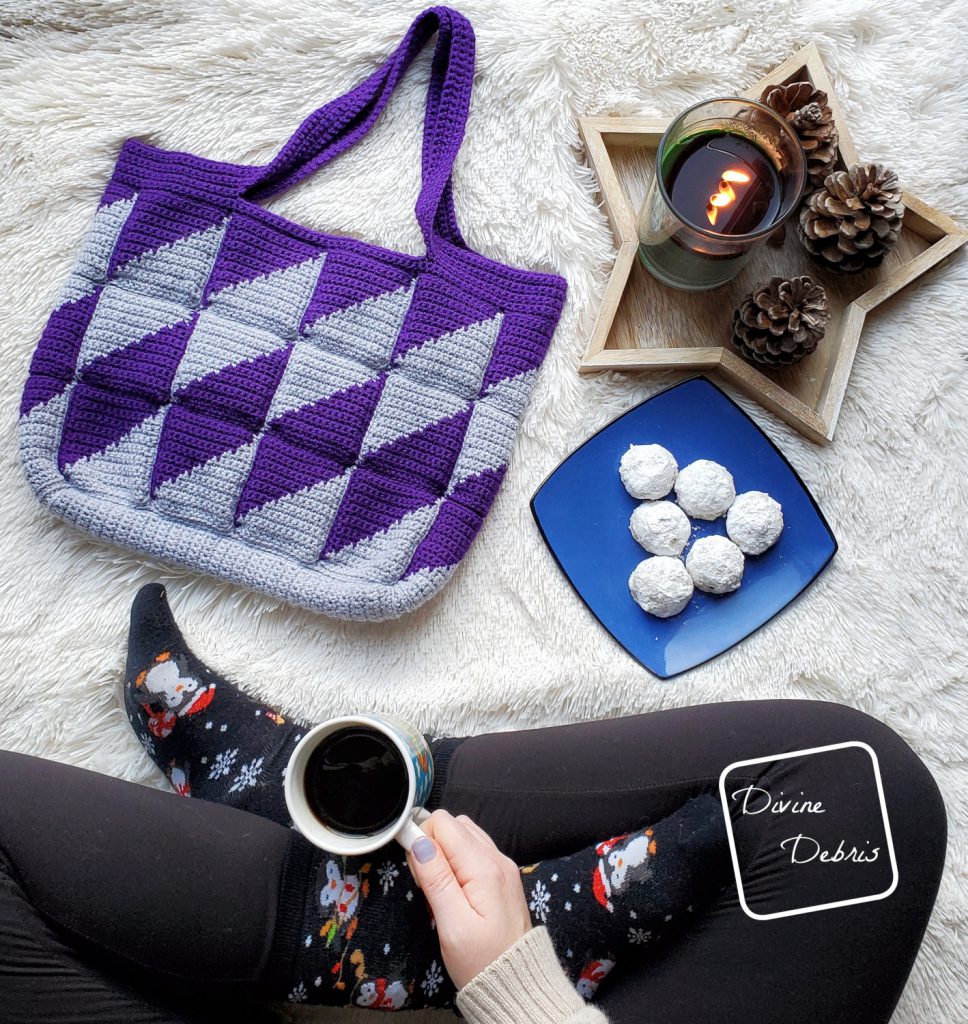
I hope you like this design regardless of when you check it out (2019 or 2020) and give it a try. It’s a fun project you can work on while watching tv. And it looks kinda like a quilt. I mean, who doesn’t like quilts, right?
(this post may contain affiliate links)


If you appreciate my weekly patterns I hope you’d consider purchasing an ad-free pdf of this pattern in my Ravelry shop.
Thank you Summer for becoming my newest patron on Patreon!


Materials
- US G (4.00 mm) crochet hook
- Aran/ medium/ size #4 weight yarn
- 2 colors
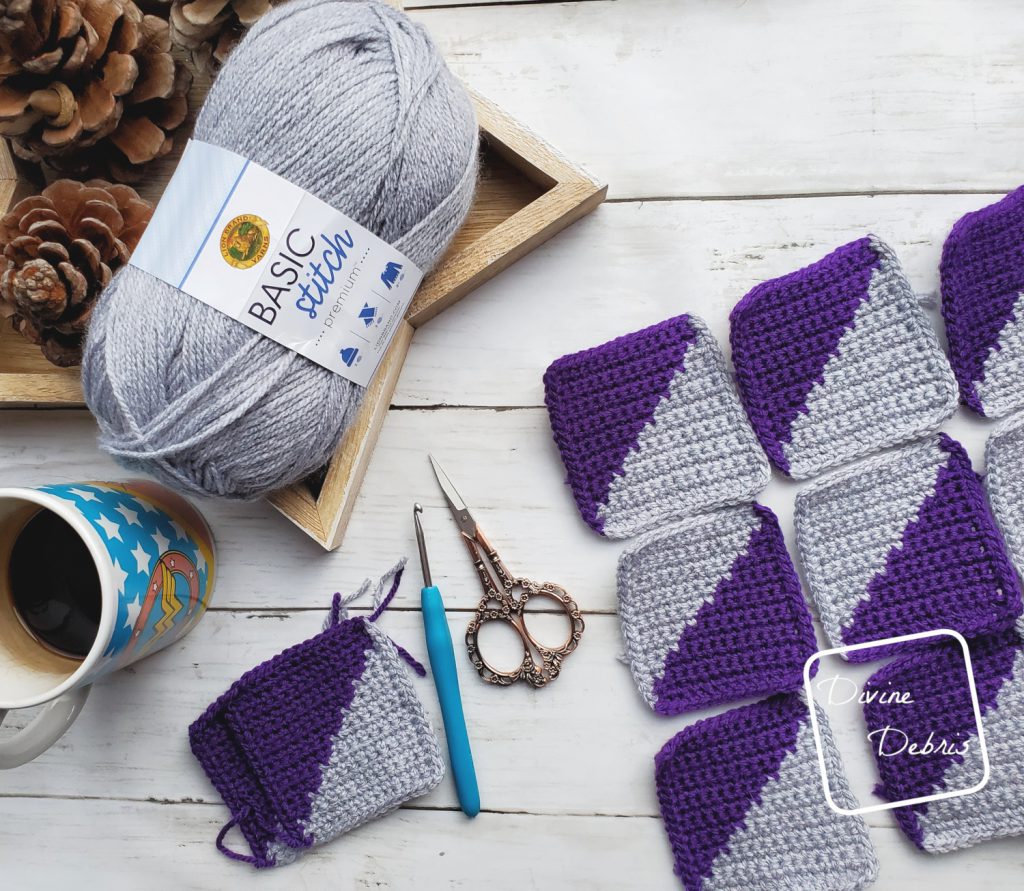
- I used Basic Stitch Premium by Lion Brand Yarn in Slate and Blackberry (7 oz | 440 yds)
- Needle that will weave in your ends
- Notions: scissors, measuring tape
Gauge
- 22 rows x 19 sc = 4”
Terms/ Stitches used
- RS: right side
- Rnd: round
- Ch: chain
- St: stitch
- Slip st: slip stitch
- Sc: single crochet
- BLO: back loop only
- Invisible join (explained below)
Notes
- Invisible Join: Use your needle to weave your end around the V on the top of your first st of your rnd and back through the center of the V on the top of your last st. This will act as at ch-1 without the knot at the end of the rnd.
- You’re going to need to know how to create a slip knot on your hook for this pattern.
- The ch-1 at the beginning of the rows does not count as a stitch.
- This pattern is worked in 3 sections: the Body (which is made of 30 squares that are worked up individually and the seamed), the Base (which is worked back and forth in rows), and the Top/Straps which is worked in the round with a slip st into the first st of round.
- The individual squares are approx 3″ – 3.25″ x 3″ – 3.25″.
- In the photos: color A is gray (Basic Stitch Premium in Slate|1 skein | 3.5 oz 219 yds), and color B is purple (Basic Stitch Premium in Blackberry| 1 skein | 3.5 oz 219 yds).
Finished product dimensions (measurements may vary by gauge and yarn used)
Width: 15” – 15.25” Height: 11.5” (from base, not including handles)
Divine Diamonds Bag Pattern Instructions
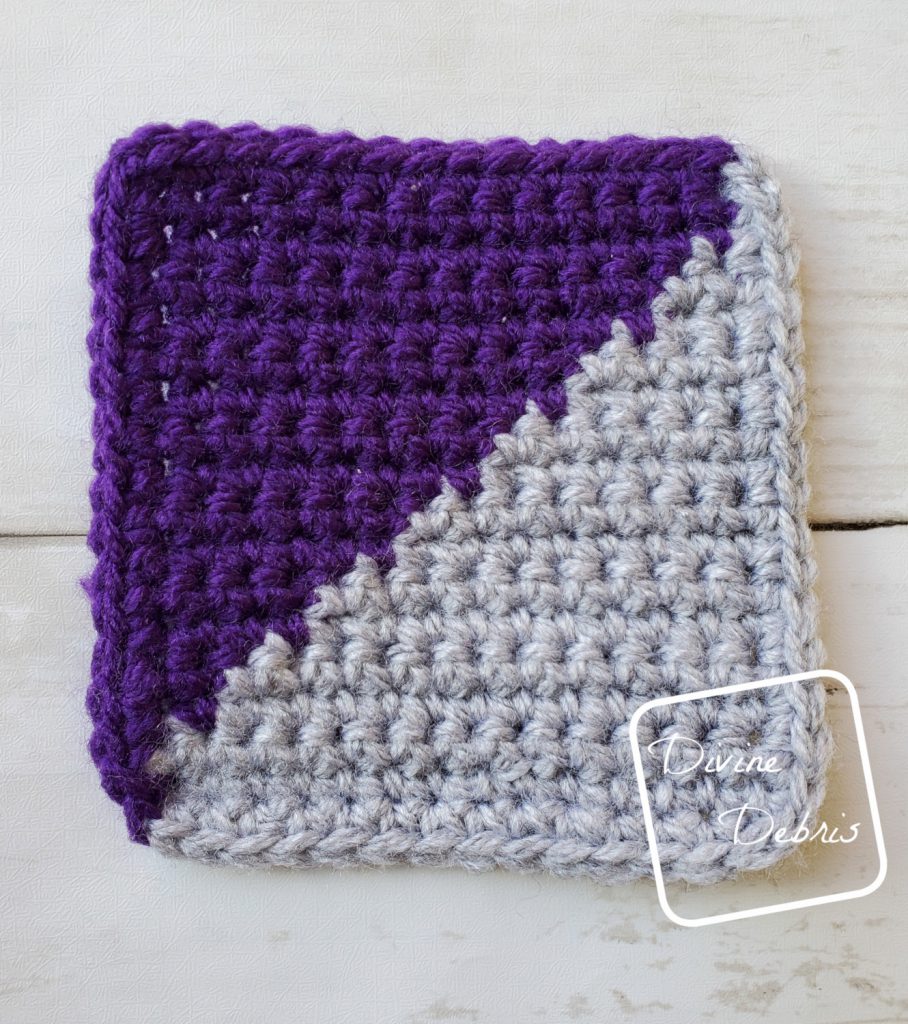

Divine Diamonds Bag: Square 1
(make 20)
(RS) Row 1: A: Ch 15, sc into the second ch from the hook and into the next 13 sts — 14 sc
Note:
- The following directions will only tell you what color (ie: Color A, Color B, etc…) and the number in the parentheses tells you how many stitches to make.
Row 2: A: Ch 1, turn, (14) — 14 sc
Row 3: A: Ch 1, turn, (12), B: (2) — 14 sc
Row 4: B: Ch 1, turn, (2), A: (12) — 14 sc
Row 5: A: Ch 1, turn, (10), B: (4) — 14 sc
Row 6: B: Ch 1, turn, (4), A: (10) — 14 sc
Row 7: A: Ch 1, turn, (8), B: (6) — 14 sc
Row 8: B: Ch 1, turn, (6), A: (8) — 14 sc
Row 9: A: Ch 1, turn, (6), B: (8) — 14 sc
Row 10: B: Ch 1, turn, (8), A: (6) — 14 sc
Row 11: A: Ch 1, turn, (4), B: (10) — 14 sc
Row 12: B: Ch 1, turn, (10), A: (4) — 14 sc
Row 13: A: Ch 1, turn, (2), B: (12) — 14 sc
Row 14: B: Ch 1, turn, (12), A: (2) — 14 sc
Fasten off color A.
Rows 15 – 16: B: Ch 1, turn, (14) — 14 sc
Do not fasten off color B.
Border
Rnd 1: B: Ch 1, sc into the next 14 sts, ch 1 at the corner and rotate your whole piece, sc into the next 16 row ends, ch 1 at the corner and rotate your whole piece, switch to color A, sc into the next 14 sts (this will be the other side of your chain row), ch 1 at the corner and rotate your whole piece, sc into the next 16 row ends — 60 sc, 3 ch-1
Fasten off leaving a tail long enough to create an invisible join in the corner where you just ended (you could slip st into the first st if you’d prefer but this will create a more uniform look in your squares and eliminate a knot in one corner). Weave in all your ends.

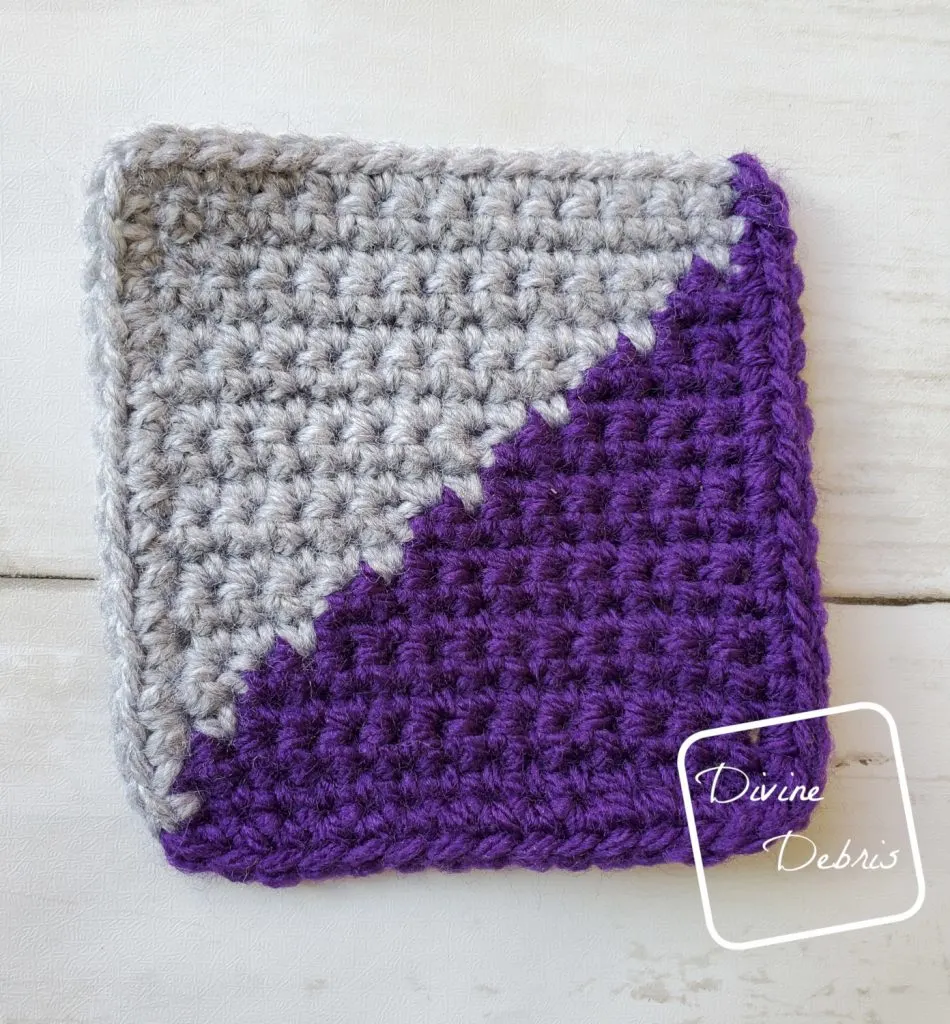
Divine Diamonds Bag: Square 2
(make 10)
(RS) Row 1: B: Ch 15, sc into the second ch from the hook and into the next 13 sts — 14 sc
Note:
- The following directions will only tell you what color (ie: Color A, Color B, etc…) and the number in the parentheses tells you how many stitches to make.
Row 2: B: Ch 1, turn, (14) — 14 sc
Row 3: B: Ch 1, turn, (12), A: (2) — 14 sc
Row 4: A: Ch 1, turn, (2), B: (12) — 14 sc
Row 5: B: Ch 1, turn, (10), A: (4) — 14 sc
Row 6: A: Ch 1, turn, (4), B: (10) — 14 sc
Row 7: B: Ch 1, turn, (8), A: (6) — 14 sc
Row 8: A: Ch 1, turn, (6), B: (8) — 14 sc
Row 9: B: Ch 1, turn, (6), A: (8) — 14 sc
Row 10: A: Ch 1, turn, (8), B: (6) — 14 sc
Row 11: B: Ch 1, turn, (4), A: (10) — 14 sc
Row 12: A: Ch 1, turn, (10), B: (4) — 14 sc
Row 13: B: Ch 1, turn, (2), A: (12) — 14 sc
Row 14: A: Ch 1, turn, (12), B: (2) — 14 sc
Fasten off color B.
Rows 15 – 16: A: Ch 1, turn, (14) — 14 sc
Do not fasten off color A.
Border
Rnd 1: A: Ch 1, sc into the next 14 sts, ch 1 at the corner and rotate your whole piece, sc into the next 16 row ends, ch 1 at the corner and rotate your whole piece, switch to color B, sc into the next 14 sts (this will be the other side of your chain row), ch 1 at the corner and rotate your whole piece, sc into the next 16 row ends — 60 sc, 3 ch-1
Fasten off leaving a tail long enough to create an invisible join in the corner where you just ended (you could slip st into the first st if you’d prefer but this will create a more uniform look in your squares and eliminate a knot in one corner). Weave in all your ends.
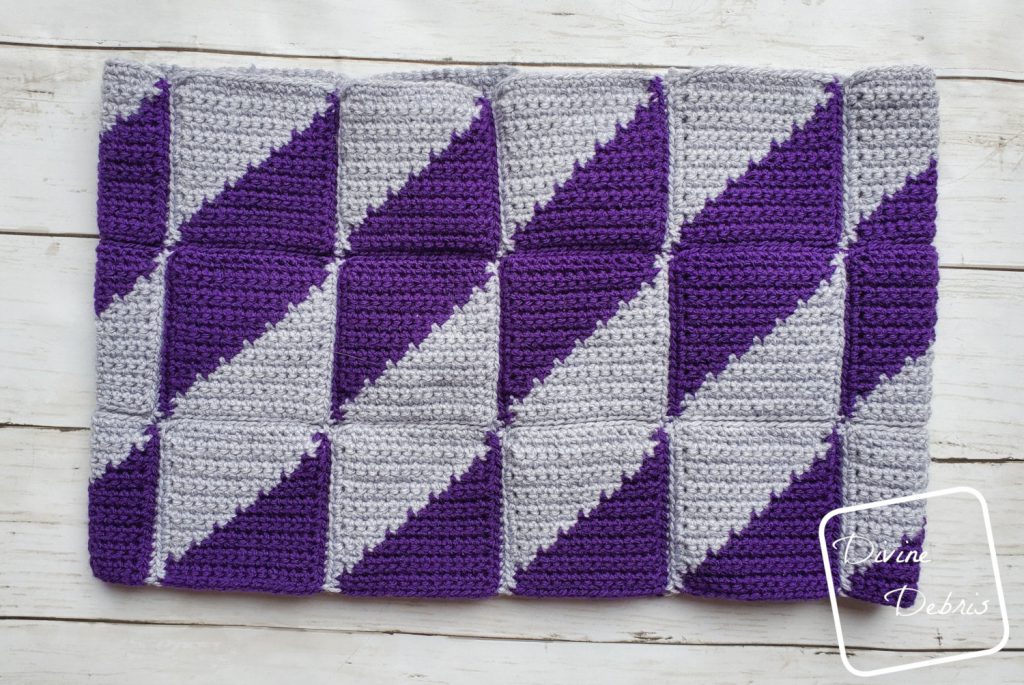
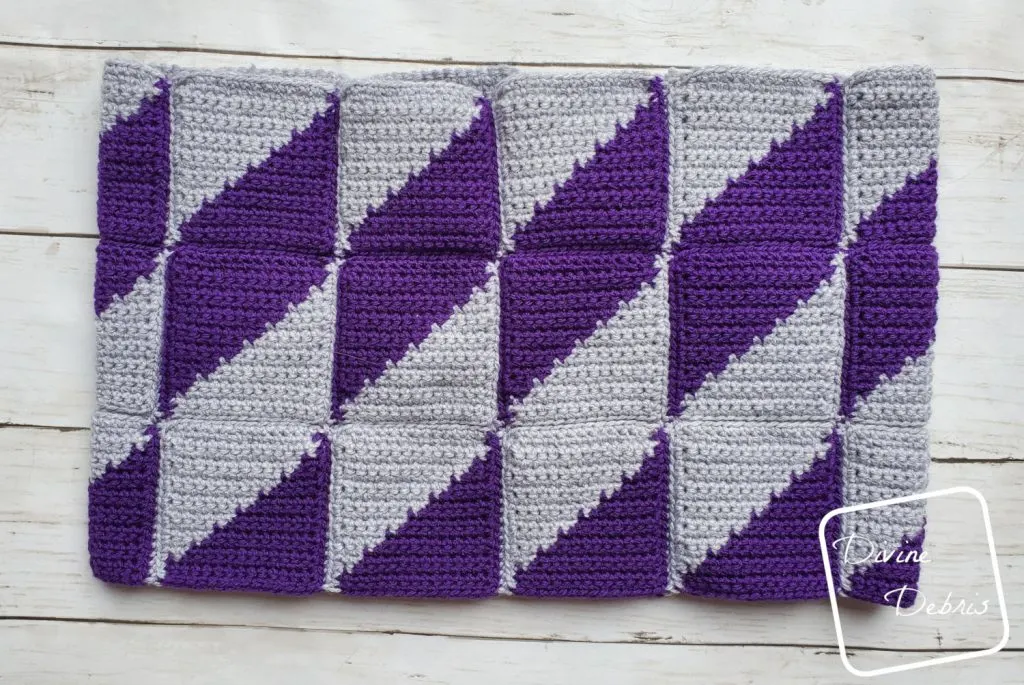
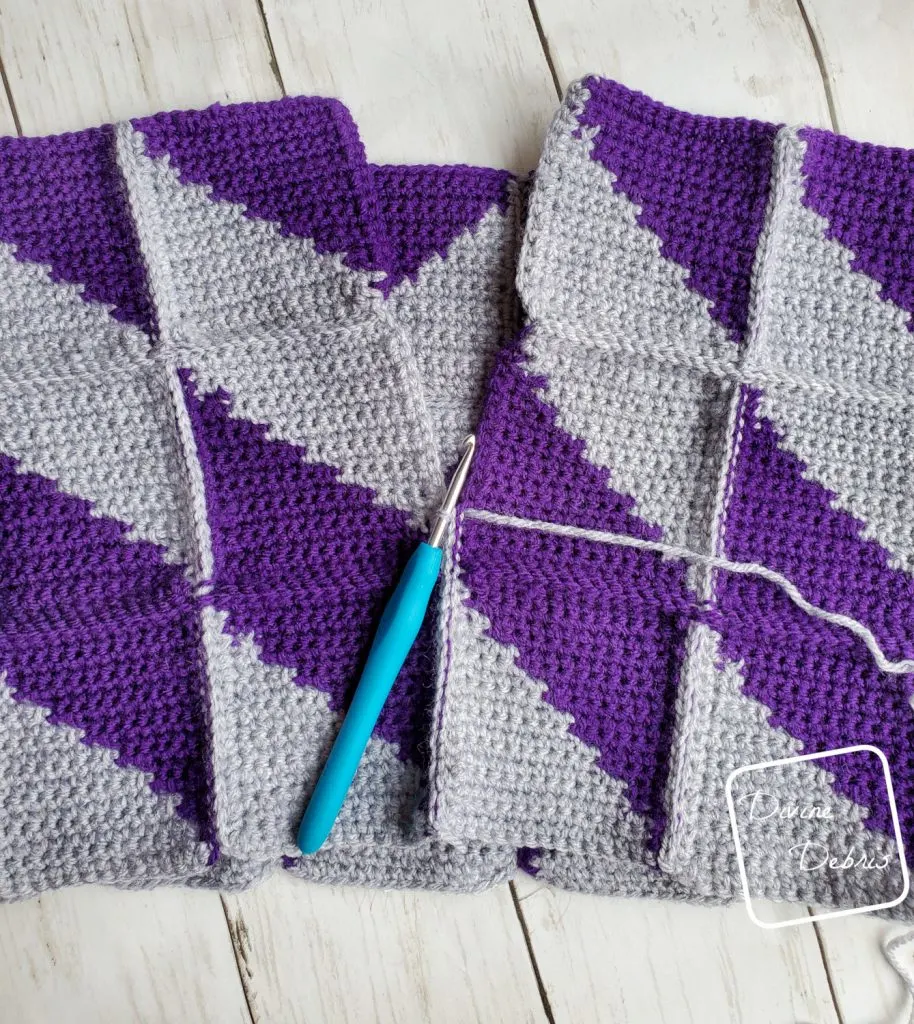
Divine Diamonds Bag: Seaming
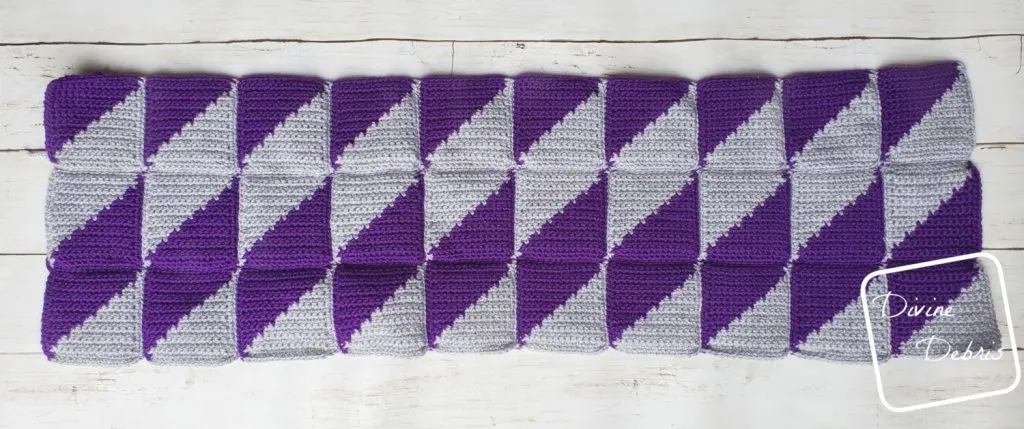
Line up your squares so you have a row of 10 Square 1s, a row of 10 Square 2s, and a row of 10 Square ones arranged in a rectangle, like the photo above
Vertical: Use color A, start with two Square 1s, hold 2 squares together so that their right sides (RS) are touching, start in the ch-1 at the corner (you will be working into both squares for the following instructions) , slip st into the ch-1 space, slip st into BLO of the next 16 stitches of the border, slip st into the ch-1 space, *ch 1 between squares, hold together two Square 2s, slip st into the ch-1 space, slip st across the BLO of the next 16 sts, slip st into the ch-1 space,* repeat from * to * on one more Square 1 set. Fasten off.
Repeat the process with another Square 1, Square 2, and Square 1, attaching them from top to bottom until all 30 squares are attached.
Horizontal: Use color A and start with the first two squares, hold the 2 squares together so that their right sides (RS) are touching, start in the ch-1 at the corner, slip st into the ch-1 space of both squares, slip st into BLO of the next 14 stitches of the border, slip st into the ch-1 space of both squares, *ch 1 between squares, hold together the next two squares, slip st into the ch-1 space of both squares, slip st across the BLO of the next 14 sts, slip st into the ch-1 space of both squares,* repeat from * to * into the next 8 sets of squares. Fasten off.
Repeat the instructions for Horizontal above with color B to seam together the middle and bottom rows of squares.
Fasten off, weave in your ends.

Once you have a rectangle piece, line up the 3 squares on each ends of your rectangle and slip st them together using the Vertical instructions from above. Fasten off, weave in your ends.
Bottom Border Round
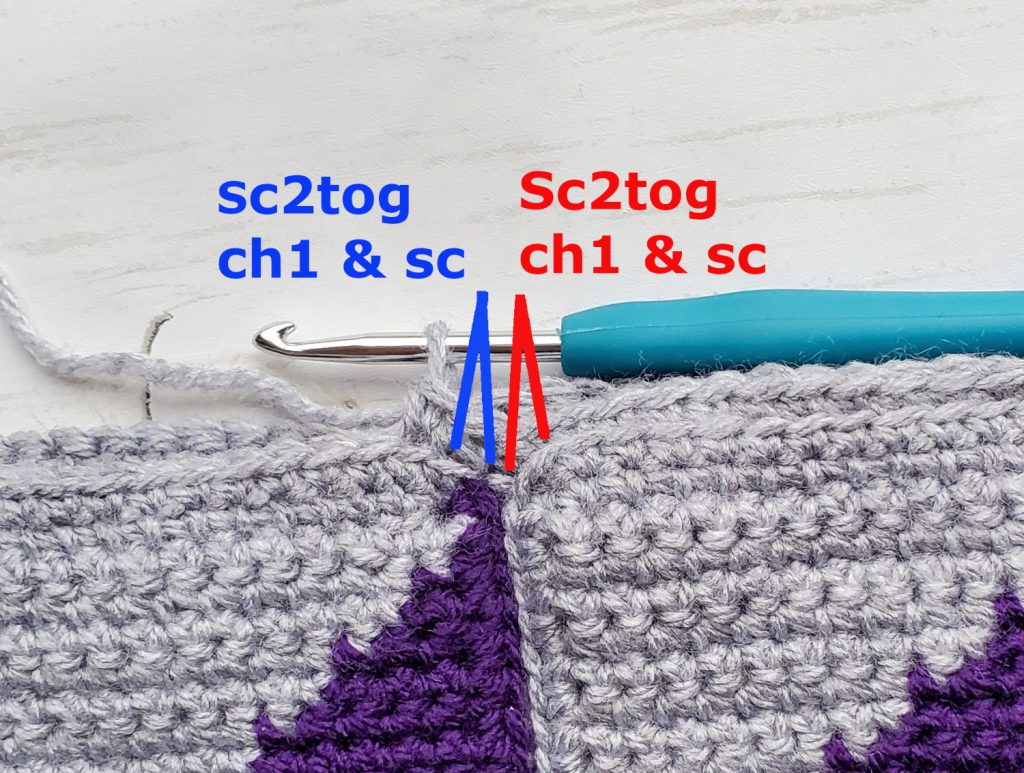
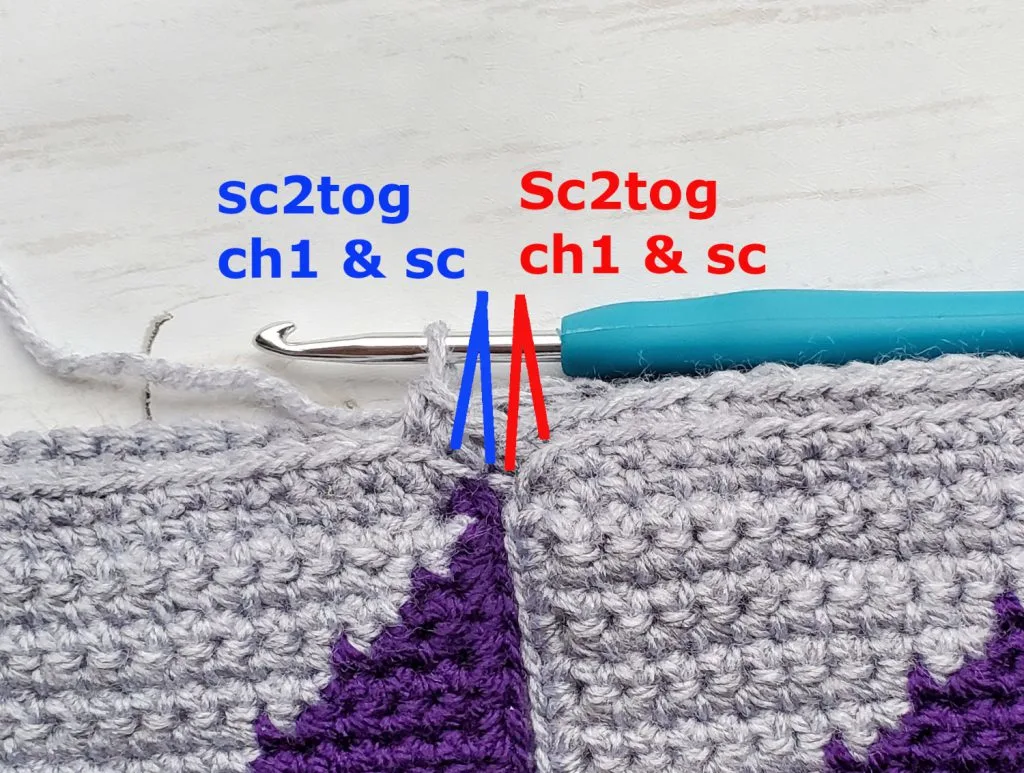
Using color A, start in a ch-1 space of a Square 1 to the right (or left if you’re left-handed) of one of your slip st seams. Create a slipknot on your hook, sc2tog the ch-1 space and the next sc, sc into the next 12 sts, *sc2tog the next sc and ch-1 space, sc2tog the next ch-1 space and sc, sc into the next 12 sts,* repeat from * to * 8 more times, sc2tog the next sc and ch-1 space, join — 140 sc
Fasten off, weave in your ends.
Move onto the Base.

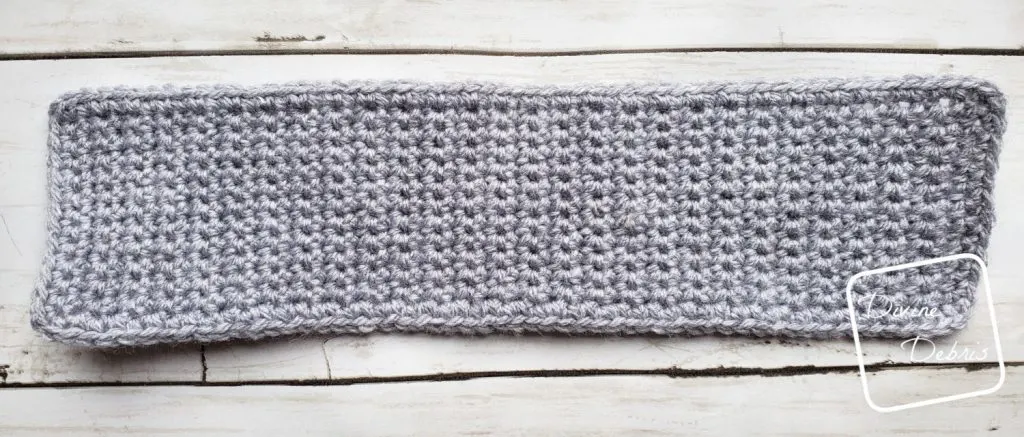
Base
Row 1: Ch 13, sc into the second ch from the hook and into the next 13 sts — 14 sc
Rows 2 – 56: Ch 1, turn, sc into the next 14 sts — 14 sc
Row 57 (a border row): Ch 1, turn, sc into the next 14 sts, ch 1 at the corner and rotate your piece, sc into the next 56 row ends, ch 1 at the corner and rotate your piece, sc into the next 14 sts (the other side of your chain row), ch 1 at the corner and rotate your piece, sc into the next 56 sts, ch 1 at the corner, join — 140 sc, 4 ch-1 spaces
Fasten off, weave in your ends.
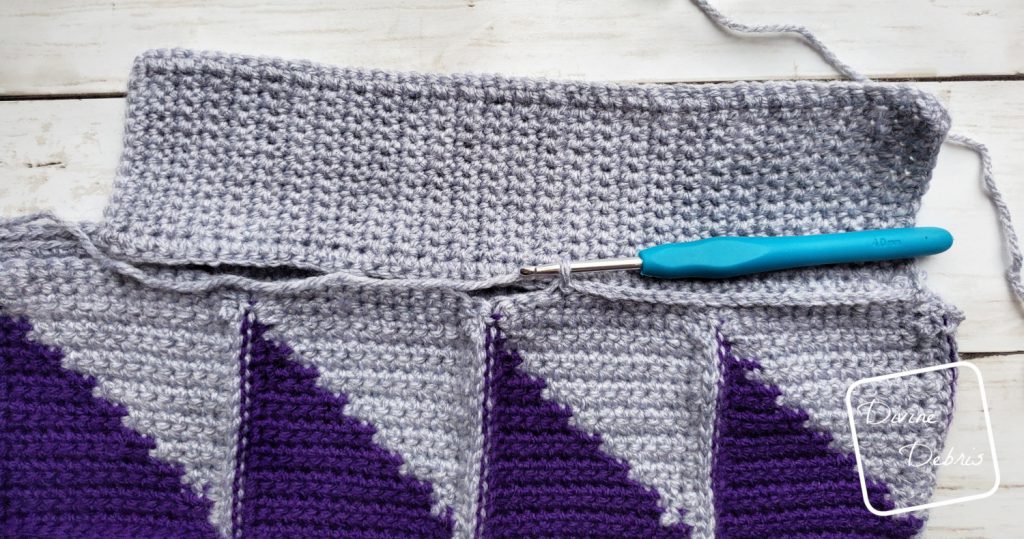

Securing the Base to the Bag
Flip the Body of the bag so that the wrong side is facing you. Start by lining up the longer side of the Base with 4 of the squares from the Body. Create a slipknot on your hook, skip the ch-1 on the corner of the Base, slip st together the BLO of the Base Border rnd and the BLO of the Bottom Border Round of the Body (this is like how you seamed the squares on the Body), slip st together the next 55 sts, skip the ch-1 at the corner, slip st into the next 14 sts, skip the ch-1 at the corner, slip st together the next 56 sts, skip the ch-1 at the corner, slip st together the next 14 sts, join — 14 slip st
Fasten off, weave in your ends.

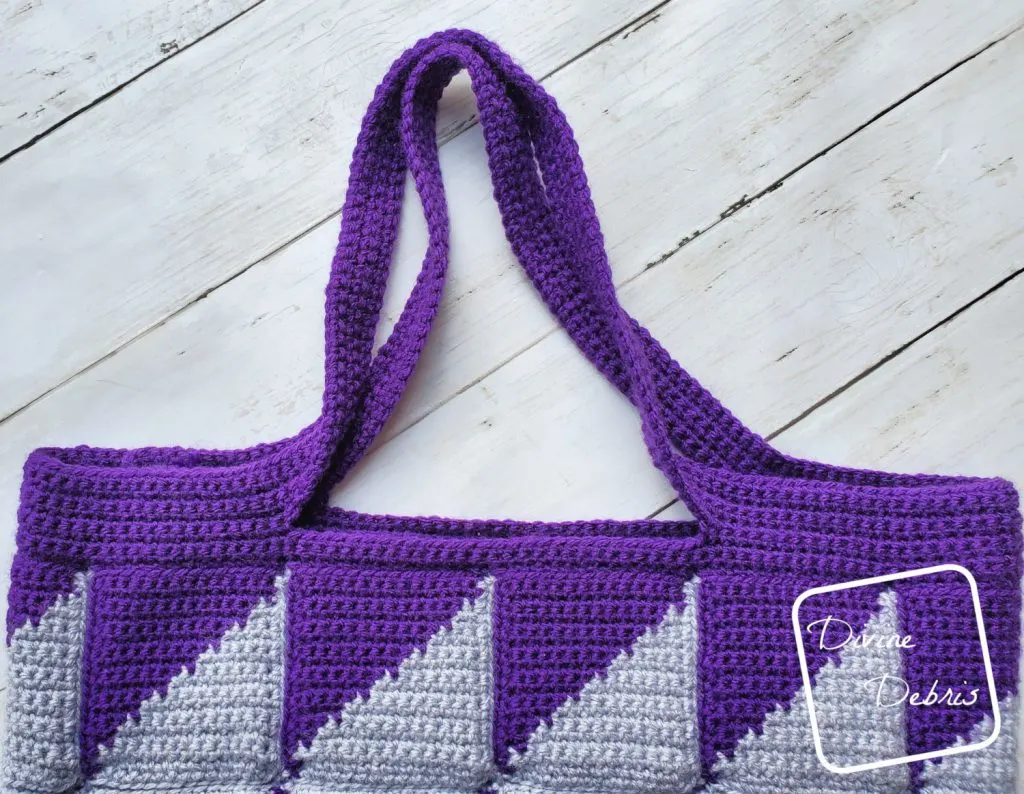
Divine Diamonds Bag: Handles
Note:
- The first round of the Handles is like the Bottom Border Round.
- Start in a ch-1 space that lines up with the long side of the Base, so that you will be working down the 4 squares of the long side first. See the Xs in the photo below showing you where to start.
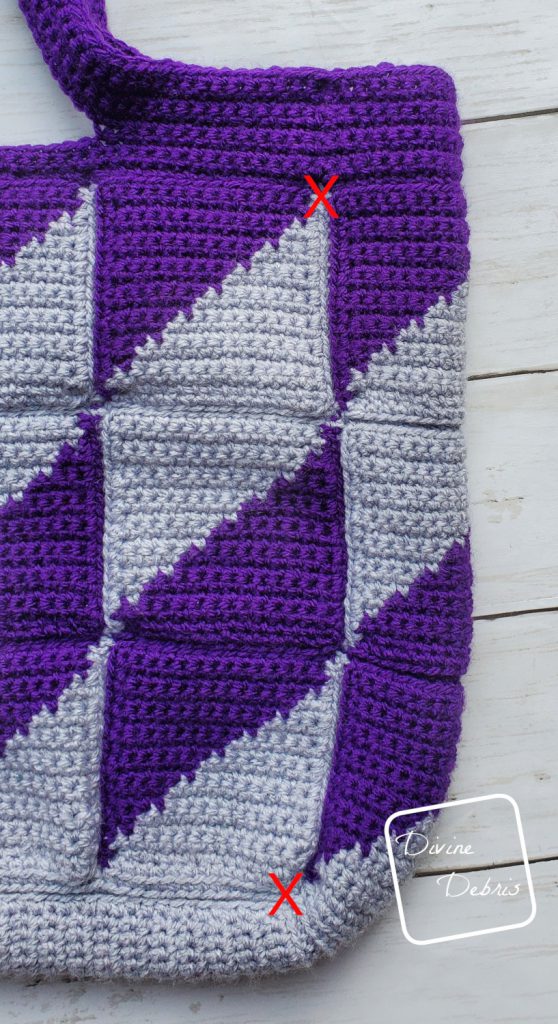

Rnd 1: B: Create a slipknot your hook, start in a the ch-1 space noted above. Sc2tog the ch-1 space and the next sc, sc into the next 12 sts, *sc2tog the next sc and ch-1 space, sc2tog the next ch-1 space and sc, sc into the next 12 sts,* repeat from * to * 8 more times, sc2tog the next sc and ch-1 space, join — 140 sc
Fasten off, weave in your ends.
Rnd 2: Ch 1, turn, sc into the next 140 sts, join — 140 sc
Rnd 3: Ch 1, turn, sc into the next 140 sts, join — 140 sc
Rnd 4: Ch 1, turn, sc into the next 14 sts, ch 70, skip the next 28 sts, sc into the next 42 sts, ch 70, skip the next 28 sts, sc into the next 28 sts, join — 84 sc, 2 ch-70 spaces
Rnd 5: Ch 1, turn, sc into the next 224 sts (this counts both the ch sts and scs), join — 224 sc
Rnds 6 – 9: Ch 1, turn, sc into the next 224 sts, join — 224 sc
Fasten off. Weave in your ends.
Block if necessary

Rhane Thomas
Saturday 1st of February 2020
This is a beautiful bag! Thank you for very clear instructions and pictures that really help me to understand. I am going to share your page with my Friday group as an example of how a pattern can be written! This is now in my queue.