Hi there! How are you doing this Tuesday morning? Here the sun is shining, the AC is on, the coffee is fresh, and I’m catching up with some TV. All in all, it’s pretty relaxing and boring but that won’t last forever, right? Because FALL is coming. 😀
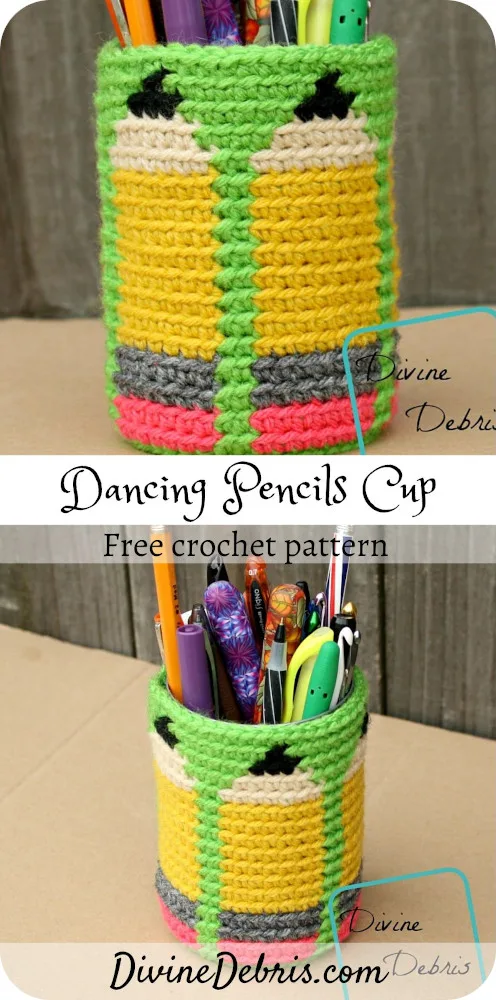
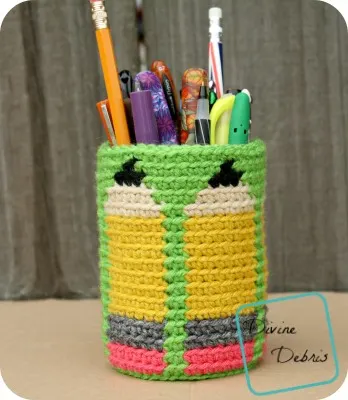
Seriously, Fall is my favorite season of the year and I cannot wait for it each year – I love the colors and smells of it all. I don’t have any kids and I’m not a teacher, although I know some awesome ones, so I myself don’t have to do any back-to-school shopping or planning but with this week’s pattern, I hope to get you excited. The Dancing Pencils Cup might be a perfect teacher gift any time of year, because it’s pencils! Ha! Nothing says “get school started” like some pencils, right?
If you appreciate this pattern and want to help to make sure more will be coming your way, please consider purchasing the pdf for this pattern in my Ravelry shop.
Thank you to all my Patreon supporters.
Materials:
- US G (4.00 mm) crochet hook
- Worsted/ medium/ size #4 weight yarn
- 1 oz. / 52 yards
- I used Bernat Super Value and Red Heart Super Saver
- Yarn needle
- Clean (empty) 16 oz can
Gauge:
- 4″ = 16 scs x 16 rows
Terms/ stitches:
- Magic circle
- RS: right side (side that faces out)
- Ch: chain
- St: stitch
- Slip st: slip stitch
- Sc: single crochet
Notes:
- This pattern is worked in the round, with a slip st into the first st from the last st.

- The ch 1 at the beginning of the row does not count as a stitch.
- Following the base, sc into the back loop only.
- If you don’t work this pattern in the back loop only, it might end up leaning. You can block the finished item to make it lean less. At the end of the row, slip st into both loops of your 1st st, this will help to keep your seam straight.
- This pattern is worked from the bottom up.
- All of the stitches in this pattern are single crochets, because of this the sides portion (where all the color changes are) only tells you how many stitches to do in what color, this is what the number in the parentheses means.
- Color A is green, color B is pink, color C is gray, color D is yellow, color E is tan, and color F is black.
- The repeat on this is 16. If you want to make this basket larger, keep increasing the base as written here and make sure your final row has a stitch count that is divisible by 16.
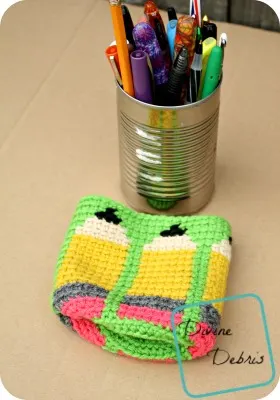
- I made the crochet cup and then placed a washed and dried can, that used to house beans, inside. If you do this, be careful about the edges, especially if you’re using this around littles. The can does give it extra sturdiness, but if you crochet tight you might be able to get away with not using a can.
- Also check out this post about tapestry crochet from Moogly, it’s helpful.
Finished measurements:
- Height: 5″
- Diameter: 5″
- Base: 2.5″

Pattern instructions
Base
Row 1: A: Create a magic circle, ch 1, sc 9 times into the circle, slip st into the first st – 9 scs
Row 2: Ch 1, sc twice int the same st as join, sc twice into the next 8 sts, slip st into the first st – 18 scs
Row 3: Ch 1, sc into the same st as join, sc twice into the next st, *sc into the next st, sc twice into the next st.* repeat from * to * 7 more times, slip st into the first st – 27 scs
Row 4: Ch 1, sc into the same st as join, sc into the next st, sc twice into the next st, *sc into the next 2 sts, sc twice into the next st,* repeat from * to * 7 more times, slip st into the first st – 36 scs
Row 5: Ch 1, sc into the same st as join, sc into the next 2 st, sc twice into the next st, *sc into the next 3 sts, sc twice into the next st,* repeat from * to * 7 more times, slip st into the first st – 45 scs
Sides
- Every row of the sides are worked into the back loop only.
- Every stitch in the sides portion of the pattern is a single crochet, because of this the directions only tell you what color (ie: Color A, Color B, etc…) and the number in the parentheses then tells you how many single crochets to make.
- Following the ch 1, the first st is worked into the same st as join.
Row 6: A: Ch 1, (45), slip st into the first st – 45 scs
Rows 7 – 8: A: Ch 1, (1), B: (7), *A: (2), B: (7),* repeat from * to * 3 more times, A: (1), slip st into the first st – 45 scs
Fasten off color B.
Rows 9 – 10: A: Ch 1, (1), C: (7), *A: (2), C: (7),* repeat from * to * 3 more times, A: (1), slip st into the first st – 45 scs
Fasten off color C.
Rows 11 – 18: A: Ch 1, (1), D: (7), *A: (2), D: (7),* repeat from * to * 3 more times, A: (1), slip st into the first st – 45 scs
Fasten off color D.
Row 19: A: Ch 1, (1), E: (7), *A: (2), E: (7),* repeat from * to * 3 more times, A: (1), slip st into the first st – 45 scs
Row 20: A: Ch 1, (2), E: (5), *A: (4), E: (5),* repeat from * to * 3 more times, A: (2), slip st into the first st – 45 scs
Fasten off color E.
Row 21: A: Ch 1, (3), F: (3), *A: (6), F: (3),* repeat from * to * 3 more times, A: (3), slip st into the first st – 45 scs
Row 22: A: Ch 1, (4), F: (1), *A: (8), F: (1),* repeat from * to * 3 more times, A: (4), slip st into the first st – 45 scs
Fasten off color F.
Row 23: A: Ch 1, (45), slip st into the first st – 45 scs
Fasten off, weave in all your ends.
If you want, you can definitely slide a can in there to make it all sturdy but if not, it’s ok.
Tada, there is the Dancing Pencils Cup pattern, I hope you love it and share photos of it sitting ever so perfectly on the desk of your favorite teacher.
See ya next week!
This post is linked to Hookin’ on Hump Day #148.


Back to School – Free Crochet Pattern Round Up – Goddess Crochet
Tuesday 29th of August 2017
[…] Dancing Pencils Cup – Free Crochet Pattern by Divine Debris – You’ll probably notice the similarity in design to the […]