Hello everyone!
How’s your Tuesday going? I feel like I’m behind, always behind…
I’m trying to cram all my month-long work into this week because next week I’m leaving for Our Maker Life. Also, I’m freaking out about traveling by myself but that’s a whole other animal. I’m trying to plan patterns, get posts all ready (I usually do this but only about 2 weeks in advance rather than the whole month), and I feel like I’m already behind. I know I’ll probably be fine but I’m worried with not having that extra time, the time I’ll be at OML, that I’m going to fall behind on other things and never catch up. I’m probably just being dramatic! Ha.
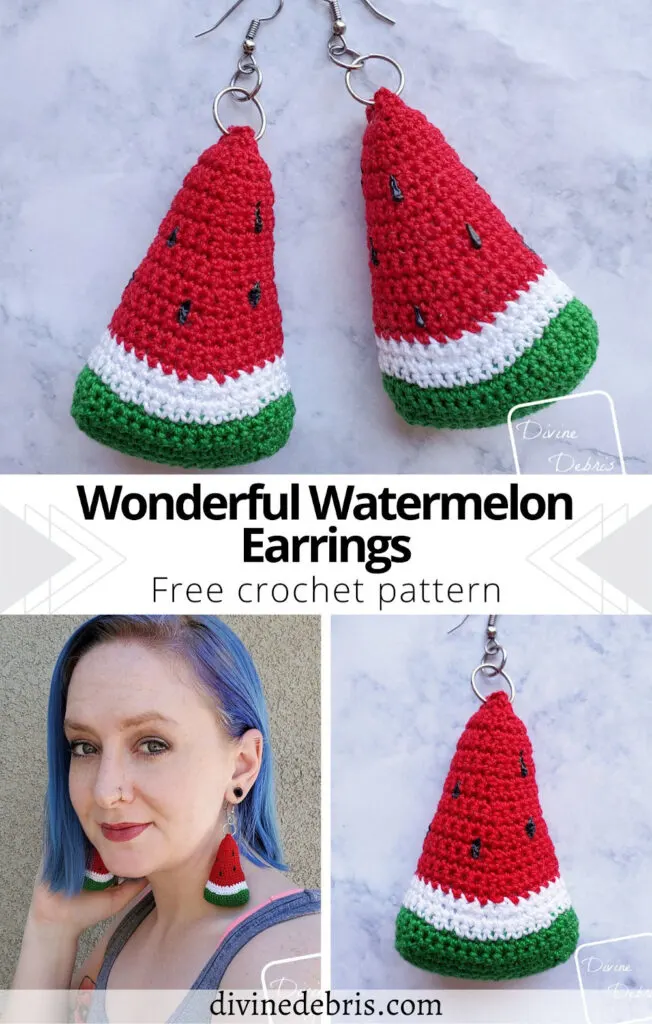
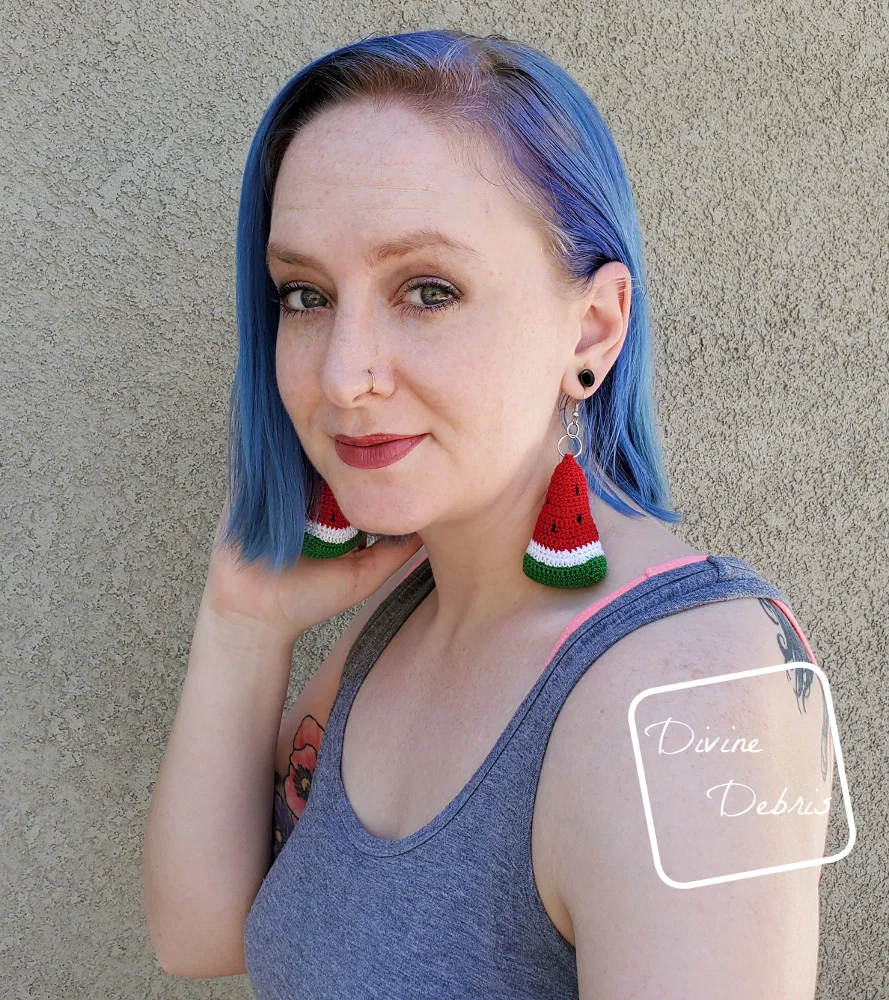
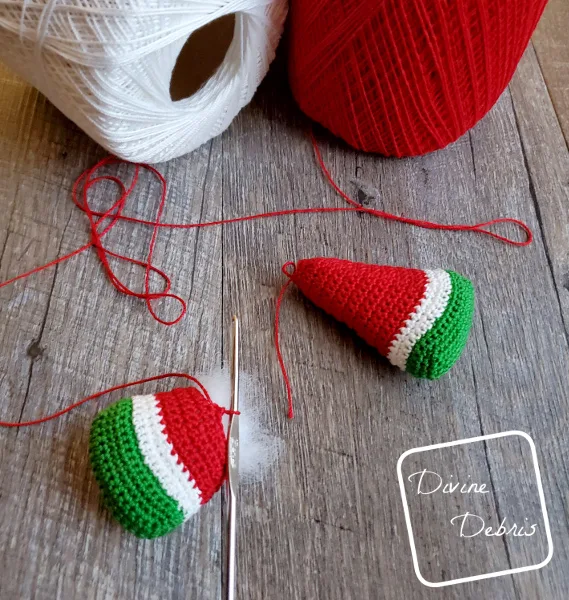
Anyway… to this week’s pattern. I have wanted to do another fun and big pair of earrings for a while. I had my Tree Earrings I made in December and they were awesome to wear and a big hit. I had my Pumpkin ones during the Fall, and they had similar results as the Tree Earrings – people loved them everywhere I went. I kinda like that, in a way – people like my tiny ami creations as earrings. It makes me feel cool 😀 And these are so much lighter than if I was wearing traditional metal or plastic or something earrings. I quite like that because I already have gauged ears, I don’t want them to get larger unless I decide. And these are super easy to make.
Honestly, the hardest part of these earrings is how hard thread can be on your hands – I work with thread on occasion and I definitely need to take breaks more (same thing happens with bulky yarn too).
So, when I decided to make something stuffed for Summer I knew I wanted to make watermelons. They just read Summer to me, ya know?
I do hope you like these earrings and give them a try. They’re kinda big but that’s the fun of it, right?
(this post contains affiliate links)
If you appreciate my weekly patterns I hope you’d consider purchasing an ad-free pdf of this pattern in my Ravelry shop.
Thank you to Cher for becoming my newest patron on Patreon!
Level
- Easy
Materials
- US (2.00 mm) crochet hook
- Size 10 crochet thread
- 3 colors (less than 1 oz each)
- I used Aunt Lydia’s Crochet Thread
- Needle that will weave in your ends
- Amigurumi stuffing
- Puffy Paint
- Jump rings
- Metal french hooks
- Jewelry pliers
Terms/ Stitches used
- RS: right side
- Rnd: round
- Ch: chain
- St: stitch
- Slip st: slip stitch
- Sc: single crochet
- Sc2tog: single crochet 2 sts together
Notes
- This pattern is worked from the bottom up in 2 sections: the Base (a rectangle worked back and forth in rows) and the Sides (worked in the round with a slip st into the first st of the row).
- The ch-1 from the beginning of the rnd does not count as a stitch.
- There are turns on some rnds but not all.
- You’re going to want to stuff your watermelon slices before you get to the end of your earring, or else it will be very difficult to fill them evenly.
- Color A is green, color B is white, and color C is red. Aunt Lydia’s size 10 Crochet thread was used for all sizes.
Wonderful Watermelon Earrings Pattern Finished product dimensions (measurements may vary by gauge and yarn used)
Height: 2″ – 2.5″
Width: 1.5″ (at widest)
Wonderful Watermelon Earrings Pattern Instructions
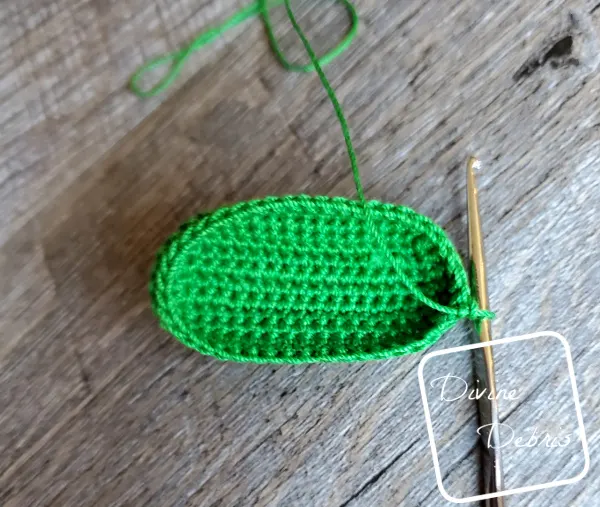
Base:
Row 1: A: Ch 17, sc into the second ch from the hook and into the next 15 sts – 16 sc
Rows 2 – 5: Ch 1, turn, sc into the next 16 sts – 16 sc
Sides:
Rnd 6: Ch 1, sc into the next 16 sts, rotate your piece, sc into the next 5 row ends, rotate your piece, sc into the next 16 sts on the other side of the original ch row, rotate your piece, sc into the next 5 row ends, slip st into the first st – 42 sc
Rnd 7: Ch 1, sc into the same st as join and into the next 41 sts, slip st into the first st – 42 sc
Rnds 8 – 9: Ch 1, turn, sc into the next 42 sts, slip st into the first st – 42 sc
Fasten off color A.
Rnd 10: B: Ch 1, turn, sc into the next 42 sts, slip st into the first st – 42 sc
Rnd 11: Ch 1, turn, sc into the next 2 sts, sc2tog the next 2 sts, sc into the next 8 sts, sc2tog the next 2 sts, sc into the next 9 sts, sc2tog the next 2 sts, sc into the next 8 sts, sc2tog the next 2 sts, sc into the next 7 sts, slip st into the first st – 38 sc
Rnd 12: Ch 1, turn, sc into the next 9 sts, sc2tog the next 2 sts, sc into the next 2 sts, sc2tog the next 2 sts, sc into the next 13 sts, sc2tog the next 2 sts, sc into the next 2 sts, sc2tog the next 2 sts, sc into the next 4 sts, slip st into the first st – 34 sc
Fasten off color B.
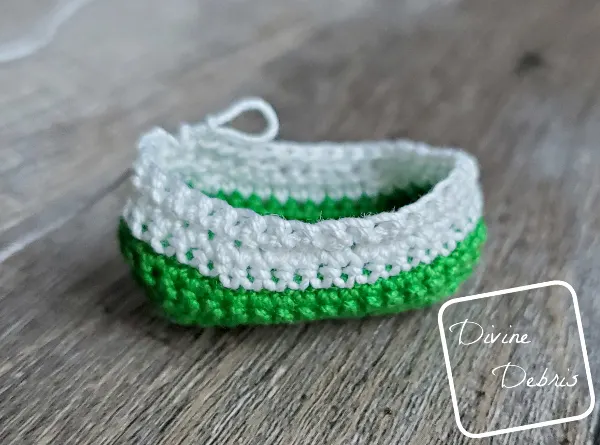
Rnd 13: C: Ch 1, tun, sc into the next 5 sts, sc2tog the next 2 sts, sc into the next 15 sts, sc2tog the next 2 sts, sc into the next 10 sts, slip st into the first st – 32 sc
Rnd 14: Ch 1, turn, sc into the next 32 sts, slip st into the first st – 32 sc
Rnd 15: Ch 1, turn, sc into the next 5 sts, sc2tog the next 2 sts, sc into the next 14 sts, sc2tog the next 2 sts, sc into the next 9 sts, slip st into the first st – 30 sc
Rnd 16: Ch 1, turn, sc into the next 30 sts, slip st into the first st – 30 sc
Rnd 17: Ch 1, turn, sc into the next 4 sts, sc2tog the next 2 sts, sc into the next 13 sts, sc2tog the next 2 sts, sc into the next 9 sts, slip st into the first st – 28 sc
Rnd 18: Ch 1, turn, sc into the next 28 sts, slip st into the first st – 28 sc
Rnd 19: Ch 1, turn, sc into the next 3 sts, sc2to the next 2 sts, sc into the next 12 sts, sc2tog the next 2 sts, sc into the next 9 sts, slip st into the first st – 26 sc
Rnd 20: Ch 1, turn, sc into the next 26 sts, slip st into the first st – 26 sc
Rnd 21: Ch 1, turn, sc into the next 3 sts, sc2tog the next 2 sts, sc into the next 11 sts, sc2tog the next 2 sts, sc into the next 8 sts, slip st into the first st – 24 sc
Rnd 22: Ch 1, turn, sc into the next 24 sts, slip st into the first st – 24 sc
Rnd 23: Ch 1, turn, sc into the next 3 sts, sc2tog the next 2 sts, sc into the next 10 sts, sc2tog the next 2 sts, sc into the next 7 sts, slip st into the first st – 22 sc
Note: you might want to stuff the bottom of your Watermelon before you progress much further, because it will get harder on the last rnd.
Rnd 24: Ch 1, turn, sc into the next 22 sts, slip st into the first st – 22 sc
Rnd 25: Ch 1, turn, sc into the next 2 sts, sc2tog the next 2 sts, sc into the next 9 sts, sc2tog the next 2 sts, sc into the next 7 sts, slip st into the first st – 20 sc
Rnd 26: Ch 1, turn, sc into the next 20 sts, slip st into the first st – 20 sc
Rnd 27: Ch 1, turn, sc into the next 2 sts, sc2tog the next 2 sts, sc into the next 8 sts, sc2tog the next 2 sts, sc into the next 6 sts, slip st into the first st – 18 sc
Rnd 28: Ch 1, turn, sc into the next 18 sts, slip st into the first st – 18 sc
Rnd 29: Ch 1, turn, sc2tog the next 2 sts, sc2tog the next 2 sts, sc into the next 5 sts, sc2tog the next 2 sts, sc2tog the next 2 sts, sc into the next 5 sts, slip st into the first st – 14 sc
Rnd 30: Ch 1, turn, sc2tog the next 2 sts, sc into the next 3 sts, sc2tog the next 2 sts, sc2tog the next 2 sts, sc into the next 3 sts, sc2tog the next 2 sts, slip st into the first st – 10 sc
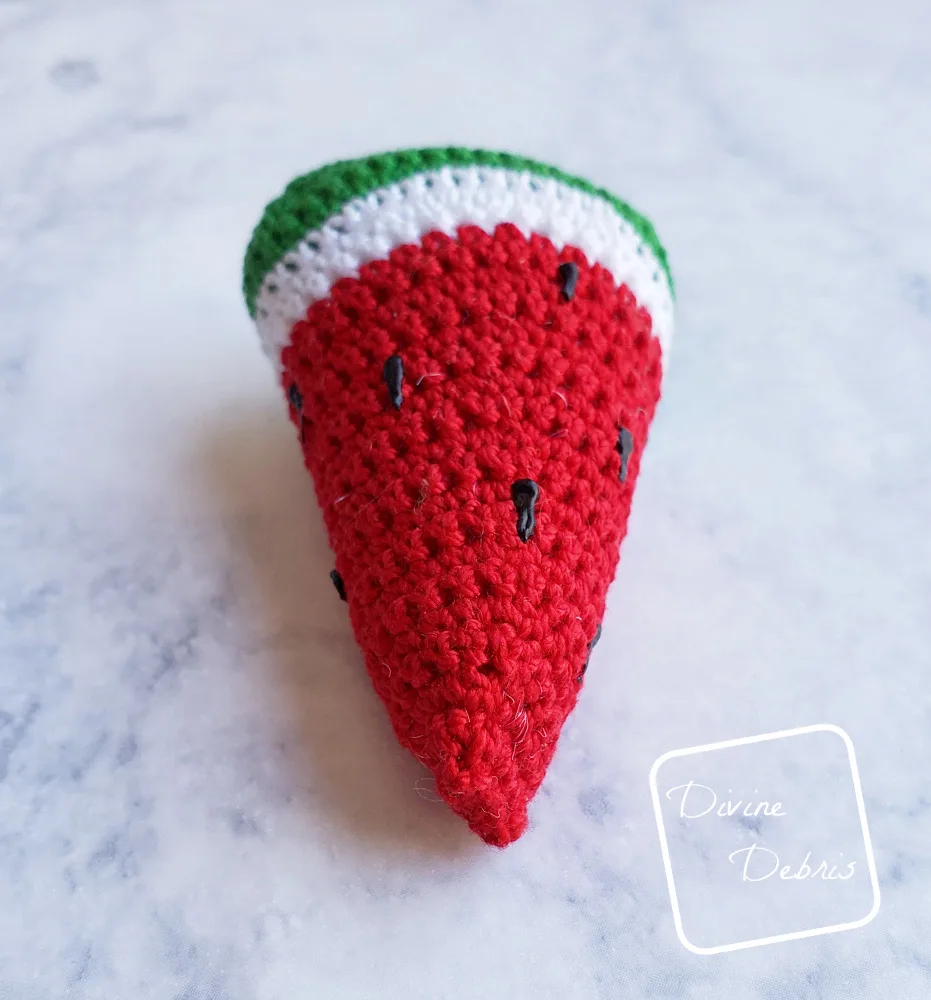
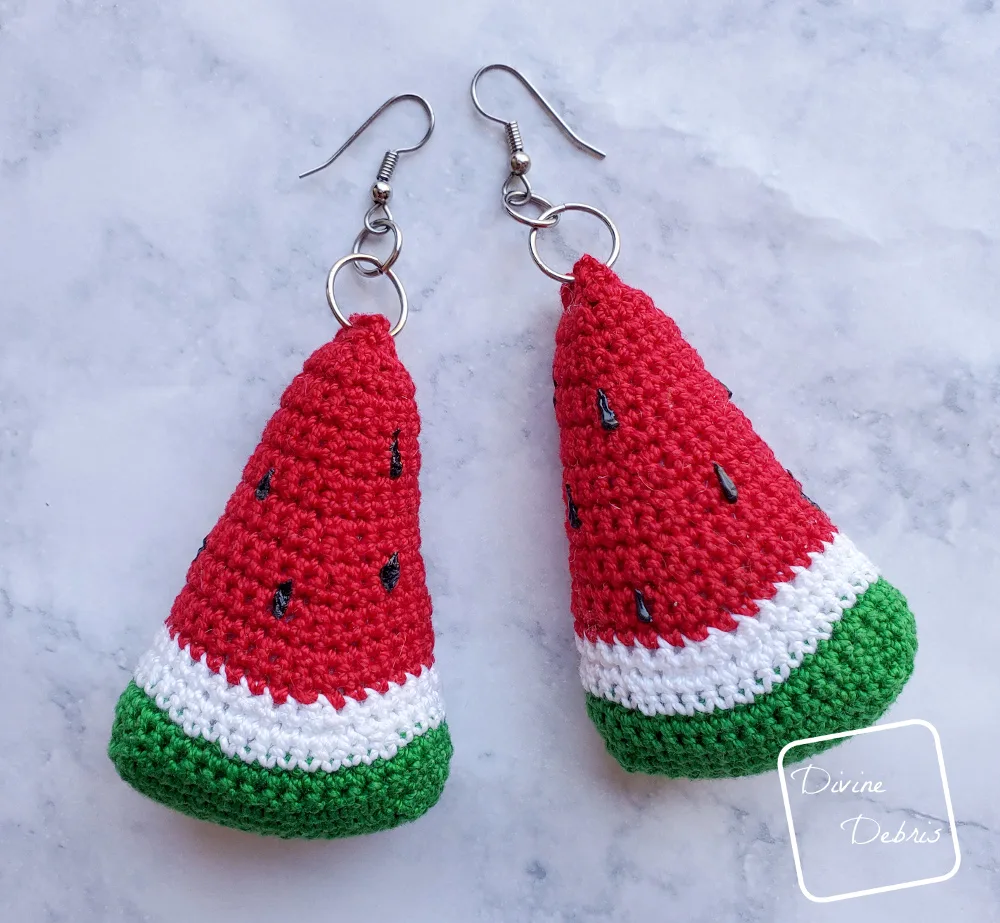
Fasten off leaving a long tail. Fold 30 in half perpendicular to row 1, use your tail to sew closed (secure 5 sc to 5 sc) your watermelon slice. Decorate your earrings with puffy paint or anything you have to make the seeds.
Add jump rings and findings to your earnings as you would like.
