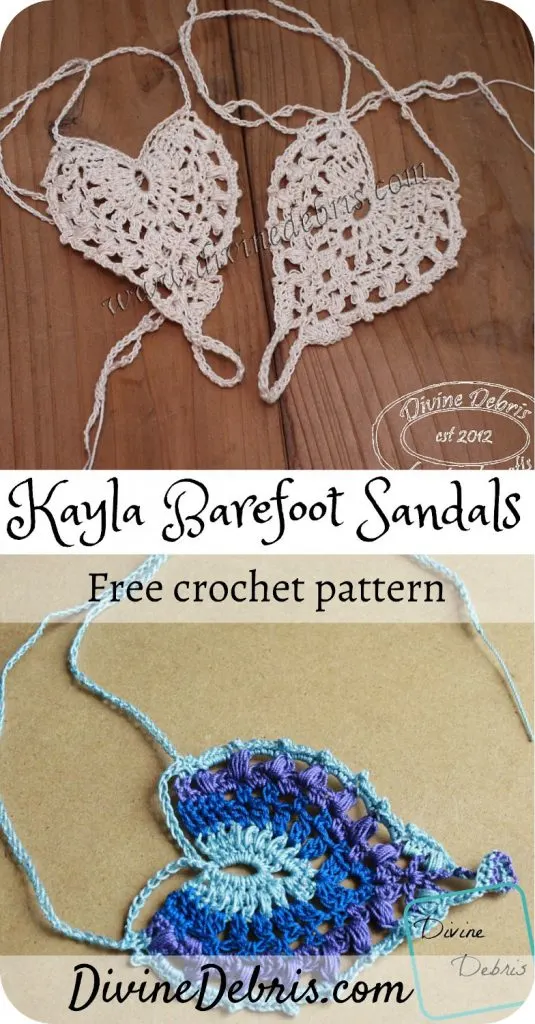
Hello again! Last night, while I was winding down and finishing up on a pattern, I found a comment someone left on my Kayla Barefoot Sandals pattern. Unfortunately, I don’t think I’m going to be able to help them figure out what wasn’t working when they worked it up, but I decided to post a blog update that will hopefully help. Not to mention, it goes with my current decision to update some old patterns to make sure they work and the pictures are nice. Recently I updated the Avery Hat pattern and it’s on sale for $1.99 until July 23rd (no coupon code needed) and also the Willow Sack Hat pattern, which is a free pattern you can get here.
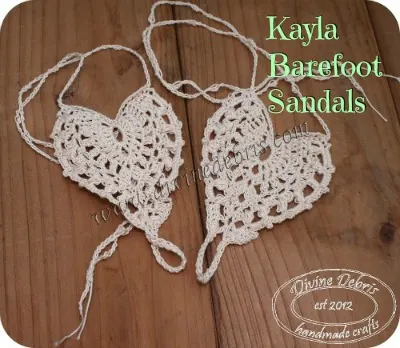
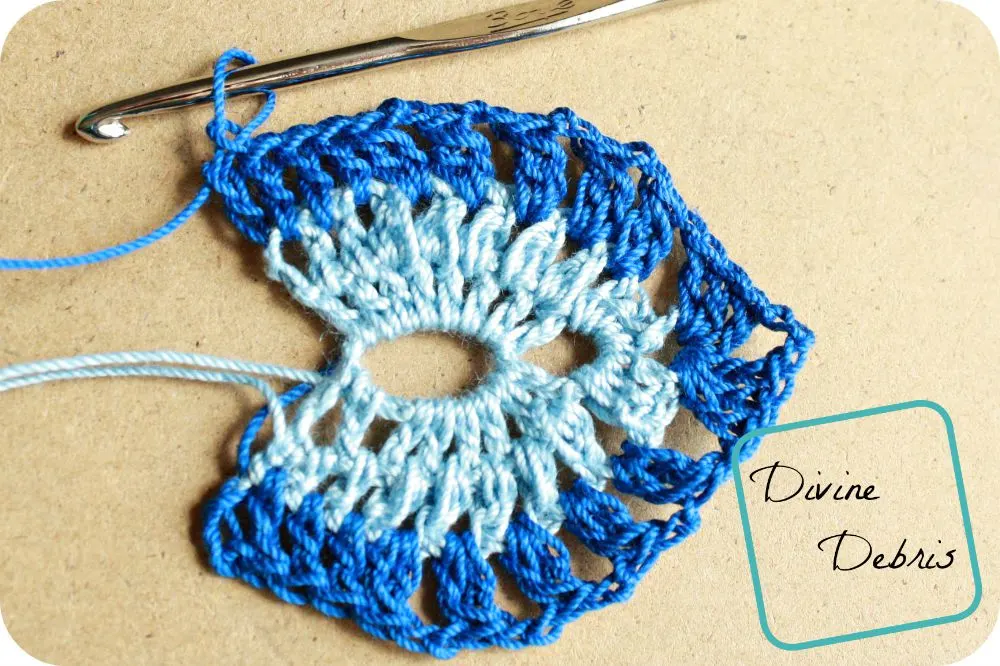
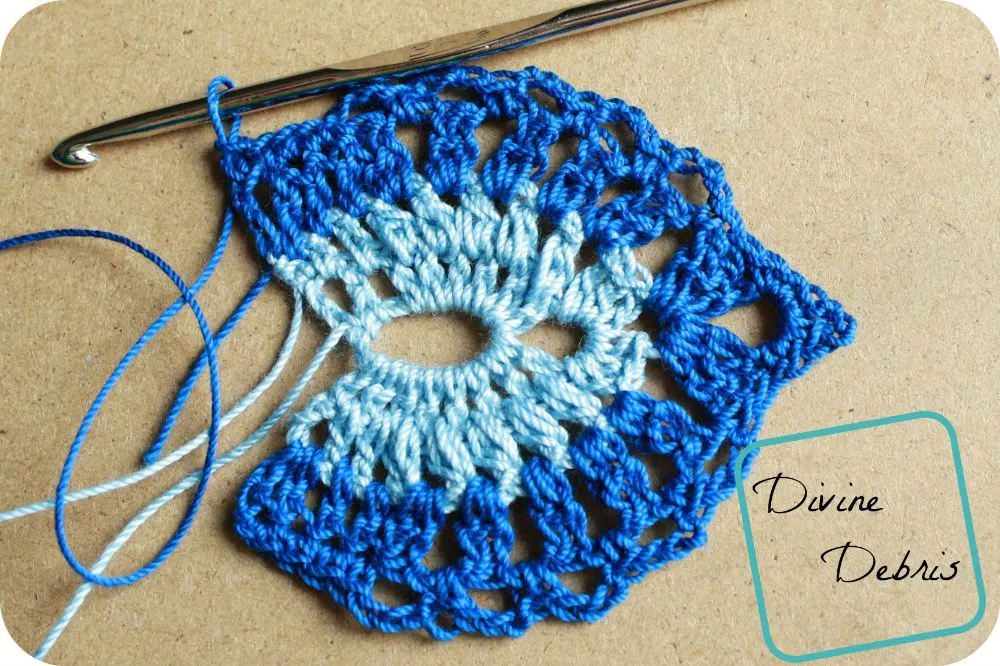
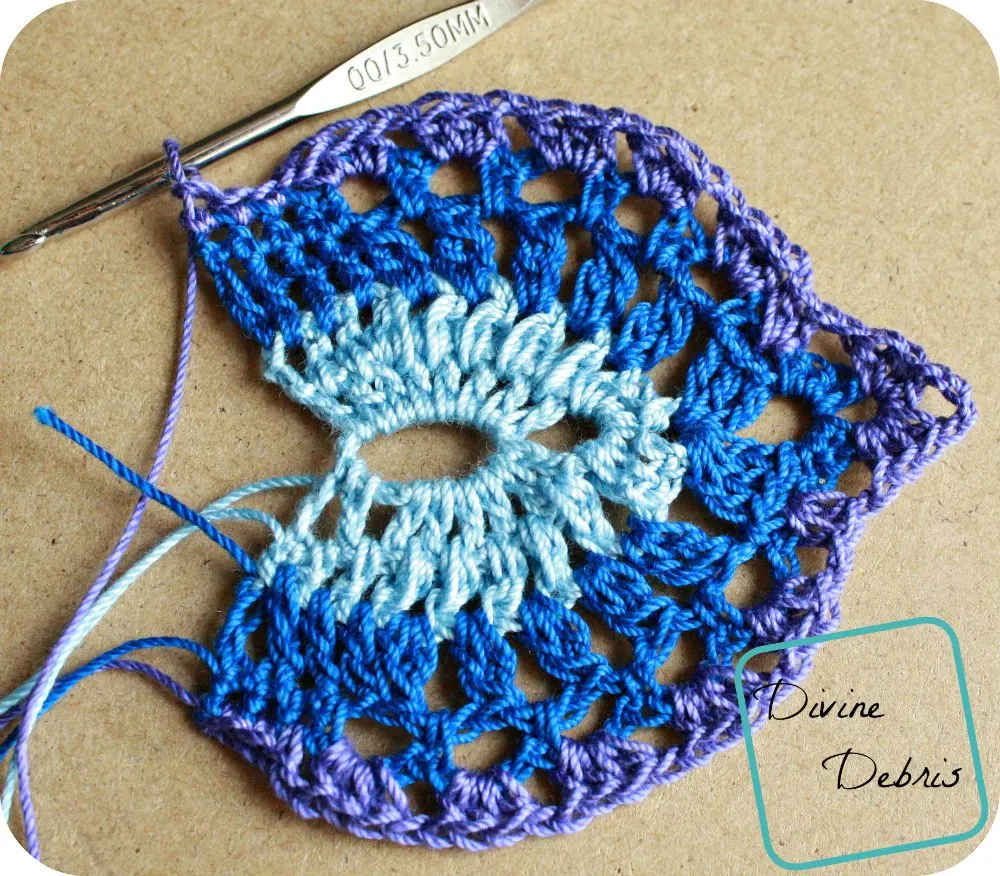
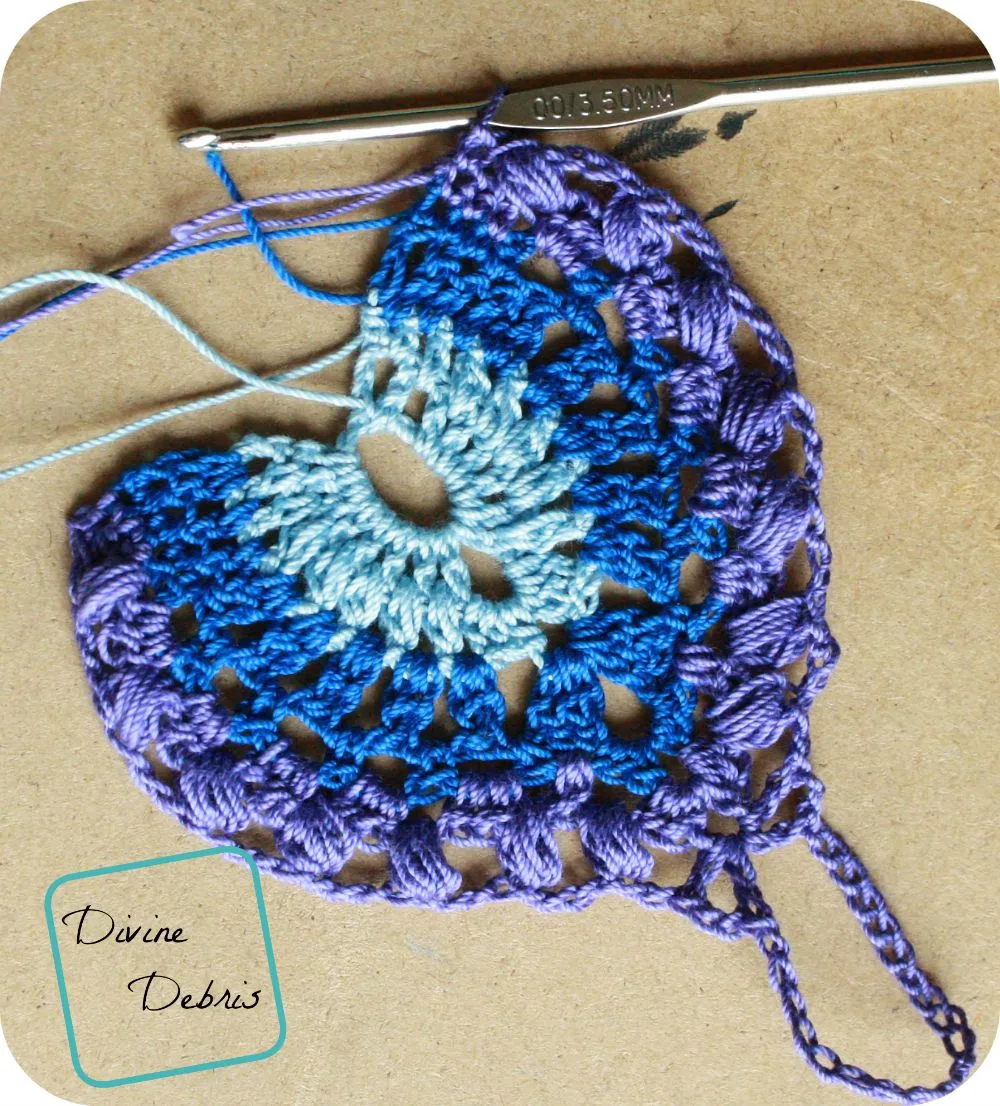
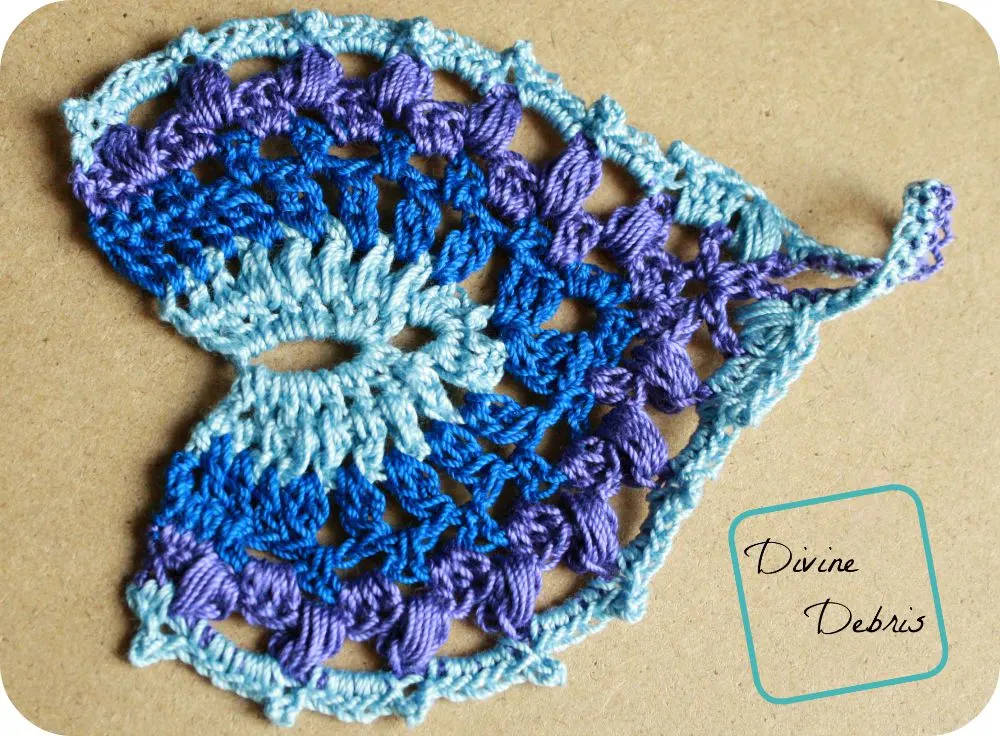
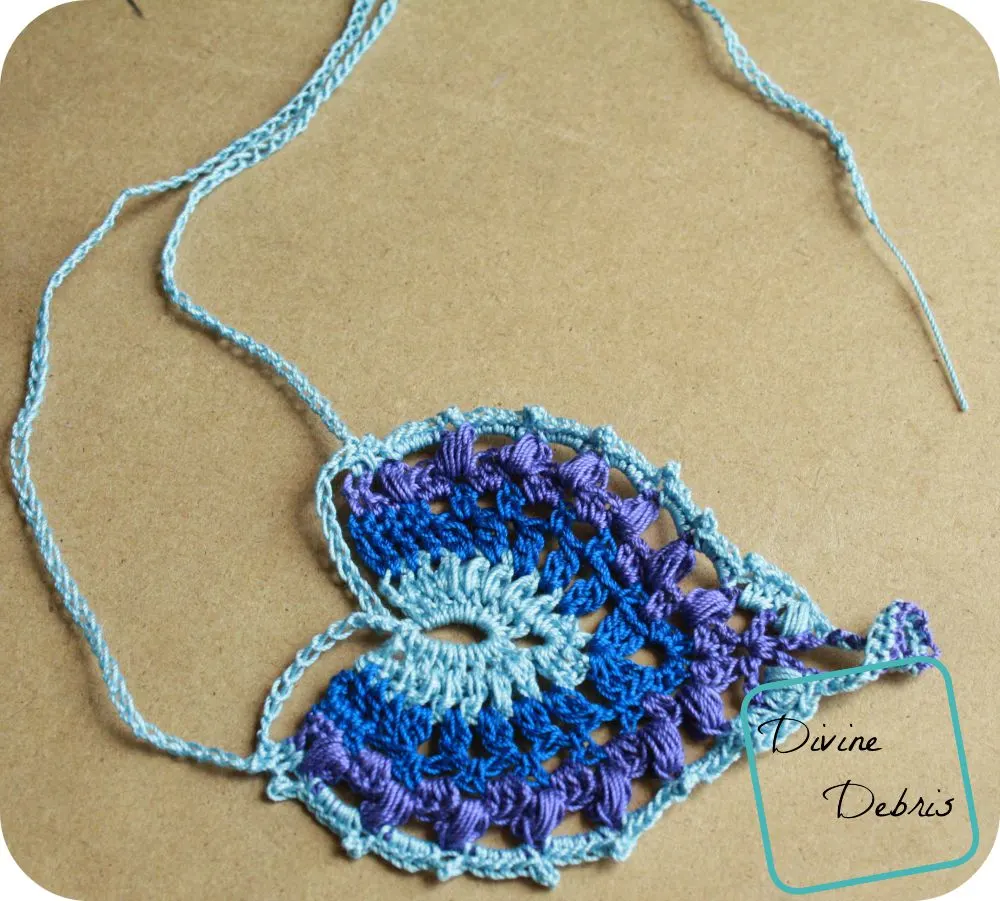
Anyway, on to the Kayla Barefoot sandals. I’ve changed the wording on the pattern. Previously, I had hdc2tog/ dc2tog used in the pattern but I’ve replaced them with a hdc cluster or dc cluster- because in the pattern the stitch is not a decrease stitch, it was to add some space but not an extra stitch. I also wanted to add new photos so that hopefully some of the stitches make more sense. I hope you enjoy it and it works out for you. If you have any comments or questions, please let me know.
If you appreciate my weekly patterns, please consider purchasing the Kayla Barefoot Sandals pdf in my Ravelry shop to help me bring more patterns to my blog.
Materials:
*3.5 mm crochet hook
*2 oz. of size 10 crochet thread
*Needle to weave in ends
Gauge:
Gauge is not critical for this project.
Terms/stitches used:
*Ch(s): chain(s)
*Sc: single crochet
*Hdc: half double crochet
*Hdc cluster: explained below
*Dc: Double crochet
*Dc cluster: explained below
*Puff st: puff stitch
*Picot: picot stitch
Notes:
*The body of the sandals and the straps are worked separately.
*Hdc cluster: yarn over, insert hook into the st, yarn over, pull up a loop, yarn over, insert hook into the same st, yarn over, pull up a loop, yarn over and pull through all 5 loops on the hook.
*Dc cluster: yarn over, insert hook into the st, yarn over, pull up a loop, yarn over and pull through two loops on the hook, yarn over, insert hook into the same st, yarn over, pull up a loop, yarn over and pull through two loops on the hook, yarn over, pull through the three remaining loops on the hook.
*The rows are worked back and forth, with you turning at the beginning (or end, that’s a personal preference) of each row.
*On rows 2 and 3 feature stitches that you work between the stitches, you need to know how to do this.

Pattern Instructions:
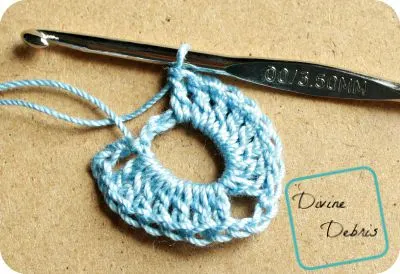
Ch 8, slip st to form a ring.
Row 1: Ch 3(counts as dc), dc 7 times into the ring, ch 3, dc 8 times into the ring -(16 dcs)
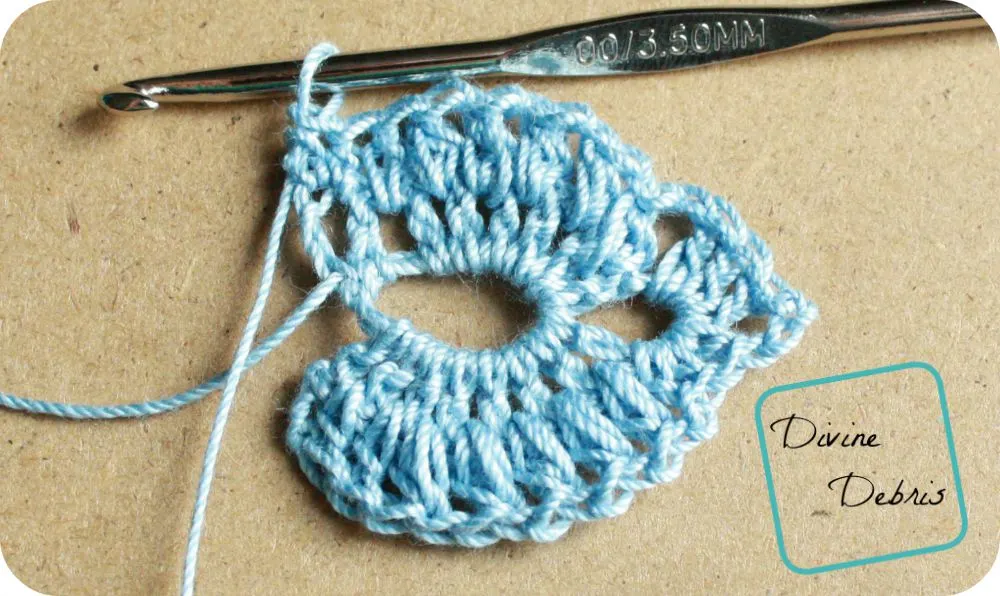
Row 2: Turn, ch 2 (counts as hdc), hdc into space between the first dc and the next dc from row 1, hdc into space between the next 2 dcs from row 1, *hdc cluster into space between the next dcs , ch 1,* repeat from * to * 4 more times, [hdc 3 times, ch 3, hdc 3 times] into ch 3 space (from row 1), ch 1, *hdc cluster into space between the next 2 dcs, ch 1* repeat from * to * 3 more times, hdc cluster into space between dcs, hdc into space between the next 2 dcs, hdc into space between the next 2 dcs, hdc into last dc -(12 hdcs, 10 hdc clusters)
Row 3: Turn, ch 3 (counts as dc), dc into space between the first hdc and the next hdc from row 2, dc into space between the next 2 hdcs, dc into space between the next 2 hdcs, *dc cluster into next ch 1 space, ch 2* repeat from * to * 3 more times, dc cluster into next ch 1 space, ch 1, [dc 3 times, ch 3, dc 3 times] into ch 3 space (from row 2), ch 1, *dc cluster into ch 1 space, ch 2* repeat from * to * 3 more times, dc cluster into next ch 1 space, dc into space between the next 2 hdcs, dc into space between the next 2 hdcs, dc into space between the next 2 hdcs, dc into last hdc -(14 dcs, 10 dc cluster)
Row 4: Turn, ch 1, sc into first st and into the next 3 sts, ch 3, skip dc cluster, *sc into ch 2 space, ch 3* repeat from * to * 3 more times, sc into next ch 2 space, ch 1, [sc 3 times, ch 3, sc 3 times] into ch 3 space (from row 3), ch 1, sc into next ch 2 space, ch 3, *sc into next ch 2 space, ch 3* repeat from * to * 3 more times, skip dc cluster, sc into last 4 dcs -(24 scs)
Row 5: Turn, ch 1, sc into first st and into next 2 sts, ch 1, skip sc, *hdc 3 times into ch 3 space, ch 1* repeat from * to * 4 more times, hdc twice into ch 1 space, ch 1, [hdc 3 times, ch 3, hdc 3 times] into ch 3 space (from row 4), ch 1, hdc twice into ch 1 space, ch 1, *hdc 3 times into ch 3 space, ch 1* repeat from * to * 4 more times,* ch 1, skip sc, sc into last 3 scs -(6 scs, 40 hdcs)
Row 6: Turn, ch 1, sc into first st, skip 2 scs, *puff st into ch 1 space, ch 3,* repeat from * to * 5 more times, puff st into next ch 1 space, ch 2, [dc, ch 2, dc, ch 20, dc, ch 2, dc] into ch 3 space (from row 5), ch 2, *puff st into ch 1, ch 3* repeat from * to * 5 more times, puff st into ch 1, ch 1, skip 2 scs, sc into last sc -(2 scs, 14 puff sts, 4 dcs)
Row 7: Turn, sc into first st, sc into ch 1 space, *picot above puff st, sc 5 times into ch 3 space* repeat from * to * 5 more times, picot over puff st, dc 3 times into ch 2, ch 1, skip dc, puff st into ch 1, skip dc, sc into each st of the 20 chs from last row, skip dc, puff st into ch 1, skip dc, ch 1, dc 3 times into ch 2 space, *picot over puff st, sc 5 times into ch 3 space,* repeat from * to * 5 more times, picot over puff st, sc into ch 1 space, sc into last sc -(84 scs, 6 dcs, 14 picots, 2 puff sts)
Fasten off, weave in ends.
Finishing: Ch 80 (adding the picots if you wish), sc into the second from the beginning sc from row 7, sc into the first sc, ch 10, sc into original ch 8 ring, ch 10, sc into the end sc of row , sc into next st, ch 80. Fasten off. Do this for both sandals. For the original straps I crocheted a picot after every 10 chs (I think it gives it a bit of personality).
There we go! I hope these images help and make sense. Please let me know in the comments if you have any problems or there are parts of the pattern that need further clarification. If you do make a pair the Kayla Barefoot Sandals of your very own, please upload the photos to Ravelry so I can see as well.
Take care!


Rene
Tuesday 16th of April 2024
Do these have actual soles for the bottom of your feet? Because it doesn't look like it and I can't figure that out.
Divine Debris
Friday 19th of April 2024
No, these are barefoot sandals, they only cover the top of your feet leaving the bottom bare.
Hope that helps. -Amber
Angel
Sunday 27th of June 2021
I can’t read pattern only able to see and do so do you have a video for this Sandler
Divine Debris
Sunday 27th of June 2021
Hi! No I do not have a video pattern for these, only the photo tutorial here.
Madeline
Tuesday 21st of April 2020
Are these for adults or children?
Divine Debris
Tuesday 21st of April 2020
These were designed for adults
Barbara a Callahan
Friday 27th of March 2020
Thank you! These are gorgeous :)
Joyce Eckhoff
Wednesday 15th of May 2019
thank you for letting use your pattern. the kids are going to Dolphin Island and needed this pattern I love it going to make some for the little ones. love ya1
Divine Debris
Tuesday 21st of May 2019
I'm glad you like it!