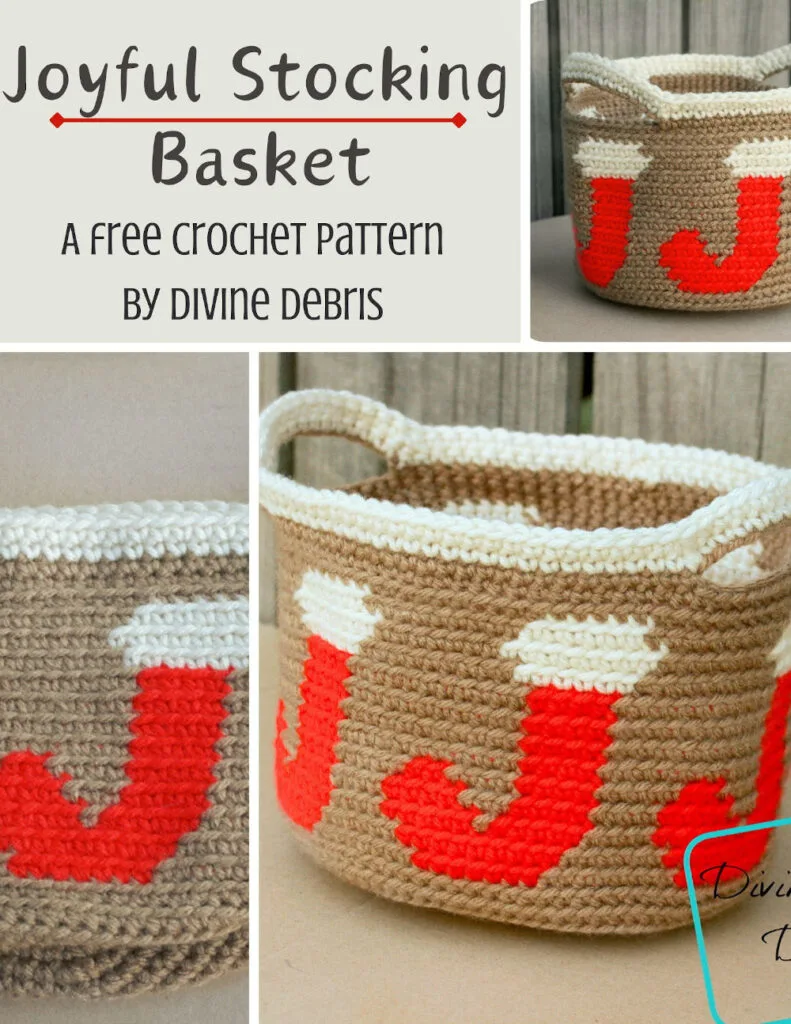
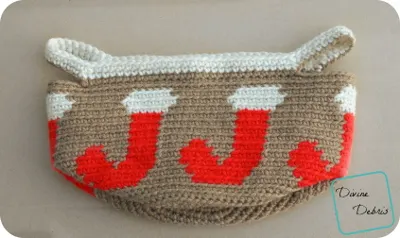
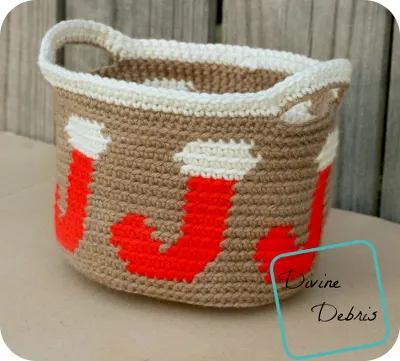
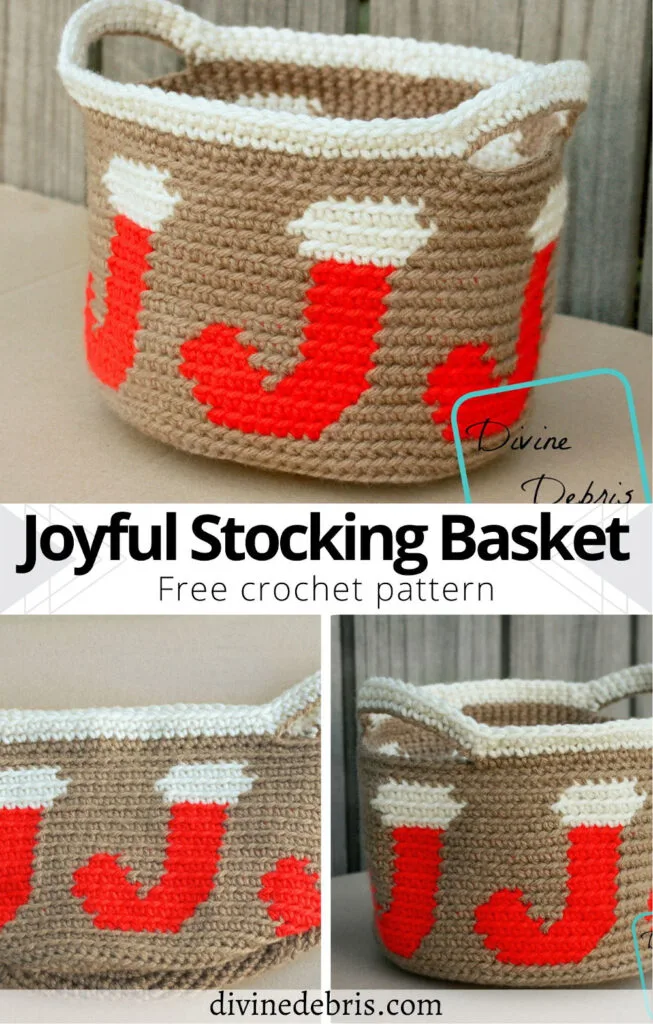
Jingle All the Way Around the Basket!
Well, I hope your November is happy thus far, being that we’re not that far into the month so far. I know that I’m skipping over the rest of the Fall season, but I love the imagery of Winter and the holidays therein. Like little red stockings dancing around a basket, that’s just cute to me. I’ve also been working on trees and hats with snowflakes on them… which you might know if you follow me on social media. It’s not my favorite time of the year, that’s Fall-o-Ween as I’ve explained previous, but I do love it. & I’m looking forward to it getting a little cooler, not cold, just cooler. 😀
This week’s design is ANOTHER basket. Are you sick of baskets yet? They’re one of my favorite things to make I’m always thinking of new designs and how I can update the basic shape to make it more interesting. I just like how cute they are while also being very useful (I keep my makeup in my anchor and tapestry heart baskets on my bathroom shelves, no joke). I do hope you like this week’s design.
You can purchase an ad-free downloadable pdf of this pattern in my Ravelry shop. It helps me to continue to make free patterns week after week.
Materials
- US G (4.00 mm) crochet hook
- Aran/ medium/ size #4 weight yarn
- 2.4 oz. / 122 yards
- At least 3 colors
- I used Bernat Super Value and Caron One Pound
- Yarn needle

Gauge
- 4″ = 17 scs x 14 rows
Terms/stitches used
- Magic circle
- RS: right side
- Ch: chain
- St: stitch
- Slip st: slip stitch
- Sc: single crochet
- Sc2tog: single crochet 2 sts together
Notes
- This pattern is worked in the round, with a slip st into the first st after the last st.
- This pattern is worked from the bottom up in 3 sections: the base, the sides, and the handles.
- The ch 1 at the beginning of the row does not count as a stitch.
- Following the base, sc into the back loop only, until you get to the handles. At the end of the row, slip st into both loops of your 1st st, this will help to keep your seam straight.
- Every stitch in this pattern is a single crochet. The directions for the sides portion (where the graphing is) will only tell you what color (ie: Color A, Color B, etc…) and the number in the parentheses tells you how many stitches to make.
- In the example, the inactive yarn is carried behind the active. If this is confusing, you might want to check out the helpful Moogly video on tapestry.
- Color A is tan (Bernat Super Value in Honey), color B is red (Caron One Pound in Scarlet), and color C is cream (Caron One Pound in Off-White).
Finished product dimensions
- Height: 5” (not including handles)
- Diameter: 9.75” – 10”
- Base diameter: 6.25”
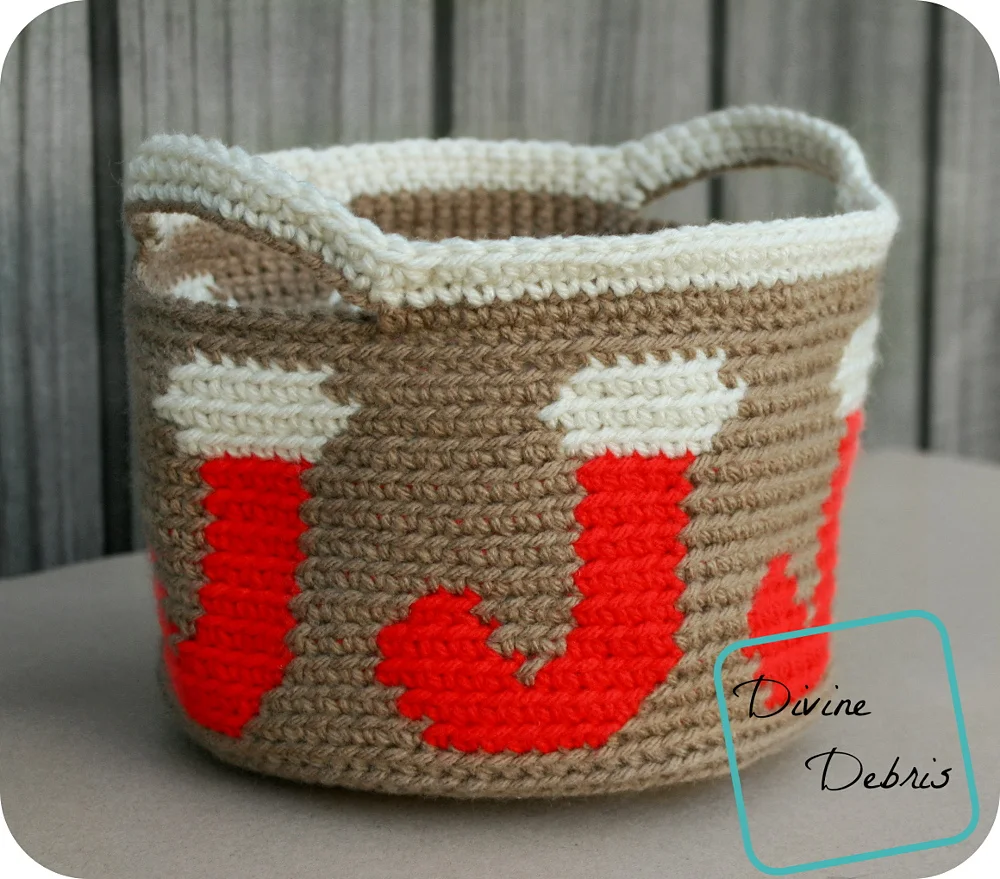
Joyful Stocking Basket Crochet Pattern Instructions
– Base-
(worked into both loops)
Row 1: A: Create a magic circle, ch 1, sc 6 times into the circle, slip st into the first st – 6 scs
Row 2: Ch 1, sc twice into the same st as join, sc twice into the next 5 sts, slip st into the first st – 12 scs
Row 3: Ch 1, sc twice into the same st as join, sc into the next st, *sc twice into the next st, sc into the next st,* repeat from * to * 4 more times, slip st into the first st – 18 scs
Row 4: Ch 1, sc twice into the same st as join, sc into the next 2 sts, *sc twice into the next st, sc into the next 2 sts,* repeat from* to * 4 more times, slip st into the first st – 24 scs
Row 5: Ch 1, sc twice into the same st as join, sc into the next 3 sts, *sc twice into the next st, sc into the next 3 sts,* repeat from* to * 4 more times, slip st into the first st – 30 scs
Row 6: Ch 1, sc twice into the same st as join, sc into the next 4 sts, *sc twice into the next st, sc into the next 4 sts,* repeat from* to * 4 more times, slip st into the first st – 36 scs
Row 7: Ch 1, sc twice into the same st as join, sc into the next 5 sts, *sc twice into the next st, sc into the next 5 sts,* repeat from* to * 4 more times, slip st into the first st – 42 scs
Row 8: Ch 1, sc twice into the same st as join, sc into the next 6 sts, *sc twice into the next st, sc into the next 6 sts,* repeat from* to * 4 more times, slip st into the first st – 48 scs
Row 9: Ch 1, sc twice into the same st as join, sc into the next 7 sts, *sc twice into the next st, sc into the next 7 sts,* repeat from* to * 4 more times, slip st into the first st – 54 scs
Row 10: Ch 1, sc twice into the same st as join, sc into the next 8 sts, *sc twice into the next st, sc into the next 8 sts,* repeat from* to * 4 more times, slip st into the first st – 60 scs
Row 11: Ch 1, sc twice into the same st as join, sc into the next 9 sts, *sc twice into the next st, sc into the next 9 sts,* repeat from* to * 4 more times, slip st into the first st – 66 scs
Row 12: Ch 1, sc twice into the same st as join, sc into the next 10 sts, *sc twice into the next st, sc into the next 10 sts,* repeat from* to * 4 more times, slip st into the first st – 72 scs
Row 13: Ch 1, sc twice into the same st as join, sc into the next 11 sts, *sc twice into the next st, sc into the next 11 sts,* repeat from* to * 4 more times, slip st into the first st – 78 scs
Row 14: Ch 1, sc twice into the same st as join, sc into the next 12 sts, *sc twice into the next st, sc into the next 11 sts,* repeat from* to * 4 more times, slip st into the first st – 84 scs
Row 15: Ch 1, sc twice into the same st as join, sc into the next 13 sts, *sc twice into the next st, sc into the next 11 sts,* repeat from* to * 4 more times, slip st into the first st – 90 scs
– Sides-
- Every row of the sides are worked into the back loop only.
- Every stitch in the sides portion of this pattern is a single crochet. The following directions will only tell you what color (ie: Color A, Color B, etc…) and the number in the parentheses tells you how many stitches to make.
- Following the ch 1, the first st is worked into the same st as join.
Rows 16 – 17: A: Ch 1, (90), slip st into the first st – 90 scs
Row 18: A: (5), B: (7), *A: (8), B: (7),* repeat from * to * 4 more times, A: (3), slip st into the first st – 90 scs
Row 19: A: (4), B: (9), *A: (6), B: (9),* repeat from * to * 4 more times, A: (2), slip st into the first st – 90 scs
Row 20: A: (3), B: (5), A: (1), B: (5) *A: (4), B: (5), A: (1), B: (5)* repeat from * to * 4 more times, A: (1), slip st into the first st – 90 scs
Row 21: A: (3), B: (4), A: (3), B: (4) *A: (4), B: (4), A: (3), B: (4)* repeat from * to * 4 more times, A: (1), slip st into the first st – 90 scs
Row 22: A: (3), B: (4), A: (4), B: (2) *A: (5), B: (4), A: (4), B: (2)* repeat from * to * 4 more times, A: (2), slip st into the first st – 90 scs
Rows 23 -26: A: (3), B: (4), *A: (11), B: (4),* repeat from * to * 4 more times, A: (8), slip st into the first st – 90 scs
Fasten off color B.
Row 27: A: (2), C: (6), *A: (9), C: (6),* repeat from * to * 4 more times, A: (7), slip st into the first st – 90 scs
Row 28: A: (1), C: (8), *A: (7), C: (8),* repeat from * to * 4 more times, A: (6), slip st into the first st – 90 scs
Row 29: A: (2), C: (6), *A: (9), C: (6),* repeat from * to * 4 more times, A: (7), slip st into the first st – 90 scs
Fasten off color C. You could also carry the color up to row 33, this will make the inside of your bag less pretty.
Rows 30 – 31: A: Ch 1, (90), slip st into the first st – 90 scs
– Handles –
(worked into both loops)
Row 32: A: Ch 1, sc into the same st as join and into the next 14 sts, ch 17, skip the next 15 sts, sc into the next 30 sts, ch 17, skip the next 15 sts, sc into the next 15 sts, slip st into the first st – 60 scs, 2 ch-17 spaces
Fasten off color A.
Row 33: C: Ch 1, sc into the same st as join and into the next 13 sts, sc2tog the next st & ch, sc into the next 15 chs, sc2tog the next ch and st, sc into the next 28 sts, sc2tog the next st and ch, sc into the next 15 chs, sc2tog the next ch and st, sc into the next 14 sts, slip st into the first st – 86 scs, 4 sc2togs
Row 33: C: Ch 1, sc into the same st as join and into the next 12 sts, sc2tog the next 2 sts, sc into the next 15 sts, sc2tog the next 2 sts, sc into the next 26 sts, sc2tog the next 2 sts, sc into the next 15 sts, sc2tog the next 2 sts, sc into the next 13 sts, slip st into the first st – 82 scs, 4 sc2togs
Fasten off color C, weave in all your ends.
Tada, there’s the newest basket in my collection. I hope you like it as much as I do!
This post is linked to Hookin’ on Hump Day #154


