
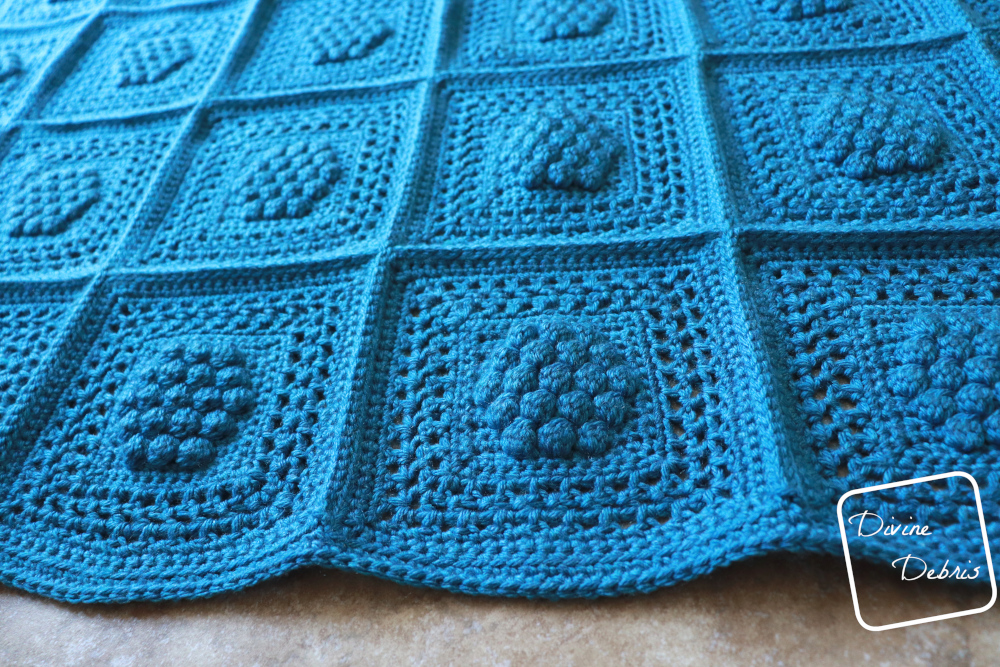
This is an extra photo tutorial for the Winterberry Throw for a little more clarity on seaming the squares together.
Once you’ve finished 49 squares, arrange the blanket in 7 rows by 7 squares.
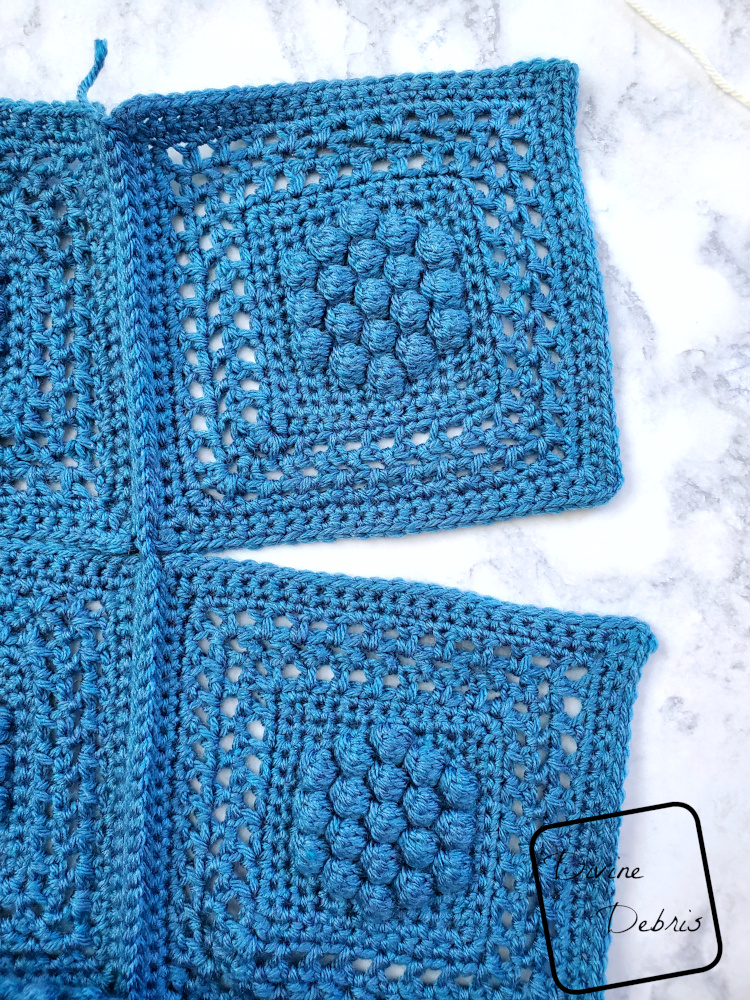
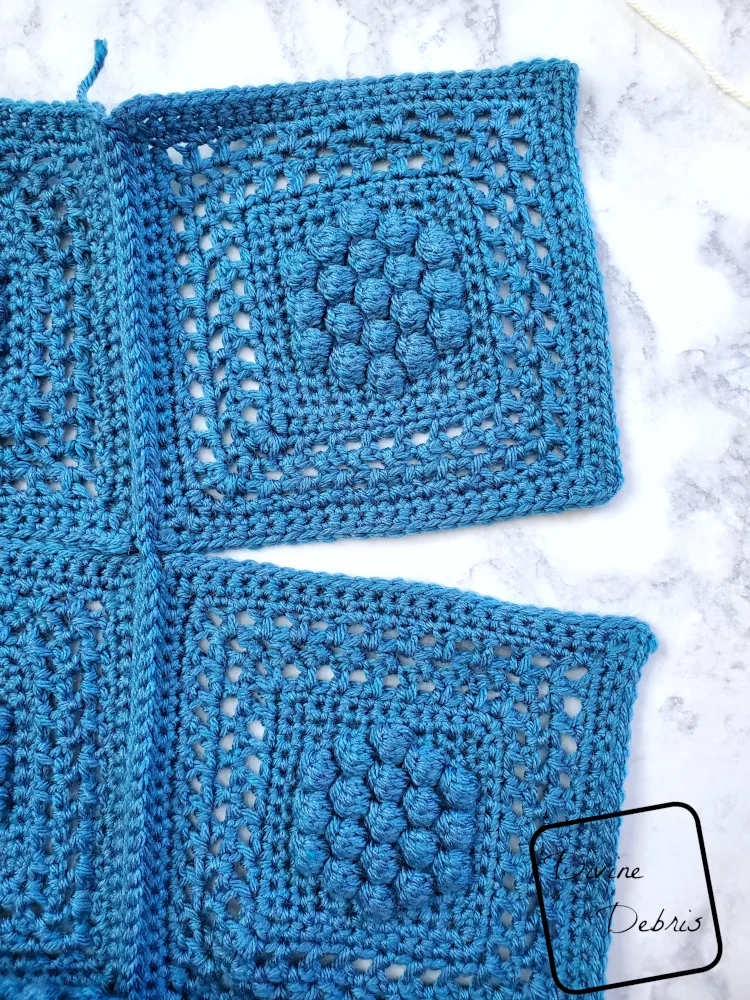
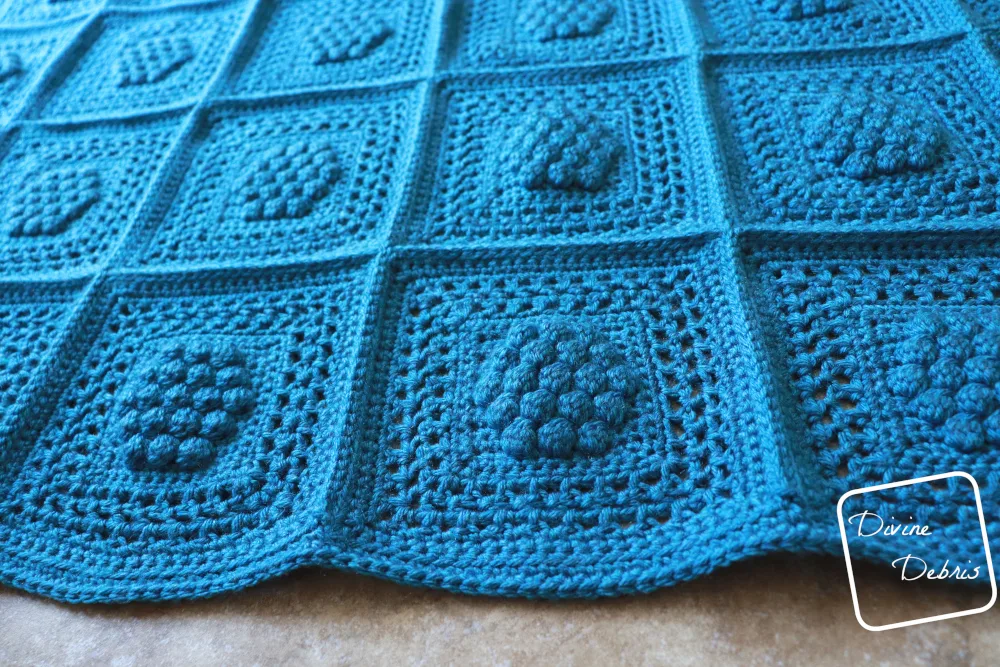
As shown above – begin on the first 2 rows
Working from right to left, hold 2 squares together so that their right sides (RS) are facing up, skip the ch-1 at the corner, you will be working into the BLO of the scs from Rnd 19.

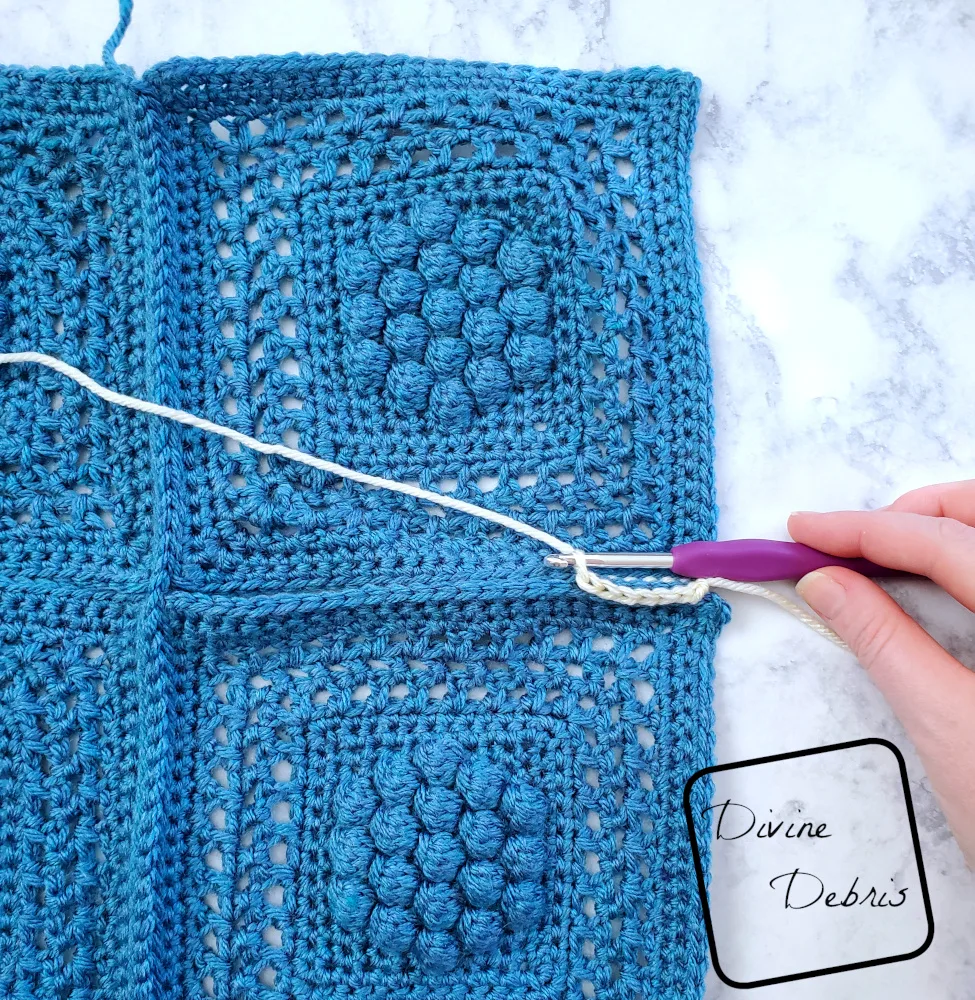
Slip st into the BLO of the next 25 stitches of rnd 19.


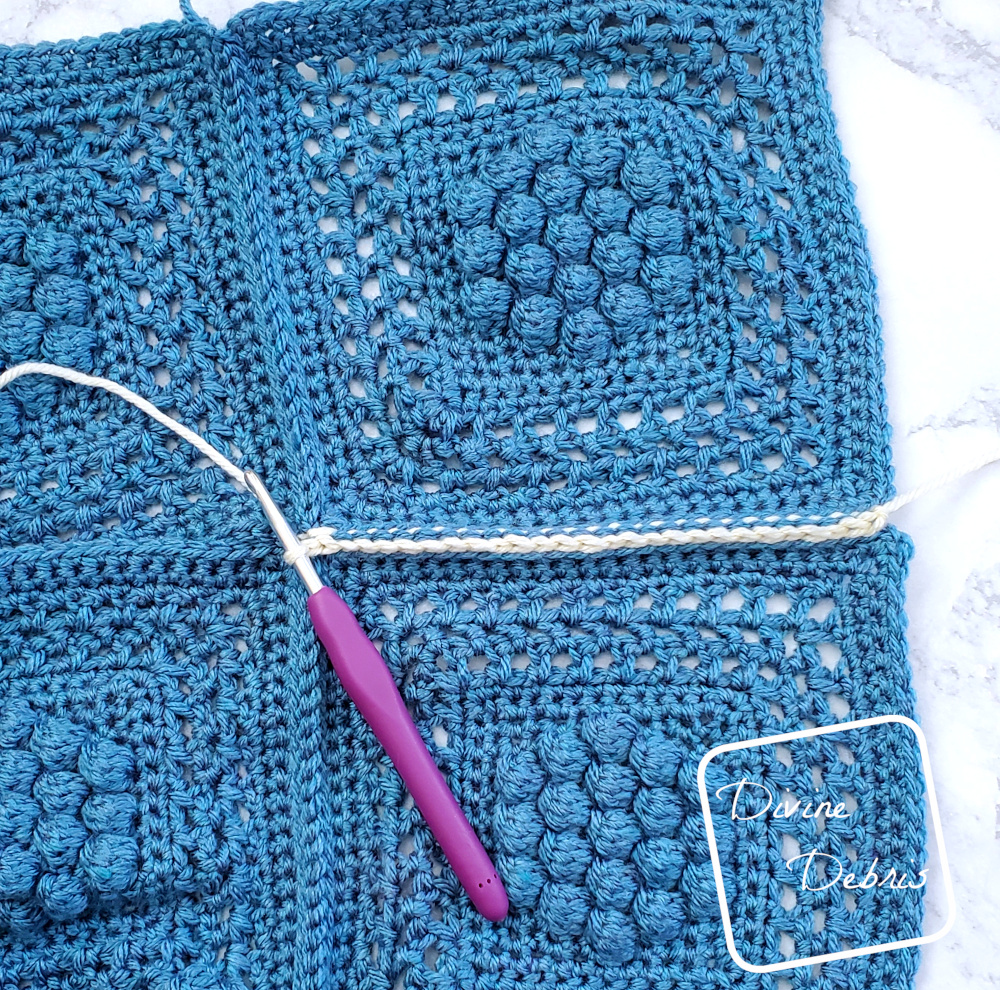
When you’re seaming across the first time, skip the ch-1s at the corners of the squares and ch 1 between sets of squares. When you’re seaming in the other direction, you will ch 1 around the previous ch 1. Example below.

Then continue slip sting the 2 squares together using the BLO of rnd 19 of the next set of squares.
Repeat the process of going the other direction (top to bottom) while making a ch-1 around the previous ch-1s between the sets of squares.
Move onto the single crochet border.