Hi everyone!
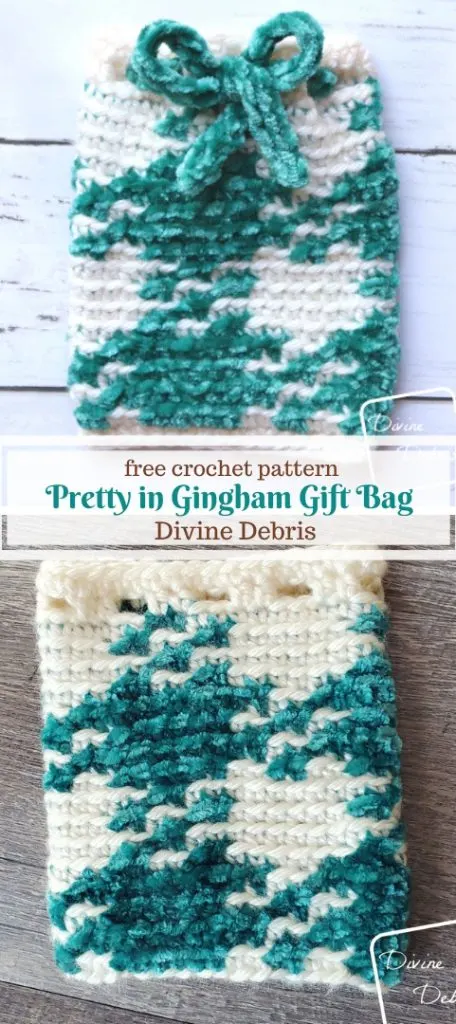
Now if you’ve already looked at this pattern you might be a little confused, because this used to be the Mini-Mystery CAL post. Now that mystery is over though and I get to re-name everything the Pretty in Gingham Gift Bag pattern!
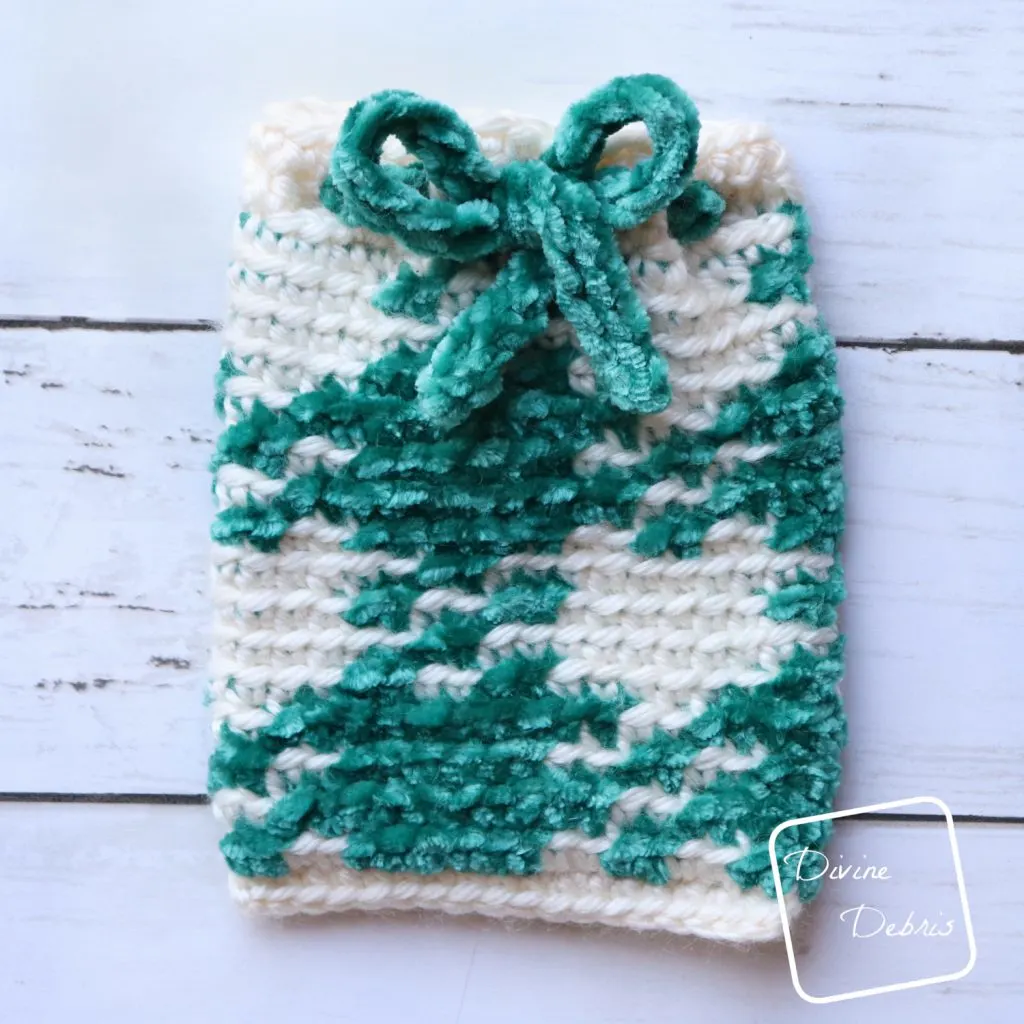
I love the Pretty in Gingham line, especially since I made the pumpkin that in this yarn combo, it makes me so happy! This design was made because loved the velvet and cream so much that I thought it’d be a great little gift bag. It’s quick, not really all that scary once you get the whole color-change thing down, and really uses so little yarn you could make it with the scraps you have on hand. Better still, you can totally make this larger if you’d like. I added some info on how to do that in the notes if you’re interested.
I hope you like this pattern. You can also check out my other gift bag pattern, the Candy Cane Inspired Gift Card Bag, if you need something more festive
And if you’d like to learn more about A Crocheted Simplicity’s CALs Information Guide in this blog post HERE. You’ll find all important MMCAL info and FAQ’s!
(this post may contain affiliate links)
If you appreciate my weekly patterns I hope you’d consider purchasing an ad-free pdf of this pattern in my Ravelry shop.
Thank you to all my patrons on Patreon!
Materials
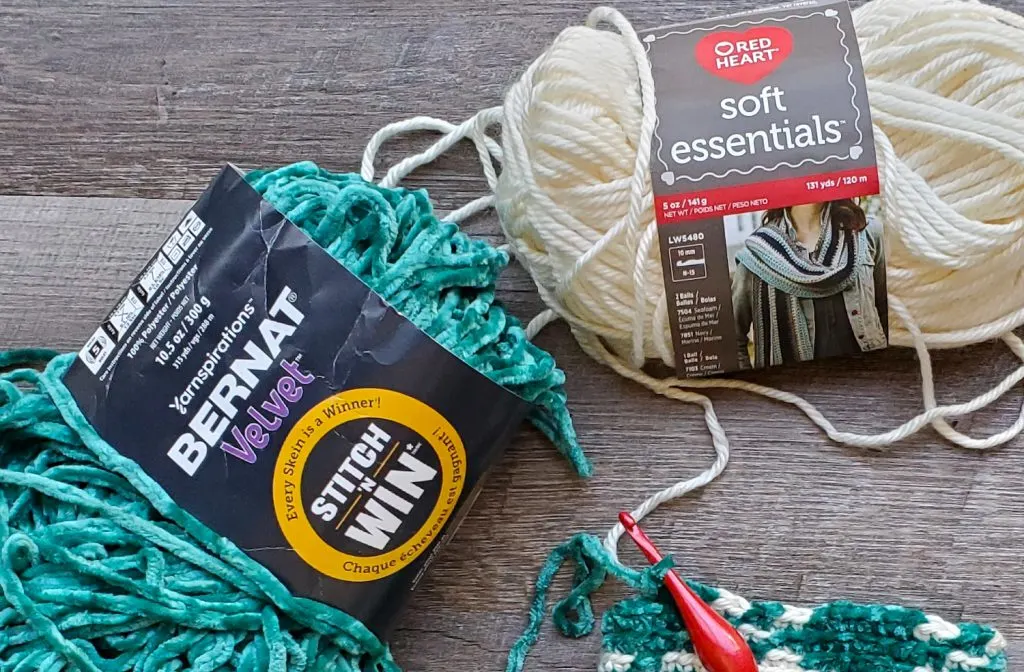
- US H (5.00 mm) crochet hook
- Size 5/Bulky weight yarn
- 2 colors
- approx 1.4 oz/40 yds – 2 oz/56 yds total, .7 oz/21 yds – 1 oz/30 yds each
- Notions: Scissors & measuring tape
Terms/ Stitches used
- RS: right side
- Rnd: round
- Join: join the round with a slip st
- Ch: chain
- St: stitch
- Slip st: slip stitch
- Sc: single crochet
- BLO: back loop only
- Hdc: half double crochet
Notes
- This pattern is worked in the round from the bottom up with the slip st into the first st from the last, in 3 sections: the Body, the Closing, and the Cord.
- The ch 1 at the beginning of the row does not count as a stitch.
- Every stitch in rnds 2 – 17 is a single crochet. The directions will only tell you what color (ie: Color A, Color B, etc…) and the number in the parentheses tells you how many scs to make.
- In the example, the inactive yarn is carried behind the active. If this is confusing, you might want to check out the helpful Moogly video on tapestry.
- The multiple of this pattern is 12. If you’d like to make it larger or smaller, just make sure the stitch count is divisible by 12. To make the bag taller, add repeat rnds 2 – 9 as many times as you’d like before moving onto rnds 18 – 19.
- Color A is cream (Red Heart Yarns Soft Essentials in Cream) .7 oz/18 yds – 1 oz/26 yds and color B is teal (Bernat Velvet in Pagoda) .7 oz/21 yds – 1 oz/30 yds.
Finished product dimensions (measurements may vary by gauge and yarn used)
1 size: 4.5″ x 6″
Pretty in Gingham Gift Bag Pattern Instructions
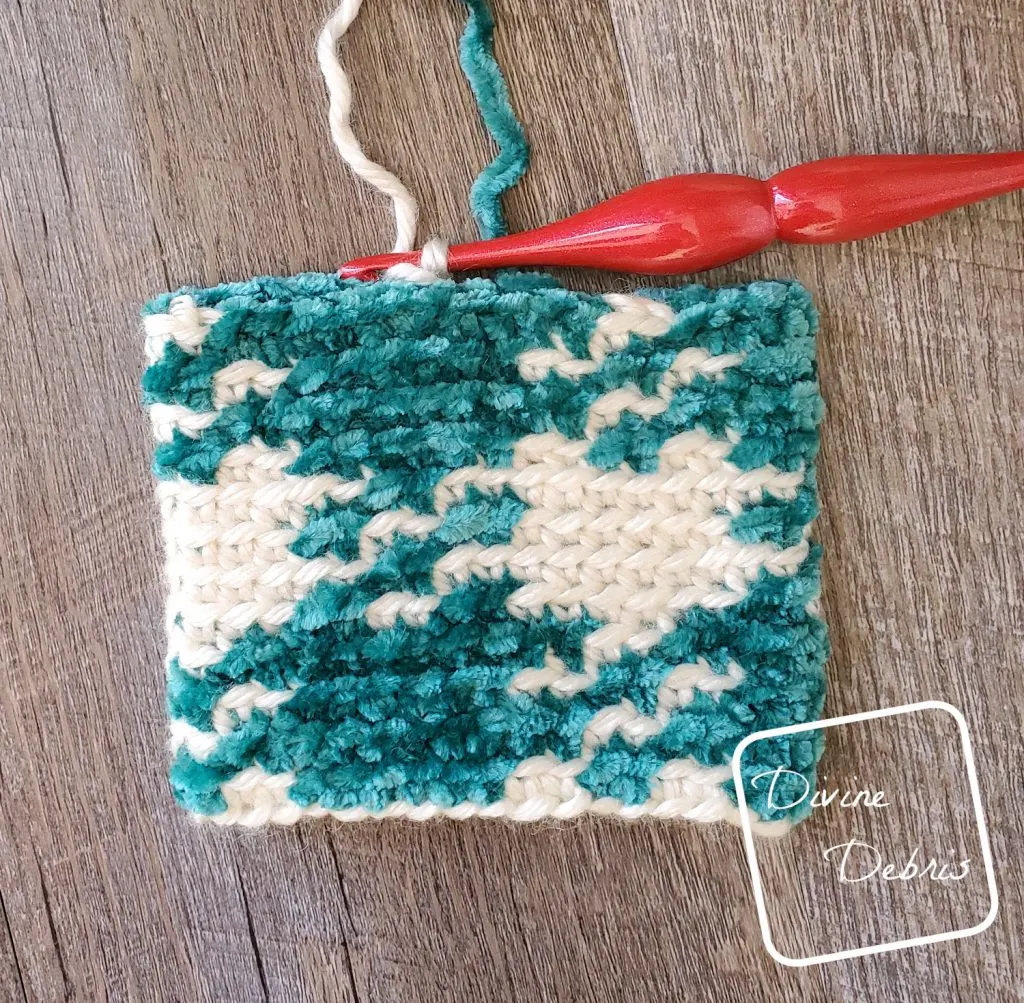
Body
Rnd 1: A: Ch 36, slip st to form a ring *DO NOT TWIST THIS RING*
Note:
- The following directions will only tell you what color (ie: Color A, Color B, etc…) and the number in the parentheses tells you how many stitches to make.
- The rnds 2 – 17 are worked into the BLO. Slip st into both loops on the join to help keep your seam straight.
- The first st is always worked into the same st as the join.
(RS) Rnd 2: A: Ch 1, *(2), B: (2), A: (2), B: (6),* repeat from * to * twice more, join – 36 sc
Rnd 3: B: Ch 1, (2), A: (2),* B: (10), A: (2),* repeat from * to * once more, B: (8), join – 36 sc
Rnds 4 – 5: repeat rnds 2 – 3, once.
Rnd 6: A: Ch 1, *(6), B: (2), A: (2), B: (2),* repeat from * to * twice more, join – 36 sc
Rnd 7 A: Ch 1, (8), B: (2), *A: (10), B: (2),* repeat from * to * once more, A: (2), join – 36 sc
Rnds 8 – 9: repeat rnds 6 – 7, once.
Rnds 10 – 13: repeat rnds 2 – 3, twice.
Rnds 14 – 17: repeat rnds 6 – 7, twice. Fasten off color B.
Rnd 18: A: Ch 1, hdc into the first 2 sts, ch 2, skip the next 2 sts, *hdc into the next 2 sts, ch-2, skip the next 2 sts,* repeat from * to * 7 more times, join – 18 hdc, 9 ch-2 spaces
Rnd 19: A: Ch 1, sc into the same st as join and into the next 35 sts (this includes both ch and hdcs), join – 36 sc
Fasten off, weave in your ends.
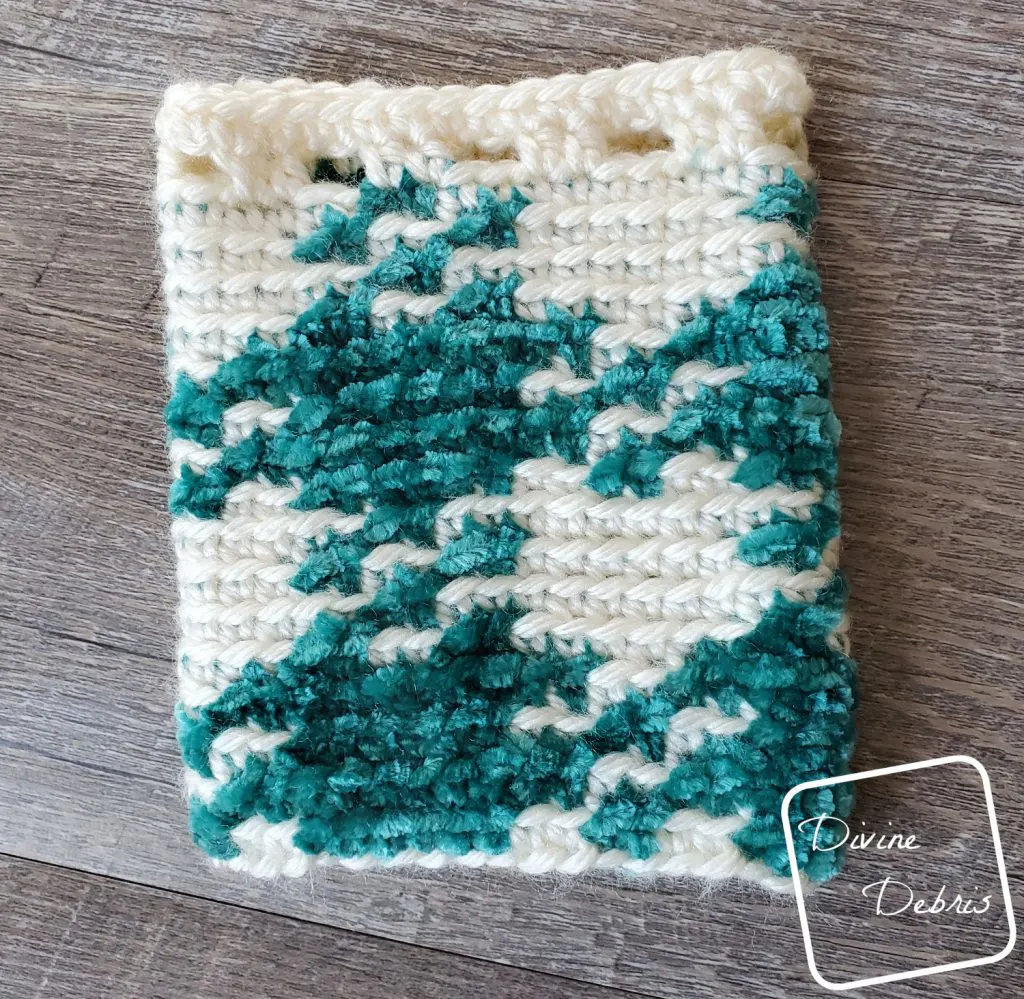
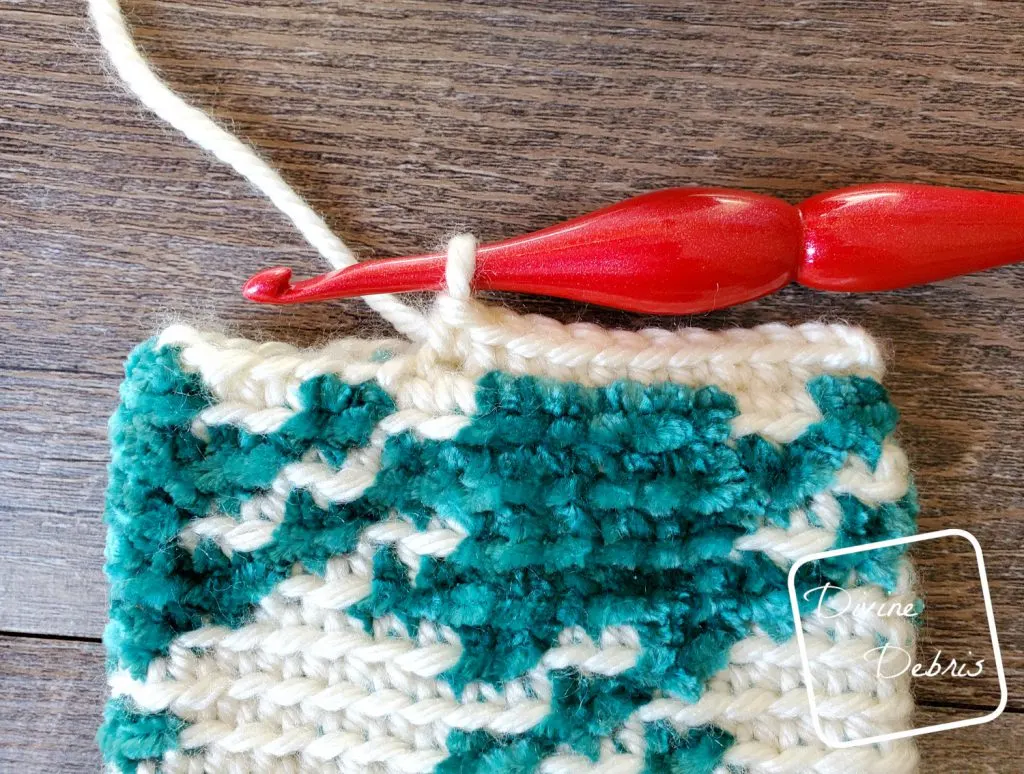
Closing
Next you’re going to seam your bag.
With the right side facing you, flip your whole piece around and fold it in half so that your seam goes along the back. Create a slipknot on your hook with color A and sc 18 times across the other side of Rnd 1 (making sure to go through both sides of Rnd 1 so you close that open end) – 18 sc
Fasten off, weave in your ends
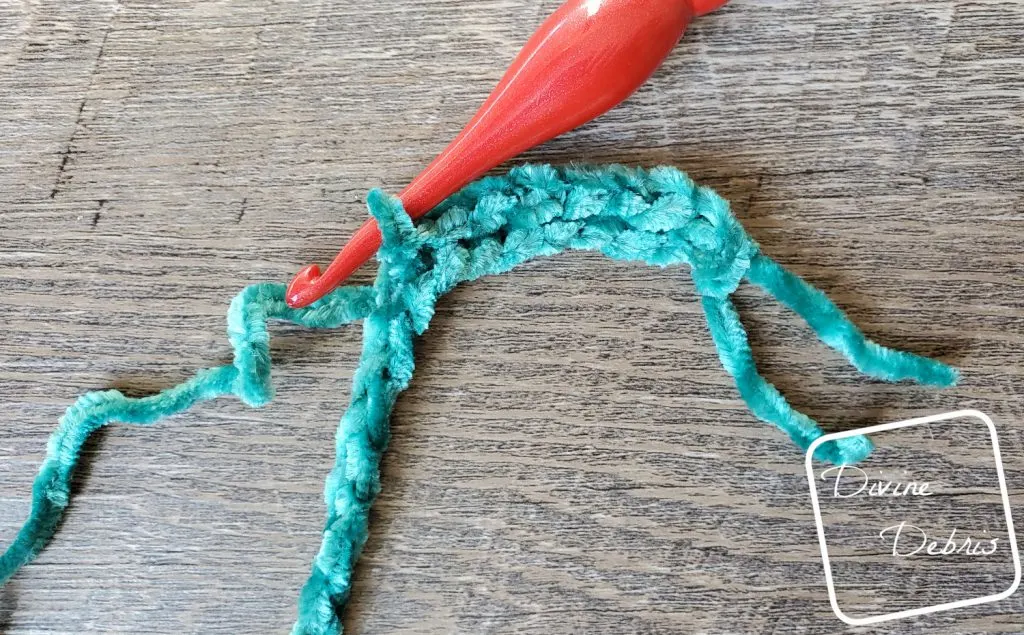
Cord
With color B: Chain 50. Fasten off. Create a slipknot on your hook and slip st into the BLO across the ch-50 you just made. Fasten off, weave the cord through the ch-2 spaces from Rnd 19.
If you’d like your cord to be longer, feel free to add more than 50 chs to it.
Tada! There’s your new Pretty in Gingham Gift Bag. It’s great for tucking a couple little things into – like a gift card, candy, hand sanitizer, etc, and giving as a nice little gift during the holiday season.
I hope you like it. And be sure to check the notes on how to make this bag bigger if you’d like.
If you liked this pattern, I hope you consider following me on Instagram, Facebook, Pinterest, or signing up for my newsletter


