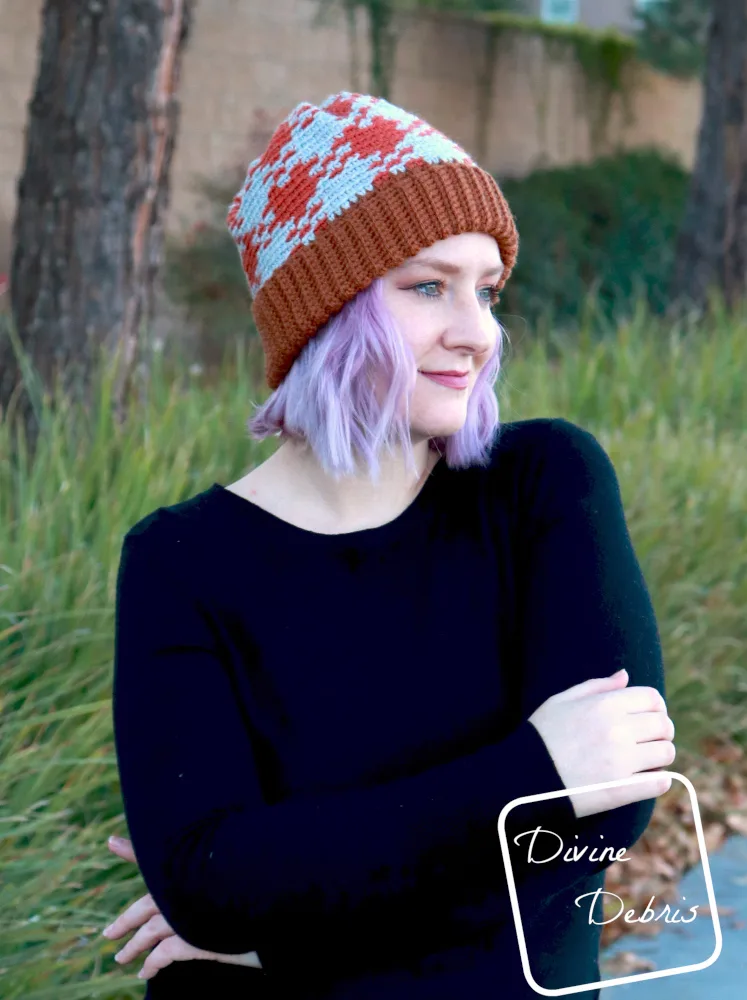
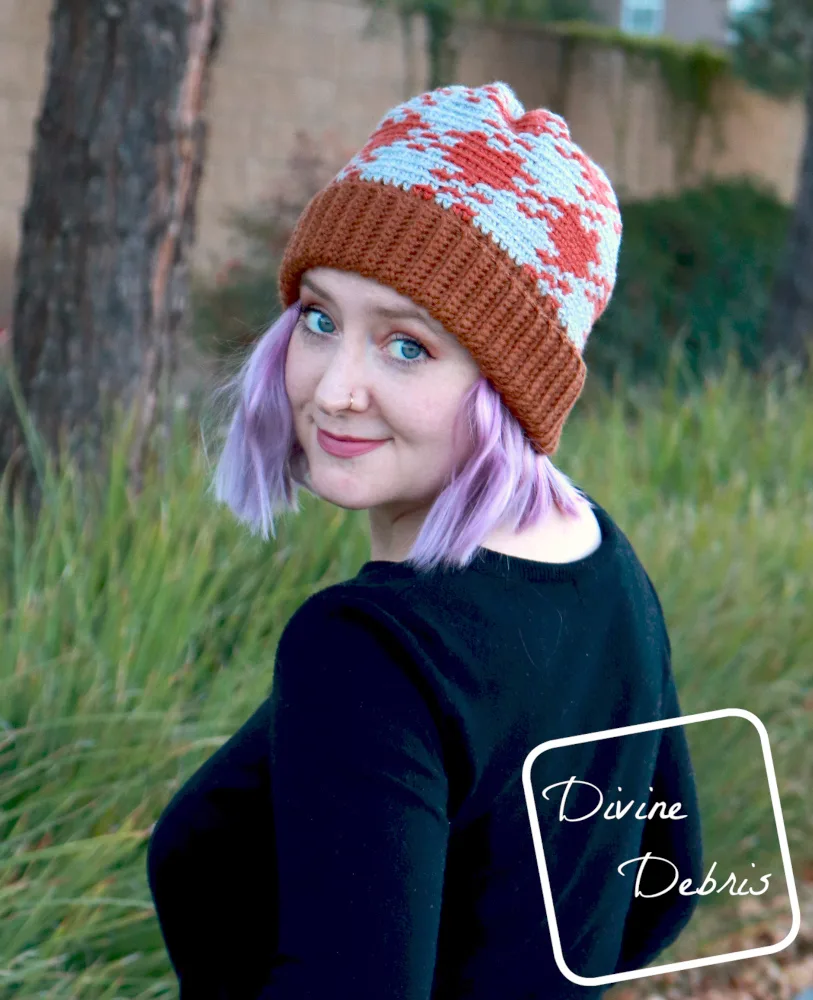
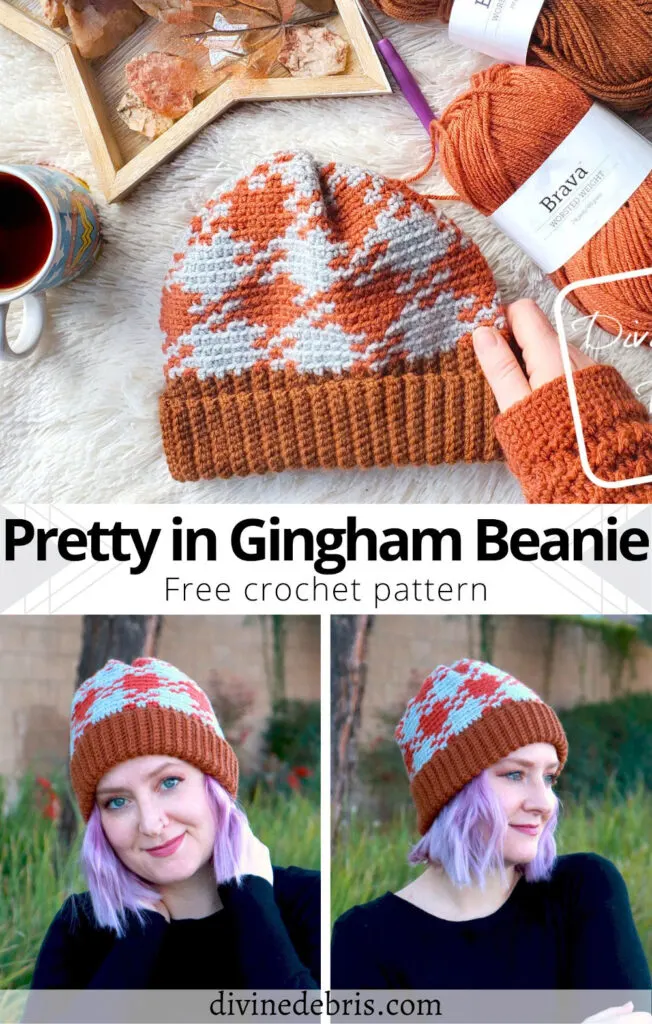
Happy new year everyone! Who else feels the hopeful winds blowing, the chance for new and interesting things in the air? Pardon me, I get like this when the new year starts, or when a month starts… sometimes on Mondays. I guess I always feel like there’s a new opportunity for growth. 🙂 Like my new pattern this week, which grows the Pretty in Gingham Line, the Pretty in Gingham Beanie.
Ok, yeah, that intro was a bit cringe but it wasn’t all that bad, right? I really do feel like new weeks and months give us the same opportunity to grow as people as a new year does. That we be better if we try. I’m not big on new years resolutions (because I pretty much never stick to them) so I’m better with small manageable changes all the time.
Wow, ok, I promise I won’t prattle on anymore about the new year, instead let me tell you about the new Pretty in Gingham Beanie. Like I said above, this is a new one in my Pretty in Gingham Line and I’m so happy with how it turned out. It’s still so very cold where I live so a snuggly beanie is super welcome (for me at least).
I wanted a design this month that looked a bit traditional but still mixed some good tapestry. I don’t want to go very long without a tapestry design, ya know? & with all the C2C I’ve been doing I feel like it’s too long between tapestry designs, don’t want to lose my edge. I love the Pretty in Gingham Line for keeping my skills sharp, it’s an easy repeat and a bold design that it makes it a pleasure to work up.
Anyway, I hope you like this design. I know I really wanted to pair some color work with a big squishy band and this turned out better than I even imagine (the Brava Worsted really helps with that). I love wearing it when I go on walks. I hope you find a lot of use for this pattern too.
I hope where ever you are you’re having a great time and being safe and healthy. Hugs friends. Wash your hands and masks.
Please note: I was provided the yarn for this pattern by We Crochet for the purposes of making this design, with compensation. I wasn’t provided the yarn with the expectations of positive or negative reviews but I did enjoy using this yarn, I’ve used it many times and it’s always a great worsted acrylic yarn. If you purchase yarn through any of the links in this post, I will be compensated.
This post is linked to The Loop Scoop #5.
(this post contains affiliate links)
If you appreciate my weekly patterns I hope you’d consider purchasing an ad-free pdf of this pattern in my Ravelry shop and Lovecrafts shop!
Thank you Vickey and Christine on Patreon!
Level
Intermediate (need to know tapestry crochet)
Materials
- US H (5.00 mm) crochet hook
- Size #4 worsted weight yarn
- 3 colors
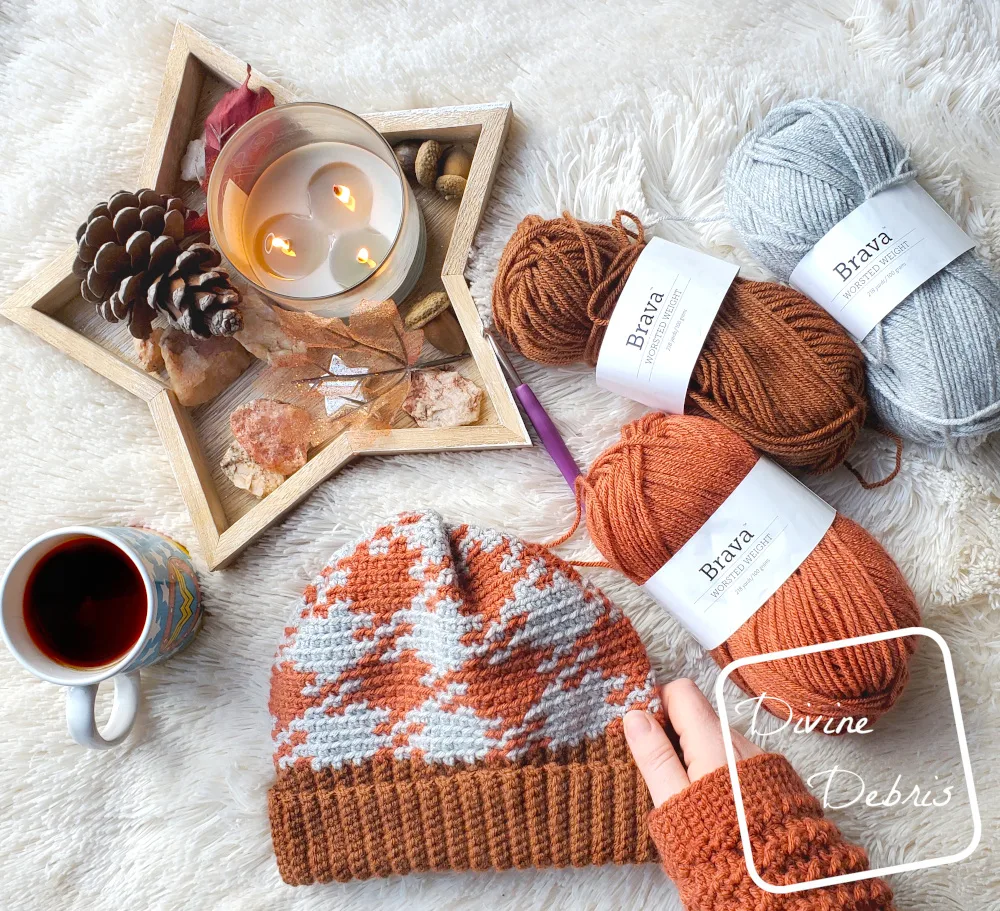
- I used Brava Worsted from WeCrochet
- Specifics listed below in the Finished Product Dimensions
- 3 colors
- Notions: scissors, measuring tape, yarn needle
Gauge
- 15 sc x 13 rows BLO = 4” (blocked)
Terms/ Stitches used
- RS: Right side
- Rnd: Round
- Join: Join the round with a slip st
- Ch: Chain
- St: Stitch
- Slip st: Slip stitch
- Sc: Single crochet
- Sc2tog: Single crochet 2 stitches together
- BLO: Back loop only
Notes
- This pattern is worked in 2 sections: the Band and the Top. The Band is worked in rows back and forth, then seamed together. The Top is worked on the edge of the Band until you need to close it.
- The ch 1 at the beginning of the row does not count as a stitch.
- Every stitch in Top section is a single crochet. The directions will only tell you what color (ie: Color A, Color B, etc…) and the number in the parentheses tells you how many scs to make.
- The rnds that say B: (2 + sc2tog + 2) you will sc in 2 sts, sc2tog the next 2 sts, and sc in 2 more sts. These will be decrease rnds.
- In the example, the inactive yarn is carried behind the active. If this is confusing, you might want to check out the helpful Moogly video on tapestry.
- The beanie is meant to be worn with the band folded in half.
- Color A is brown (Brava Worsted in Brindle), color B is gray (Brava Worsted in Dove Heather), and color C is orange (Brava Worsted in Persimmon).
Approx finished product dimensions (measurements may vary by gauge and yarn used)
| 19″ | 22″ |
| Height: 8.5” – 9” (with folded band) Width: 9.5” Yarn: A: 2 oz/ 124 yds, B: 1.2 oz/ 74 yds, C: 1 oz/ 62 yds | Height: 8.5” – 9” (with folded band) Width: 11” Yarn: A: 2.3 oz/143 yds, B: 1.7 oz/ 105 yds, C: 1.5oz/ 93 yds |
Pretty in Gingham Beanie Crochet Pattern Instructions
Band
Sizing as follows: 19” (22”)
Row 1: Ch 25, sc into the second ch from the hook and into the next 23 sts – 24 sc
Rows 2 – 72 (84): Ch 1, turn, sc into the BLO of the next 24 sts – 24 sc
Fasten off leaving a long tail that you will use to secure row 1 to row 72 (84) in your preferred method of seaming.
Top
Note:
- You will be working into the row ends of the Band for Rnd 1.
- The following directions will only tell you what color (ie: Color A, Color B, etc…) and the number in the parentheses tells you how many stitches to make.
- The rnds 2 – 20 are worked into the BLO. Slip st into both loops on the join to help keep your seam straight. The first st is always worked into the same st as the join.
Rnd 1: Create a slipknot on your hook with color B (this will make your first st a standing sc), start the first st to the left of the seam you created. *B: (6), C: (2), B: (2), C: (2),* repeat from * to * 5 (6) more times, join – 72 (84) sc
Rnd 2: B: Ch 1, (8), C: (2), *B: (10), C: (2),* repeat from * to * 4 (5) more times, B: (2), join – 72 (84) sc
Rnd 3: B: Ch 1, *(6), C: (2), B: (2), C: (2),* repeat from * to * 5 (6) more times, join – 72 (84) sc
Rnd 4: repeat rnd 2
Rnd 5: B: Ch 1, *(2), C: (2), B: (2), C: (6),* repeat from * to * 5 (6) more times, join – 72 (84) sc
Rnd 6: C: Ch 1, (2), B: (2), *C: (10), B: (2),* repeat from * to * 4 (5) more times, C: (8), join – 72 (84) sc
Rnds 7 – 8: repeat rnds 5 – 6, once.
Rnds 9 – 12: repeat rnds 3 – 4, twice.
Rnds 13 – 16: repeat rnds 5 – 6, twice.
Note: if you’d like to make this hat taller, you can add another repeat of the pattern here before decreasing in the next 6 rnds.
Rnd 17: repeat rnd 3, once.
Rnd 18: B: Ch 1, (2 + sc2tog + 4), C: (2), *B: (4 + sc2tog + 4), C: (2),* repeat from * to * 4 (5) more times, B: (2), join – 60 (70), 6 (7) sc2tog
Rnd 19: B: Ch 1, *(2 + sc2tog + 1), C: (2), B: (2), C: (2),* repeat from * to * 5 (6) more times, join – 54 (63), 6 (7) sc2tog
Rnd 20: B: Ch 1, (1 + sc2tog + 3), C: (2), *B: (3 + sc2tog + 3), C: (2),* repeat from * to * 4 (5) more times, B: (2), join – 48 (56), 6 (7) sc2tog
Fasten off color C. The following rnds will be worked into both loops.
Rnd 21: B: Ch 1, *sc into the next 4 (5) sts, sc2tog the next 2 sts,* repeat from * to * 8 more times, join – 36 (45) sc, 9 sc2tog (both sizes)
Rnd 22: B: Ch 1, *sc into the next 3 (4) sts, sc2tog the next 2 sts,* repeat from * to * 8 more times, join – 27 (36) sc, 9 sc2tog (both sizes)
Rnd 23: B: Ch 1, *sc into the next 2 (3) sts, sc2tog the next 2 sts,* repeat from * to * 8 more times, join – 18 (27) sc, 9 sc2tog (both sizes)
Fasten off leaving a long tail. To close the top of your hat, weave the long tail back and forth through the sts all the way around rnd 23, pull the yarn tight until the hole closes. You may need to weave the tail through again or sew it to get the hole to completely close.


