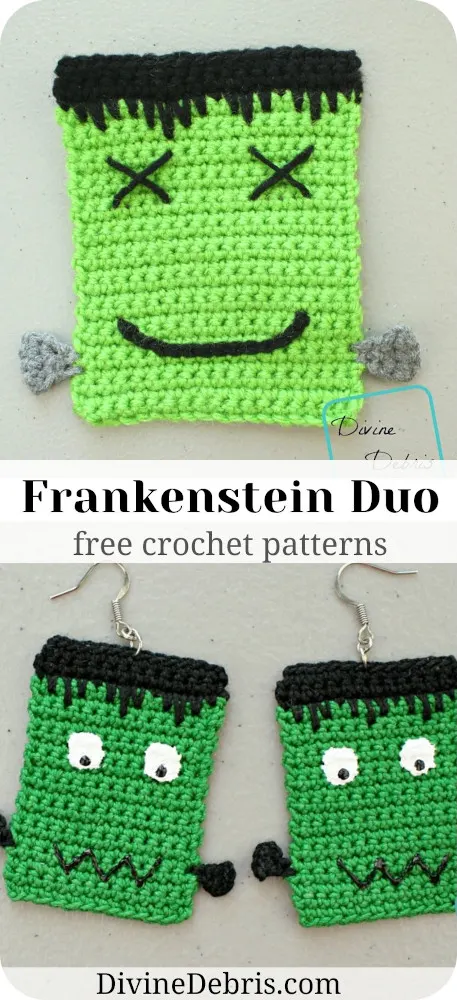
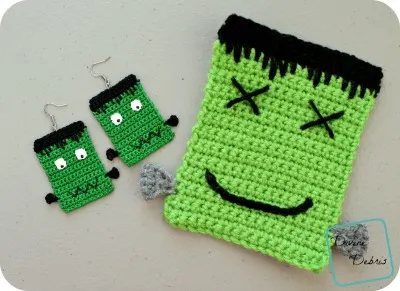
This week I couldn’t decide if I wanted to do another Halloween pattern or not. It is my favorite time of year and we’re only half way through October… but crafters are always looking forward, always planning, and trying to be on top of all things at all times, we’re like Batman that way. But I got this idea over the weekend when some adorable patterns came across my FB feed, for some Frankenstein’s Monster earrings. And luckily I had all the items on hand to make some and get the pattern ready for today.
Again, I wanted to include a coaster/ applique pattern and some earrings because I love when you can do a ton with one pattern. I hope you like this pattern and make some awesome monster earrings before the season is over. Then again, you could wear monster earrings year round, because who would stop you and say “excuse me, you can only wear those in October,” right?
Materials:
- 2.25 mm crochet hook
- Size 10 crochet thread
- I used Aunt Lydia‘s
- less than 1 oz
- Needle that will weave in your ends
- Fabric stiffener (optional)
- Jump rings
- Metal french hooks
- Jewelry pliers
- Puffy paint
- G (4.00 mm) crochet hook
- Worsted weight yarn
- I used Red Heart Super Saver
- less than 1 oz
- Yarn needle

Gauge:
- 2.25 mm: 1″ x 1″ = 10 scs x 10 rows
- G: 4.5” x 4.5” = 19 dcs x 9 rows
Terms/ stitches used:
- Ch: Chain
- St: Stitch
- Sc: Single crochet
- Spike sc: spike single crochet
Notes:
- The ch 1, at the beginning of the rows does not count as a stitch.
- This pattern is worked from the bottom up, back and forth with a turn at the beginning of each row.
- I used surface crochet on the applique
- You need to know how to create a slip knot on your hook for these patterns.
- Color A is green color B is black on both designs. Alternatively: use gray yarn for the bolts.


Frankenstein Duo Crochet Patterns Finished measurements:
Earrings:
- Height: 2″ (not including findings)
- Width: 1.5″
Applique:
- Height: 5.5″
- Width: 4″
Frankenstein Duo Crochet Pattern Instructions
Earrings (make 2):
Row 1: A: Ch 14, sc into the second ch from the hook and across – 13 scs
Rows 2 – 18: Ch 1, turn, sc across – 13 scs
Fasten off color A.
Row 19: B: Ch 1, turn, sc into the first st, spike sc down one row, *spike sc down 2 rows, spike sc down one row, sc into the next st,* repeat from * to * twice more – 4 scs, 9 spike scs
Rows 20 – 21: Ch 1, turn, sc across – 13 scs
Fasten off, weave in all your ends.
Bolts:
Row 1: Create a slip knot on your hook and sc 4 rows from the bottom on the edge – 1 sc
Row 2: Ch 1, turn, sc into the sc – 1 sc
Row 3: Ch 1, turn, sc 4 times into the sc – 4 scs
Fasten off, weave in your ends.
Repeat the instructions above on the other side for the second bolt.
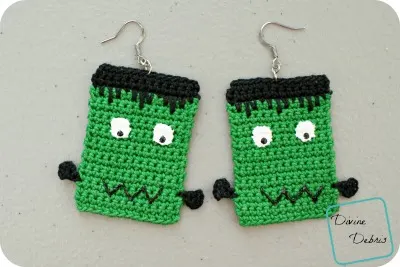
When you’ve got all your ends cleaned up, stiffen your earrings with fabric stiffener and let them dry completely. After they’re dry, draw the face on with puffy paint or you can use surface crochet to create the eyes and mouth. When it’s all dry, attach your jump rings and you’re done!
Applique:
Row 1: A: Ch 19, sc into the second ch from the hook and across – 18 scs
Rows 2 – 24: Ch 1, turn, sc across – 18 scs
Fasten off color A.
Row 25: Ch 1, turn, sc into the first st, *spike sc into the row below, spike sc into 2 rows below, spike sc into the row below, sc into the next st,* repeat from * to * once more, spike sc into the row below, spike sc into 2 rows below, spike sc 3 rows below, spike sc 2 rows below, spike sc into the row below in the next 2 sts, spike sc 2 rows below, spike sc into the row below, sc into the last st – 4 scs, 14 spike scs
Rows 26 – 27: Ch 1, turn, sc across – 18 scs
Fasten off, weave in all your ends.
Bolts:
(Switch to gray if you’d like)
Row 1: Create a slip knot on your hook, sc into the 4th row end from the bottom on either side, sc into the next st – 2 scs
Row 2: Ch 1, turn, sc into the next 2 sts – 2 scs
Row 3: Ch 1, turn, sc twice into the first st, sc twice into the next st – 4 scs
Row 4: Ch 1, turn, sc into the next 4 sts – 4 scs
Fasten off, weave in your ends.
Repeat the instructions for the bolt on the other side.
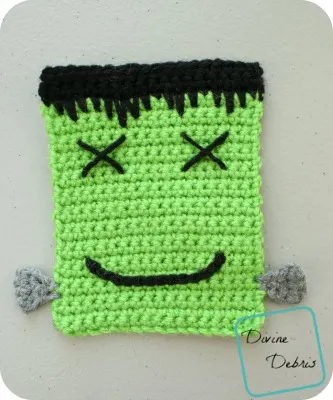
I made X’s for the eyes with my yarn needle and yarn and then used surface crochet to make the mouth. You can use puffy paint, buttons, or whatever you can think to make the face. I almost wish I would have used buttons for the eyes, would have given ’em a more toy like feel. Dunno.
Have a great week!
This pattern is linked to Hookin’ on Hump Day #129.


carol moger
Friday 21st of February 2020
I can't wait to make these earrings. My adult loves all things zombies, skulls, etc. What a great surprise for her. Thanks for your creativity!
Divine Debris
Sunday 23rd of February 2020
I'm glad you love them!