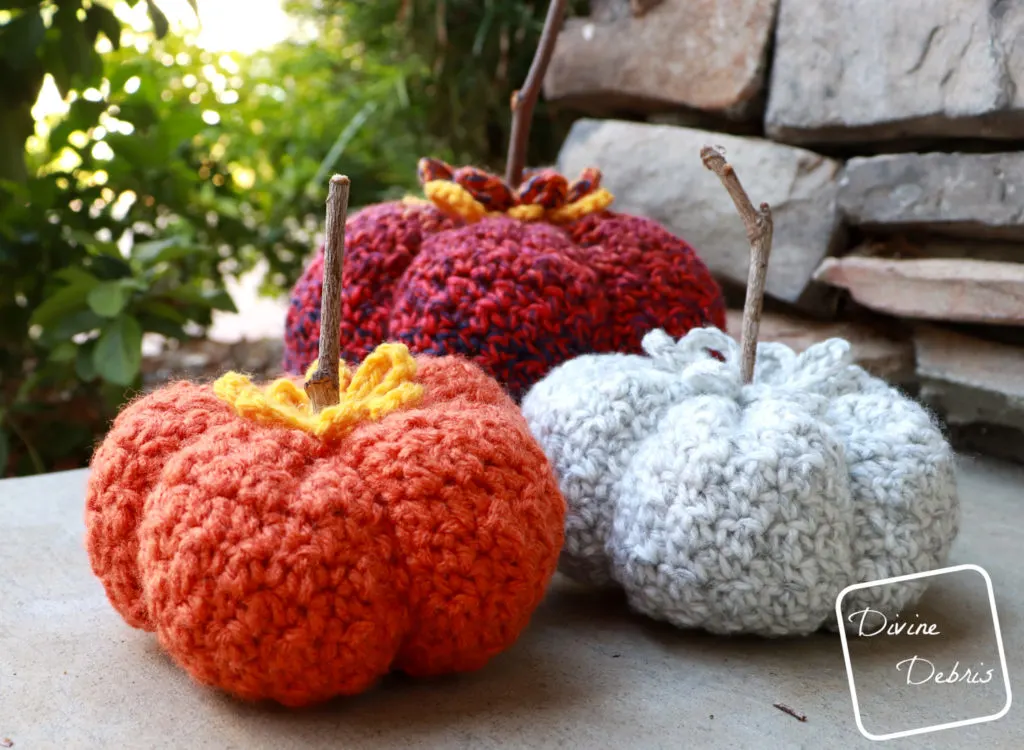
It’s Fall y’all! I mean, technically it is the first day of Fall here in the US and for me that means pumpkin pie, sweaters, cozy blankets, and Practical Magic on my tv. Oh, and of course my new Crinkle Pumpkin Amigurumi pattern on my blog today!
As many of you all might know, I love a good pumpkin! I have been making pumpkins for years, my first one was my Fun Fall Pumpkins ami from 2015! I’ve got the Big Ol’ one, a gingham one, and even some with stripes! Just lots of great pumpkins for you to pick. And I wanted to honor all the previous pumpkins so I made a fun and easy to customize design this month.
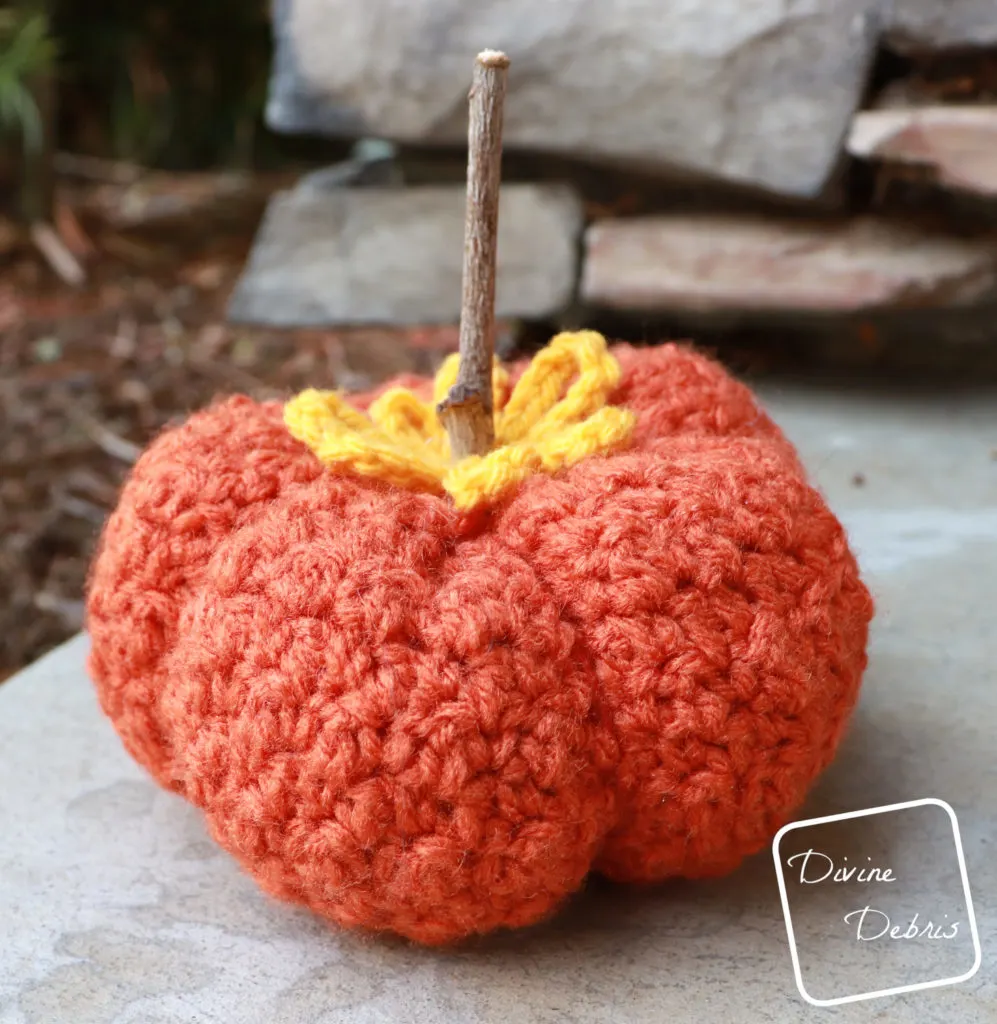
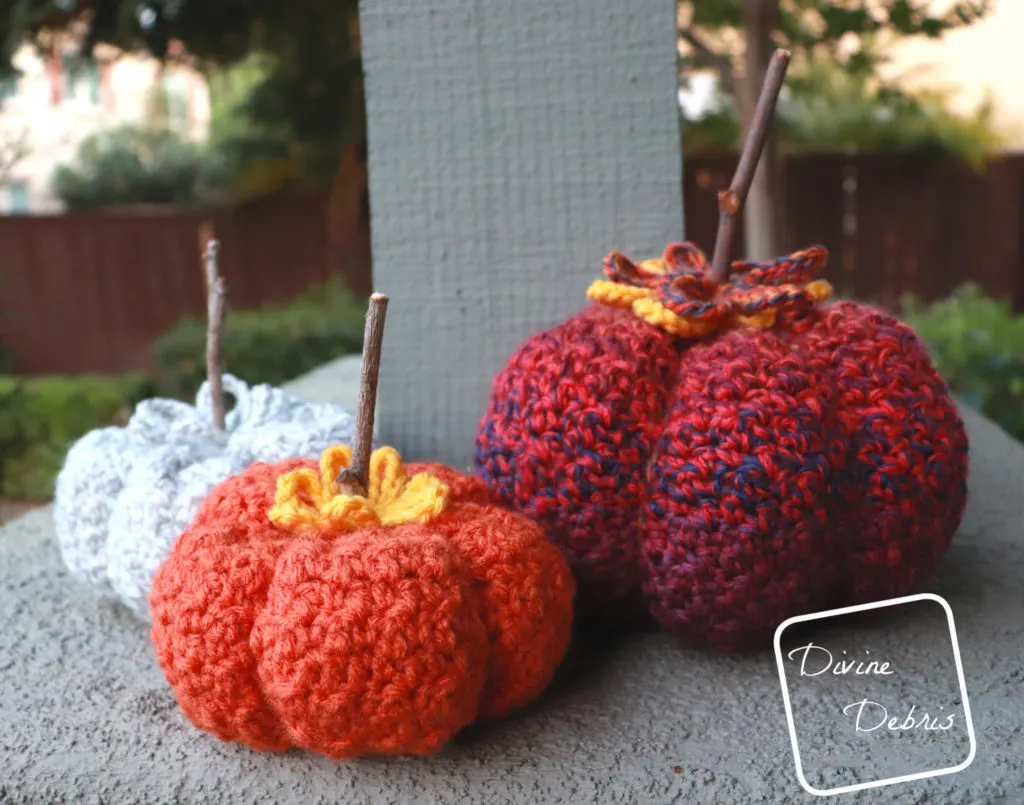
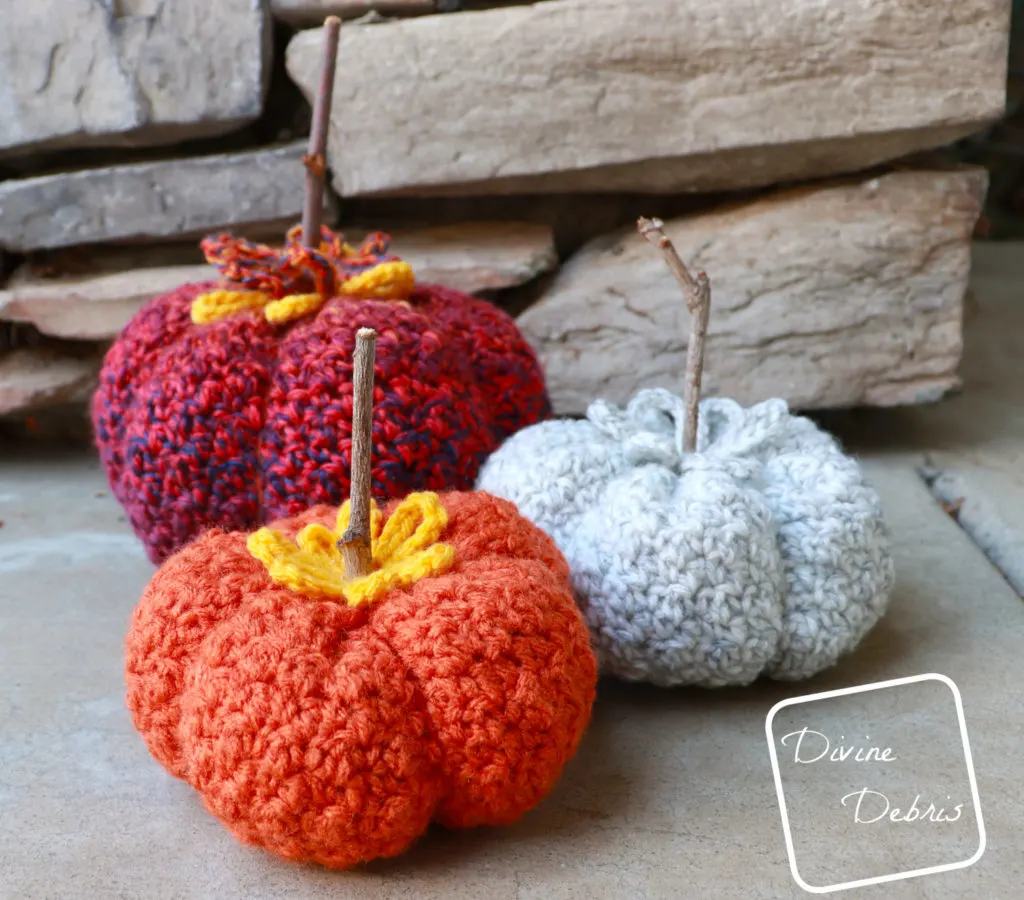
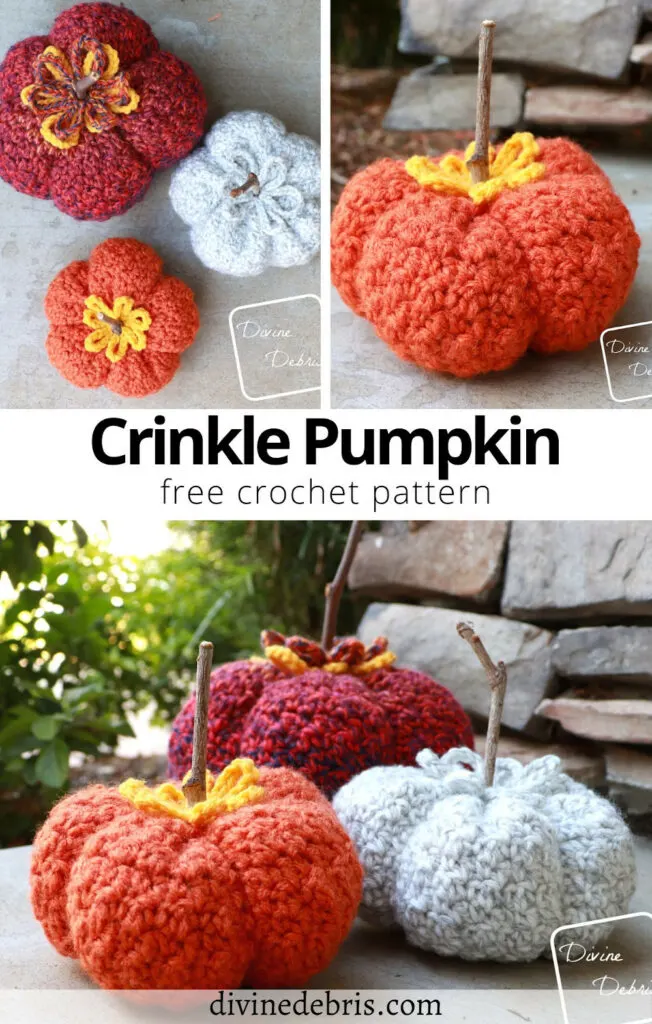
So this pattern is super easy and very textured, just a simple sc and dc alternating combo. It’s super easy to customize too. The big red one in the photos was made using Chroma Twist Bulky by WeCrochet and a the same crochet hook/stitch count, but I did add about 10 more rows for some extra height. Same thing with the white/gray pumpkin, I added a handful of rows just to see how it would turn out.
I do hope you like this pattern and give it a try. It’s got so much you can do to customize it (how great would this be as a stash buster with a bunch of different colors? Oh I’d love to see that!).
I hope where ever you are you’re having a great time and being safe and healthy. Hugs friends. Wash your hands and masks
Copyright @ Divine Debris 2022. No part of this document may be reproduced or transmitted in any form by any means, electronic, mechanical, photocopying, or otherwise, without prior written permission from the author. Sales of finished products are permitted, but the designer requests that you link back to the pattern and credit Divine Debris with the original design under the Creative Commons Attribution-Share Alike license. If you have any questions, comments or concerns please contact info@divinedebris.com.
Please note: This post contains affiliate links. If you click on one of those and purchase I may receive monetary compensation.
(this post contains affiliate links)
If you appreciate my weekly patterns I hope you’d consider purchasing an ad-free pdf of this pattern in my Ravelry shop and Lovecrafts shop (coming soon)!
Thank you Elyse, Karlie, and Linda for becoming my newest patrons on Patreon!
Level
Easy
Materials
- US G (4.00 mm) crochet hook
- Size #4 worsted weight yarn
- 1.60 oz/ 98 yds (ea)
- Notions: scissors, measuring tape, yarn needle
- Polyfill
- Hot Glue and Glue Gun (optional)
- Stick (for stem)
Gauge
- 15 sc/dc x 12 rows = 4”
Terms/ Stitches used
- RS: right side
- Ch: chain
- St: stitch
- Rnd: round
- Join: join with a slip st into the first st
- Slip st: slip stitch
- Sc: single crochet
- Dc: double crochet
Notes
- To create the gauge, alternate sc and dc across a row of an even numbered stitches. Continue with rows of sc and dc across until you have a large enough swatch to measure.
- This pattern is worked in one piece that results in a tube shape, then you seam one end closed, stuff the middle, and seam the other end closed. You can add sections around the outside to make it more pumpkin like.
- The ch 1 at the beginning of the row does not count as a stitch.
- The multiple for this pattern is 2. If you’d like to make it larger or smaller, just make sure the stitch count is divisible by 2.
- The yarn used for this was scrap worsted weight yarn, the largest pumpkin was made using Chroma Twist Bulky by WeCrochet.
Approx finished product dimensions (measurements may vary by gauge and yarn used)
5” x 3”
Crinkle Pumpkin Ami Crochet Pattern Instructions
Body
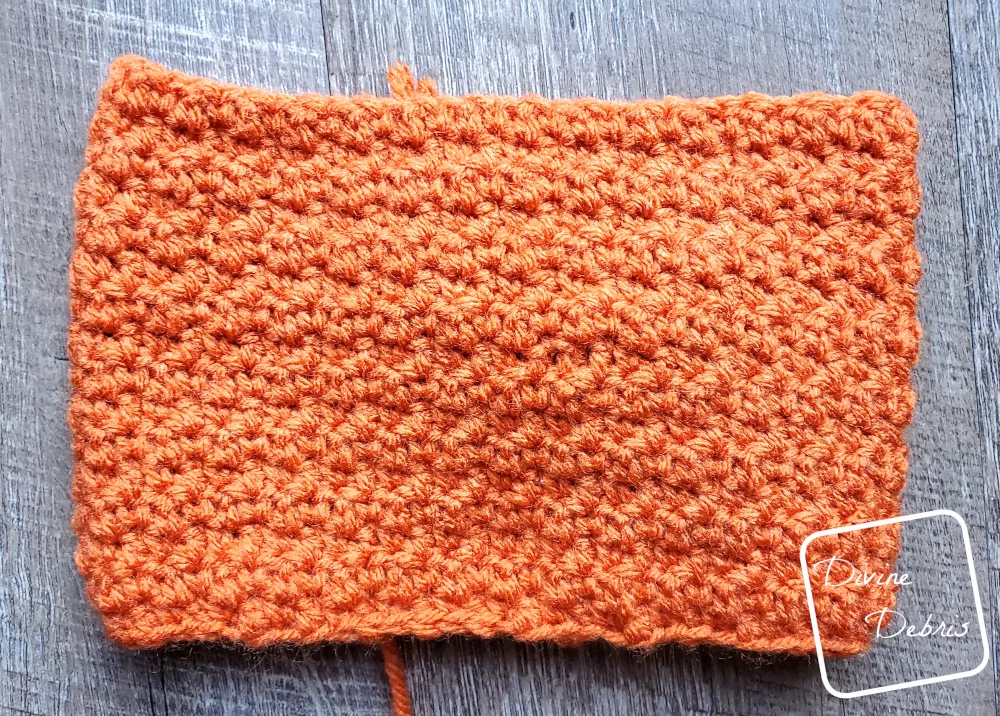
Row 1: Ch 60, slip st to form a ring.
Row 2: Ch 1, sc into the first ch, dc into the next ch, *sc into the next ch, dc into the next ch,* repeat from * to * 28 more times, join – 30 sc, 30 dc
Rows 3 – 16: Ch 1, turn, sc into the first st, dc into the next st, *sc into the next st, dc into the next st,* repeat from * to * 28 more times, join – 30 sc, 30 dc
Fasten off leaving a long tail, which you will use to close up the top.
Closing/Stuffing
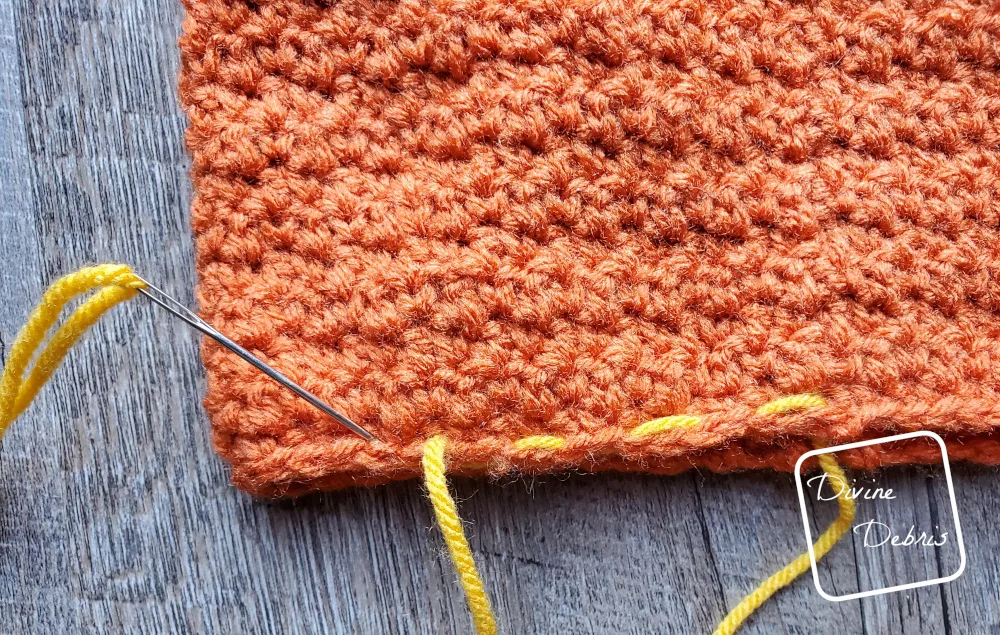
Leaving off where you stopped, weave back and forth through every other stitch until you get all the way around row 16. Pull the piece of yarn until the center closes. You may need to weave your end through more than once, or even sew the hole closed. Flip your piece around, stuff the ami full and then weave back and forth through every other stitch until you get all the way around row 2 and pull the ends tight until the hole closes, you may need to sew it closed on this side too.
Creating the sections
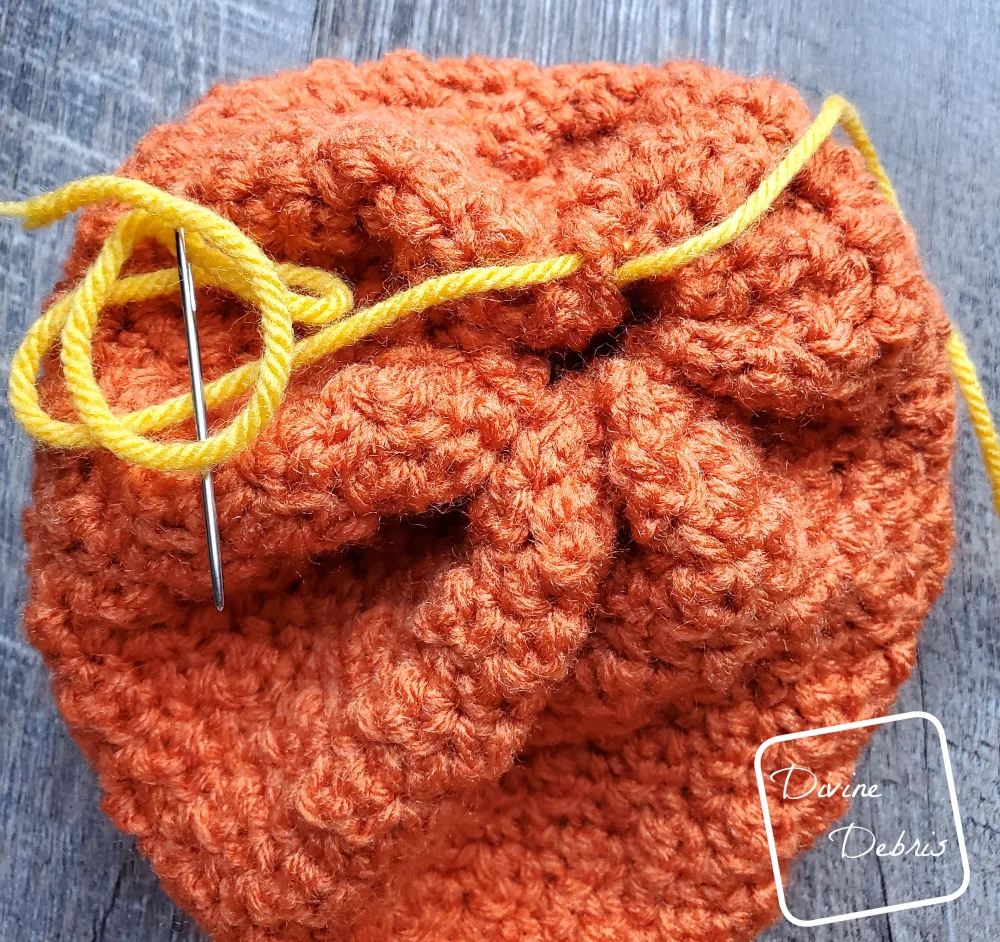
Using another piece of yarn, attach it at the top of your pumpkin and run the yarn along the outside of your pumpkin and then securing it to the bottom of your pumpkin while pulling the yarn tight. Do this as many times as you’d like (5 times is shown in the photos) to create the sections on the outside of your pumpkin. You can also feed the needle through the center of the pumpkin and then run the yarn along the outside of the pumpkin, then back through the center.
Fasten off your yarn and weave in your ends.
Topper
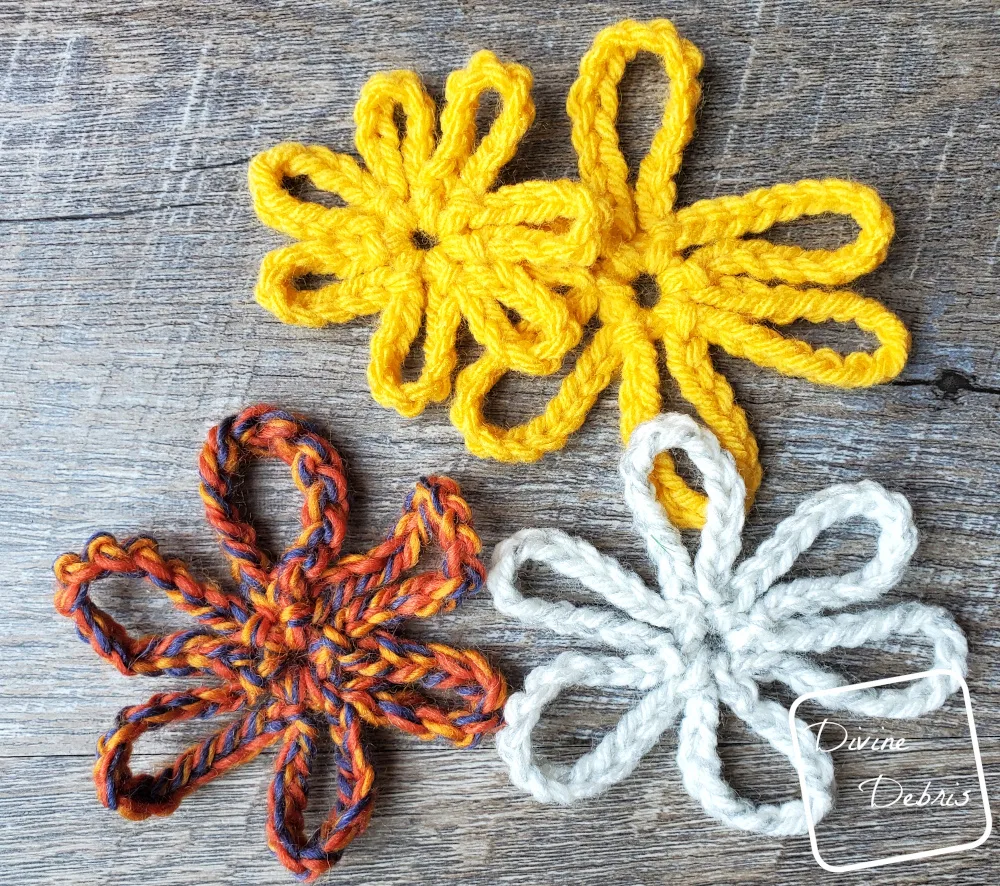
For the flower: Ch 5, slip st to form a circle. *Ch 10, slip st into the circle,* repeat from * to * as many times as you’d like to add some fun loops.
Fasten off, weave in your ends.
Glue the flower to the top of your pumpkin, then glue the stick and you’re all set!


Betsy Schaeffer
Saturday 26th of September 2020
Loved the texture on this pumpkin, so I made one immediately. Thanks so much for this wonderful pattern.