Wow, look how fast April went by! Are you as surprised as I am? I mean, I’m not really surprised because time has that tendency to keep moving forward but wow, it felt like it went by so fast. I wonder how I did this month. I’ll have to sit down and see what worked and what didn’t about my month.
I’ll be honest, I work a lot and I’m always designing patterns for my blog and for individual release but I think I need to do more or at least do differently. I have a lot of projects I’m working on and I’m excited but also nervous about them. I also want to see how to continue to move my business forward in a meaningful way. Wow, I got deep with that. I guess I just get like that when the end of the month comes up. It’s a time to reflect and to go into the next month feeling confident.
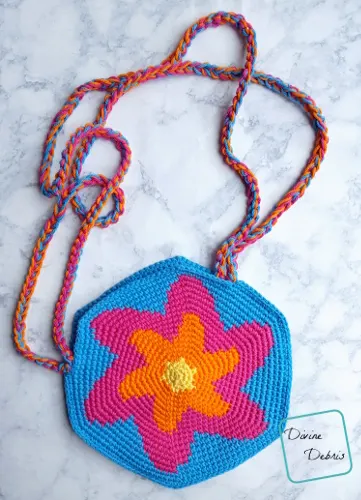
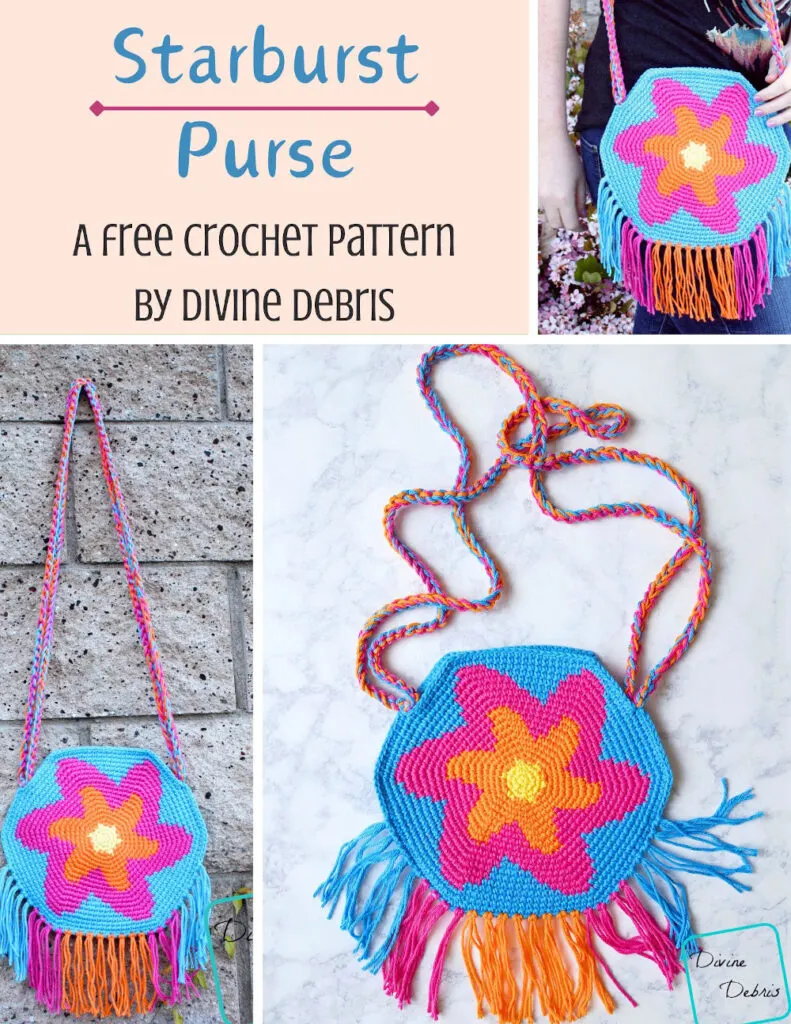
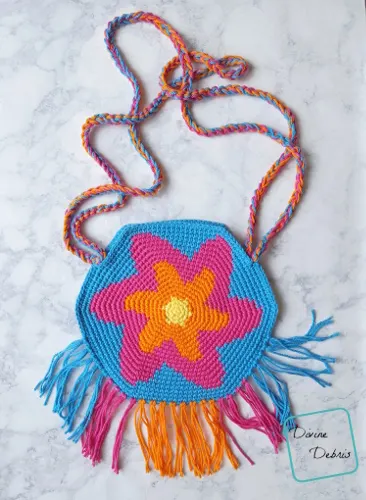
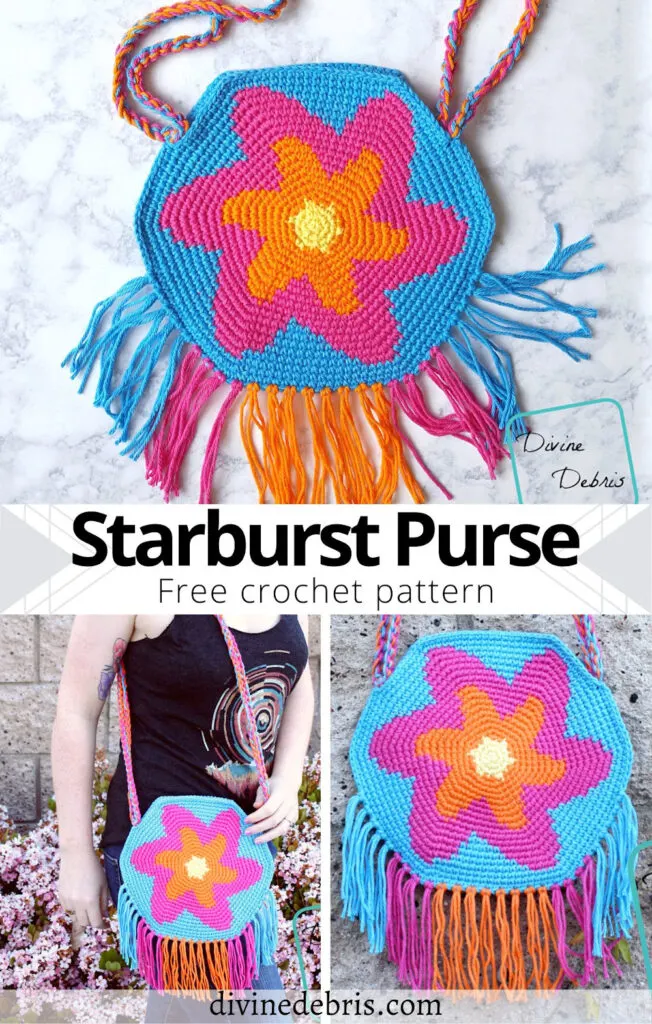
So this week’s design is a fun one I really hope you like. This is a fun boho style bag that I have had in my head for weeks now and when I finally found the perfect cotton yarn, I sat down and worked on it until I was done. It works up pretty fast if you ask me.
I cannot wait to see what you all do with this design – please share photos with me! Are you going to do fringe or no fringe? I can’t wait! 😀
Anyway, I hope you like it.
See ya next week
(this post may contain affiliate links)
If you appreciate my weekly patterns I hope you’d consider purchasing an ad-free pdf of this pattern in my Ravelry shop.
A huge thank you to all my patrons on Patreon!
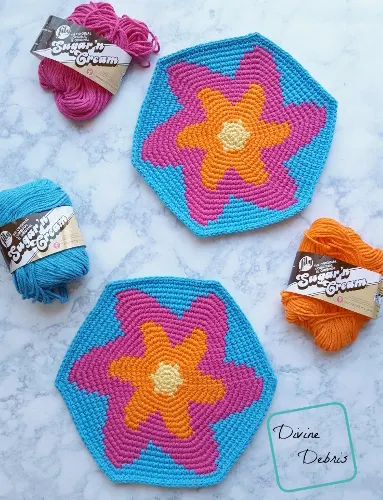

Materials
- US G (4.00 mm) steel crochet hook
- Aran/ medium/ size #4 weight yarn
- Approx 5 oz / 240 yds
- 4 colors
- I used Sugar and Cream
- Needle that will weave in your ends
- Stitch markers
Gauge
- 18 rows x 17 sc = 4″
Terms/ Stitches used
- Rnd
- RS: right side
- Ch: chain
- St: stitch
- Slip st: slip stitch
- Sc: single crochet
- Tsc: twisted single croche
Notes
- This pattern is worked in 4 parts: the Body piece (make 2), Seaming, and the Strap. The Body is worked in the round, with a slip st into the first st of the round.
- The ch 1 at the beginning of the row does not count as a stitch.
- Every stitch in this pattern is a single crochet. The graphing directions will only tell you what color (ie: Color A, Color B, etc…) and the number in the parentheses tells you how many sc to make.
- The instructions that read (2x + a number) or (a number + 2x) mean that you sc twice into the specified st and work 1 sc in the number of stitches indicated.
- In the example, the inactive yarn is carried behind the active. If this is confusing, you might want to check out the helpful Moogly video on tapestry.
- Every stitch in this pattern is a single crochet. The graphing directions will only tell you what color (ie: Color A, Color B, etc…) and the number in the parentheses tells you how many scs to make.
- You will need to know how to create a slipknot on your hook.
- Color A is yellow (Sugar and Cream in Sunshine), color B is orange (Sugar and Cream in Hot Orange), color C is pink (Sugar and Cream in Hot Pink), and color B is blue (Sugar and Cream in Hot Blue). Less than a skein each.
Finished product dimensions (measurements may vary by gauge and yarn used)
Width/height: 9.5”
Fringe & Strap vary based on your preferences
Starburst Purse Crochet Pattern Instructions
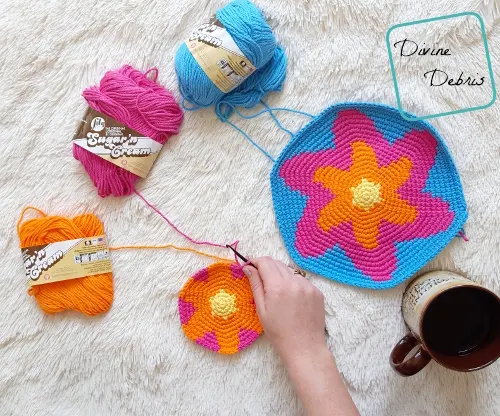
– Body –
Rnd 1: A: Create a magic circle, ch 1, sc 6 times into the circle, slip st into the first st – 6 sc
Rnd 2: A: Ch 1, sc twice into the same st as a join, sc twice into each of the next 5 sts, slip st into the first st – 12 sc
Rnd 3: A: Ch 1, sc into the same st as join, sc twice into the next st, *sc into the next st, sc twice into the next st,* repeat from * to * 4 more times, slip st into the first st – 18 sc
Note
- The following directions will only tell you what color (ie: Color A, Color B, etc…) and the number in the parentheses tells you how many stitches to make.
- The first st is always worked into the same st as join.
- The instructions that read (2x + a number) or (a number + 2x) mean that you sc twice into the specified st and work 1 sc in the number of stitches indicated.
Rnd 4: A: Ch 1, *(1), B: (1 + 2x),* repeat from * to * 5 more times, slip st into the first st – 24 sc
Fasten off color A.
Rnd 5: B: Ch 1, *(3 + 2x),* repeat from * to * 5 more times, slip st into the first st – 30 sc
Rnd 6: B: Ch 1, *(4 + 2x),* repeat from * to * 5 more times, slip st into the first st – 36 sc
Rnd 7: B: Ch 1, *(5 + 2x),* repeat from * to * 5 more times, slip st into the first st – 42 sc
Rnd 8: B: Ch 1, *(3), C: (1), B: (2 + 2x),* repeat from * to * 5 more times, slip st into the first st – 48 sc
Rnd 9: B: Ch 1, *(2), C: (3), B: (2 + 2x),* repeat from * to * 5 more times, slip st into the first st – 54 sc
Rnd 10: B: Ch 1, *(2), C: (4), B: (2 + 2x),* repeat from * to * 5 more times, slip st into the first st – 60 sc
Rnd 11: B: Ch 1, *(1), C: (6), B: (2 + 2x),* repeat from * to * 5 more times, slip st into the first st – 66 sc
Rnd 12: B: Ch 1, *(1), C: (8), B: (1 + 2x),* repeat from * to * 5 more times, slip st into the first st – 72 sc
Fasten off color B.
Rnd 13: C: Ch 1, *(11 + 2x),* repeat from * to * 5 more times, slip st into the first st – 78 sc
Rnd 14: C: Ch 1, *(4), D: (1), C: (7 + 2x),* repeat from * to * 5 more times, slip st into the first st – 84 sc
Rnd 15: C: Ch 1, *(4), D: (3), C: (6 + 2x),* repeat from * to * 5 more times, slip st into the first st – 90 sc
Rnd 16: C: Ch 1, *(3), D: (6), C: (5 + 2x),* repeat from * to * 5 more times, slip st into the first st – 96 sc
Rnd 17: C: Ch 1, *(3), D: (7), C: (5 + 2x),* repeat from * to * 5 more times, slip st into the first st – 102 sc
Rnd 18: C: Ch 1, *(2), D: (10), C: (4 + 2x),* repeat from * to * 5 more times, slip st into the first st – 108 sc
Rnd 19: D: Ch 1, *(14), C: (3 + 2x),* repeat from * to * 5 more times, slip st into the first st – 114 sc
Fasten off color C.
Rnd 20: C: Ch 1, *(18 + 2x),* repeat from * to * 5 more times, slip st into the first st – 120 sc
Rnd 21: C: Ch 1, *(19 + 2x),* repeat from * to * 5 more times, slip st into the first st – 126 sc
Fasten off, weave in your ends. If your pieces won’t lay completely flat, consider steam blocking them to get the fibers to loosen up so the piece lays flat.
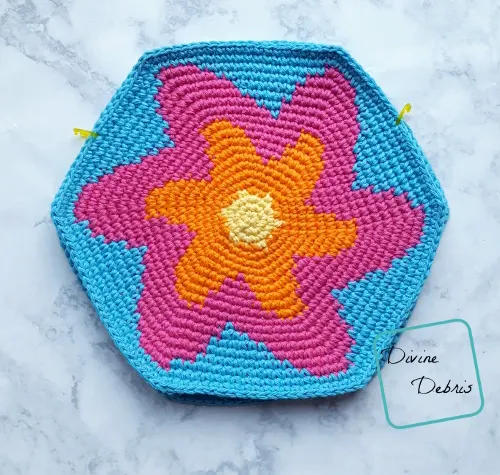
– Seaming –
Place a stitch marker in the mid-way point between 2 increases, skip the next 41 sts, place a stitch marker in the next st. Photo above should help with the placement of your stitch markers.
Create a slipknot on your hook, sc into the last st you placed a st marker into and sc into the next 85 sts (the long way around), ending in the first st marker you placed. You can make the opening of your bag smaller by going further around the circle.
Fasten off.
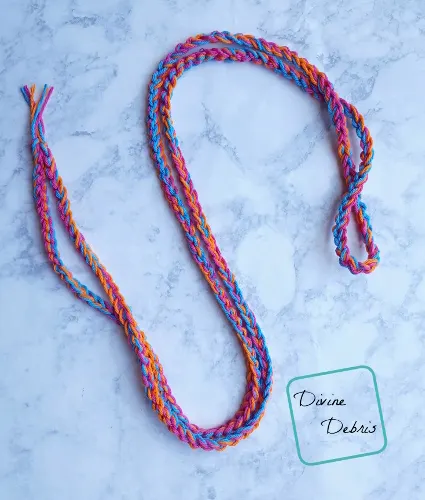
– Strap–
Take as many or as few strands of color (I used 3) and a J hook (optional but this helps to accommodate the increased bulk of all the yarns) and chain 200. Fold your Strap in half and sew the 2 ends to the inside of where you begin seaming your bag and sew the looped end of your Strap to where you ended seaming your bag. You can adjust the strap as you’d like (making 2 straps instead of one, doing single crochets instead of just chains, etc…)


jodie
Friday 14th of August 2020
would you use a larger hook to make it bigger?
Divine Debris
Tuesday 18th of August 2020
I wouldn't because it would distort the image or cause peek-throughs of your carried yarn. Depending upon how much bigger you want to make it, you can add more rnds after rnd 21 just following the same increase every 20, 21, 22, 23, etc... sts.
Hope that helps!
Rebecca
Friday 26th of April 2019
How long is the fringe?
Divine Debris
Sunday 28th of April 2019
About 4" long in my sample but you can make it longer or shorter at your discretion <3
Anne Oper
Tuesday 23rd of April 2019
Very cute. I'm thinking of making it in black, orange and purple with a white center for Halloween. If I do, I will send a picture. Thanks for the pattern.
Divine Debris
Friday 26th of April 2019
I bet that is going to look amazing!
Brittany Dickson
Tuesday 23rd of April 2019
Hi Amber! This pattern is absolutely stunning! The colors and design are gorgeous! <3
Divine Debris
Friday 26th of April 2019
Thank you! I'm so glad you like it <3 <3