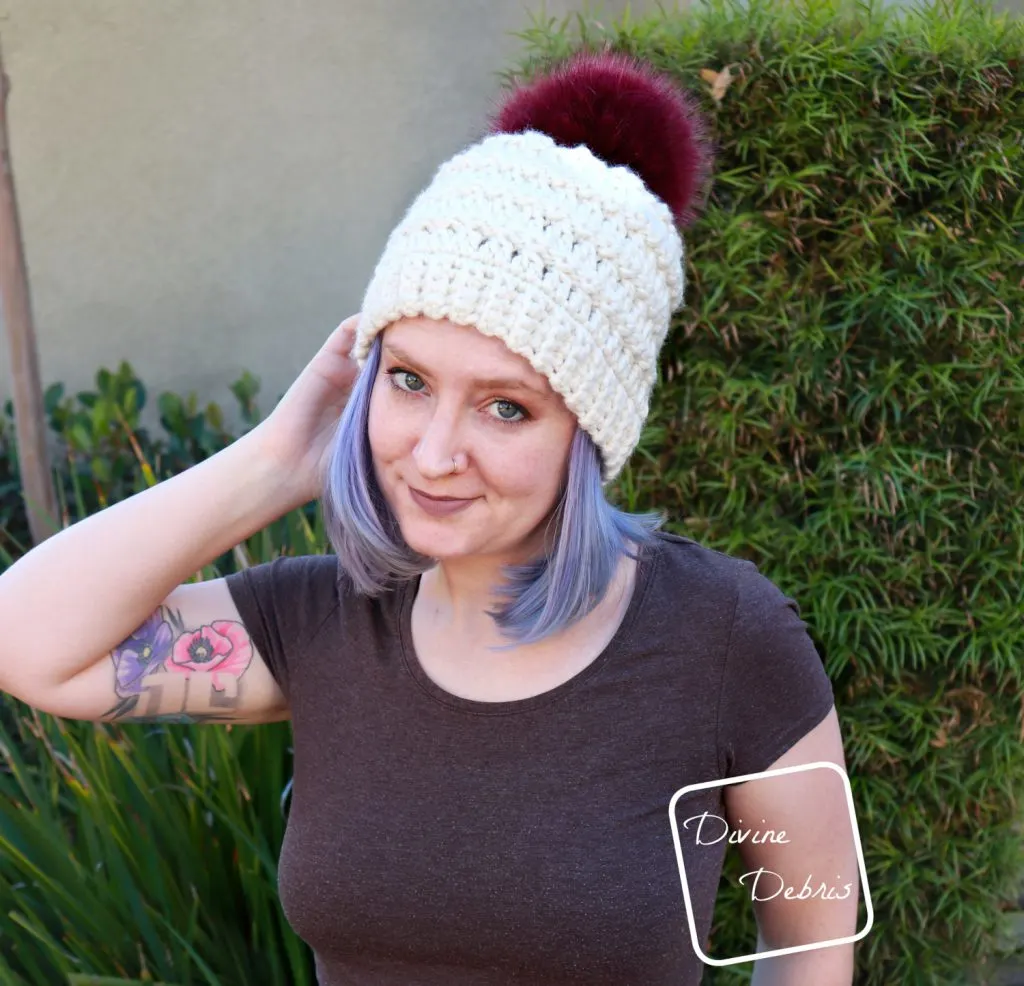
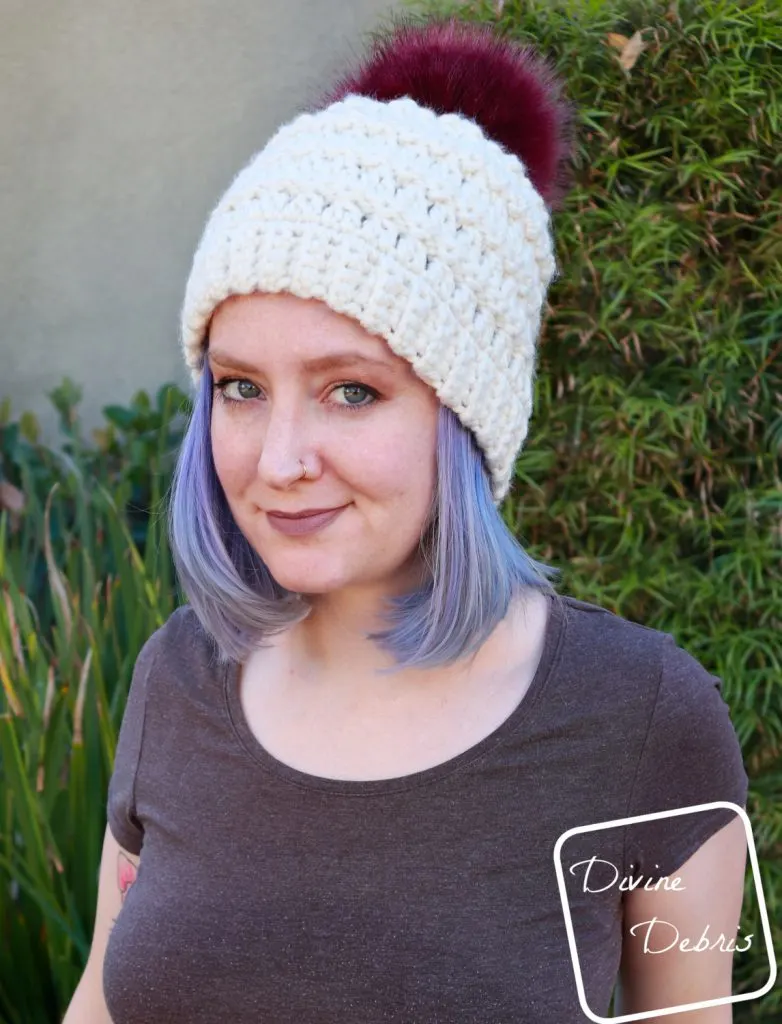
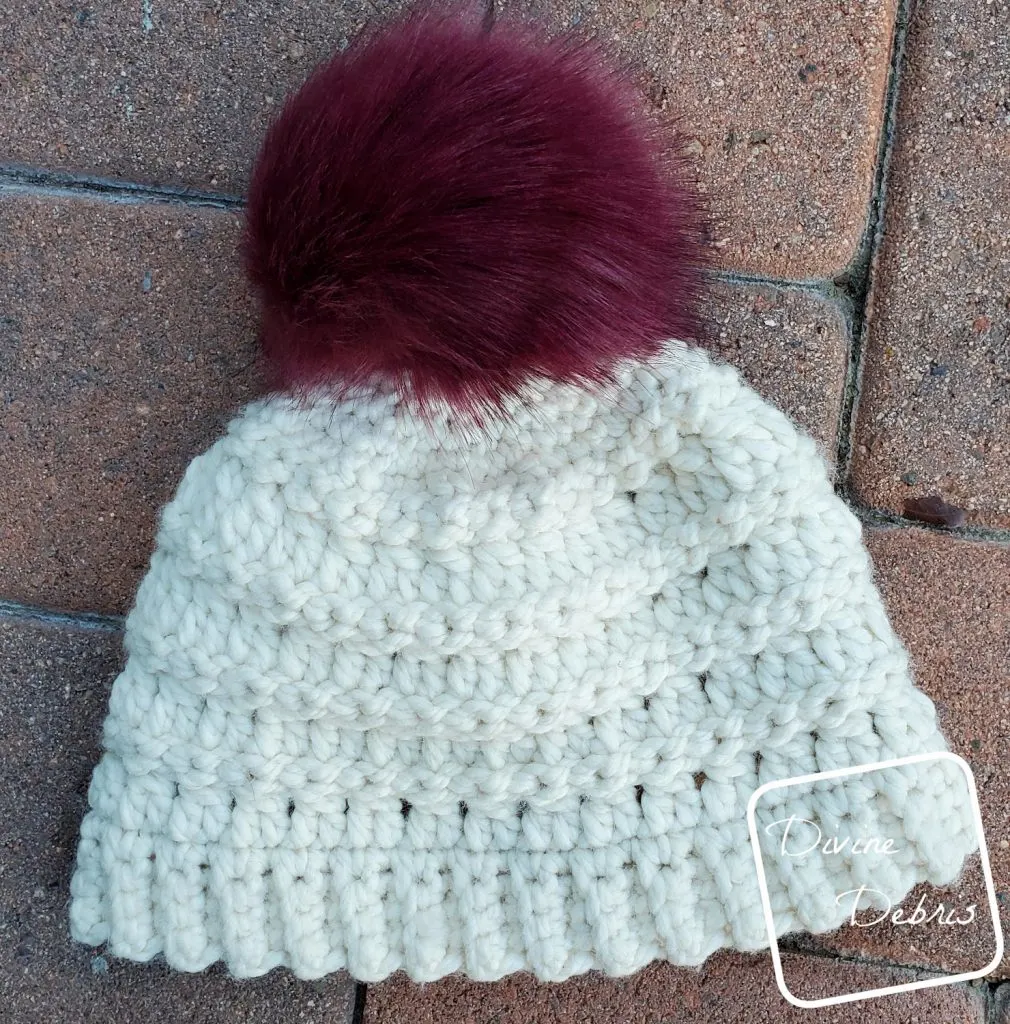
Who’s still feeling excited from the new year? Anyone else just jazzed about all the new things we get to do and make and be? I have to admit I am. And I love that with this blog I get an opportunity to make something new each all the time, like this week’s Angelica Beanie pattern.
With this week’s new pattern, I’m so happy to have used up some yarn I’ve had in my stash for a while. I don’t use bulky weigh yarn very often, not to mention I have an errant skein here and there and I never know what to do with one skein. Do you feel that? Just completely irritated at yourself because you have one freakin’ skein of something… what can you do with one skein of super bulky yarn? Well, if you’re me you’re going to make this super easy beanie. It’s actually very simple to adapt to other sizes of yarn too, just check your gauge!
So, as I was saying, I like the idea of making new and how the new year gives us and opportunity to reinvent ourselves. Last week’s pattern, the Dancing Snowflakes Beanie, I made was a fantastic combination of tapestry and texture, a new opportunity to make something I haven’t before, and this week was a new opportunity to use up yarn I’ve had for so very long. I’m trying, to smile and not let the pressure I put on myself carry me down. I’m looking to the new year to give me more opportunities for growth and not self-defeatist thoughts.
Anyway, sorry about my rambling. I hope you’re still feeling happy in this new year, we’ve still go so much more of 2020 to go (don’t remind me, right?).
I hope you love this pattern as much as I do!
Nee some more hat ideas? Check out my designs here!
(this post may contain affiliate links)
If you appreciate my weekly patterns I hope you’d consider purchasing an ad-free pdf of this pattern in my Ravelry shop.
Thank you Sherry for becoming my newest patron on Patreon!
Materials
- US K (6.50 mm) crochet hook
- Size #6 Super Bulky Weight yarn
- 1 color
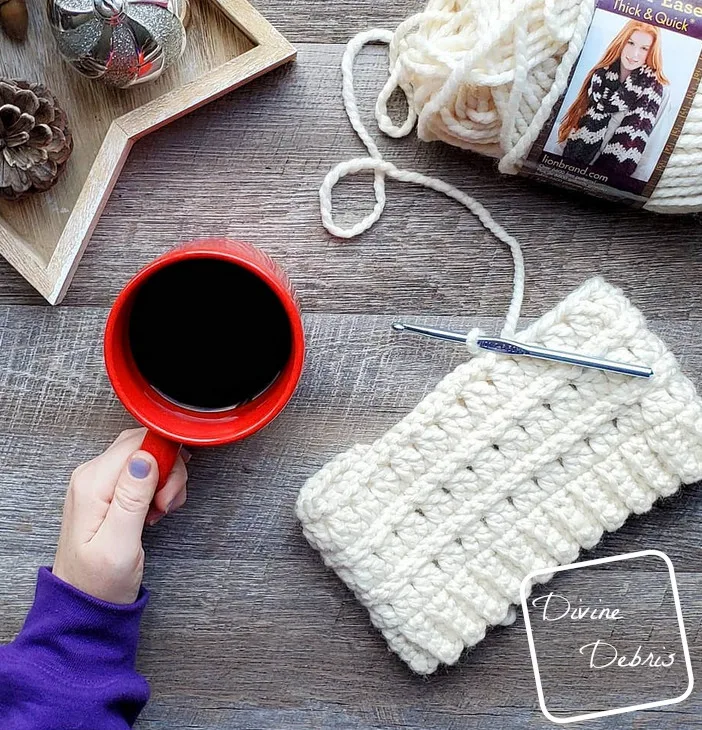
- I used Wool-Ease Thick and Quick by Lion Brand Yarn in Fisherman
- Needle that will weave in your ends
Terms/ Stitches used
- RS: right side
- Ch: chain
- St: stitch
- BLO/FLO: back loop/ front loop only
- Sc: single crochet
- Sc2tog: single crochet 2 sts together
- DcCl: Double Crochet Cluster (explained below)
- Join: join with a slip st into the first st
Notes
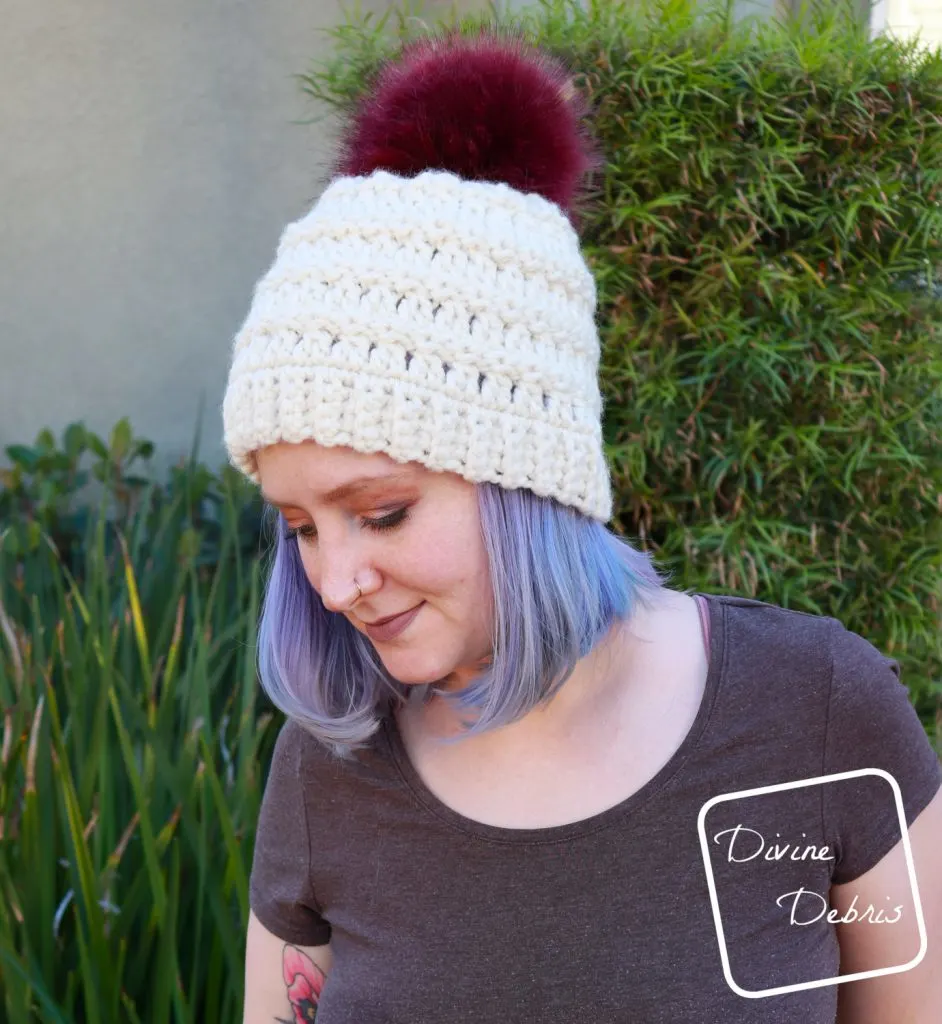
- DcCl: (Double crochet cluster): Yarn over, insert hook into first st, yarn over and pull up a loop, yarn over and pull through 2 loops on the hook, yarn over, insert hook into the next st, yarn over and pull up a loop, yarn over and pull through 2 loops on the hook, yarn over and pull through all 3 remaining loops on the hook, chain 1. This stitch is worked like a dc2tog and a ch-1. When you work back into these stitches, you will work into both the dc2tog and the ch-1.
- This hat is worked in 2 parts: the Band and the Body. The Band is worked back and forth in rows, with a turn at the beginning/end of the row. The Body is worked in the round with a slip st into the first st of the rnd.
- The ch-1 at the beginning of some rows does not count as a stitch.
- The ch-2 at the beginning of the DcCl rows is the first half of your beginning DcCl, the next dc and ch-1 count as the second half. This will be counted as 1 st in the row end st count.
- For the slip st rnds, make sure you are keeping your slip sts loose and not pulling them tight. Pulling them tight will distort your hat and make it so you can’t work into those sts in the next rnd. You could use a larger hook for these rnds if it makes it easier.
- For the slip st rnds, the instructions will tell you to work into the FLO and BLO of the individual elements of the DcCl (the ch-1 and the dc2tog), this is to help clarify where to put your stitches.
- You only turn on some rnds of the Body, make sure you note those.
- The size in the photos is 22” and made in Lion Brand Yarn Wool-Ease Thick and Quick in Fisherman.
Finished product dimensions (measurements may vary by gauge and yarn used)
20″
Yarn: 5 oz/ 88 yds
Height 7″
Diameter: 10″
22″
Yarn: 6 oz/ 106 yds
Height: 8″
Diameter: 11″
Angelica Beanie Crochet Pattern Instructions
Band
Sizing as follows: 20″ (22″)
Row 1: Ch 5, sc into the second ch from the hook and into the next 3 sts – 4 sc
Rows 2 – 56 (60): Ch 1, turn, sc into the BLO of the next 4 sts – 4 sc
Fasten off leaving a long tail. Secure Row 1 to Row 56 (60) in your preferred method of seaming.
Body
Create a slipknot on your hook and start in the first row end to the left of your seam from the Band.
Rnd 1: Sc into the noted row end above, sc into the next 55 (59) row ends around, join – 56 (60) sc
Rnd 2: Ch 2 (counts as first half of the DcCl here and throughout), dc into the next st, ch 1 (the ch 2, dc, and ch 1 here will count as 1 st here and throughout), DcCl into the next 54 (58) sts, join – 28 (30) DcCl
Rnd 3: Ch 1, turn, *slip st into the FLO of the next ch-1, slip st into the BLO of the next dc2tog,* repeat from * to * 27 (29) more times, join – 28 (30) slip st
Rnd 4: Ch 1, *slip st into the FLO of the next st, slip st into the BLO of the next st,* repeat from * to * 27 (29) more times, join – 28 (30) slip st
Rnd 5: Ch 2, turn, dc into the next st, ch 1, DcCl into the next 54 (58) sts, join – 28 (30) DcCl
Rnd 6: Ch 1, turn, *slip st into the FLO of the next ch-1, slip st into the BLO of the next dc2tog,* repeat from * to * 27 (29) more times, join – 56 (60) slip st
Rnd 7: Ch 1, *slip st into the FLO of the next st, slip st into the BLO of the next st,* repeat from * to * 27 (29) more times, join – 56 (60) slip st
Rnds 8 – 10 (13): repeat rnds 5 – 7, 1 (2) more time(s)
Rnd 11 (14): Ch 1, turn, *sc into the next 2 (3) sts, sc2tog the next 2 sts,* repeat from * to * 13 (11) more times, join – 42 (48) sc
The following are the decrease rounds. If you’d like your beanie not to be flatish on top, add a rnd of sc in between each rnd as you’d like to achieve more the slouch or rounding.
Rnd 12 (15): Ch 1, sc2tog the same st as join and the next st, sc into the next 1 (2) st(s), *sc2tog the next 2 sts, sc into the next 1 (2) st(s),* repeat from * to * 12 (10) more times, join – 28 (36) sc
Size 22″ only:
Rnd 16: Ch 1, sc2tog the same st as join and the next st, sc into the next 1 st, *sc2tog the next 2 sts, sc into the next 1 st,* repeat from * to * 10 more times, join – 24 sc
Both sizes:
Rnd 13 (17): Ch 1, sc2tog the same st as join and the next st, *sc2tog the next 2 sts,* repeat from * to * 12 (10) more times, join – 14 (12) sc
Rnd 14 (18): Ch 1, sc2tog the same st as join and the next st, *sc2tog the next 2 sts,* repeat from * to * 5 (4) more times, join – 7 (6) sc
Fasten off leaving a long tail. Use this tail to close the small hole that will remain after rnd 14 (18).
Weave in all your ends. Add a fun pom pom or an enamel pin as you’d like.
