Happy Tuesday, friends!
I know that I do a lot of patterns for holidays but that’s because they’re fun and not due to the fact that I’m super into holidays. I don’t usually do much for Valentine’s Day but I do love to decorate for it, especially with crochet goodies. What about you?
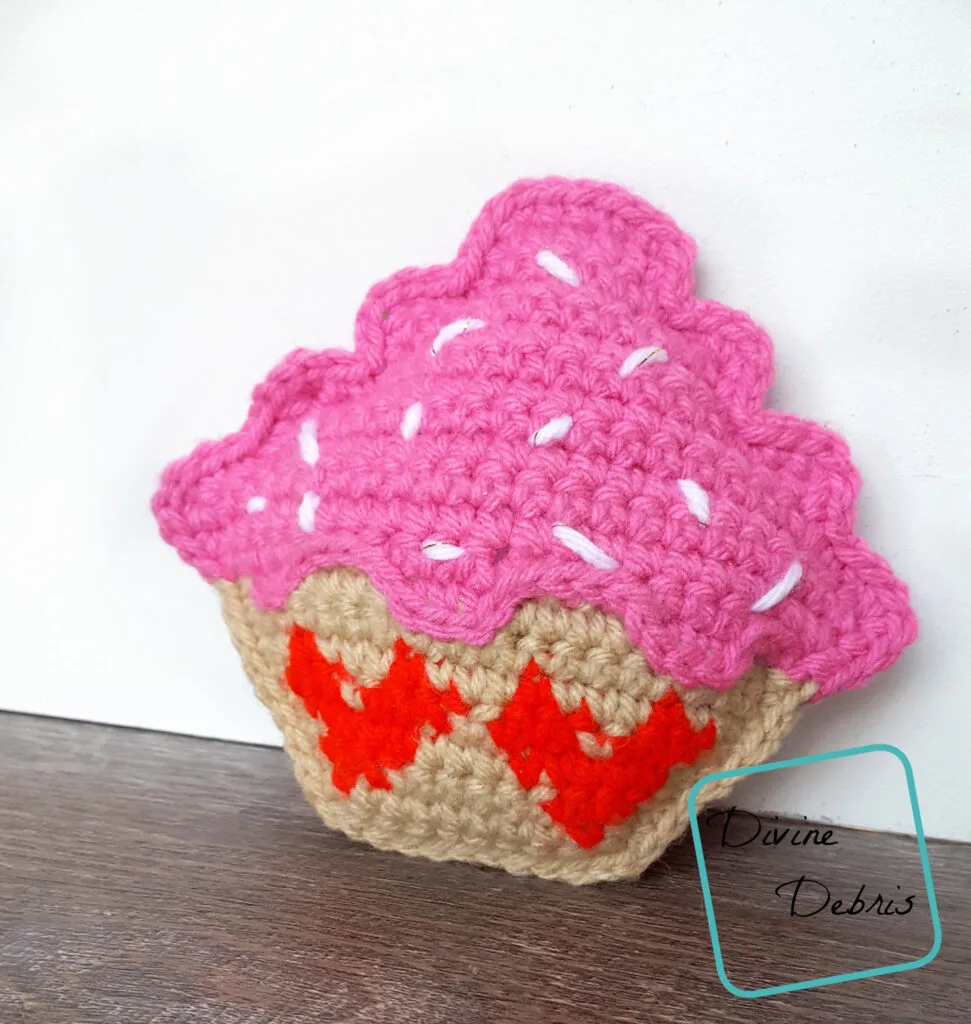
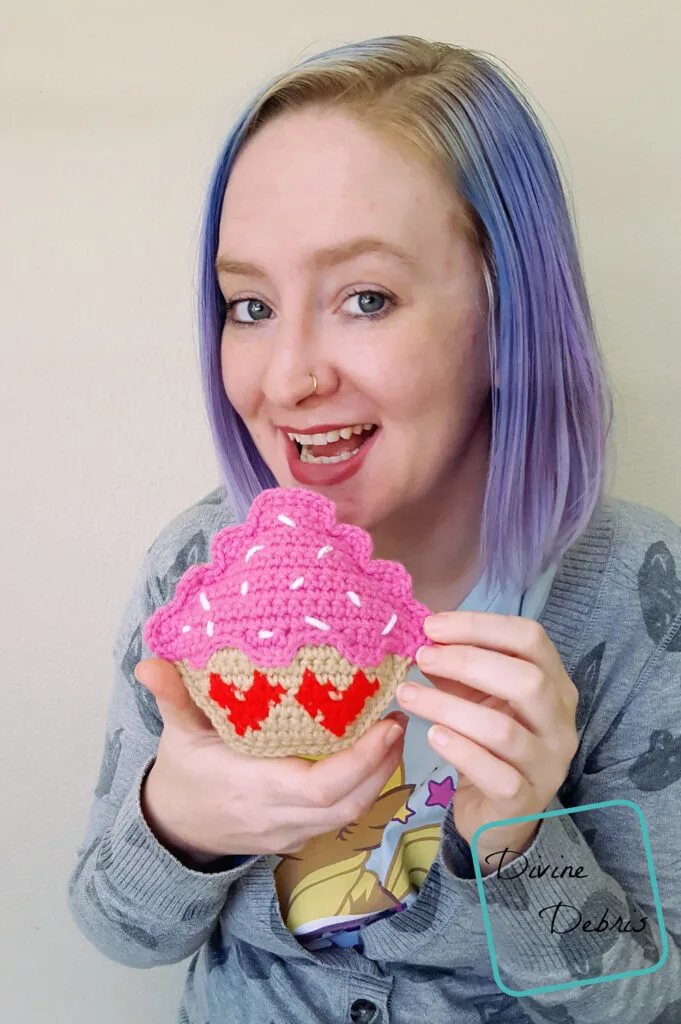
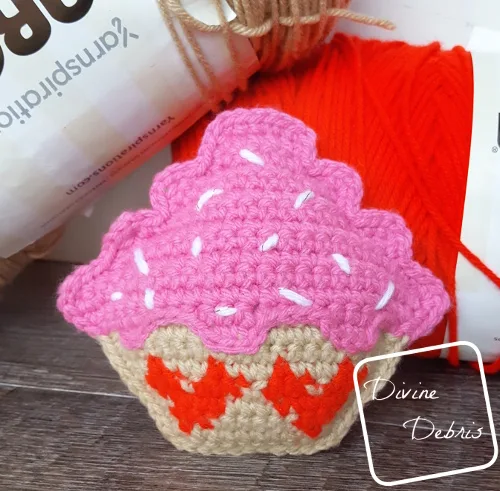
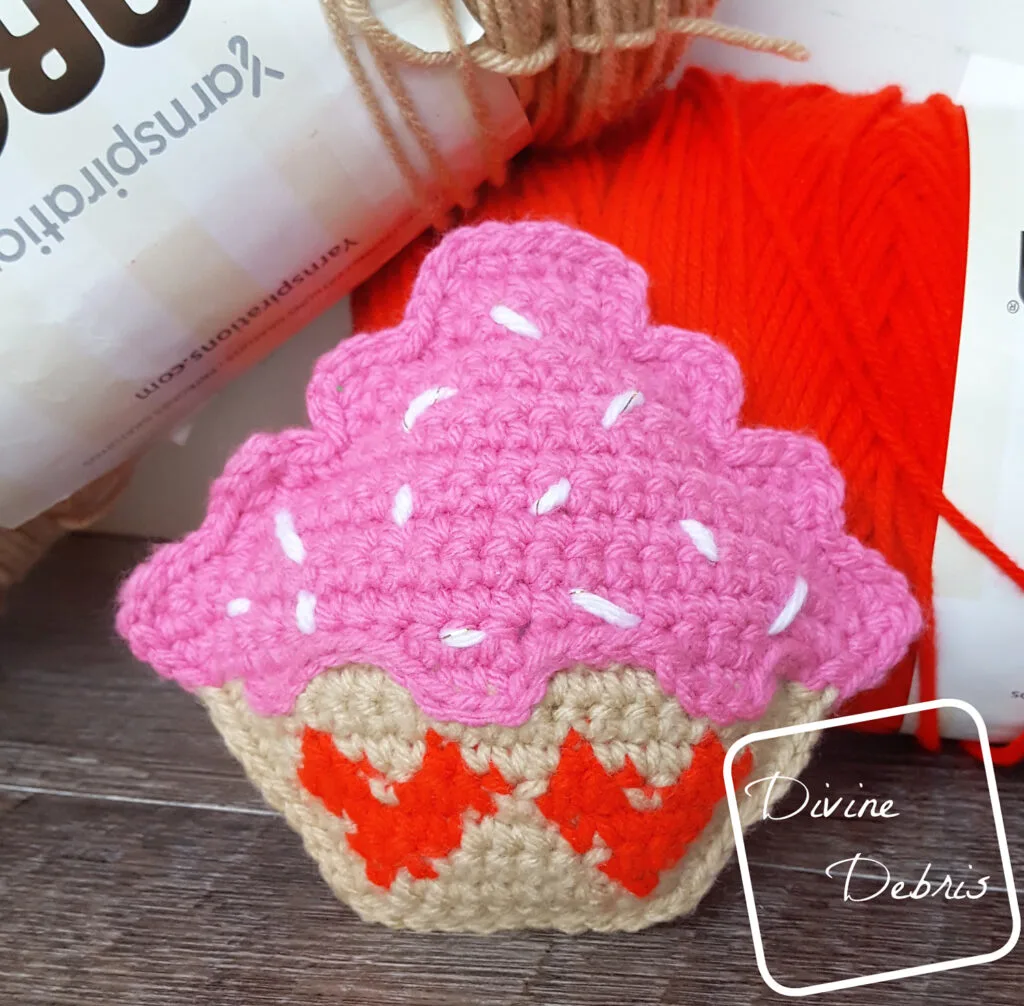
This year I’ve designed a fun little ami for Valentine’s. It’s both cute and very quick to make (I think I accomplished in about one evening). I had the idea for this design for a couple weeks now and when I finally got to sit down and make it, it was so much fun making it. I even got a little wild with the decorating (like I probably would when I make real cupcakes). I added some sprinkles in yarn (if you have puffy paint, feel free to use that), and some surface crochet to really make it look like the icing was overflowing. Fun fact about me, I usually don’t like icing. It’s too sweet for me. I mean, sure, I have a serious sweet tooth but there’s a fine line. I’m here for flavors over super-sweet anyway (bring on some super dark chocolate!). So, just in case you’re ever interested in sending me baked goods, know that I’m not a huge fan of icing (unless it’s homemade buttercream then I’m all over it). 😀 This is what I meant about getting to ridiculous in these posts, you don’t need to know my icing preferences, right? Sometimes I get too into typing and let the Surrealist in me take over, just free flow the words and it takes me to some weird icing places. It can really betray my inner workings. Or not, because I’m just talking about cupcakes still. *shrugs* 😀
Anyway, I’m even going to make these with some thread like I did my Squishy Tree Ami (it’s in the notes if you’re interested) so I can have some really cute earrings for Valentine’s too. When I do make the earrings, I’ll update this post here with some info on how I made them if you’re interested (let me know in the comments if you would be interested in that sort of thing).
I just really hope you liked this little design. I had fun making it. 😀
So, you may have noticed the Blog Hop banner at the top of this post – I organized a fun Blog Hop with a bunch of designer friends for Valentine’s Day. Today’s pattern is the first in the hop and as my friends post their patterns, I’m going update my post here to include the links to their blogs. For now, here are the links to all the blogs (I’ll change them to the patterns on the dates below).
| Jan 24th: Delphi Cowl by KT and the Squid | Jan 26th: Tegwen Pillow by Meghan Makes Do |
| Jan 28th:The Evie Pullover by Evelyn Peter | Jan 30th: Salt Water Taffy Pillow by Life and Yarn |
(This post may contain affiliate links)

If you appreciate my weekly patterns I hope you’d consider purchasing an ad-free pdf of this pattern in my Ravelry shop.
Thank you to all my patrons on Patreon!
Materials
- US G (4.00 mm) crochet hook
- Aran/ medium/ size #4 weight yarn
- approx 1.5 oz. / 76 yards
- At least 3 colors
- I used Caron One Pound
- Yarn needle
- Polyfill
Terms/stitches used
- RS: right side
- Ch: chain
- St: stitch
- Slip st: slip stitch
- Sc: single crochet
Notes
- This pattern is worked from the bottom up in 3 pieces: the Cupcakes Pieces (which are broken into the Bottom and Top) and then a Border to secure the 2 full Cupcakes together
- The ch 1 at the beginning of the row does not count as a stitch.
- Every stitch in the Bottom part is a single crochet. The directions will only tell you what color (ie: Color A, Color B, etc…) and the number in the parentheses tells you how many scs to make.
- The instructions that read (2x) mean that you sc twice in the first or last two sts of the row and work scs in the number of stitches indicated.
- You’ll need to know how to do surface crochet for this pattern.
- You will need to know how to create a slipknot on your hook for this pattern.
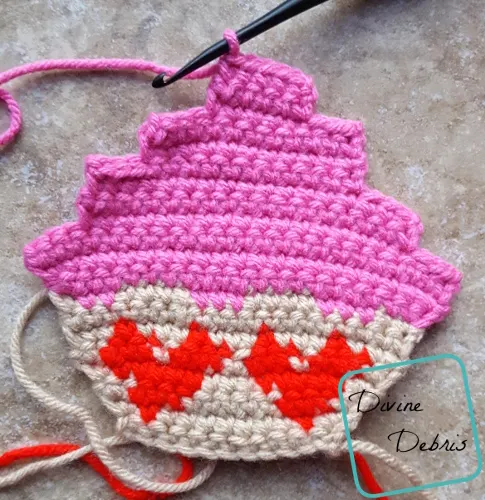
- In the example, the inactive yarn is carried behind the active. If this is confusing, you might want to check out the helpful Moogly video on tapestry.
- Color A is tan (Caron One Pound in Taupe), color B is red (Caron One Pound in Scarlet), and color C is Pink (Caron One Pound in Dark Pink).
Finished product dimensions
Height: 5.75″ (at tallest)
Width: 6″ (widest)
Sweet Heart Cupcake Amigurumi Crochet Pattern Instructions
-Cupcake-
(make 2)
Bottom
Row 1: A: Ch 12, sc into the 2nd ch from the hook and into the next 10 sts – 11 sc
Note:
- The following directions will only tell you what color (ie: Color A, Color B, etc…) and the number in the parentheses tells you how many stitches to make.
- The instructions that read (2x) mean that you sc twice in the first or last two sts of the row and work scs in the number of stitches indicated.
Row 2: A: Ch 1, turn, (2x), B: (1), A: (7), B: (1), A: (2x) – 13 sc
Row 3: A: Ch 1, turn, (2x), B: (3), A: (5), B: (3), A: (2x) – 15 sc
Row 4: A: Ch 1, turn, (2x), B: (5), A: (3), B: (5), A: (2x) – 17 sc
Row 5: A: Ch 1, turn, (2x), B: (3), A: (1), B: (3), A: (1), B: (3), A: (1), B: (3), A: (2x) – 19 sc
Row 6: A: Ch 1, turn, (3), B: (1), A: (3), B: (1), A: (3), B: (1), A: (3), B: (1), A: (3) – 19 sc
Fasten off color B.
Row 7: A: Ch 1, turn, (19) – 19 sc
Row 8: A: Ch 1, turn, (2), C: (3), A: (4), C: (3), A: (4), C: (2), A: (1) – 19 sc
Fasten off color A.
-Top-
Continue from where you left off on row 8.
Row 9: C: Ch 1, turn, sc twice into the first st, sc into the next 17 sts, sc twice into the last st – 21 sc
Row 10: C: Ch 1, turn, sc twice into the first st, sc into the next 19 sts, sc twice into the last st – 23 sc
Row 11: Ch 1, turn, sc into the next 23 sts – 23 sc
Fasten off.
Row 12: C: Turn, create a slipknot on your hook and skip the first 3 sts, sc into 17 sts – 17 sc
Rows 13 – 14: C: Ch 1, turn, sc into the next 17 sts – 17 sc
Fasten off.
Row 15: C: Turn, create a slipknot on your hook and skip the first 3 sts, sc into 11 sts – 11 sc
Rows 16 – 17: C: Ch 1, turn, sc into the next 11 sts – 11 sc
Fasten off.
Row 18: C: Turn, create a slipknot on your hook and skip the first 3 sts, sc into 5 sts – 5 sc
Rows 19 – 20: C: Ch 1, turn, sc into the next 5 sts – 5 sc
Fasten off, weave in your ends.
Details
When you’ve completed both of your Cupcakes you’ll want to add some Surface Crochet along row 8 to highlight the color C. Use an optional 4th color to add sprinkles by weaving your needle back and forth around the Top section.
Border/Securing
This section you will secure 2 Cupcakes together. Place the two cupcakes with the RS facing out (the wrong sides should be laying against each other). Don’t forget to stuff your ami before finishing the Border completely.
With color C, start on Row 9 (going up around the Top). Create a slipknot on your hook, sc first st of Row 9, sc into the first st Row 10, sc 3 times into the first st of Row 11, sc into the next 2 sts of Row 11 (the skipped sts), sc into the first st of both Rows 12 and 13, sc 3 times into the first st of Row 14, sc into the next 2 sts of Row 14 (the skipped sts), sc into the first st of both Rows 15 and 16, sc 3 times into the first st of Row 17, sc into the next 2 sts of Row 17 (the skipped sts), sc into the first st of both Rows 18 and 19, sc twice into the first st of Row 20, sc into the next on Row 20, sc twice into the next st, sc into the next st, sc twice into the last st of Row 20, sc into the last st of both Rows 19 and 18, sc into the next 2 unworked sts of Row 17, sc 3 times into the last st on Row 17, sc into the last st of Rows 16 and 15, sc into the next 2 unworked sts of Row 14, sc 3 times into the last st of Row 14, sc into the last st of Rows 13 and 12, sc into the next 2 unworked sts of Row 11, sc 3 times into the, sc into the last st of Rows 10 and 9 (54 sc total so far). Switch to color A (be sure to stuff your ami before fastening going the rest of the way around), sc down the last sts of Rows 8 to 1 (8 sc) , ch 1 at the corner, sc into the other side of Row 1 (11 sc), ch 1 at the corner, sc into the first st of Rows 1 to 8 (8 sc), slip st into the first st – 93 sc, 2 ch-1 spaces
Fasten off, weave in your ends.
There it is! I hope you like this fun ami and share your photos when you do! <3 <3
See ya next week.


