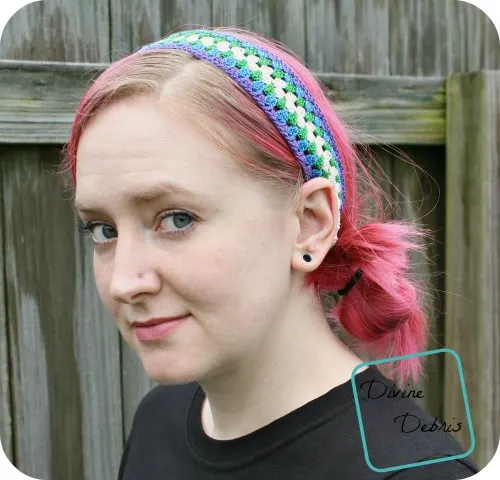
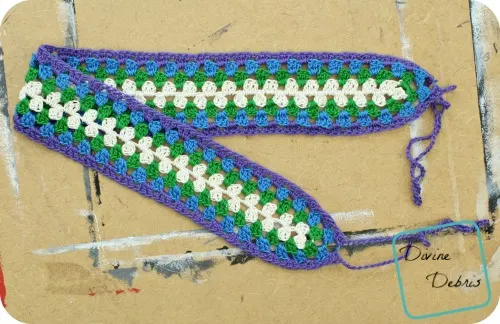
So, last year I switched over my website, where I sold earrings, hats, and scarves, to this blog. I really wanted to focus on patterns and writing, so that’s why I made the switch. I thought it went pretty smoothly, with everything making it over. Well, I was wrong! A couple of weeks ago I got a message letting me know that the Carly Headband link from Ravelry was dead. It didn’t go anywhere on the blog. And, when I looked around and checked the blog myself, I realized she was right! It was gone! I have no idea where it when either. So, when I got the chance, I worked backward from the finished version I had so that I could make a whole new blog post on the Carly headband, and here it is!
Materials:
- 3.25 mm steel hook
- Size 10 crochet thread
- I used Aunt Lydia‘s
- 4 colors
- Needle to weave it all in
Gauge:
- Not critical
Terms/ stitches used:
- Ch: chain
- St: stitch
- Dc: double crochet
- This pattern is worked in the round, with a slip st into the first st following the last.
- Each new row is began in the same end so you can keep your seam in one spot.
- If you want this pattern to be larger, just add multiples of 3 to the beginning ch row (row 1).
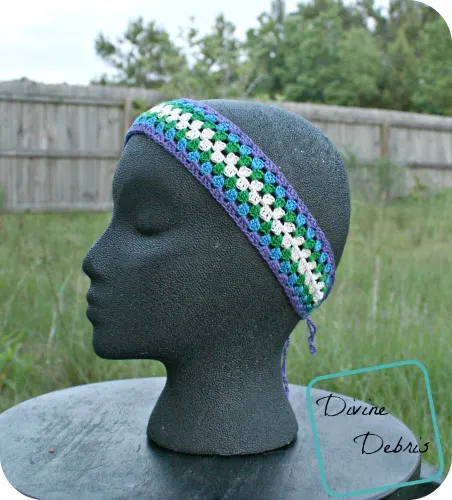
- If you’d like your headband to be wider, just repeat row 3 (with more repeats than written here) until you’re happy with the size, then move onto row 4 (with more repeats than written here). You may need to adjust the ties if you make it wider, as it will make it longer too.
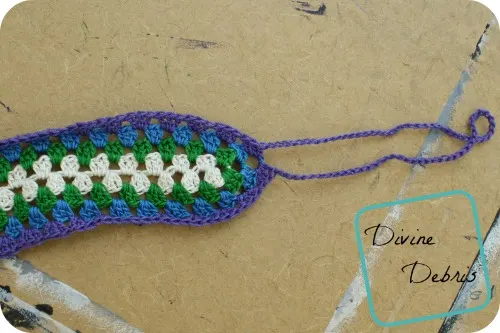
- The ch-70 spaces on row 4 are your ties.
- You’re going to have to know how to work in between stitches for this pattern.
Final measurements:
- Width: just under 2″
- Length: 18″ (without ties), 27″ (with ties)
Pattern Instructions:
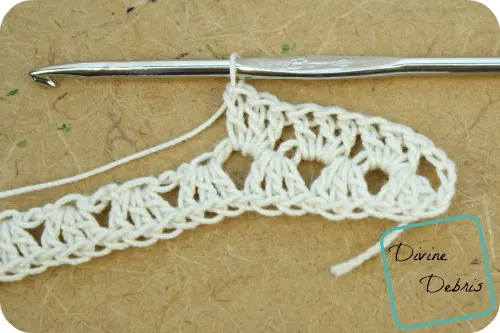
Row 1: Color A: Ch 109, dc twice into the 4th (skipped chs count as a dc) ch from the hook, *skip 2 chs, dc 3 times into the next st,* repeat from * t0 * 34 more times. At this point you’ll be at the end of your original ch, ch 4, rotate the piece and begin working along the other side of the original ch, *dc 3 times into the skipped ch 2 space,* repeat from * to * 34 more times, ch 4, slip st into the first dc to secure – 213 dcs
Fasten off with this color.
Row 2: Color B: Pull up a loop in the space between two 3 dc sets (first one following the ch-4 space), ch 3, dc twice into the same space, *ch 1, skip the next 3 sts, dc 3 times into the next space between the dcs,* repeat from * to * 32 more times, ch 1, skip the next 3 dcs, [3 dc, ch 4, 3 dc] into the ch 4 space, rotate the whole piece so you’re working around the other side, *ch 1, skip the next 3 sts, dc 3 times into the next space between the dcs,* repeat from * to * 34 more times, ch 1, skip the next 3 sts, [3 dc, ch 4, 3 dc] into the next ch-4 space, ch 4, slip st into the first dc to secure – 219 dcs
Fasten off with this color.
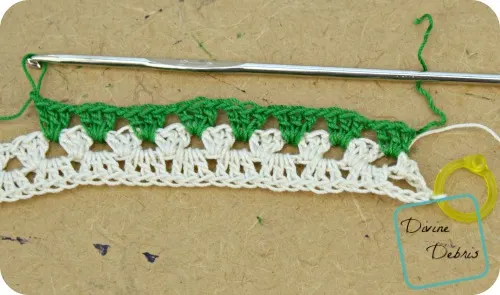
Row 3: Color C: Pull up a loop in the space between two 3 dc sets (first one following the ch-4 space), ch 3, dc twice into the same space, *ch 1, skip the next 3 sts, dc 3 times into the next space between the dcs,* repeat from * to * 33 more times, ch 1, skip the next 3 dcs, [3 dc, ch 4, 3 dc] into the ch 4 space, rotate the whole piece so you’re working around the other side, *ch 1, skip the next 3 sts, dc 3 times into the next space between the dcs,* repeat from * to * 35 more times, ch 1, skip the next 3 sts, [3 dc, ch 4, 3 dc] into the next ch-4 space, ch 4, slip st into the first dc to secure – 225 dcs
Fasten off with this color.
Row 4: Color D: Pull up a loop in the space between two 3 dc sets (first one following the ch-4 space), ch 3, dc twice into the same space, *skip the next 3 sts, dc 3 times into the next space between the dcs,* repeat from * to * 35 more times, skip the next 3 dcs, [3 dc, ch 70, 3 dc] into the ch 4 space, rotate the whole piece so you’re working around the other side, *skip the next 3 sts, dc 3 times into the next space between the dcs,* repeat from * to * 36 more times, skip the next 3 sts, [3 dc, ch 4, 3 dc] into the next ch-4 space, ch 70, slip st into the first dc to secure – 231 dcs
Fasten off with this color, weave in all your ends. Note: The ch-70 spaces on row 4 are your ties.
Tada! And you’re done with this pretty simple but super cute headband. Again, if you were looking for this pattern in the past, I am sorry it go lost in the move. I hope you get a chance to enjoy this design, though.
See ya next week!

Roundup: 40 Free Crochet Patterns for Granny-Inspired Women's Accessories and Garments | Underground Crafter
Wednesday 21st of June 2017
[…] Carly Headband by Divine Debris […]
Kimberly McAllister
Tuesday 17th of May 2016
Love the new colors! Can't wait to make this for my little girl.