

Hello!
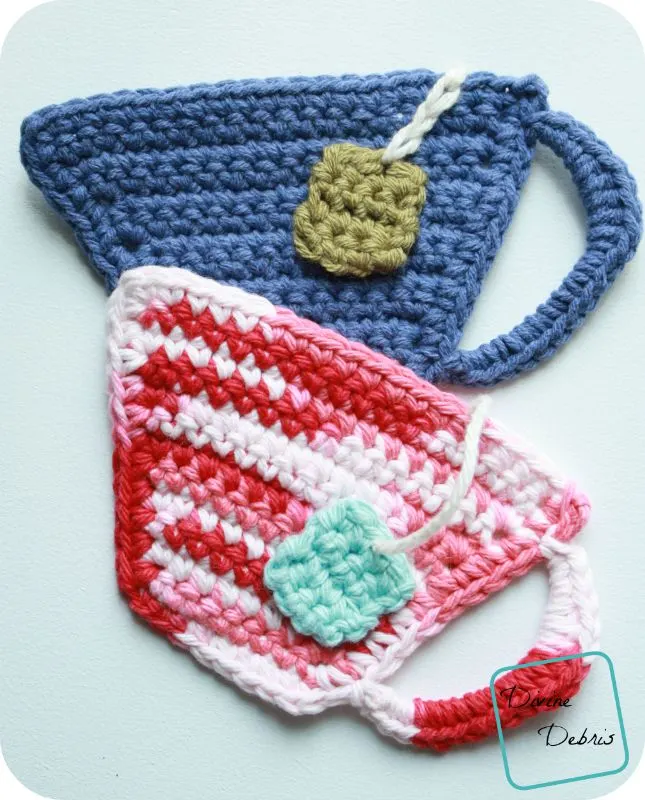
Like I said last week, I put off my tea cup coaster in favor of the scarf I got the idea for, so I’m back this week to present the tea cup coaster.
Like the mug cocoa coaster pattern, this pattern is seriously easy and really lends itself to being a applique so you can add it to other projects, like bags/ purses or pillows.
I don’t really have a lot to chat about this week, as I feel like I’m dragging a quite a bit. I think I’m sick or at least in the early stages of getting sick and I’m not too happy about it. I’ve been feeling dizzy and just really sleepy, a little dizzy/ nausea also. Ugh. I don’t want to get sick. I have too much to do! But isn’t that the truth with us all?
Copyright @ Divine Debris 2023. No part of this document may be reproduced or transmitted in any form by any means, electronic, mechanical, photocopying, or otherwise, without prior written permission from the author. Sales of finished products are permitted, but the designer requests that you link back to the pattern and credit Divine Debris with the original design under the Creative Commons Attribution-Share Alike license. If you have any questions, comments or concerns please contact info@divinedebris.com.
Where to purchase the Tea Cup Coaster/ Applique Crochet Pattern


Materials
- Worsted weight cotton yarn
- US G (4.25 mm) crochet hook
- Tapestry needle
Gauge
- 4.5” x 4.5” = 19 dcs x 9 rows
(although it’s not entirely critical)
Stitches/ Terms used
- Ch: chain
- St: stitch
- Sc: single crochet
Finished measurements:
- Width: 4.5″ (top of cup), just over 2″ (bottom), 4.5″ (middle of cup, where handle is)
- Height: just over 3″

Tea Cup Coaster/ Applique Pattern instructions
Main body:
Row 1: Ch 9, sc into the second ch from the hook and across – 8 scs
Row 2: Turn, ch 1, sc twice into the first st, sc into the next 6 sts, sc twice into the last st – 10 scs
Row 3: Turn, ch 1, sc into each st across – 10 scs
Row 4: Turn, ch 1, sc twice into the first st, sc into the next 8 sts, sc twice into the last st – 12 scs
Row 5: Turn, ch 1, sc into each st across – 12 scs
Row 6: Turn, ch 1, sc twice into the first st, sc into the next 10 sts, sc twice into the last st – 14 scs
Row 7: Turn, ch 1, sc into each st across – 14 scs
Row 8: Turn, ch 1, sc twice into the first st, sc into the next 12 sts, sc twice into the last st – 16 scs
Row 9: Turn, ch 1, sc into each st across – 16 scs
Row 10: Turn, ch 1, sc twice into the first st, sc into the next 14 sts, sc twice into the last st – 18 scs
Row 11: Turn, ch 1, sc into each st across – 18 scs
Border:
Row 12: Turn, ch 1, sc into each st across (18 scs), ch 1 at the corner, rotate piece 90 degrees, sc down the edge (11 scs), ch 1 at the corner, rotate piece 90 degrees, sc across (8 scs), ch 1 at the corner, rotate piece 90 degrees, sc down the edge (11 scs), ch 1 at the corner, slip st into first st to secure – 48 scs
Do not fasten off.
Handle:
Ch 1, rotate the tea cup so you will be crocheting down the side, slip stitch into the next st, slip stitch into the next st (all together you’ve gone down two stitches), chain 10, skip the next 7 sts, slip stitch into the third st from the bottom.
Row 1: Ch 1, turn, [10 sc, 5 hdc, 3 sc] around the ch 10 space, slip st into 3 st from top to secure (where you began your handle).
You can also fasten off after the border and create a slipknot on your hook, slip st into the third st down from the top on the side, ch 10, skip the next 7 sts, slip st into the third st from the bottom. Then continue as row one says above in this section.
Tag:
Row 1: Leave a couple of inches in tail, chain 5, sc into second ch from the hook and across – 4 scs
Rows 2 – 4: Turn, ch 1, sc across – 4 scs
Leave another couple of inches in tail and then fasten off.
Use the tails you left to secure the tag to the tea cup, the positioning is really up to you.
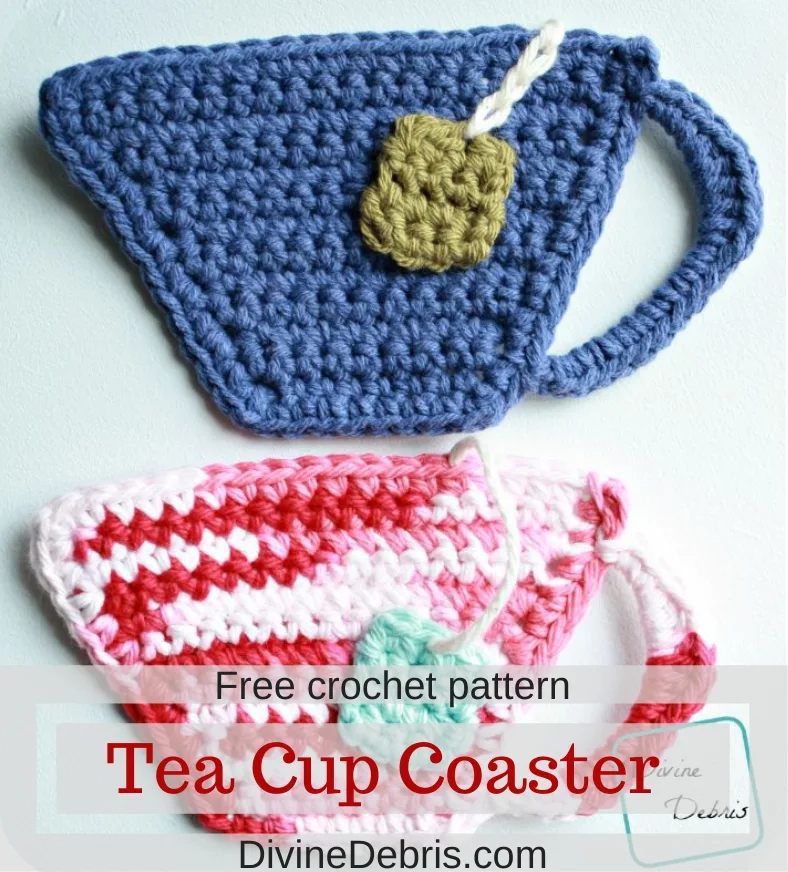
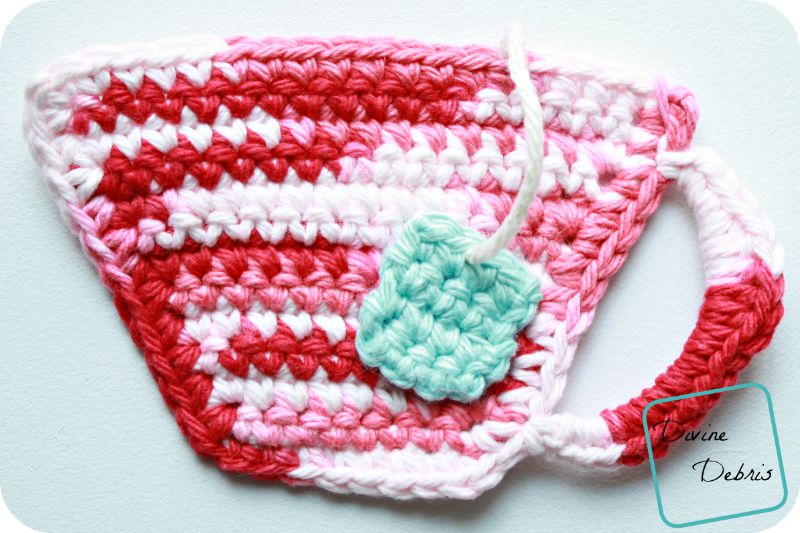
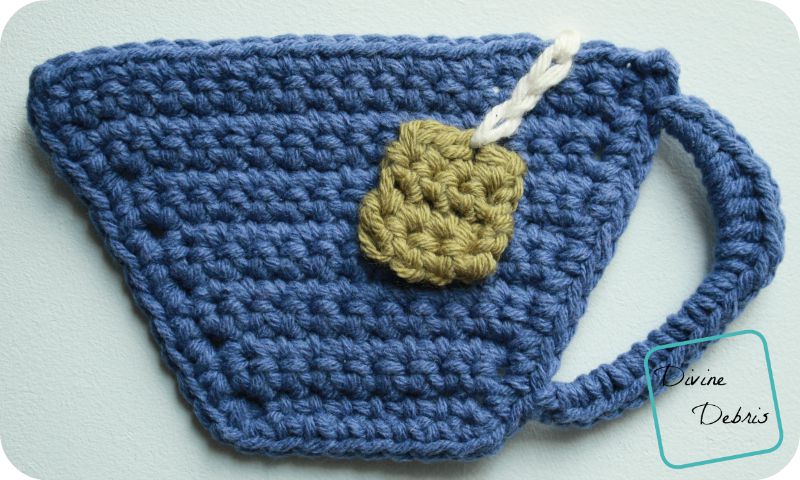
Use another color, traditionally white or off white, and create the string attached to the tag. You can just do the string hanging (like the pink/white variegated cup), attached at the top and to the tag or you can use surface crocheting to attach it to the tea cup itself (blue cup). Your choice.
So, there it is, the (possibly) long awaited tea cup coaster. 😀
Stay healthy and happy, out there you all.
This post is the linked to Oombawka Design’s Link and Share Wednesday #107, Rebeckah’s Treasures’ Saturday Link Party 10 , and the Linky Ladies’ Community Link Party #14.
Michelle D Foeller
Tuesday 5th of January 2021
Thanks for this cute pattern. I'm going to see if I can make it into a gift card holder, or an individually wrapped tea bag holder.
Teresa
Tuesday 16th of January 2024
@Michelle D Foeller, that's a super idea!!
Diane McCurdy
Tuesday 25th of September 2018
Gave this for my girlfriend for her Birthday and she loved it!! Great gift idea!!!
P
Thursday 10th of November 2016
I really like the tea cup just having trouble with hhandle he the 10sc 5hdc3sc in 10 ch is not working
Divine Debris
Thursday 10th of November 2016
How so? Just [10 sc, 5 hdc, 3 sc] around your ch-10. you might need to push it to the side to make more space.
Lisa Power
Tuesday 23rd of August 2016
SUPER cute coaster idea! Love it!
Free Crochet Coaster Patterns for Every Occasion
Wednesday 17th of August 2016
[…] crochet stitches. Like the coffee cup coaster pattern, it also works well as an applique. Visit Divine Debris for the […]